
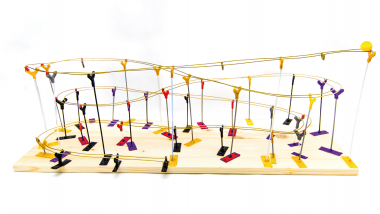
Ball Track With A 3d Pen
Made by 3dsimo / 3D Printing / Games & Gaming / Kids & Family / Retro Tech
About the project
This project is a chance for you to create your own ball track which could become either your children’s favourite toy or your personal means of relaxing. The complexity, largeness, steepness, colourfulness, and other properties are completely up to your taste and patience.
Project info
Difficulty: Moderate
Estimated time: 6 hours
License: GNU General Public License, version 3 or later (GPL3+)
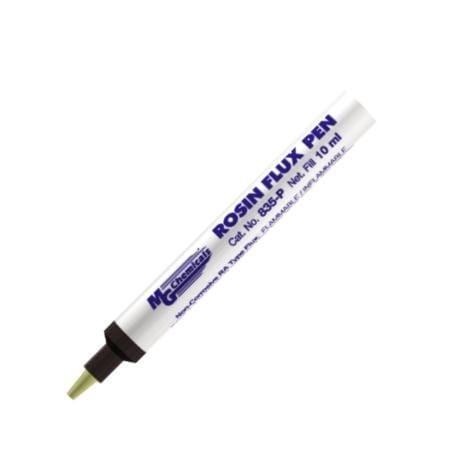
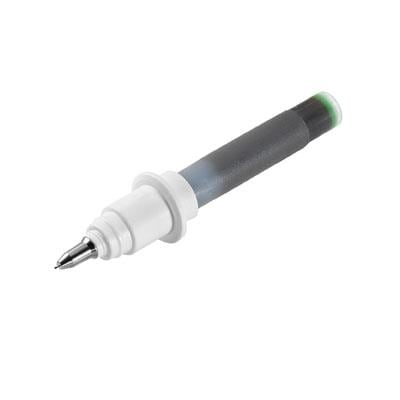
Items used in this project

Story
It is astonishing how movement of things has always fascinated people. From pendulum balls known as Newton’s Cradle to toy racing cars to domino effect, we are simply hypnotized with moving objects.
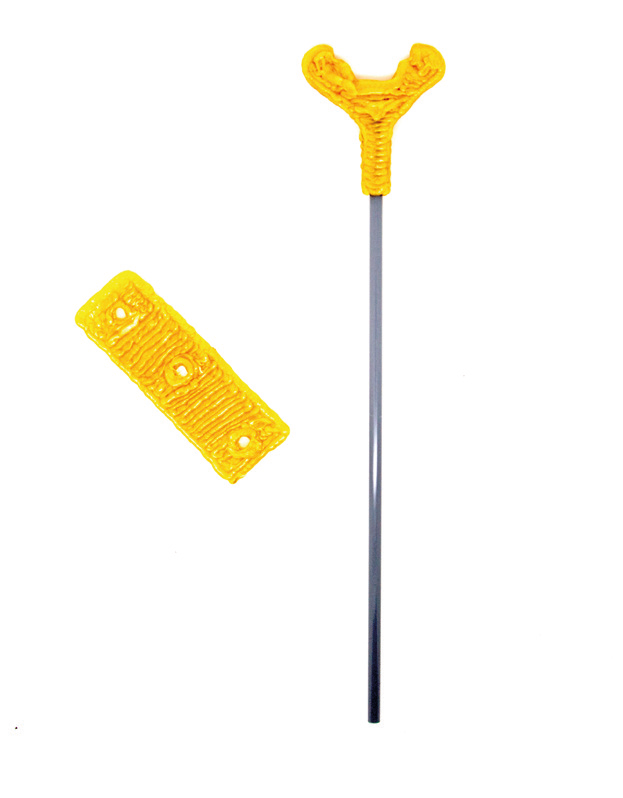
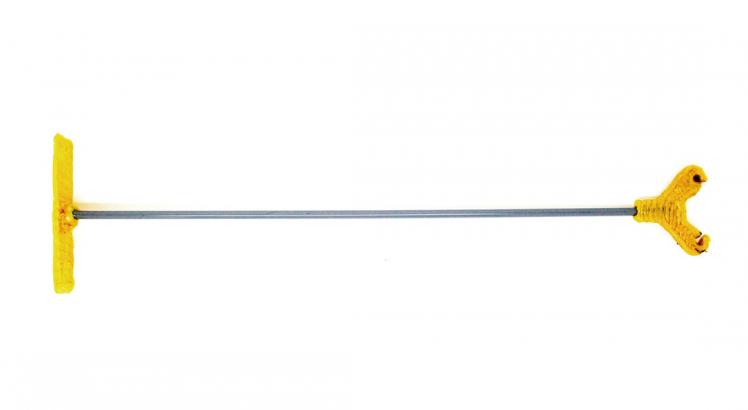
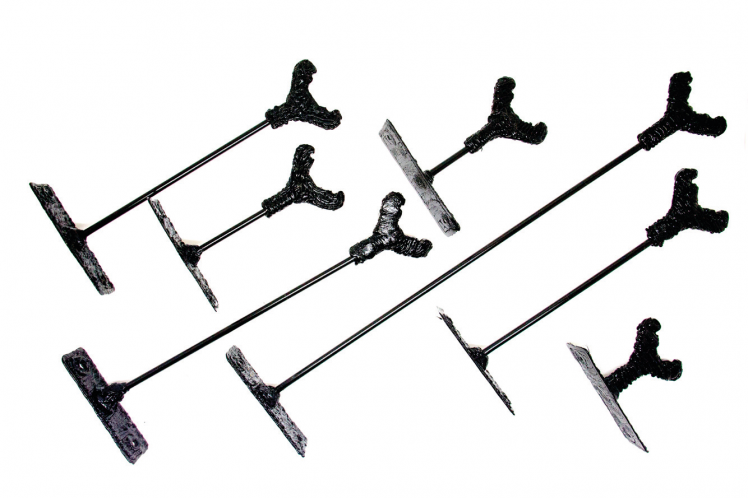
- First of all, you need to understand how it all works and to help you with that we recommend taking a look in our Manual where you can see the 3 main parts of the stands. The stands are the fundamental part of the whole track because they will determine how successful your project will be. The top part has the shape of the letter “Y” and its purpose is to hold the rail. It is attached to a pole which can be either 3D drawn or made of a plastic or wooden stick. The last of the three main parts is a plastic hold that will be glued or screwed to a wooden or drywall board to hold the whole track firmly. So what are you waiting for? Go ahead and trace the templates with a color of your choice.
- With the three individual parts ready, you need to connect them together. As usual there are more ways around it depending on what you prefer. You can either melt the plastic with a burning extension and then weld it together, or connect it using the 3D DRAWING ATTACHMENT.
- You know how to create a stand now so let’s try your wings: your task is to make some more (well, actually many more) stands of different height. The difference in height is recommended to be about 3–5 mm (0.12–0.2 in) so that the ball has a chance to gather speed going slightly downhill. The number of stands you make is up to you but it might be a good idea to start off easy and when, later on, you see your track works as it should, you can always make more of them. Obviously, the more stands you have the longer the track will be.
- To make the track a little more interesting, why not create stands of different colors?
- Finished with the stands? Great, now, before you test the functionality, it would be a good idea to make the rails for the ball to roll on. We suggest making them out of the Metal material which we offer. The reason for it is its strength and the ability to hold its shape when bent. Plus if you use a metal ball as well, it makes a cool sound.
- As mentioned above, it is advisable to start with a shorter track in order for you to test not only all the relevant laws of physics, but also whether it works the way you intended. For example, it is essential to lift one rail a little higher in sharp turns to keep the ball on the track.
- Now that you have gained enough skills and experience necessary for building up a ball track there is nothing to stop you from making your childhood dreams come true and creating the greatest ball track ever! Just a little hint: the ideal spacing between the stands is 8–12 cm (3.15–4.72 in).
- Here it comes! The moment you’ve been waiting for! Let the ball roll and watch it closely to see if there is any problem with the stands or rails along the track. In case there is, you are skillful enough to fix it, otherwise… well, otherwise you are even more skillful.
- You think you’re done? Oh, no way! You are going to grow so fond of it that you will want to build larger and larger tracks.
Schematics, diagrams and documents
CAD, enclosures and custom parts
Credits
3dsimo
We are manufacturers of multi-functional tools for creators under the same brand. Our Company was established in 2014, it originates in Czech Republic, where both manufacturing and R&D are still located. We are only ones on the market with 3Dpen with switchable extensions and a smart device connection, which is our 3Dsimo mini. Kids 8+ can use 3DSimo Basic, it is very intuitive. It uses build-in battery, so user can draw up to 3 hours without any cables. The device is safe, and you cannot burn yourself with it. Our last products is 3Dsimo Kit, which is First building KIT of multi-material 3D pen that you can modify according to your wishes. It is an open source building kit based on Arduino Nano. You can find everything on our GitHub.
Related products


Leave your feedback...