

Arduino Robot Controlled By Android Smartphone

Made by mircemk / 3D Printing / Robotics / Vehicles / Voice
About the project
A great idea for symbiosis between Arduino and Android
Project info
Difficulty: Easy
Estimated time: 2 hours
License: GNU General Public License, version 3 or later (GPL3+)
Items used in this project
Hardware components


Story

Details
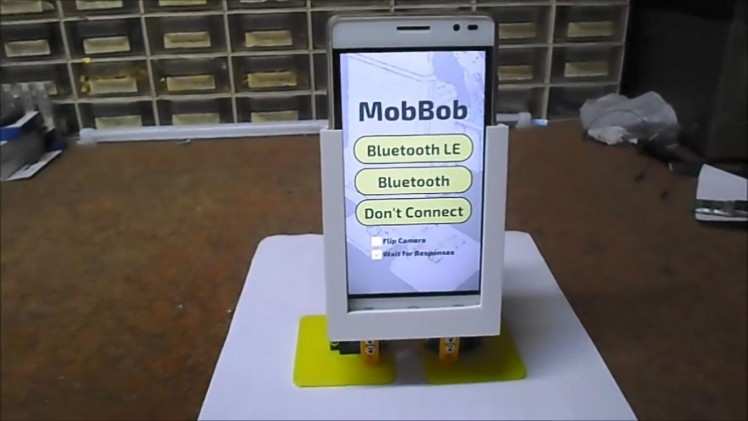
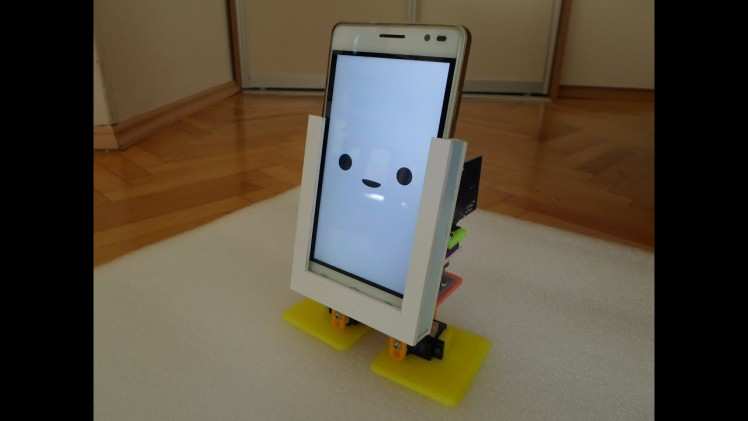
This robot is a great example of the symbiosis between the Arduino and the Android platform. The hardware part controls the Arduino, and the software processing is performed by a smartphone. I made this robot according to the instructions on the cevinius.com website but with standard Arduino Nano and HC05 bluetooth board. The robot can perform a number of functions including moving forward, backward, left, right and a few playing modes.

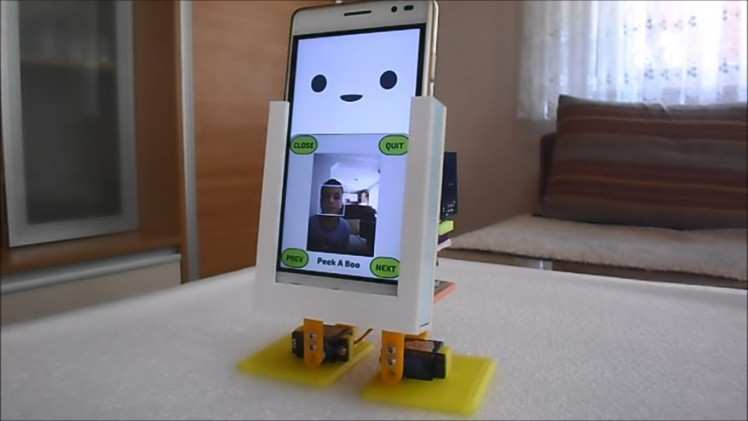
The most interesting is the interactive part where you can give him voice commands or activate face recognition system with which the robot follow your movements.This is possible with the help of speech recognition and face tracking tools on Android smartphone which is a very powerful toy.

You can download .stl 3-D printing parts at Thingiverse (https://www.thingiverse.com/thing:715688) and Android.apk file(https://apkpure.com/mobbob/com.cevinius.MobBob).
In the code you will want to: - Update the pin variables to match your build - Tweak the servo center, min and max values - Set "FRONT_JOINT_HIPS" to 1 or -1 depending on which way your hip servos are mounted. I mount it with the servo axle at the front of MobBob. For this configuration, set this value to 1.
Schematic diagram is very simple and is shown in the figure below
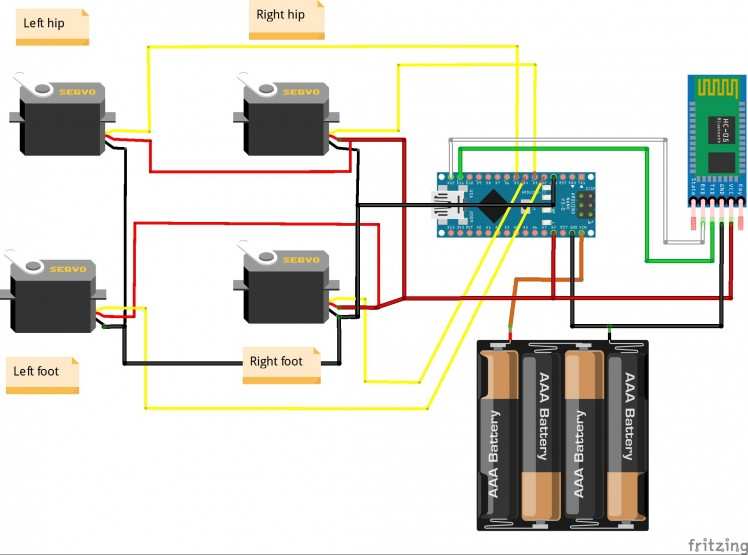
Schematics, diagrams and documents
Code
Credits
Related products


Leave your feedback...