
Arduino Relay Module

Made by hIOTron / Productivity / IoT
About the project
In this article, we outlined how to control high voltage devices using Arduino Relay.
Project info
Difficulty: Moderate
Platforms: Arduino
Estimated time: 1 day
License: GNU General Public License, version 3 or later (GPL3+)
Items used in this project
Hardware components


Story
About Project
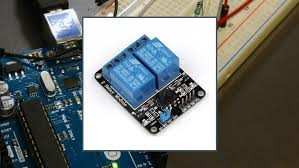
We can easily control high voltage electronic devices using relays. A Relay is actually a switch that is electrically conducted by an electromagnet.
The electromagnet is initiated with a low voltage, for example, 5 volts from a microcontroller and it extracts a contact to make or break a high voltage circuit. It can manage up to 230V devices. Inside of it, there are electromagnets with a contact that closes the circuit when you apply voltage to it.
Internet of Things Course Training will help you to go through such IoT devices and its applications.
How to use the relay module with the High Voltage Devices:
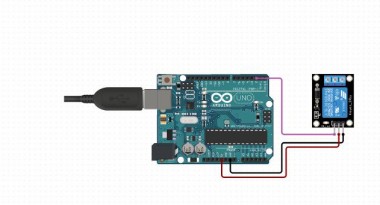
Let’s take a look at the circuit diagram. As previously defined we will use a 5V Adapter as a separate power supply for the electromagnet connected to the JDVcc and the Ground pin.

The Arduino’s 5V pin will be attached to the Vcc pin of the module and the pin number 7 to the In1 input pin for managing the relay. Now for the HIGH Voltage part, we need a power plug, a socket and a cable with two wires. One of the two wires will be cut and attached to the common and the normally open pin of the module output connector.
So with this configuration when we will initiate the relay we will get the high voltage circuit closed and working.
Also connected the ends of the cable to the plug and the socket.
Code
Credits
Related products


Leave your feedback...