
Arduino Board - Blink An Led

About the project
This project shows the simplest thing you can do with an Arduino to see physical output: blink the onboard LED.
Project info
Difficulty: Moderate
Platforms: Arduino
Estimated time: 1 hour
License: GNU General Public License, version 3 or later (GPL3+)
Items used in this project
Hardware components


Story
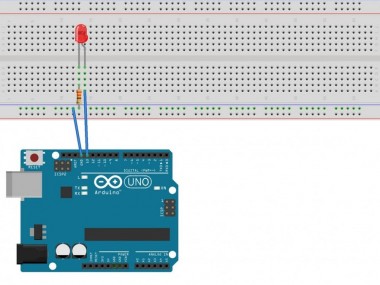
You can start building your Arduino circuit by looking at the breadboard image. In the below description, we will give you a step-by-step overview of how to built it in a systematic way.
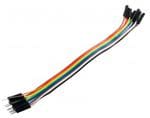
Step 1 – Insert black jumper wire into the GND pin on the Arduino and then in the GND rail of the breadboard row 15.
Step 2 – Insert red jumper wire into pin 13 on the Arduino and then the other end into column F and row 7 on the breadboard.
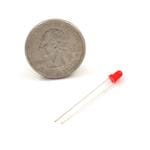
Step 3 – Set the LONG leg of the LED into row 7th and column H.
Step 4 – Set the SHORT leg of the LED into column H and row 4th.
Step 5 – Bend both legs of a 220 Ohm resistor and place one leg in the GND rail around row 4 and place another leg in I column, row 4th.
Step 6 – Connect the Arduino Uno to your computer via USB cable.
Upload On Blink Sketch
Now upload the program to the Arduino. To open the blink sketch, you will need to go to File > Examples > Basics > Blink.
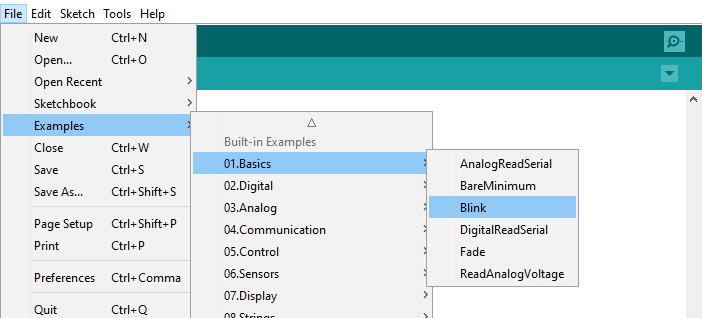
Insert the complete code on the Blink sketch. Next, you need to click on the verify button that’s located in the top left of the IDE box. This will compile the sketch and look for any errors in the code. Once it says “Done Compiling” you are ready to upload it. Click the upload button to send the program to the Arduino board. This is your final outcome of the project.

Such various projects can be developed using IoT Devices. For that IoT Training will help you to evolve your own ideas.
Schematics, diagrams and documents
Code
Credits
Related products


Leave your feedback...