

Arduino Based Security System

Made by br_abishek / Security
About the project
Do you want to build an easy security system? Well this is the perfect tutorial for you!
Project info
Difficulty: Easy
Platforms: Arduino
Estimated time: 1 hour
License: GNU General Public License, version 3 or later (GPL3+)
Items used in this project
Hardware components


View all

Story
Introduction
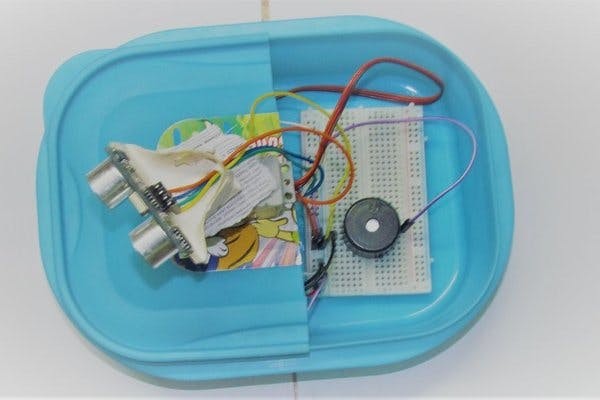 LAYOUT
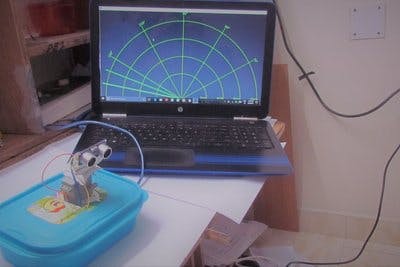 DISPLAY
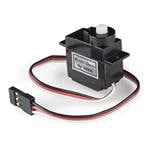
This project is a Arduino Based Security System consisting of a Arduino Uno, a servo motor, a ultrasonic sensor and a piezoelectric buzzer.
Here, the ultrasonic sensor senses an object that is within its range, which activates the buzzer. This sensor data is also fed into a Processing IDE software, which creates a graphical map.
The servo motor is used to rotate the ultrasonic sensor so as to cover a large area.
This is a pretty simple project and can be done within an hour.
Here is the procedure for the project -
- Connect the Trigger Pin of the Sensor to Pin 2 of the Arduino
- Connect the Echo Pin of the Sensor to Pin 3 of the Arduino
- Connect Vcc and GND of the Sensor Supply and Ground respectively
- Place the buzzer on the breadboard
- Connect its Positive End to Pin 10 of the Arduino and connect the Negative End to ground
- Attach the black and red wire of the servo motor to ground and supply respectively
- Attach the yellow wire of the servo motor to Pin 9 of the Arduino
- Connect 5V terminal of the Arduino to supply and GND terminal of the Arduino to ground
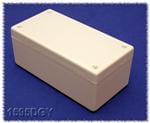
After Finishing these connections, place the entire circuit inside the box as shown in the figure.
Then it's time to code.
Schematics, diagrams and documents
Code
Credits
br_abishek
I am a Electrical and Electronics Engineer from SRM Institute of Science and Technology. I just love hacking and making a bunch of cool stuff and open sourcing them to you the viewers.
Related products


Leave your feedback...