

A Tapuino In A Commodore Cassette Deck

Made by RetroAndGaming / Games & Gaming / Retro Tech
About the project
A tapuino build inside an original commodore cassette deck. And getting the counter mechanism working as well.
Project info
Items used in this project
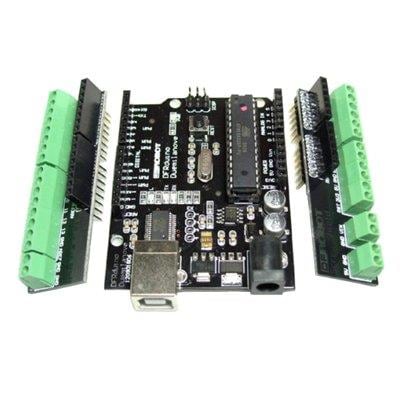
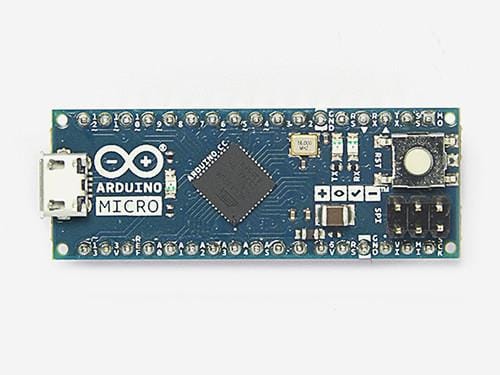
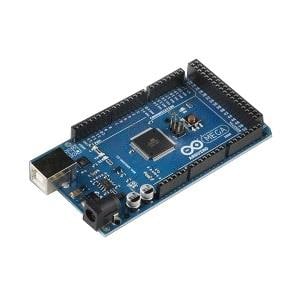
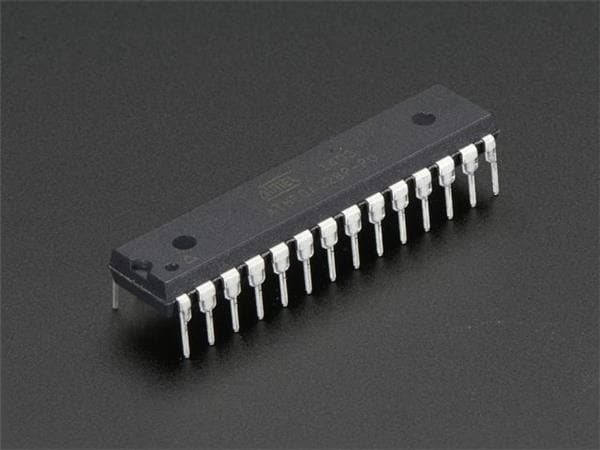
Hardware components

Story
I wanted to breath new life into my old and broken Commodore Cassette Deck. However, I do have plenty of childhood traumas involving Azimuth head alignment so that is to be avoided at all cost. We will go fully digital. But why? The loading experience of many games back in the day included nice music and good graphics. Some even included small games you could play while the tape loaded. If you didn't have a floppy drive back in the day, and only used cassette, the loading experience is just as nostalgic in many cases as the games themselves. So? What do we do? We fit an Tapuino inside the shell of an original Commodore 1530 Cassette Deck and toss in an additional voltage regulator, a raspberry pi and a stepper motor so that we also can marvel at a working counter mechanism. Navigating the Tapuino is done by pressing the original tangents or buttons (play, back, forward, stop) on the unit itself.

Details
I have created a project video series (two parts) on YouTube that details the work and gives a good overview. "If a picture is worth a thousand words, then a video is worth a million."
Project Overview:
The idea of the project is to re-use an original Commodore 1530 cassette deck. It does not have to be functional however it should be fairly complete and not already gutted. It doesn't hurt if it also looks nice.
Then we will use some beautiful PCB's created by Tor-Eirik Bakke Lunde
https://www.pcbway.com/project/shareproject/C64_PlayOnTape_7281e4c0.html
Which are based off of the even more beautiful Tapuino project by Peter Edwards:
https://hackaday.io/project/1985-tapuino-the-20-c64-tape-emulator
To wet the readers appetite let's look at some pictures of the final result while we discuss the details.
What we're building - The End Goal
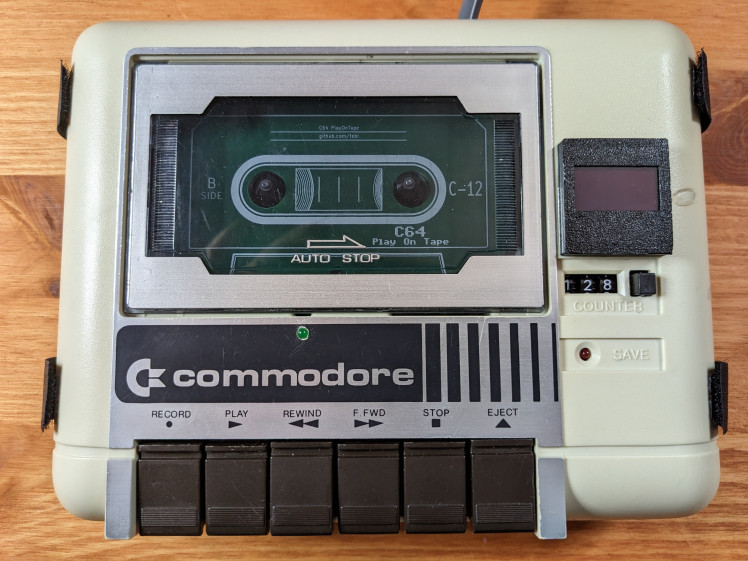
A tapuino inside the Commodore 1530 with working Play, Rewind, Forward and Stop buttons to control it. A display showing you what's going on during navigation and loading AND a working counter mechanism.
Note: The observant reader will see that the counter has stopped at 128 obviously because the C128 is the best computer ever made.
Let's pop the hood next and look at the innards.
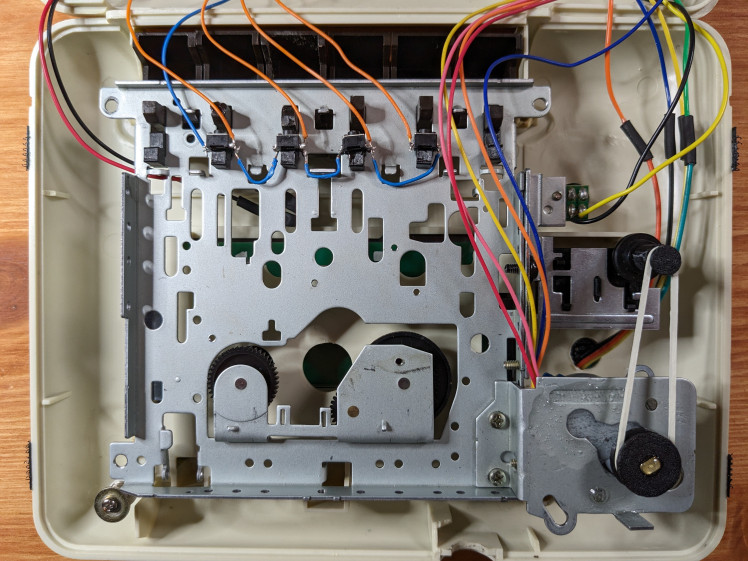
Inside the unit - Innards
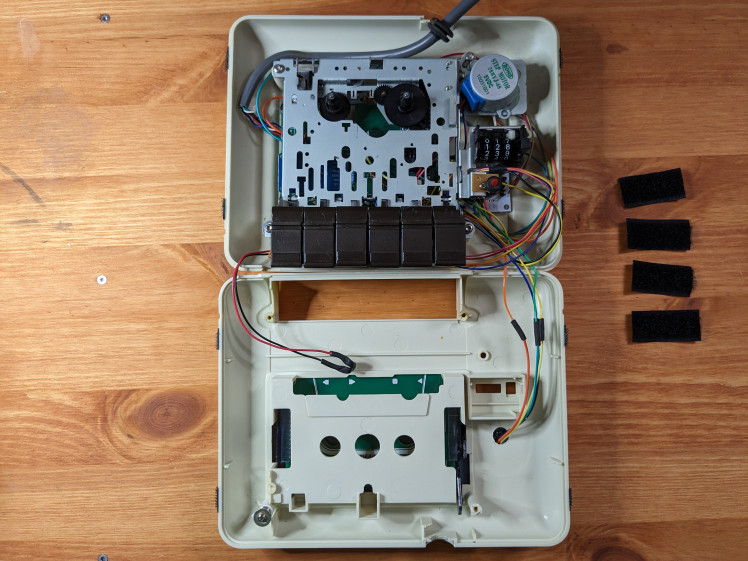
While building the unit I ensured that all wires going from one part of the case to the next was just long enough so that I could easily open it up later and put the pieces side by side as pictured above. This makes it easier to work on the unit and also easier to service it later. The bottom part is the front of the case. It holds the screen and a green led (indicating when the unit is on). The green led is fitted inside the azimuth head alignment hole as it was a perfect fit.
From inside the original unit I have removed a lot of stuff to ensure that I can get room for everything that is going in. Be sure to keep the following though:
- The keys/tangents (Record, play, forward, ...)
- The mounting plate for the motor (the motor itself I had to exchange with a stepper motor to get correct speed and enough force to drive the belt)
- The Record light - I kept the original one as it worked.
- Counter mechanism
- The take-up wheels that holds the cassette in place (not strictly needed but looks good and will hold any cassette you want to display in the unit in place).
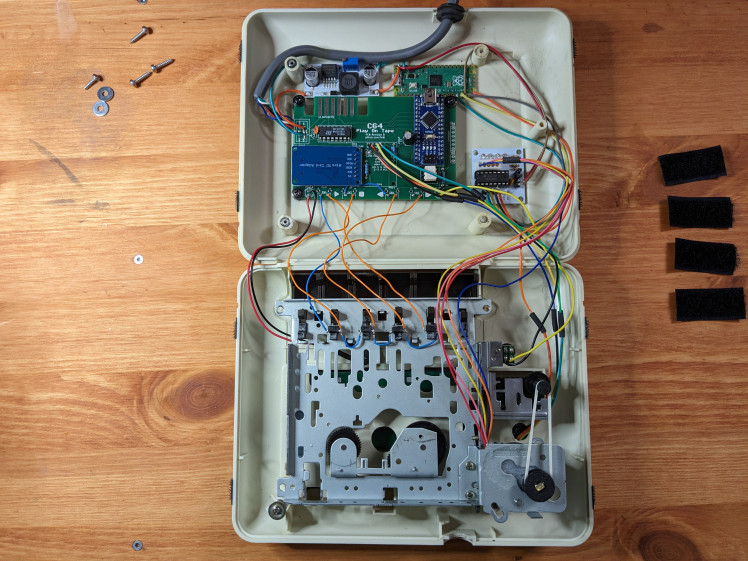
Digging even deeper inside the unit we now see the brains of the operation.
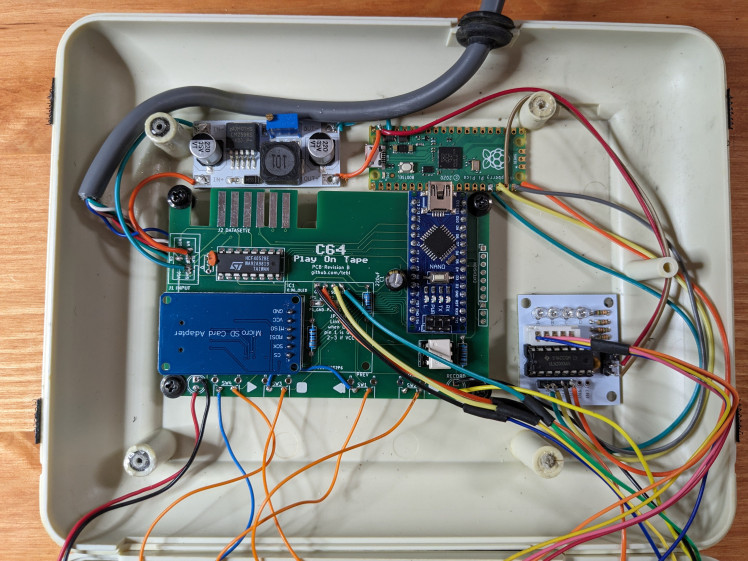
Inside the back part of the case the Tapuino PCB is fitted (C64 Play On Tape). Just above it to the left is the voltage regulator. This one is hooked up to the ground and mtr (motor) pin of the Tapuino so that it gets 6+ volts whenever the motor should run. The voltage regulator tunes this down to 5 volts before powering the Raspberry Pi Pico through pin 39 (vsys). The Raspberry Pi Pico is then again hooked up to a controller board for the stepper motor. All buttons (play, back, forward and stop) are also wired up. As is the screen.
Inside the top case we see the bottom of the stepper motor (epoxied in place) which has a new 3D printed pully attached to it. The drive belt goes from the motor to the counter mechanism which also has a new 3D printed pully attached/glued to it (see below for all 3D printed parts).
Next we will zoom in on the switch brackets that makes the original buttons on the commodore 1530 work.

Brackets for the switches where constructed and 3D printed. The Eject and Record button is not used to navigate the Tapuino (it only needs Play, Forward, Backwards and Stop). To the left we here see the Eject button and this is just as a place holder bracket installed to keep the Eject button/tangent of the original unit in the correct position (otherwise it would sag down). The button next to it however is the Play button and this one is wired up.
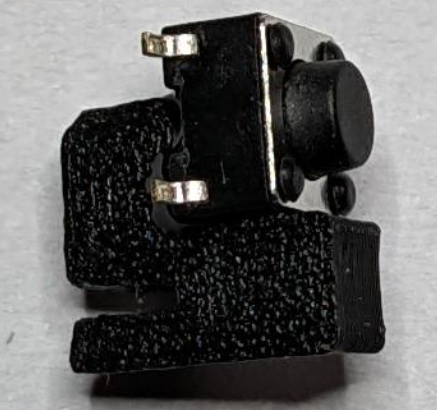
You can see that I have fitted a switch (glued) on this bracket and that when the original button/tangent on the unit is pressed it will in turn press this switch. The switch itself is then wired to the Tapuino PCB.
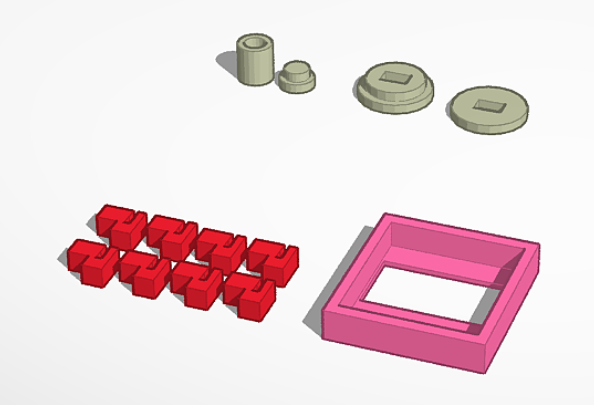
3D printed parts:
The project involves a few 3D printed parts:
- Upper left corner - The two parts needed to construct the pully that is mounted on the underside of the counter mechanism
- Upper right corner - The two parts neeed to construct the pully that is mounted on the stepper motor.
- Bottom left corner - 8 (only need 6 but) brackets used to hold the switches and two as place holders.
- Bottom right - The screen housing
https://www.tinkercad.com/things/liwzTs700uj-c64-cassette-deck-conversion-tapuino
As I do like to print my own standoffs for tinkering projects I have also made these available:
https://www.tinkercad.com/things/8tc2ofgOdF9-6mm-m3-standoff
BUT BUT BUT - I need more information to build this?
Well, yeah. But that information is already made available by Tor-Eirik Bakke Lunde as part of his nice writeup on how to use his PCB's and thus I will not re-iterate that here. Have a look at: https://github.com/tebl/C64-PlayOnTape
Also, to make the stepper motor tick please follow this tutorial:
https://electrocredible.com/raspberry-pi-pico-stepper-control-uln2003-micropython/
And finally the videos at the top also contains the full build (at warp speed) and is likely to touch upon pieces of information that is not written down here.
If you like this project please feel free to make your own and do feel free to share your creations in the comments. Remember: There is no "correct way" to do this, this is just what I ended up doing.
Tinker away!
Credits
RetroAndGaming
I like to tinker and code. If you want to view other projects head over to my YouTube channel: https://www.youtube.com/@retroandgaming
Related products


Leave your feedback...