
A Maze Capable Of Cheat Detection

Made by henry-marshall / Games & Gaming
About the project
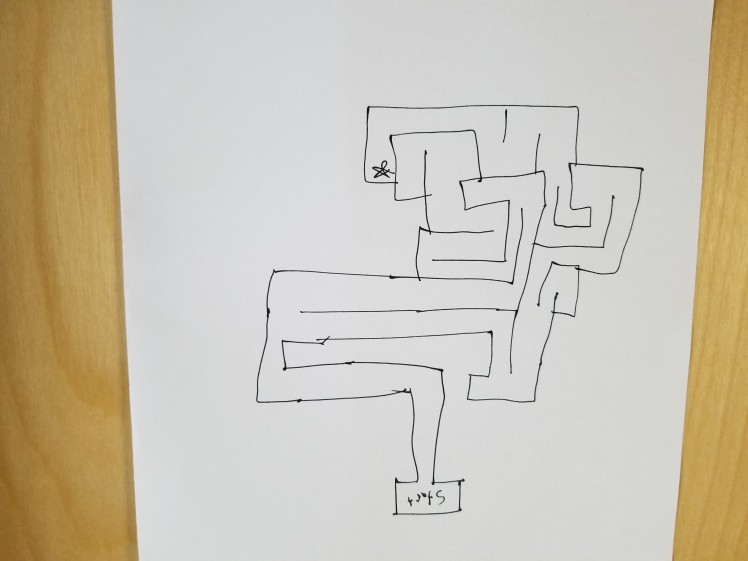
The idea of the maze is that it has an electric charge being propagated throughout it, so that when the stylus is in contact, the circuit is completed. When wired to an Arduino, it can detect this, and when the circuit is broken, it knows whoever is using the maze has attempted to cheat.
Project info
Difficulty: Easy
Platforms: Arduino
Estimated time: 3 hours
License: GNU General Public License, version 3 or later (GPL3+)
Items used in this project
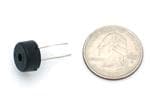
Hardware components


Story
Mazes!
Who hasn't cheated during the frustrating portions of one?
With such mental challenges, the entire reward is knowing that you solved it, that you conquered it. To ensure that this feeling is felt more by people, cheat detection systems can be implemented. In the world of computers, we often see anti-cheats in many versions of online multiplayer for video games. However, in real life these fail-safes are much less common, very often nonexistent.
This was part of my thought process when I designed this maze. The other half was a special folding maze concept that I had, but that part is optional and will be listed later on.
Part 1: Mazemaking
The first part of the project is actually relatively far removed from the world of electronics. The first step is to sit down, and make a maze. Pencil and paper. This is the phase where you add whatever gimmicks you want to add, such as the folding maze, or, if you are feeling particularly vanilla, none (no shame here).
After you ensure that your maze is both challenging, not stupid (I cannot emphasize that one enough), and coherent, the next step can begin. Carefully overlay sections of foil onto each path of your maze. To ensure proper conduction, never cover the foil entirely in tape, and ensure sections of foil all overlap by around a 1/4 inches margin. This part is the most tedious part, and, depending on your maze, will take around 1 hour.
NOTE: Sections of your maze cannot touch each other if you want the foil to work at all.
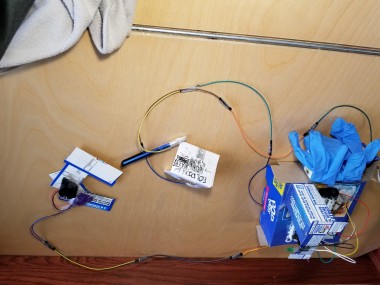
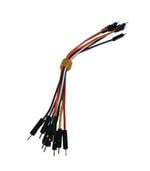
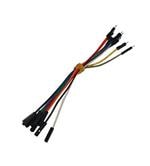
Finally, using wire cutters, open up one end of a jumper cable with the remaining end being male, and tape the exposed wire onto another piece of foil. Affix this to somewhere in your maze. This is the power.
Part 2: Wires, and tests
Now that you've made your own electrical component, attach the maze and a power source to an Arduino through a breadboard, and upload the tester program to the Arduino. Plug in a Male to Male jumper for the stylus input of the Arduino, open the serial monitor, and observe. Depending on your power source, foil type, length of maze, and pressure upon maze surface, you will get different number when the stylus is on the maze versus not on the maze. Record these, as you will need them later.
Then, wire up your other power source (if you have one), buzzer, and led so that are prepared to be mounted to the Arduino.
Part 3: Construction
Upload the second, final program to your Arduino, and modify the threshold value to reflect what you got in your test, and alter the wire inputs and outputs to reflect where your various devices are actually plugged in at.
Then, construct a stylus better than a jumper cable to use on the maze.
Finally, mount things! Having a bunch of wires mounter onto a pop-tarts box might look stupid, but will tell you, it is one heck of a lot more durable than loose hanging wires are!
Folding mazes:
How do these work?
The concept behind a folding maze, should you choose to make one, is that you start with a standard piece of paper, folded up into 16ths, and there is a maze on it. To solve this, you loop over edges, going onto the backside of the maze. However, the twist is that there are special swirl symbols. Every time you collect a new swirl, you get to unfold the paper one time. This has a sort of reality-bending effect that I think is quite cool.
Note: If you make one of these, make sure to test it many times to ensure it is possible, and ensure that there is no time throughout the solving that you are on a portion of foil that is disconnected from the power source.
For more context on what solving one of these is like, check out my video on it, and my channel:
video: https://www.youtube.com/watch?v=Ln1KHADd6Sw
channel: https://www.youtube.com/channel/UCguJ2lEdSFFd3A4KyWNl2Iw
Code
Credits
henry-marshall
I build dumb things, and sometimes cool things. Also, I make games, which sometimes are incorporated into the previously mentioned dumb things.
Related products


Leave your feedback...