

Volumio With Built-in Google Assistant

Made by electrouser313 / Artificial intelligence / Music / Voice
About the project
Google Asssistant SDK natively lacks music streaming and playback abilities. The Volumio on the other hand lacks smartness. By combining Volumio and Google Assistant SDK, we can have our own version of a smart speaker as close as it can be to a real Google Home.
Project info
Difficulty: Easy
Platforms: Google, Raspberry Pi, Python
Estimated time: 1 hour
License: GNU General Public License, version 3 or later (GPL3+)
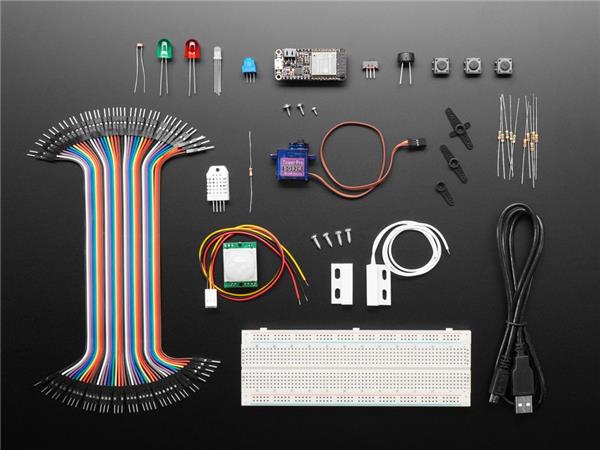
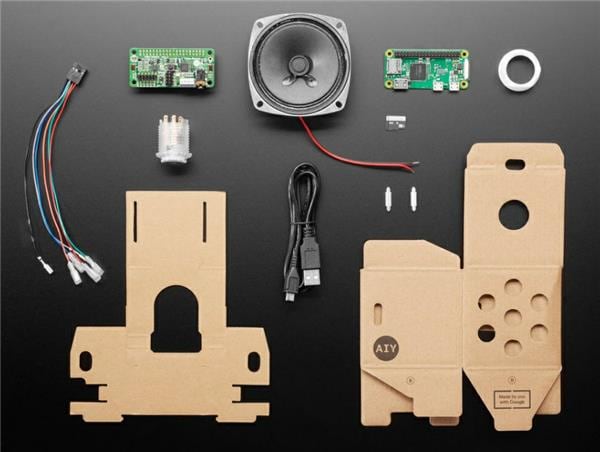
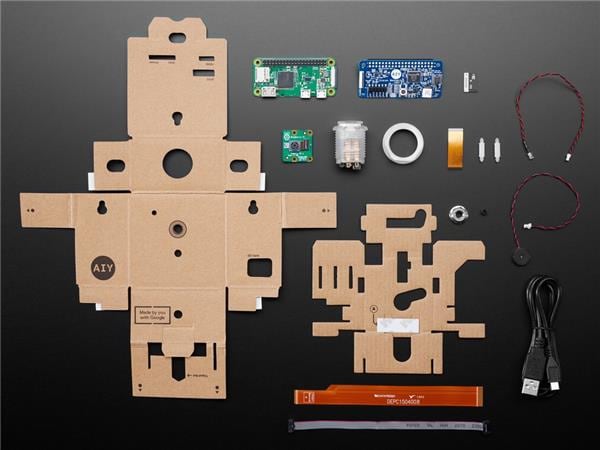
Items used in this project


Story
With constant developments, the project will evolve. At any point, the README document of the project will be up-to-date so I suggest you to keep an eye on the README to look out for changes in the instructions.
Step 1: Setup Volumio First
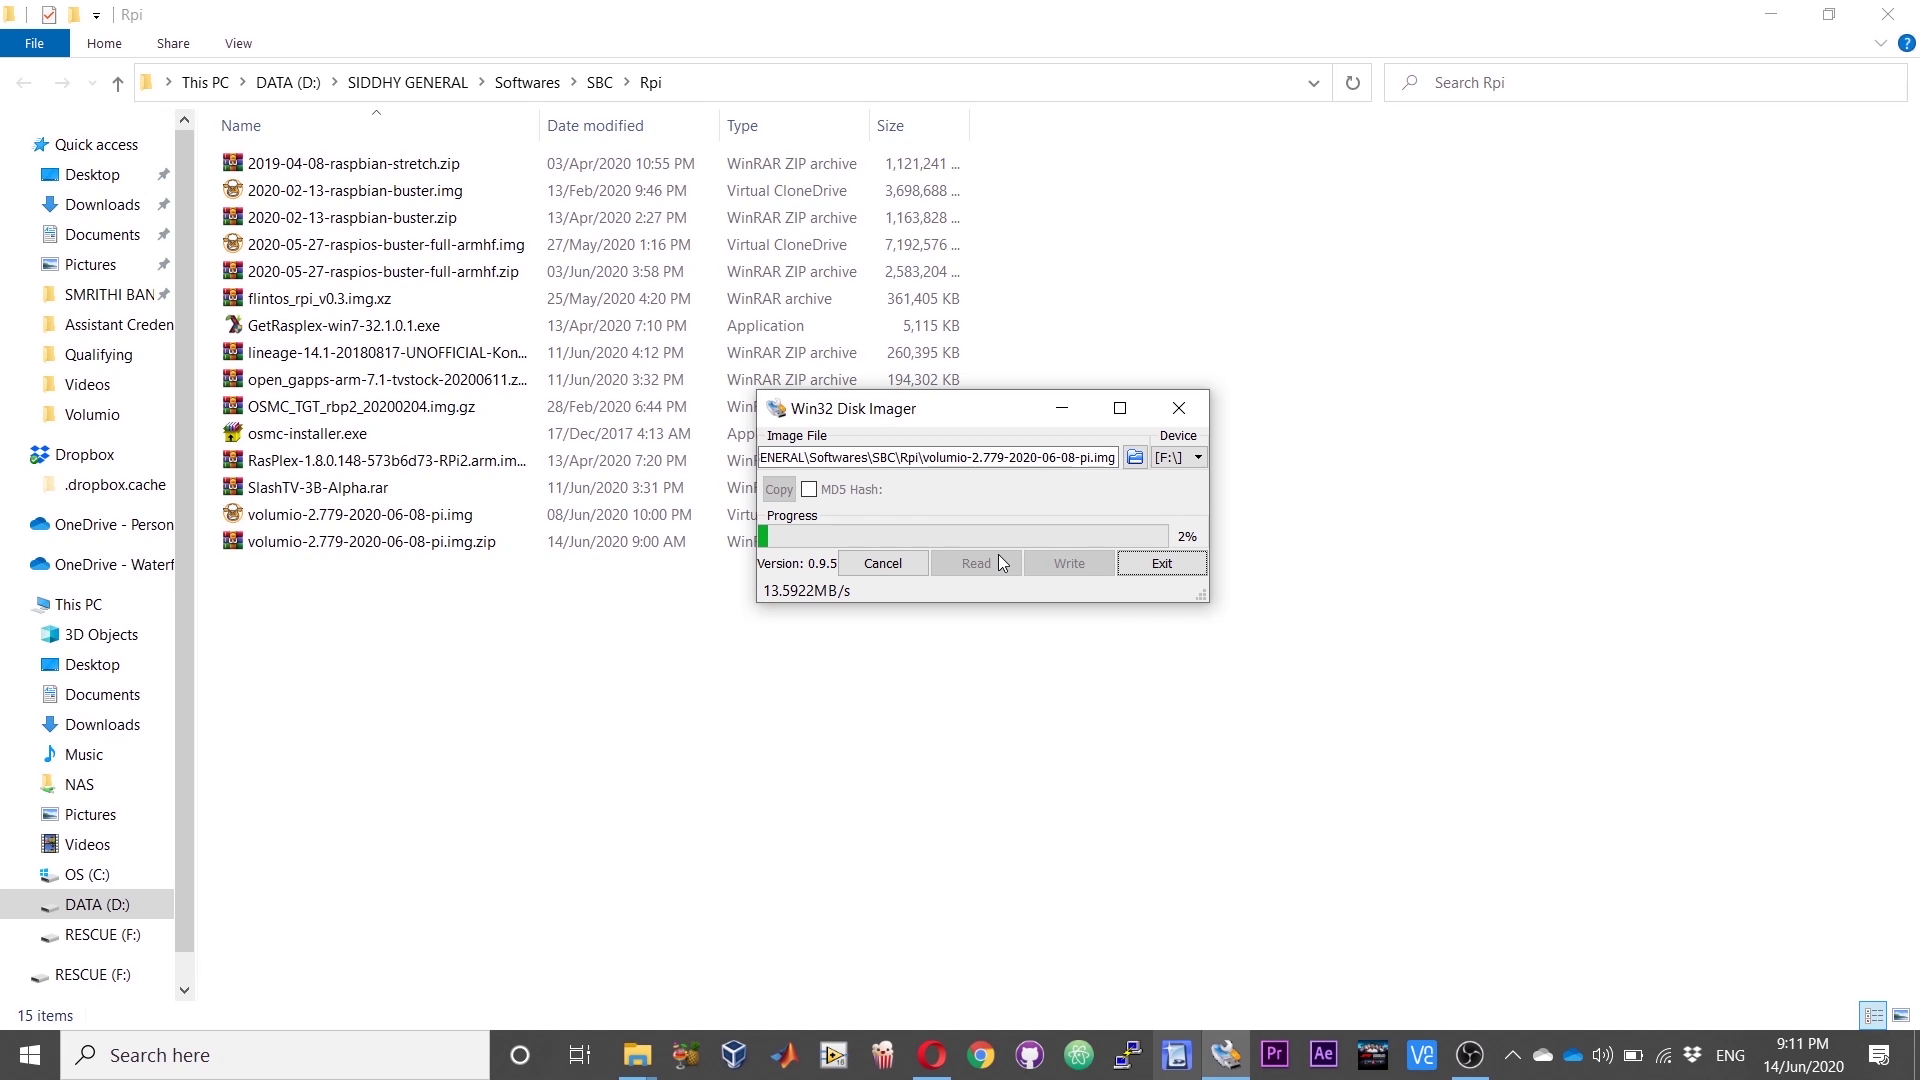


Download the Volumio image from here. Burn it onto an SD card using a software like Etcher or Win32DiskImager and boot the Pi. At first boot, the Volumio will create an access point. Connect to the access point and configure your Volumio speaker.
Step 2: Enable SSH
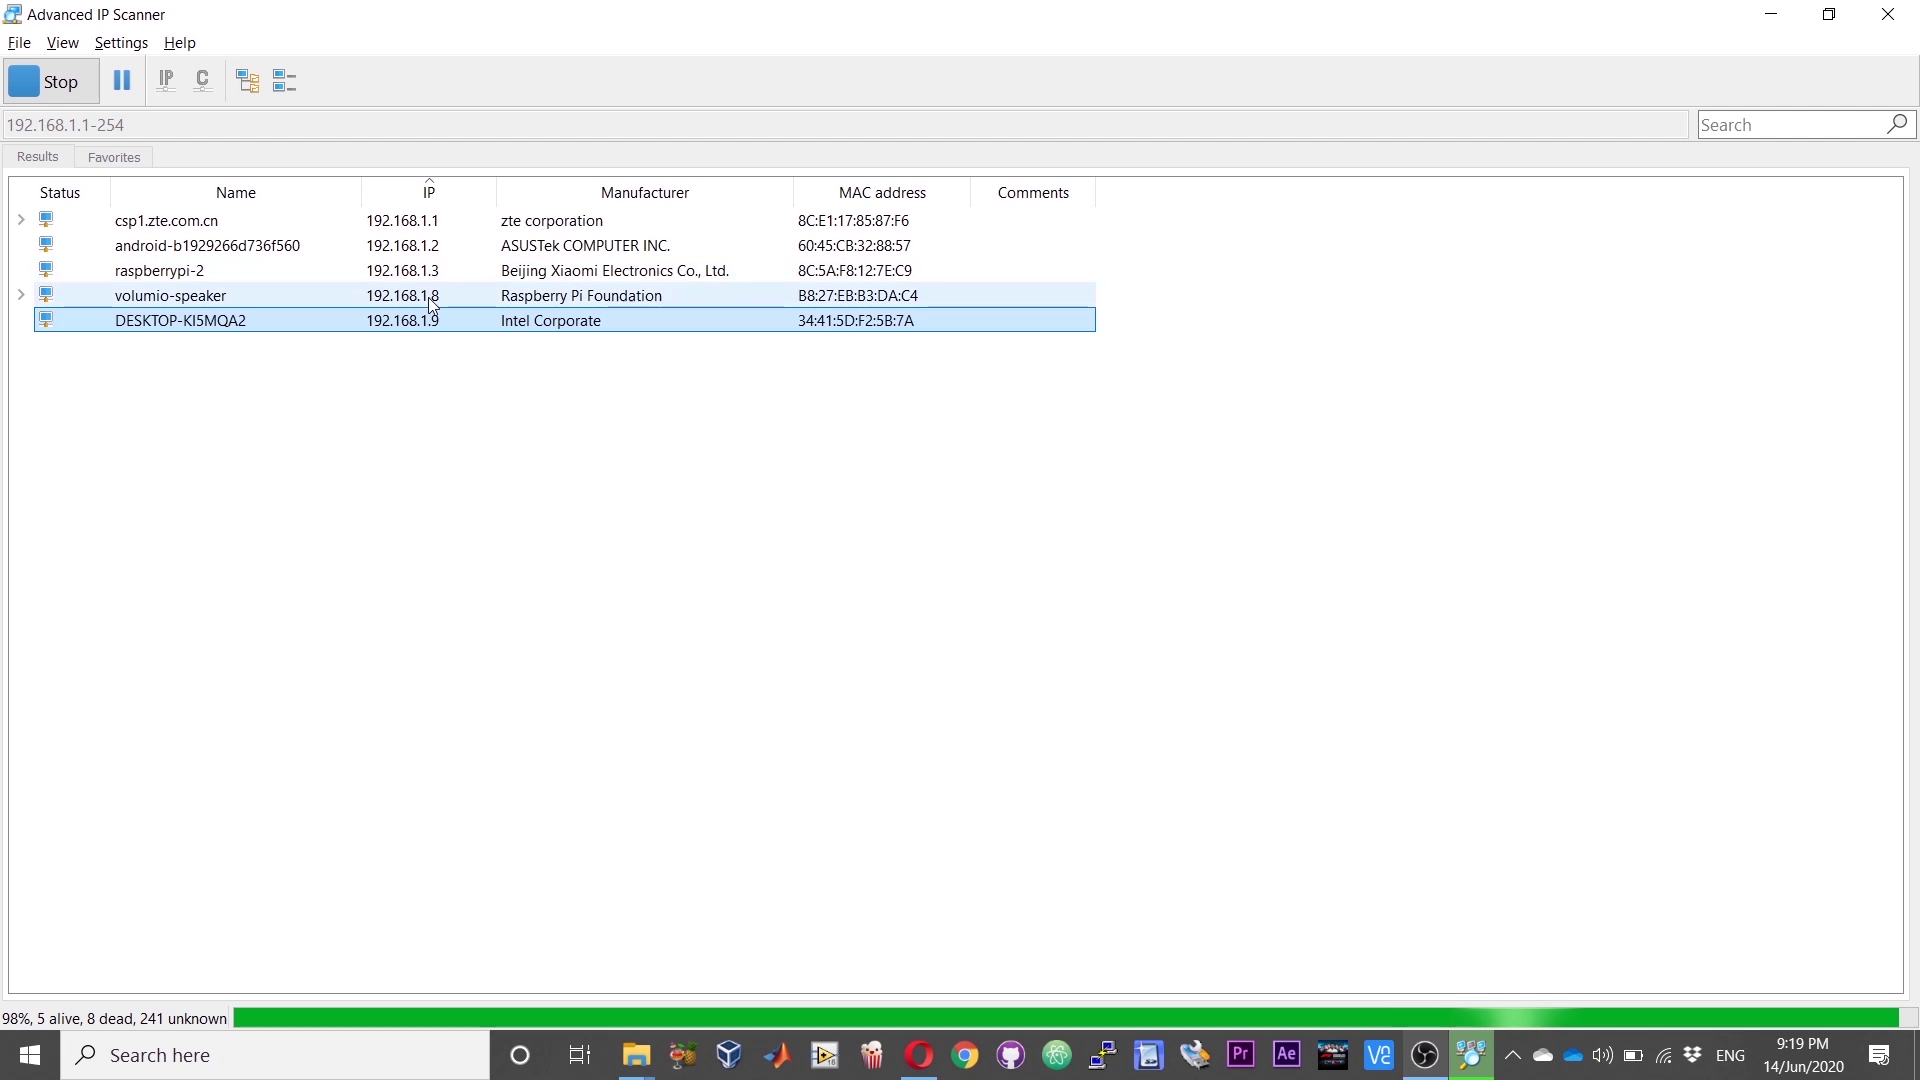

1. First get the IP address of your speaker using an IP Scanner software.
2. Access the Volumio's developer options using:
<a href="http://IP_ADDRESS_OF_VOLUMIO/dev" rel="nofollow">http://IP_ADDRESS_OF_VOLUMIO/dev</a>
3. Click on Enable under SSH option to enable SSH.
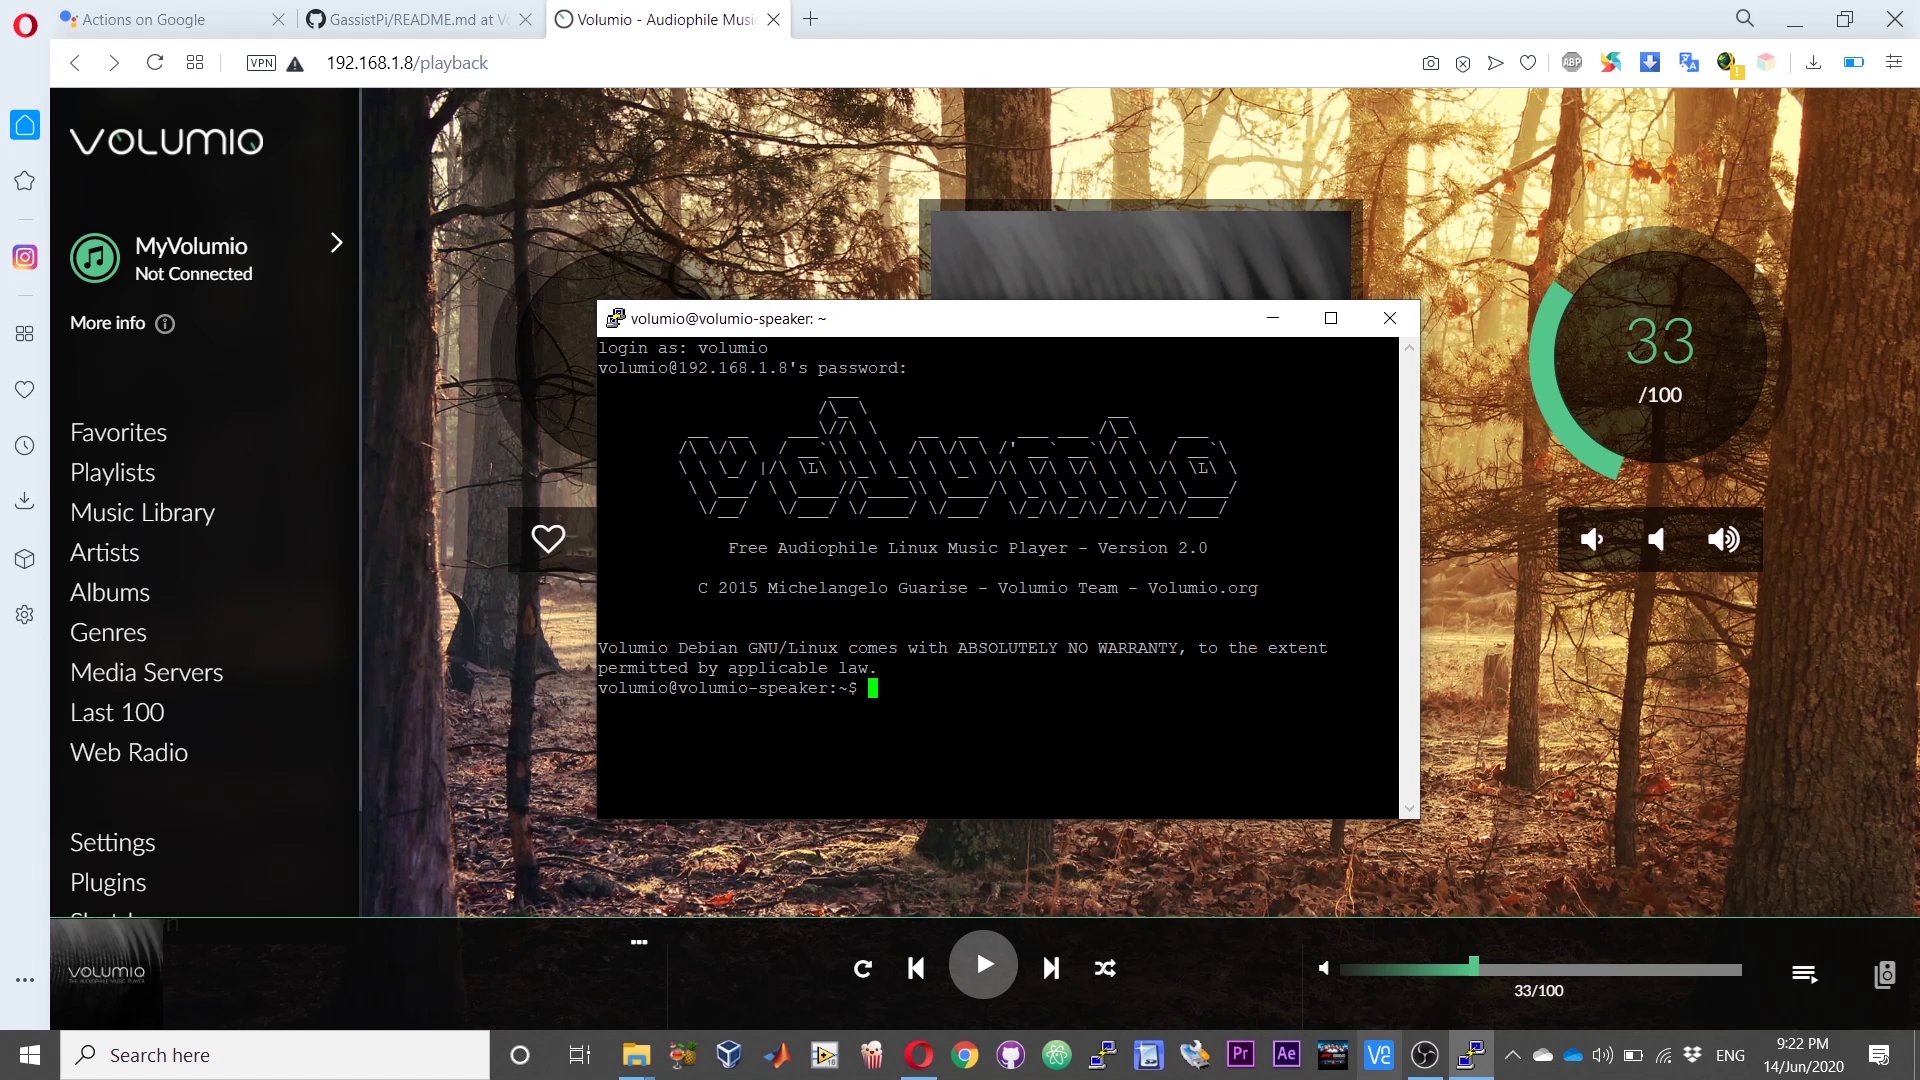
4. Now you can access your speaker via SSH using a software like Putty
Step 3: Adding Raspbian Sources

By default, the Volumio image comes with only the Volumio package source. To install other packages, we need the default Raspbian or Raspberry Pi OS source added to the sources list.
1. Open the sources list using:
sudo nano /etc/apt/sources.list
2. Add the following lines to the list.
deb <a href="http://mirrordirector.raspbian.org/raspbian/" rel="nofollow"> http://mirrordirector.raspbian.org/raspbian/ </a> stretch main contrib non-free rpi firmware<br>deb <a href="http://archive.raspberrypi.org/debian/" rel="nofollow"> http://archive.raspberrypi.org/debian/ </a> stretch main ui
3. Run the update command to update the sources list.
sudo apt-get update
Step 4: Configure Volumio Audio
1. Set your default output device as shown below
If you are using a USB DAC or I2S DAC, follow the instructions below, else skip.
2. Set the mixer type to Software as shown below.
3. Edit the Volumio configuration. Open the Configuration file using:
sudo nano /etc/mpd.conf
4. Under audio_option change device to "plug:mixer"
Step 5: Clone the Project

Execute the following commands one after another to clone the project
sudo apt-get install git sudo apt-get install alsa-utils
git clone https://github.com/shivasiddharth/GassistPi -b Volumio
Step 6: Installing Audio Configuration Files

1. Install the audio configuration according to your setup.
USB DAC or USB Sound CARD users,
sudo chmod +x ./GassistPi/audio-drivers/USB-DAC/scripts/install-usb-dac.sh sudo ./GassistPi/audio-drivers/USB-DAC/scripts/install-usb-dac.sh
USB MIC AND HDMI users,
sudo chmod +x ./GassistPi/audio-drivers/USB-MIC-HDMI/scripts/configure.sh sudo ./GassistPi/audio-drivers/USB-MIC-HDMI/scripts/configure.sh sudo reboot cd /home/${USER}/ sudo chmod +x ./GassistPi/audio-drivers/USB-MIC-HDMI/scripts/install-usb-mic-hdmi.sh sudo ./GassistPi/audio-drivers/USB-MIC-HDMI/scripts/install-usb-mic-hdmi.sh USB MIC AND AUDIO JACK users,
sudo chmod +x ./GassistPi/audio-drivers/USB-MIC-JACK/scripts/usb-mic-onboard-jack.sh sudo ./GassistPi/audio-drivers/USB-MIC-JACK/scripts/usb-mic-onboard-jack.sh
Note: Any other I2S DAC users, choose USB DAC Option
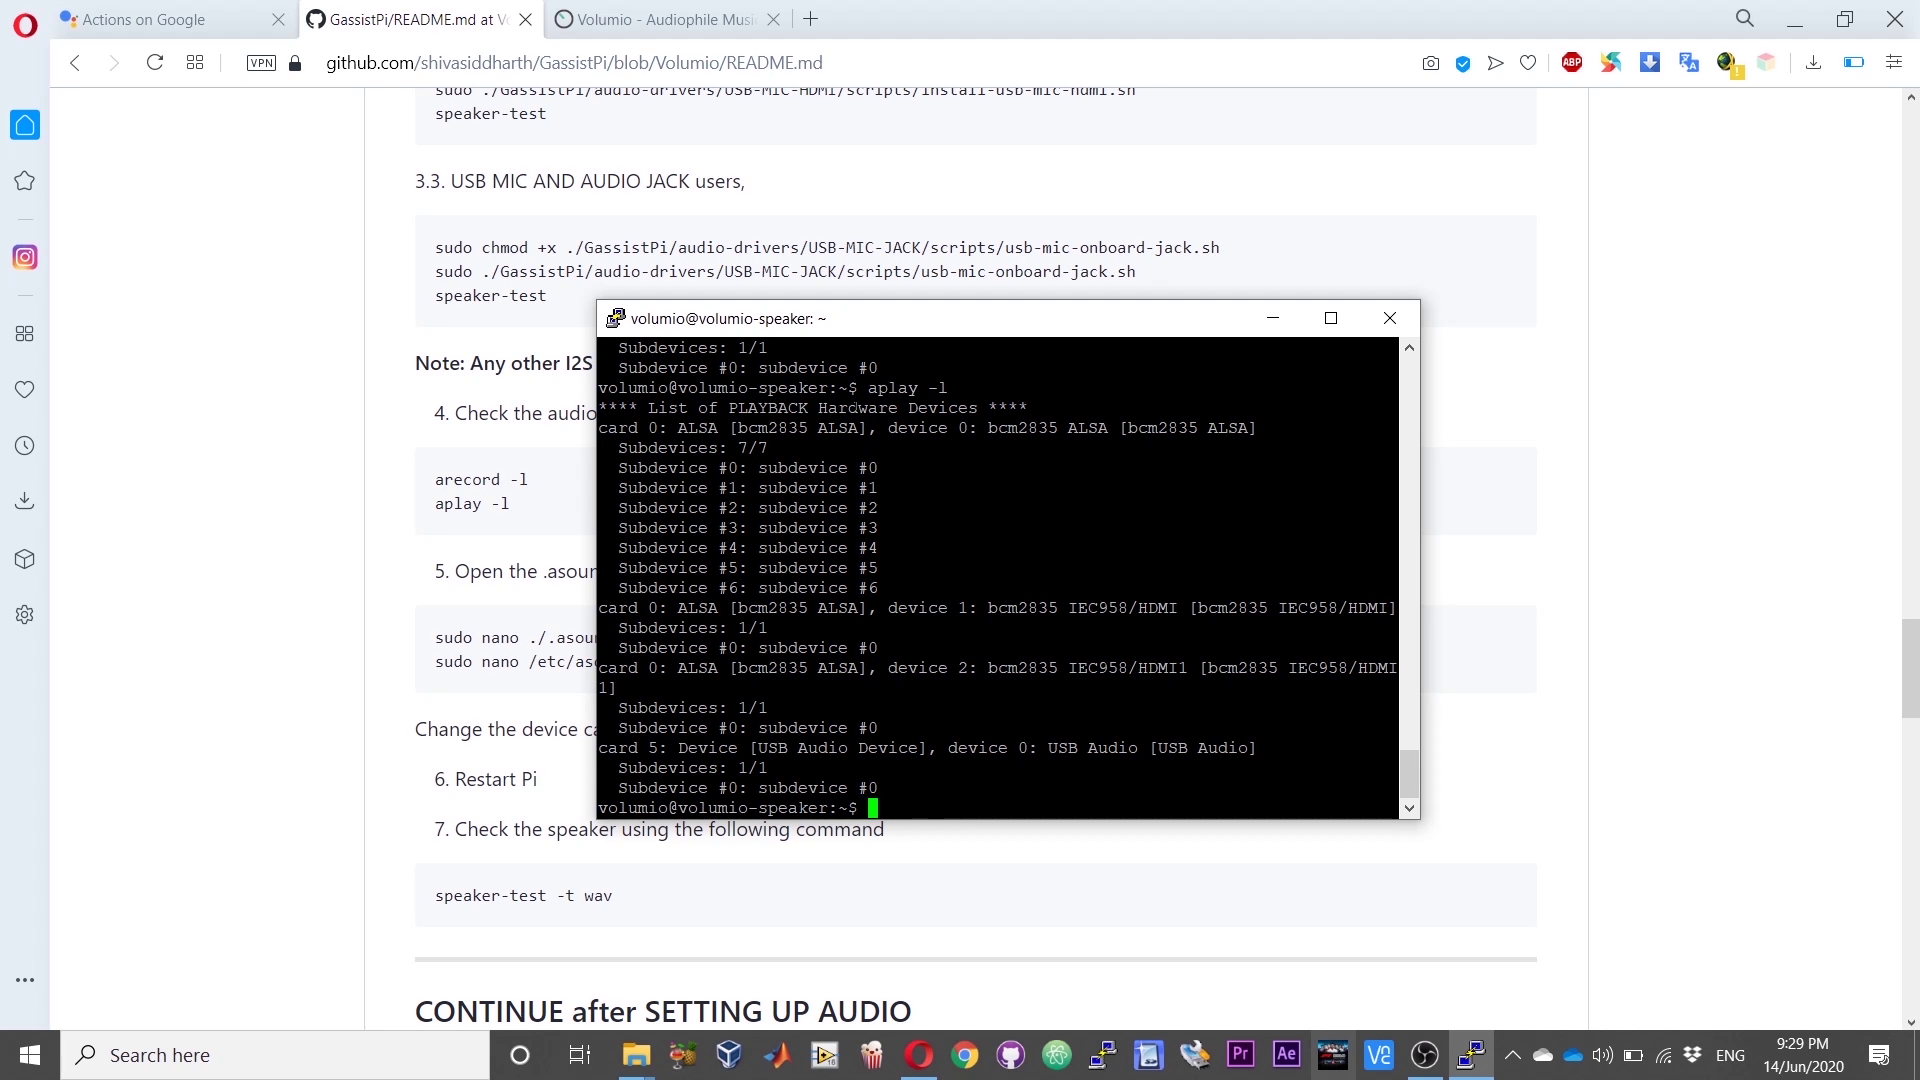
2. Check your audio device ids using:
arecord -l aplay -l
3. Open the .asoundrc and asound.conf files one by one using:
sudo nano ./.asoundrc sudo nano /etc/asound.conf
4. Change the device card numbers in the files depending upon the numbers that you got.
5. Save and reboot your speaker.
6. Check speaker using:
speaker-test -t wav
Step 7: Installing Google Assistant

1. Follow the instructions here to Configure a Developer Project and Account Settings. Then follow this guide to register the device and obtain the credentials file.
2. Download the credentials and place it in the /home/volumio/ directory without renaming.
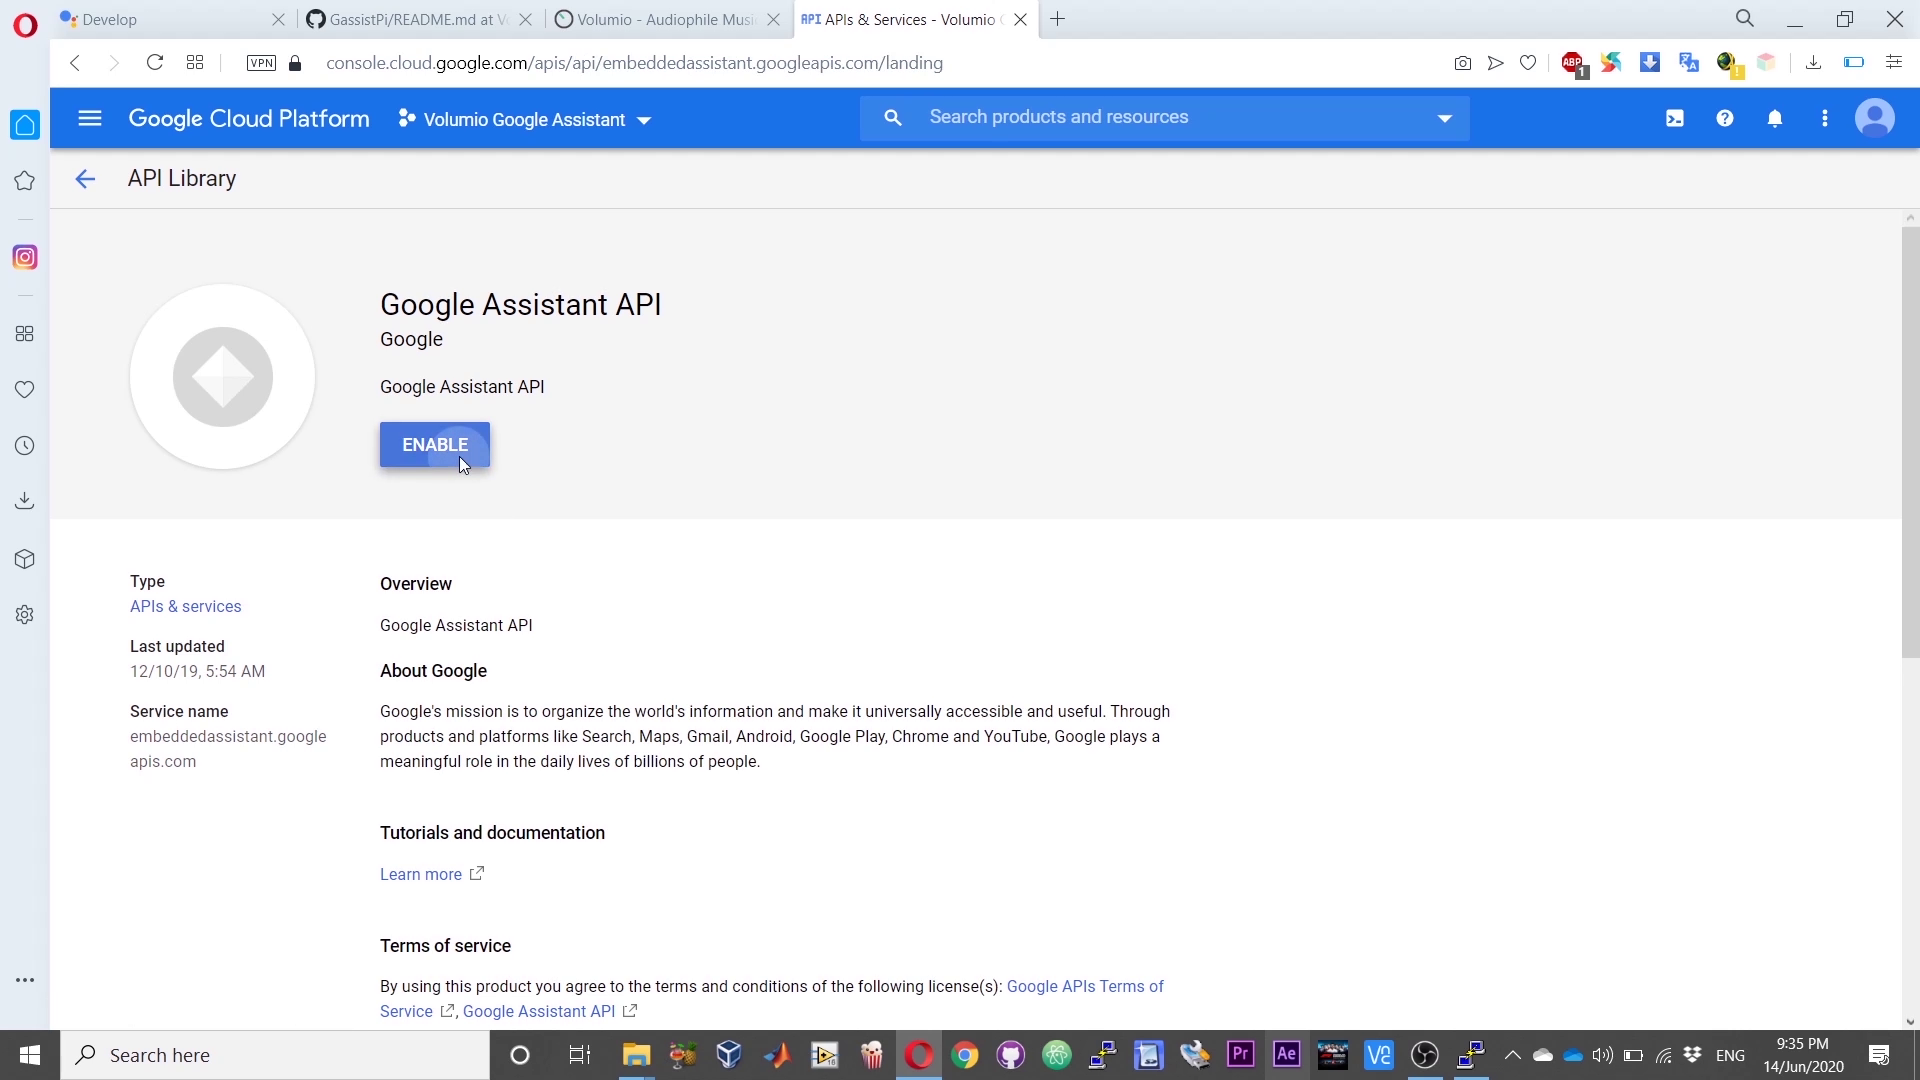
3. Head over to https://console.cloud.google.com login using your Google credentials and from the drop down select your project.
4. Open https://console.cloud.google.com/apis/library and in the search bar, serach for "Google Assistant" API, select and enable it.
5. Click on the OAuth consent screen, under support email drop down, select your email and choose to save.
6. Make the Google Assistant installer executable using:
sudo chmod +x ./GassistPi/scripts/gassist-installer.sh
7. Execute the installer using the following command. When Prompted, enter your Google Cloud console Project-Id, A name for your Assistant and the Full Name of your credentials file, including the json extension:
sudo ./GassistPi/scripts/gassist-installer.sh
8. Copy the google assistant authentication link from terminal and authorize using your google account.
9. Copy the authorization code from browser onto the terminal and press enter.
10. After successful authentication, the Google Assistant installation will finish.
Step 8: Set Google Assistant to Auto Start on Boot
1. Open the service files in the /GassistPi/systemd/ directory and verify your project and model ids and save the file.
2. Change directory cd /home/${USER}
3. Make the service installer executable suing:
sudo chmod +x ./GassistPi/scripts/service-installer.sh
4. Run the service installer using:
sudo ./GassistPi/scripts/service-installer.sh
5. Enable the service using:
sudo systemctl enable gassistpi.service
6. Start the service using:
sudo systemctl start gassistpi.service
7. Restart and enjoy
Step 9: Manually Starting the Assistant
At any point of time, if you wish to manually start the assistant: Open a terminal and execute the following:
/home/${USER}/env/bin/python -u /home/${USER}/GassistPi/src/main.py --project_id 'replace this with the project id' --device_model_id 'replace this with the model id'Step 10: Disabling Auto Start on Boot
At any point of time, if you wish to stop the auto start of the assistant:
Open a terminal and execute the following:
sudo systemctl stop gassistpi.service sudo systemctl disable gassistpi.service
Step 11: Demo
How Sweet!!!!!!!!!
Code
Credits
Related products

Leave your feedback...