
Blank 3d Printed Raspberry Pi 400 Keycaps

Made by casey_works / 3D Printing
About the project
Are you a touch typist with a resin printer setup and a Raspberry PI 400 that you're willing to damage? Well then I've got the project for you! This short project represents a small step in a larger 'custom aftermarket scissor-hinge keycap' project I've been working on since September 2020.
Project info
Difficulty: Easy
Platforms: Raspberry Pi, Anycubic
Estimated time: 1 day
License: GNU General Public License, version 3 or later (GPL3+)
Items used in this project
Hardware components

Hand tools and fabrication machines
Story
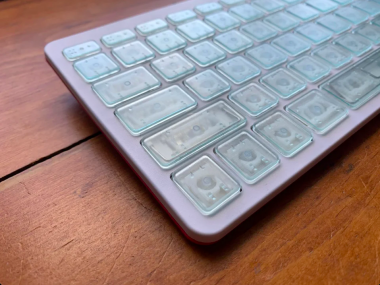
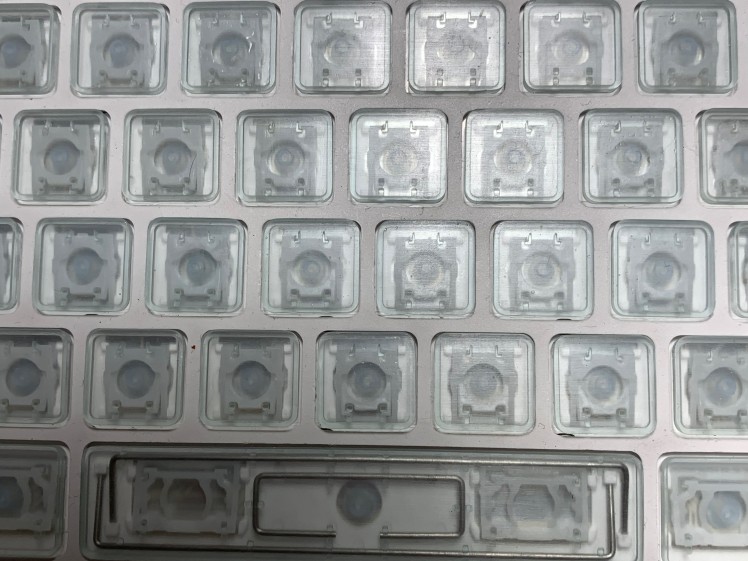
The end result of this small part of my bigger aftermarket keycap project is a Raspberry PI 400 with blank, flat keycaps in whatever colour resin you print them in. The 3D models are not all perfect yet and I'd only recommend trying the letter and number keys.
If you're interested in the bigger project you can stay up to date through Patreon; where content is released a month early, or YouTube. The next few steps in the project are all about painting & etching a complete prototype set, which involves a neat little CNC router and lasers.
HOW TO PRINT THE KEYCAPS
- Download 400_letter.stl (or you can buy all the prototype keys here for CAD$1)
- Slice the STL file with your preferred tool and load it to the USB drive. (my settings below)
- Setup your printer with Standard or ABS-like resin (or any mixture of the two)
- Load your print file to your printer & hit print
- Wash in ISO 99% for about 90s (stirred or agitated), then remove & dab dry
- Cure under UV lamp for 5m, then fully dry
SETTINGS
- Room/Resin Temp: ~20C
- Layer Height: 0.05mm
- Normal Exposure Time: 20s
- Bottom Exposure Time: 45s
- Bottom Layers: 14
- Best Resin Mix: 50% ABS-like & 50% Standard
- Z Lift Distance: 6mm
- Z Lift Speed: 3mm/s
- Z Retract Speed: 3mm/s
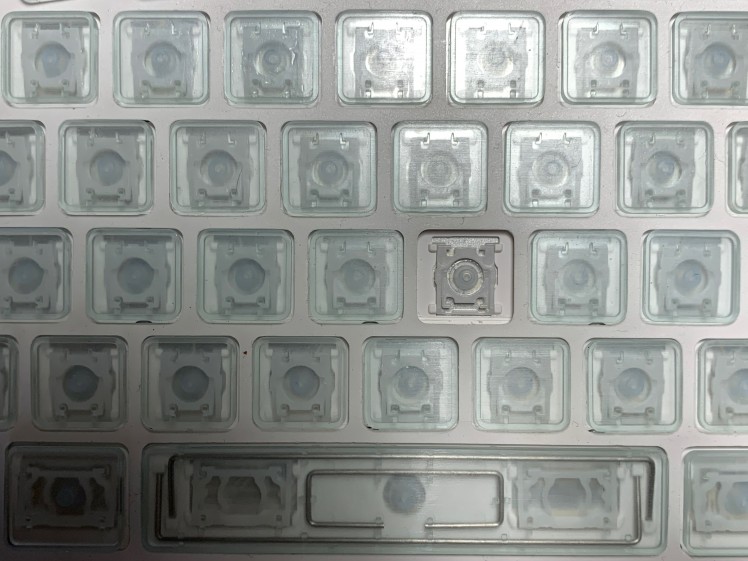
HOW TO REMOVE THE LETTER/NUMBER KEYS
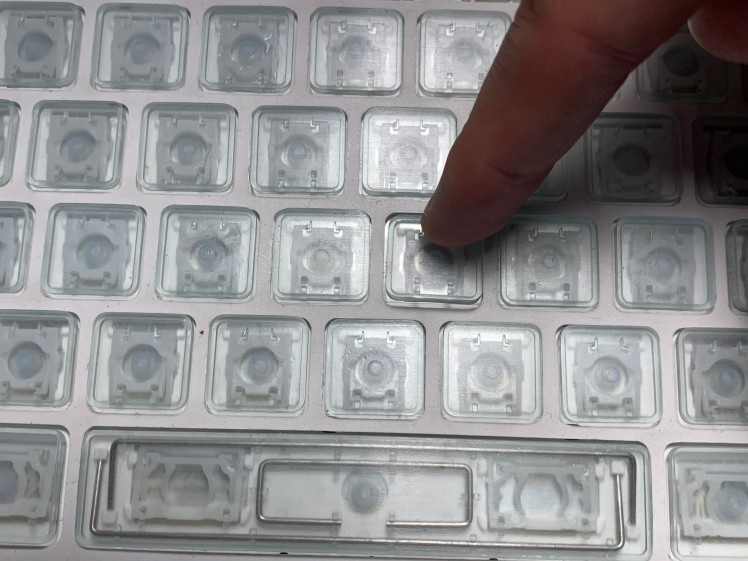
1. Find a thin but rigid tool (like a toothpick)
2. Wedge the toothpick under the side of the key but over the hinge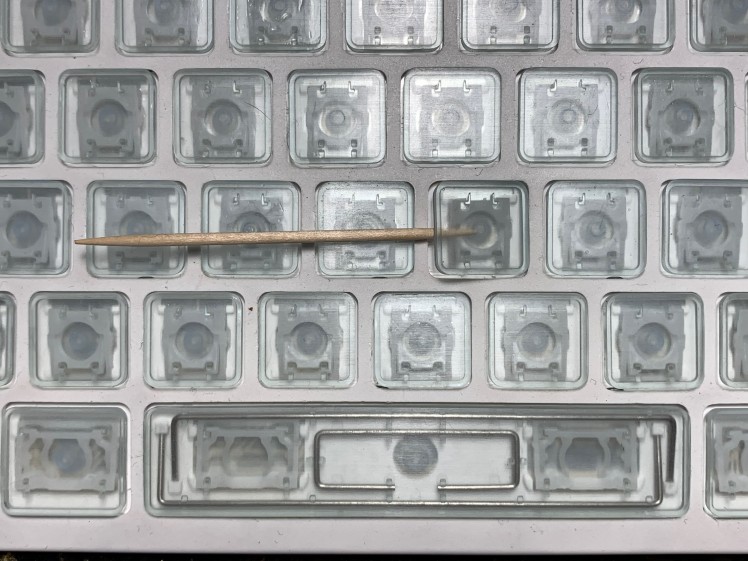
3. Pivot the toothpick to force the two bottom clips to release (sometimes it helps to gently push down on the upper part of the key with your finger)
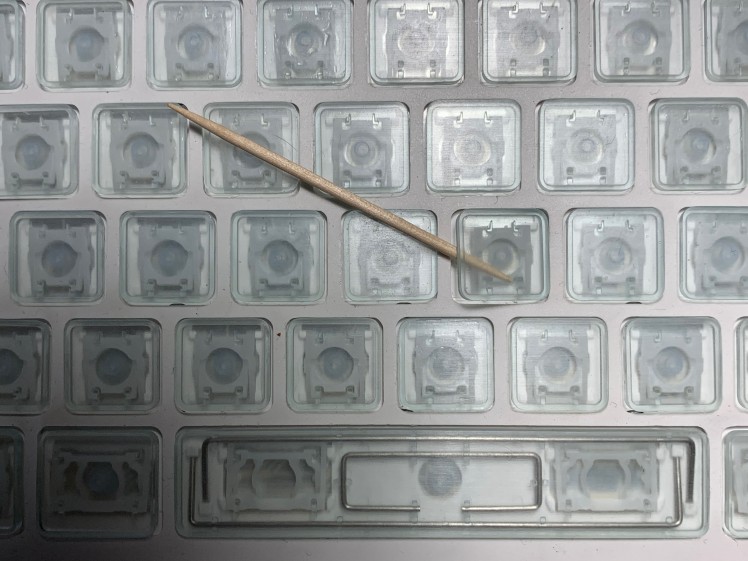
4. When the bottom clips release they should make a 'pop'. From here you can gently pull the key towards you and up and it should be free from the keyboard.
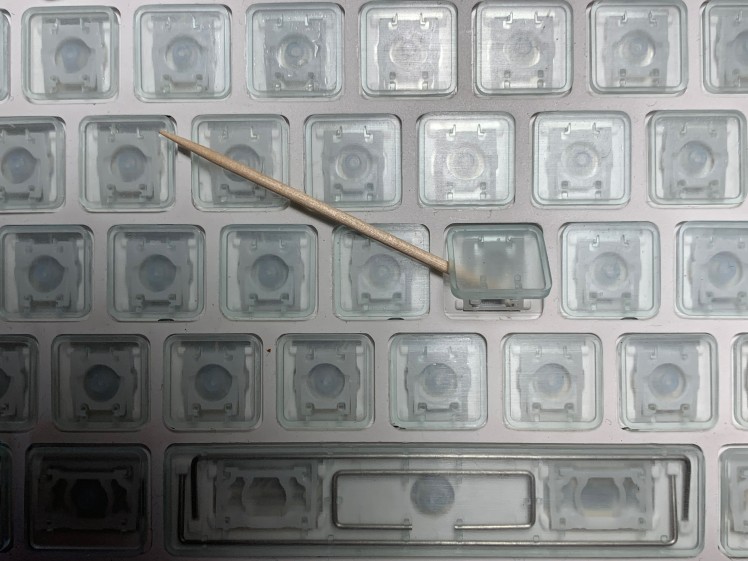
5. Double check the the hinge is still correctly attached to the keyboard and that there are no plastic remnants left behind.
HOW TO ATTACH LETTER/NUMBER KEYS
1. Gently press the upper L-shaped mounts down into place.
2. Slide the key up slightly to align the lower clips to their position on the hinge and press down until you hear a 'click'.
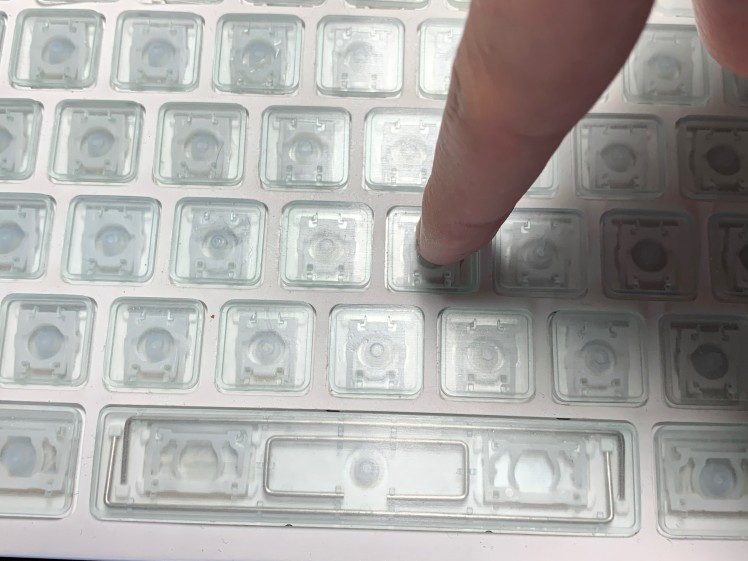
3. Success!
CAD, enclosures and custom parts
Credits
Related products


Leave your feedback...