
Rapid Iot Kit - Wireless Uart

Made by ashokr / Communication / Displays
About the project
This tutorial demonstrate the "Wireless UART" functionality on NXP's Rapid IoT prototyping kit.
Project info
Difficulty: Easy
Platforms: NXP
Estimated time: 7 days
License: GNU General Public License, version 3 or later (GPL3+)
Items used in this project

Story
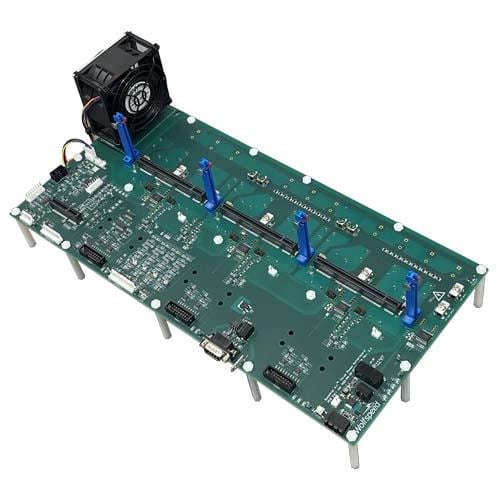
Here we going to see the demo of "Wireless UART" demo on Rapid IoT Kit. we know that Rapid IoT has build with two MCU, KW41z & K64F. For this demo you should have SDK for KW41z, I have used SDK_2.2.0_FRDM-KW41Z.
Things Required:MCUXpressoIDE -> Download it from here
SDK for Rapid-IoT-Kit -> Download it from here
SDK for KW41z -> Download it from here
Android or IOS App - IoT Toolbox here
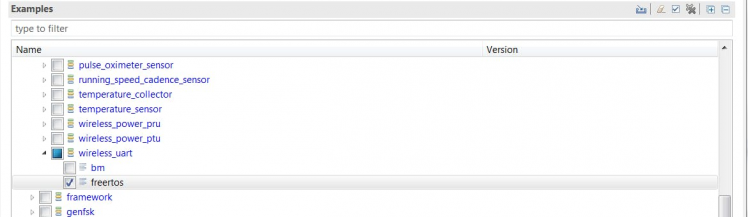
Steps to Follow:The first step to Import "wireless uart" project from KW41z SDK examples.
The next step, you have to disable the keyboard functionality (keyboard.h)
/* * Name: gKeyBoardSupported_d * Description: Enables/disables the switches based keyboard */#ifndef gKeyBoardSupported_d#define gKeyBoardSupported_d 0#endif
Rapid IoT kit hardware does not have 4 LED's interface with KW41 so some changes are required as below
Also remove usage of Led3 & Led4 usages from everywhere.
/** Name: gLEDsOnTargetBoardDefault_c* Description: Default value for LEDs count located on a* generic target board*/#ifndef gLEDsOnTargetBoardDefault_c#define gLEDsOnTargetBoardDefault_c 2#endif
Next step we need to add below code, so that K41z will start the advertising automatically after power on.
/* BLE Host Stack Init */        if (Ble_Initialize(App_GenericCallback) != gBleSuccess_c)        {            panic(0,0,0,0);            return;        }
       LED_StopFlashingAllLeds();        Led1Flashing();
       BleApp_Start(gGapPeripheral_c);
Now we can compile the code and flash it in Rapid IoT Kit for KW41z.
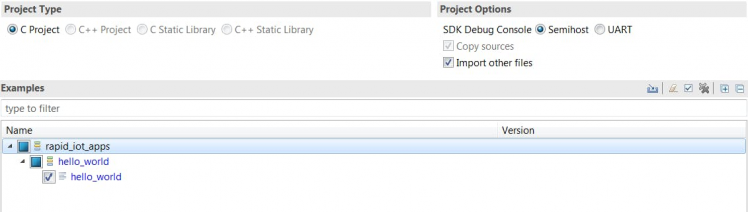
The next part is Import the "Hello World" example from Rapid IoT Kit SDK
Next step change the baud-rate for FSCI Interface (UART 4)
/* FSCI Interface Configuration structure */static const gFsciSerialConfig_t mFsciSerials[] ={ { .baudrate = gUARTBaudRate115200_c, .interfaceType = gSerialMgrUart_c, .interfaceChannel = 4, .virtualInterface = 0 },
Also some changes in FsciCommunication.c & hello_world.c please refer the attached source.
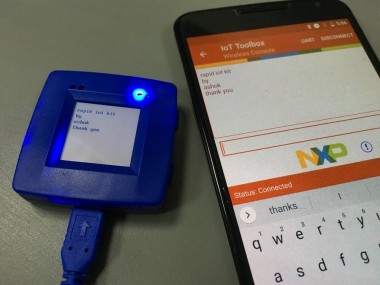
Compile the code then flash it into Rapid Kit for K64F, and the demo is ready. Now you can use "IoT Toolbox" Android or IOS App to send text to Kit.
Working demo of video is here:
Schematics, diagrams and documents
Code
Credits
Related products


Leave your feedback...