
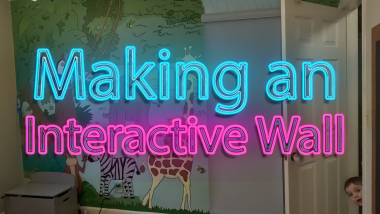
Making An Epic, Interactive Kids' Wall

Made by donutsorelse / Art / Displays / Kids & Family
About the project
When the room itself isn't particularly big, why not make the walls into play things?
Project info
Difficulty: Moderate
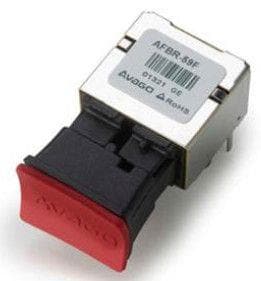
Platforms: Bare Conductive, DFRobot
Estimated time: 7 days
License: Creative Commons Attribution CC BY version 4.0 or later (CC BY 4+)
Items used in this project
Hardware components

Story
When the room itself isn't particularly big, why not make the walls into play things? For this Christmas I made my son an epic, interactive wall mural. While it is indeed quite an undertaking, it's actually very doable in terms of the logistics. A lot of the work is handled by the touch board, and if you don't want all the extra features like having a toy chest open by high fiving a monkey on the wall (*spoilers*), you may not even have to code at all. And, with a shortcut I figured out for my own mural, you don't even have to be a good artist (though, luckily for me I did have one)! Let's get into it!
Supplies
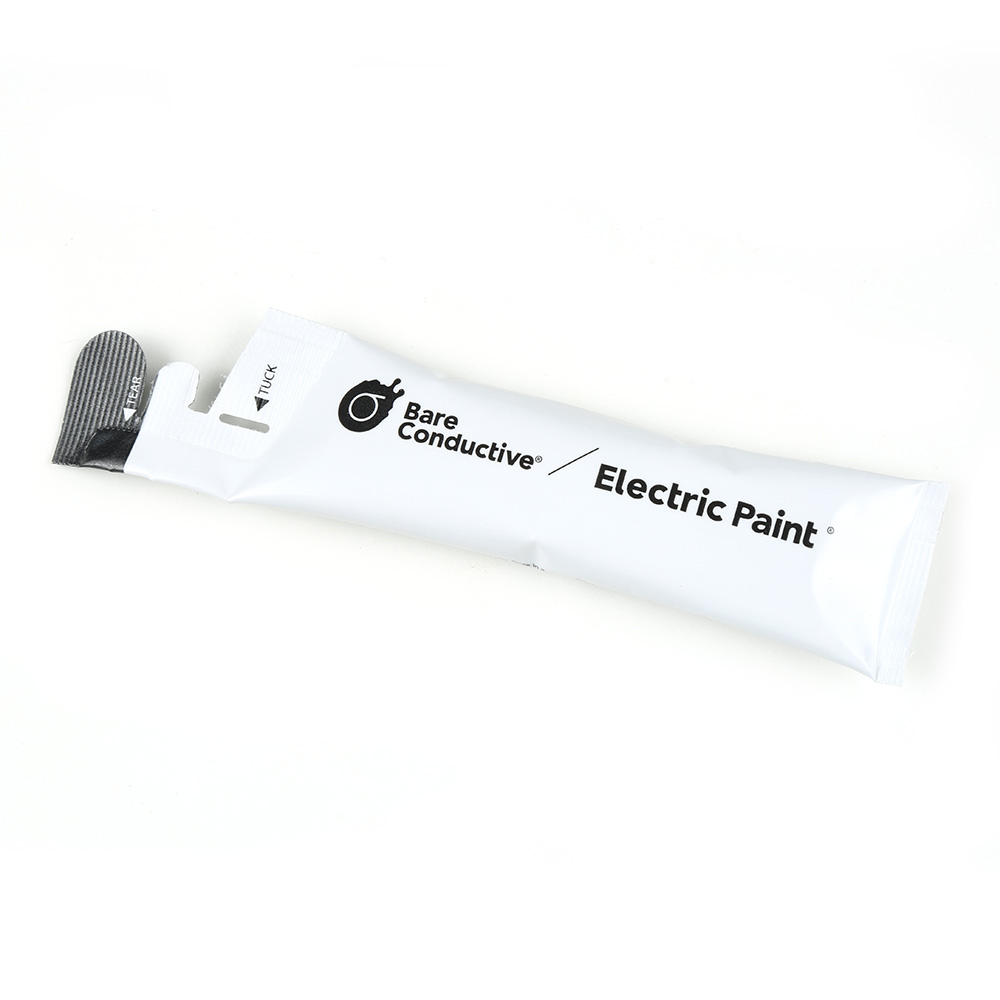
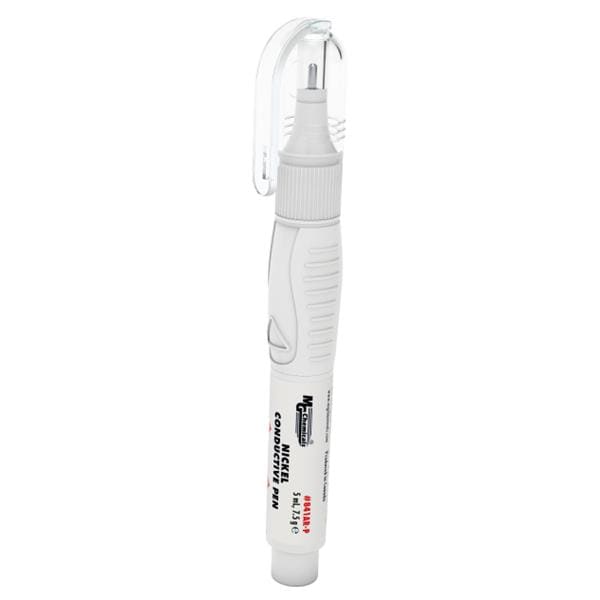
- Bare Conductive Touchboard Kit
- Interactive Paint
- Acrylic Sealer Spray
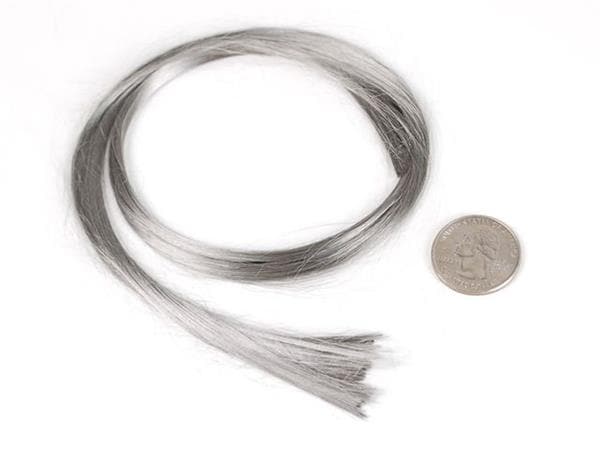
- LED Strip
- Paint
Step 1: Designing That Masterpiece
While these are indeed highly customizable projects, there is a method to the madness and step one is just figuring out how to mesh the different interaction ideas you may have with the art. For the sake of simplicity, I'll largely assume the interactions are sound activations because they're the easiest but I'll include notes for more advanced users as well.
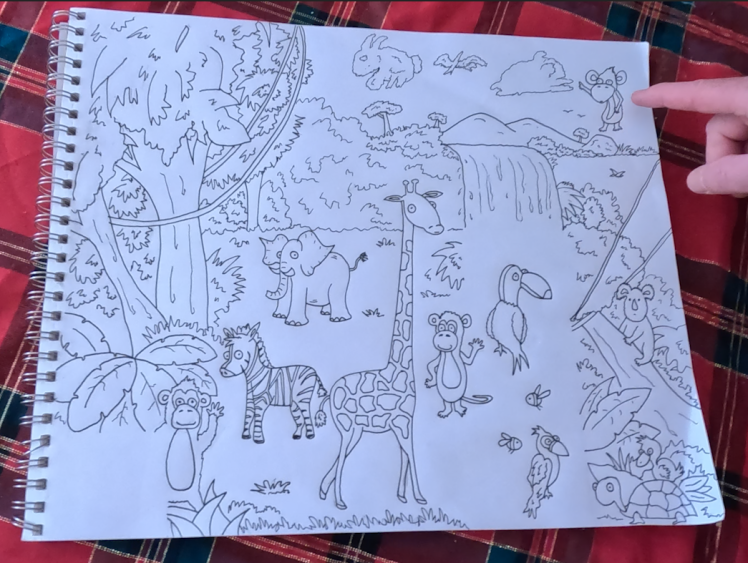
With that in mind, you just need to figure out the image. Historically that may have been easier said than done, but in the modern day and age it's very doable to make this happen even if you have no artistic talent. If you don't have any artists in your family/friend circle that would want to lend a hand, there are plenty of free graphics online, including those without copyright issues (even though it's your own wall I'm sure there will be concerns out there about that). You could generate images with AI art very easily with something like Stable Diffusion or Jasper Art. And, if you can spare a few bucks you could always go with something like Fiverr and pay for an artist's coffee for that day.
The easiest way to design this is to begin with room measurements. To make things incredibly easy on myself I set the dimensions of a Photoshop file to those of the wall, and then placed the closet, outlets, and eventual toy chest location in the image. This way my dad (the artist for my particular project) could know exactly where each piece of art should go to intuitively fit this particular canvas (aka wall).
Step 2: Tracing
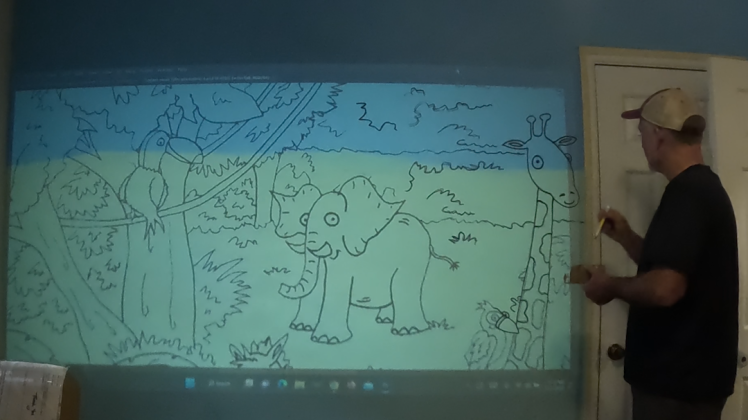
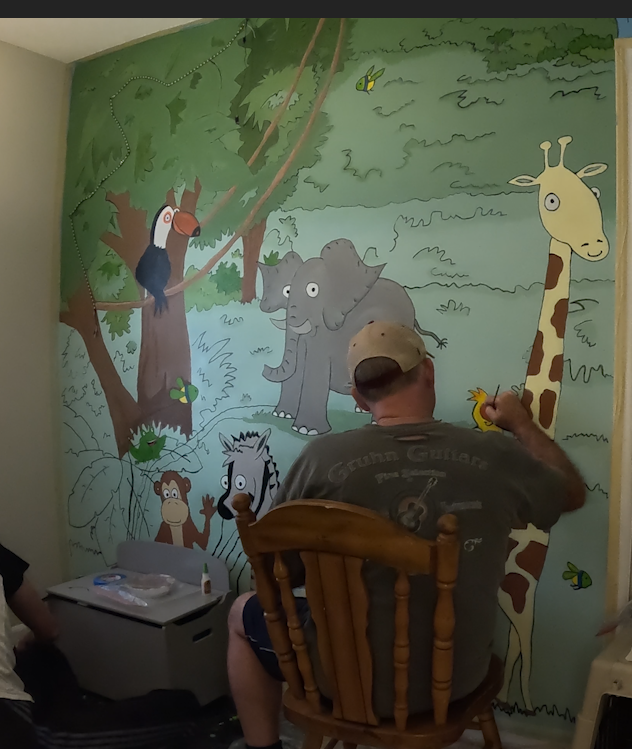
By creating the image for the design with the same dimensions as the wall itself, you can project the image onto the wall very cleanly. Unless you are a gifted free-hander, this is an absolutely enormous time saver. Projectors are getting better and cheaper year after year, so even if you don't have one, a friend of yours might and borrowing it is well worth the effort saved.
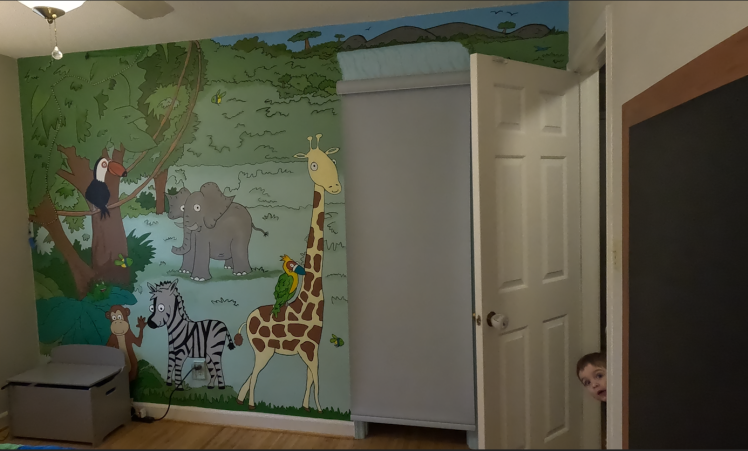
If you're working with a bigger room or nicer projector than me, you may not have to use this work around, but your projector may not be able to display across the entire wall all at once. To get around this, we'll have to project into bite-sized segments. The important note here is to ensure that the image is zoomed in the correct amount. For example, in the image shown here, I wasn't able to get the projector far enough back to make it from the left wall to the door, so I zoomed in to where the giraffe's head was just barely cut off on the right side. Once this is settled, it's just a matter of moving the projector around to fill in the entirety of the wall.
Step 3: Interactive Paint
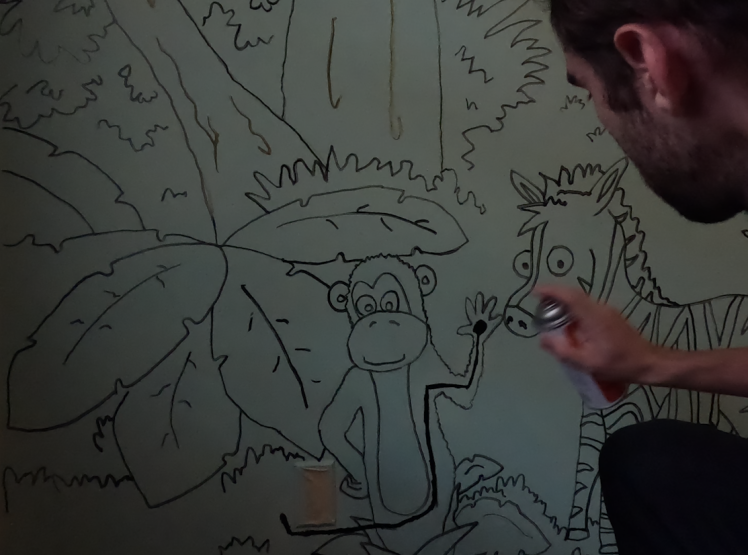
For me, this was the fun part. The touch board has 12 interactive points, and so long as there is a conductive connection between it and whatever you're touching, it will trigger the relevant event. You can touch a trigger point on the board itself. You can use alligator clips and touch the other end to trigger the event. Or, as you may have correctly assumed I was alluding to, you can use interactive/electronic paint to continue this conductive connection such that you can touch any part of the conductive paint and it will trigger an event on the board. It's pretty cool.
To get the mural to work, thoroughly paint whatever segment you want touched with conductive paint, and then draw a thin but solid line from it back to where you intend to house the board.
I did some science in this project, under the guidance of Bare Conductive, and can save you some time. If you use Acrylic Sealer Spray on the conductive paints, you can then paint over them with your normal paints and they will still be interactive. However, that does mean that the entire line of conductive paint going from your interaction site to the board will all trigger the interaction, so it's best to try to get the lines out of the way as fast as possible to avoid extra interaction points. While it was a bit unfortunate to have interactions trigger at unwanted points on the wall, I did enjoy that I was allowed to paint over the conductive paint for a better overall aesthetic.
Step 4: A Huge Curveball
This may blow your mind, but considering this is a step by step I can't leave it out. Murals need painted. Woa!
Fortunately, at this point it can be somewhat of a paint by numbers situation. If you're feeling bold (or are comfortable wielding the paintbrush), using a slightly different shade of the color you're using around the borders can make things look really nice, especially if you establish where the sun is and use a lighter shade toward it and a darker shade on the opposite side.
While a conceptually simple step, I don't want to undersell it. This is a lot of work, but the result is worth it!
Step 5: Setting Up Interactions
To make the interactive wall work with just basic sound effects or voice lines, I'm happy to report that this can be done very easily. The default method uses the order of the interactions in the naming convention, so you essentially just have to remove the microSD card, replace the existing audio files with your new mp3 files of the same name as the one you're replacing, and you're off to the races.
It's worth noting that the alternative method for calling audio files didn't cooperate as well for me, which was a bit unfortunate because it would have made for slightly neater code. That said, at the end of the day it all works and makes for a fun result, and we call that a win!
For anyone looking to dabble in the code, you'll need to set up the touch board to be usable in the Arduino IDE, so start by going to https://www.bareconductive.com/blogs/resources/how-to-program-your-touch-board-with-the-arduino-ide
Once you've done that, the program I found most useful can be found in the Arduino IDE, under File -> Sketchbook -> Touch Board Examples -> Touch_MP3. This is actually the program that's loaded onto the board by default, but having access to the code means you can do a lot more with it. There are many examples so if your idea is different from this there may be a different sample that suits your needs as a better starting point.
Step 6: LEDs, If You Also Like Going Overboard
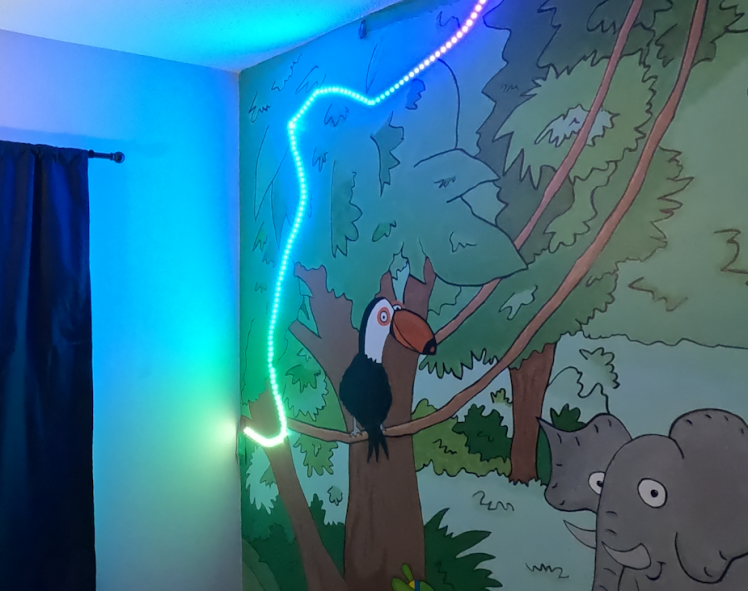
If you see this interactive mural as an opportunity to go way over the top like me, here's how to tackle the LED part.
Since the touch board uses the Arduino environment, you don't have to do anything too crazy and are able to reference Arduino-friendly LED strips.
The reference guide can be found here for the LED strip I used - https://wiki.dfrobot.com/Digital_RGB_LED_Strip_120_LED_White_Black_SKU_FIT0612_FIT0613
This guide includes the code needed to get started.
Step 7: Putting It All Together
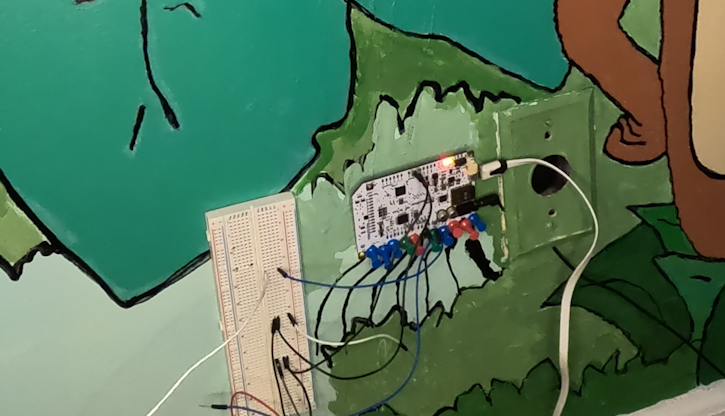
To connect the conductive paints to the board, you can attach the board to the wall and dab conductive paint through each of the capacitive electrodes (connection points for the conductive material). This does work, but especially if you've soldered any wires on for extra features, you may have gaps between the board and the wall that make it difficult to actually connect the paint to the board.
As such, a trick I tried that worked wonderfully was to use push pins in the holes. This provides conductive metal to run from the board to the interactive paint on the wall in addition to anchoring the board to the wall themselves.
Once the board is in place and connected to all the lines of interactive paint, you should be off to the races with your interactive wall such that touching the paint correctly plays all of your newly added audio.
Whether you hide it behind something, in a closet, or otherwise, keeping the board concealed is nice for aesthetics regardless but for a kids' room in particular it keeps curious hands away from electronics.
Step 8: The Unveiling
Ok, I guess I was wrong in step 3. THIS is the fun part.
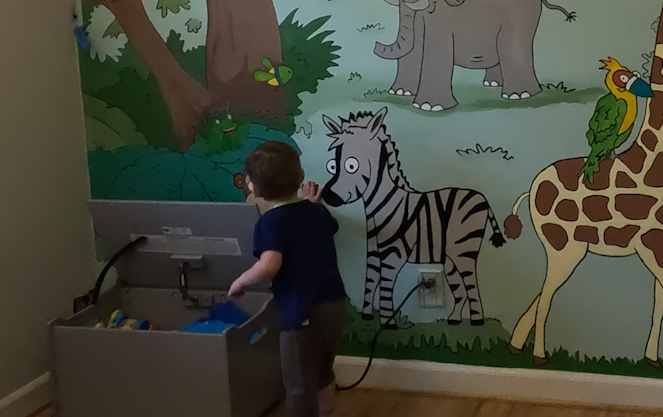
It's time for the ol' self pat on the back. The project is done and it's time for the walls themselves to be a source of entertainment. I'm thrilled with how my little project turned out, and my kiddo seems to be as well. Hopefully the same will be true for you. Enjoy!
Credits
Related products


Leave your feedback...