
Make Tripwire Security Alarm Using Arduino

Made by diy-projects-lab
About the project
Hey friends welcome back today in this articlei will show you how to Make Tripwire security Alarm using Arduino.
Project info
Difficulty: Easy
Estimated time: 1 hour
License: Creative Commons Attribution-ShareAlike CC BY-SA version 4.0 or later (CC BY-SA 4+)
Items used in this project
Hardware components

Story
Hey friends welcome back today in this tutorial I will show you how to Make Tripwire security Alarm using Arduino.
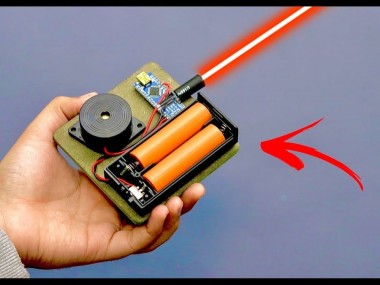
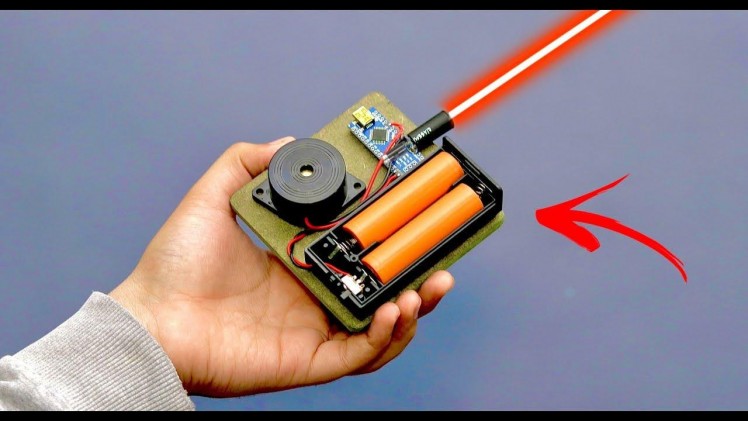
A tripwire is one of the most basic ways to set up a very simple security system. You cross a line across a pathway. Whenever someone walks through the beam, the buzzer alarm activate. This project is very simple to build since we won't have to modify any parts.
You can watch the tutorial and finished product right here - Make-arduino-laser
You can find all of my projects on https://www.diyprojectslab.com/
Thank You NextPCB
This project is successfully completed because of the help and support from NextPCB.
Guys if you have a PCB project, please visit their website and get exciting discounts and coupons.
Only 0$ for 10pcs 1-4 layer PCBs:https://www.nextpcb.com/pcb-quote
Let's get started!
Step 1: You Will Need the Following Required Components and Materials:
Components

Components
Arduino Nano (Amazon.com)
Buzzer (Amazon.com)
Battery Holder (Amazon.com)
Battery (Amazon.com)
Laser (Amazon.com)
LDR Sensor (Amazon.com)
wire (Amazon.com)
Step 2: Circuit Diagram
1 / 2
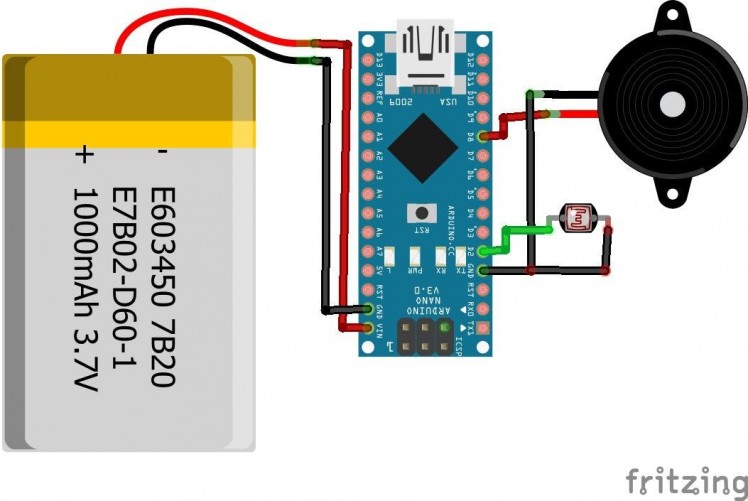

Circuit diagram
Here is the Schematics Diagram for this project. as you can see the circuit diagram is very easy and simple. follow circuit diagram and connect the all components.
Step 3: Connecting the Buzzer and LDR to the Arduino
1 / 3 • Assemble

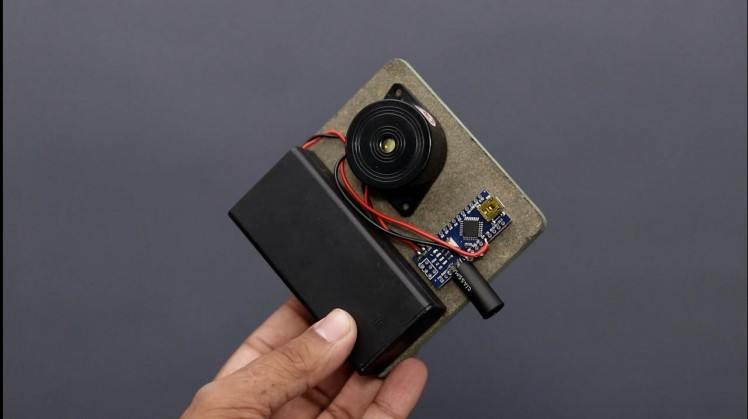
Assemble
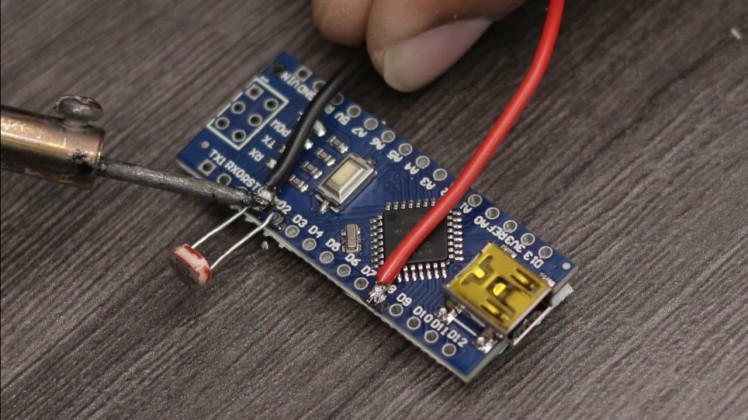
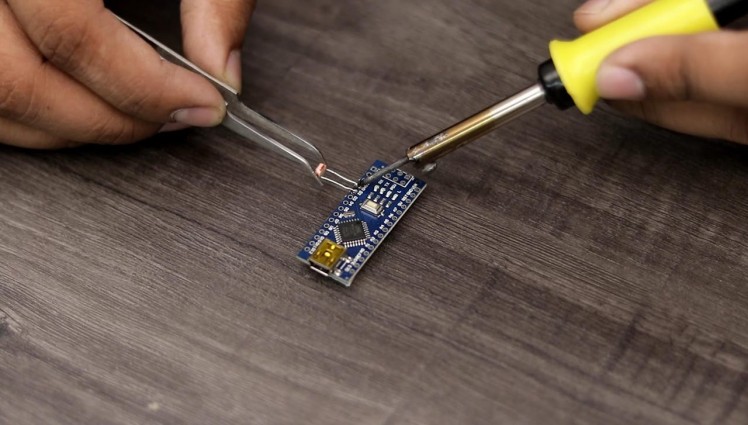
Plug our Buzzer into GND and Pin D8 of the Arduino.
The LDR will go into GND and Pin D2 of the Arduino.
I provided a image with all pins tagged to make things easier for you.
Step 4: Program Your Arduino
Programming

Programming
Connect the Arduino with your laptop or PC using usb cable and program your Arduino using the code provided in below.
First, download the Arduino sketch from here
//diyprojectslab.com
const int photo = 2;
const int Buzzer= 8;
void setup()
{
pinMode(Buzzer, OUTPUT);
digitalWrite(Buzzer, LOW);
pinMode(photo, INPUT_PULLUP);
}
void loop() {//if/else loop checks if photoresistor is high or low
if(digitalRead(photo)==HIGH){
digitalWrite(Buzzer, HIGH);
}else{
digitalWrite(Buzzer, LOW);
}
1 / 3 • testing

testing

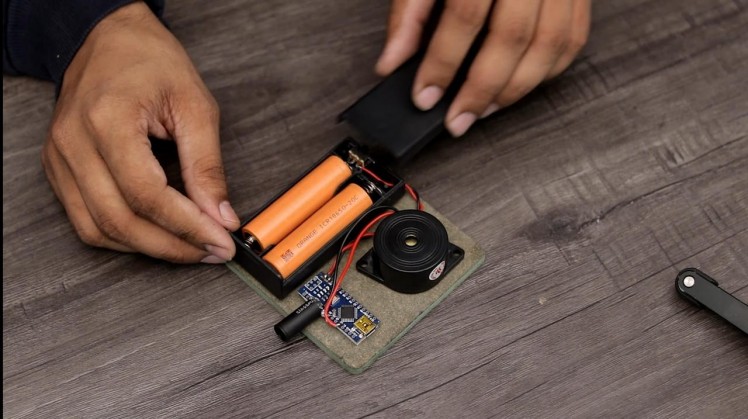
Mount the Laser Pointer and the Alarm Circuit to Form a Single Beam Tripwire
The simplest way to set up your alarm is as a single beam tripwire. In this configuration the laser pointer is mounted to one side of the walk way and the alarm circuit is mounted to the other. For the tripwire to work, the laser pointer needs to be constantly on. The easiest way to accomplish this is by tightly wrapping a piece of tape around the button.
I hope You like this project
Step 6: Working VideoPlease follow me for more intriguing projects -:)
Schematics, diagrams and documents
Code
Credits
Related products


Leave your feedback...