Lego Dots Cyberpunk Belt
About the project
#LetsBuildTogether LEGO Dots wearable light-up belt.
Project info
Items used in this project
Hardware components
Hand tools and fabrication machines
Story
LEGO Dots Light-up Cosplay Belt
AmieDD - LEGO Dots Light-Up Belt CosplayStep 1: LEGO doesn't always belong on the table.
LEGO #LetsBuildTogether explore, build and share your LEGO creations.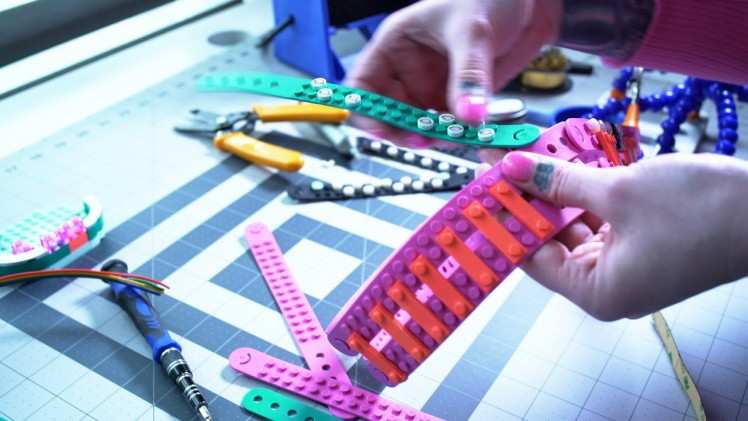

LEGO Dots Bands
I love using things for their unintended purposes, and LEGO is no exception. I wanted to use the new LEDO Dots line and add some LEDS to give it some flare.
- LEDs: I used SK9822 LEDs you can also use Adafruit's DotStar LEDs. You need the 4 input pins(not the 3 like the typical neopixel strip). 2 of the pins are for power, 1 for clock, and 1 for data.
- Controller: I used ElectroMage's Pixelblazev2 WiFi LED controller to be able to quickly update the LED patterns over a AP (Access Point) mode. It's fast and and you can easily write new LED patterns in the web-based live editor.
Step 2: Solder believer
You have a few different options to connect the LED strip. I went with option 2 for this project.
- Option 1: Directly solder wires to the LED strip then to the Pixelblazev2 controller directly
- Option 2: Directly solder wires to the LED strip and solder a 5mm screw terminal connector to the Pixelblazev2 controller and attach the LED wires to the terminal block.
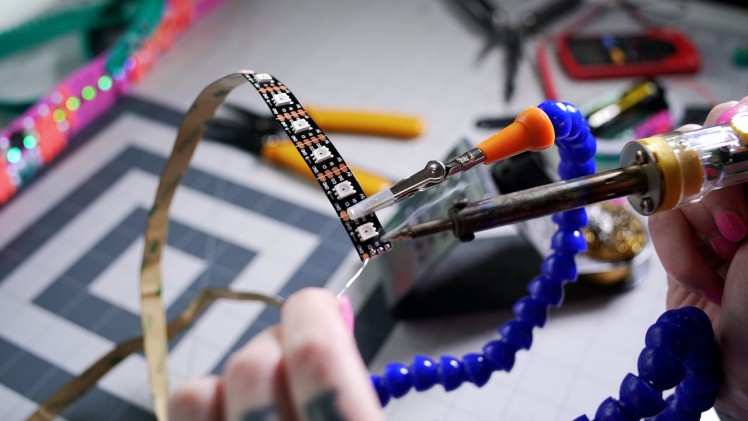
Tip Tin the pads on the LED strip
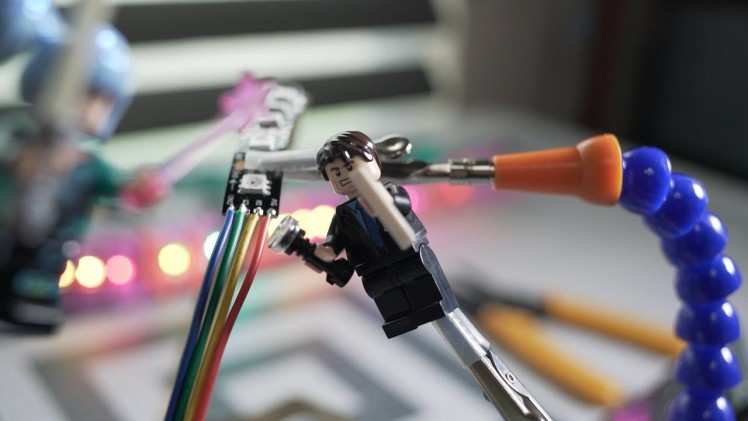
Step 3: Attach LED wires to terminal block on Pixelblazev2 controller
- Attach the LED wires you soldered to the terminal block and tighten the screws with a screwdriver. Make sure the LEDs strip wire is connected to the correct terminal.
- 5V - 5V
- CLK - CO
- DAT - DI
- GND - GND

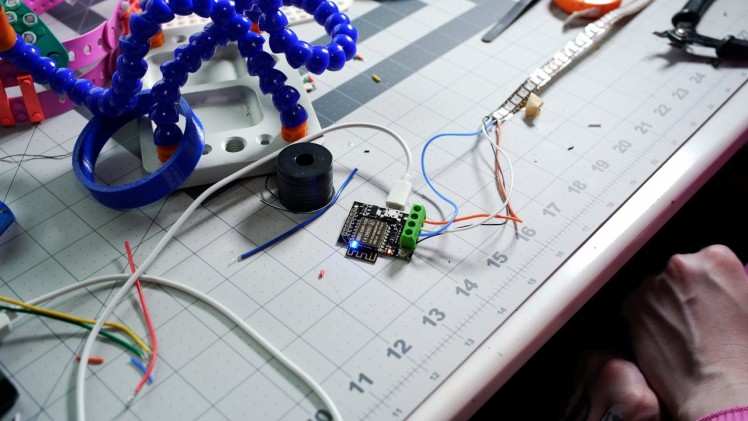
Step 4: Power
The Pixelblazev2 and LED strip can be powered through the micro USB on the Pixelblazev2 controller. The USB power is connected internally to the 5v screw terminal, and the total current draw should be kept under 1.8A (it you aren't sure look at the power rating on the USB power supply you are planning on using).
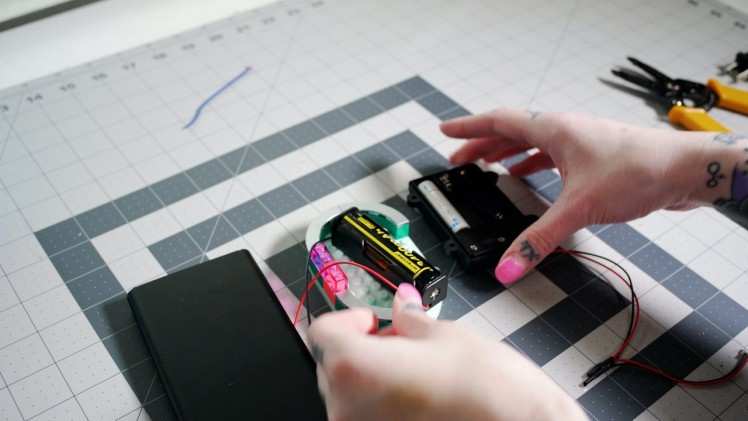
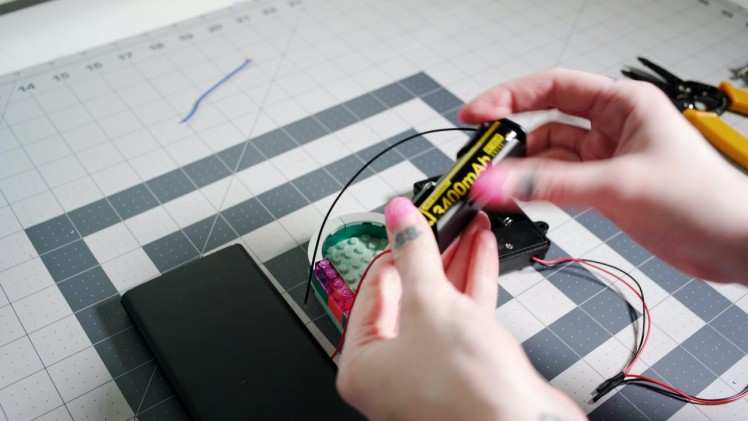
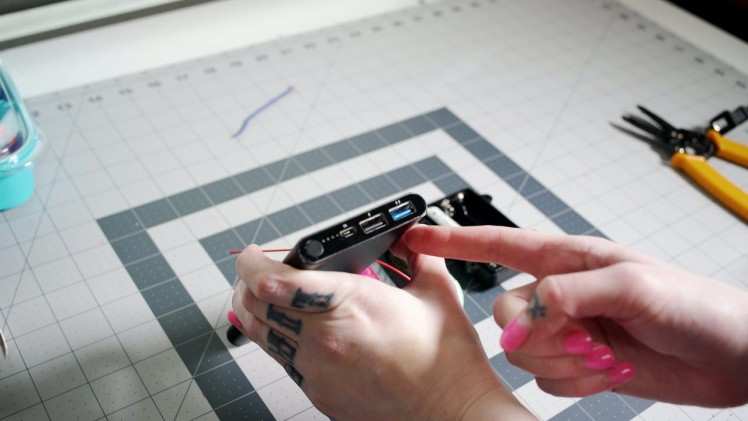
Step 5. Controlling the LEDs
Connect your power source to the Pixelblazev2 which will set the controller automatically to setup mode, the controller creates a new WiFi network that starts with "pixelblaze_" followed by a random hexadecimal number. Here you can configure the controller to run in either AP (Access Point) mode(which is what I did for this project).
Connect to your Pixelblazev2 network from a computer or mobile device, then a WiFi Manager screen should pop up on your computer or device. If the screen doesn't open automatically you can open a browser and go to http://192.168.4.1
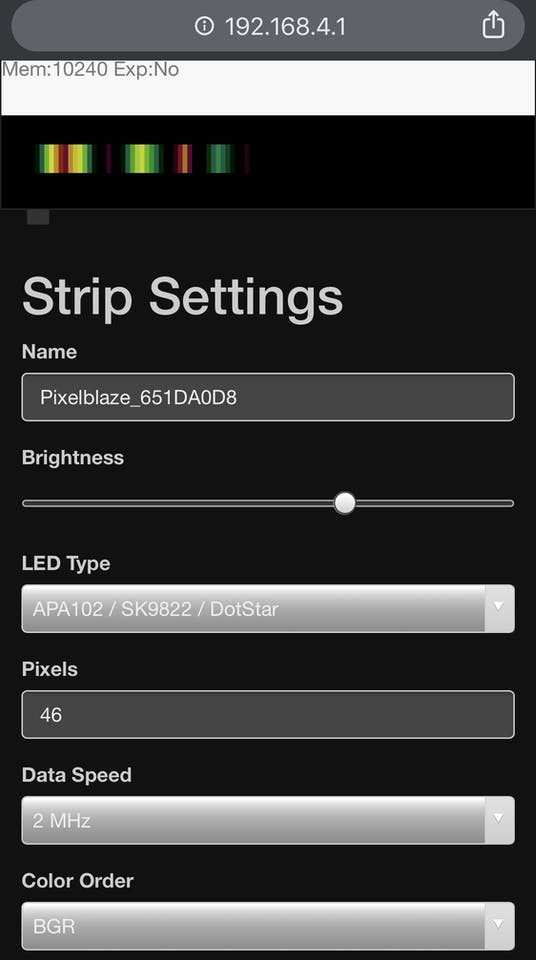
Select the LED Type: APA102/SK9822/DotStar.
There are preset LED patterns, or if you want a challenge you can write your own patterns.
Advanced Mode: Writing your own patterns.
The editor can use a JSON array or multiple arrays of JavaScript. 4 Pixels, one in each corner: top left, top right, bottom right, and bottom left
- [
- [0,0],
- [100,0],
- [100,100],
- [0,100],
- ]
Step 6: Wear it!
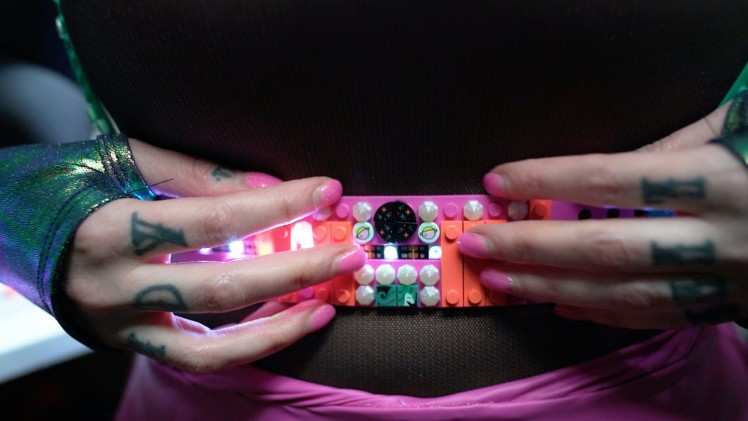
LEGO Dots LED Belt powered by Unicorns










Leave your feedback...