

Items used in this project
Hardware components

Story
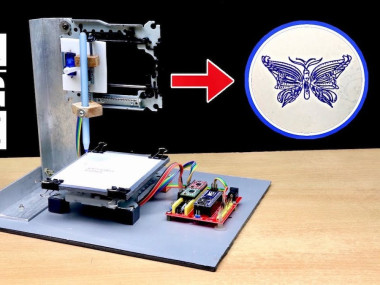
Hi people, Have you ever thought you could build CNC machine at your home? I guess most of them would say no.
But in this project I will show you how you can make your Own CNC drawing machine that too with the help of Old CD drives.
The old drivers from your outdated computer can become the CNC drawing machines that can draw all the designs you want.
Thank You NextPCB:
This project was successfully completed because of the help and support fromNextPCB. Guys if you have a PCB project, please visit their website and get exciting discounts and coupons.
NextPCB offers high-quality, reliable PCB starting at $1.9, and multilayer starting at $6.9. Also, everyone can enjoy free PCB assembly for 5 boards!
Also, Try HQDFM free online PCB Gerber viewer to check your PCB design and avoid costly errors.
I wanted to draw the logos, the printers are pretty much overrated for me so I have built this machine.
You also can build this by following the steps which I followed, lets start with the materials used to build this project.
Supplies

- CD drivers(I got themfrom my old computer CPU)
- CNC shield for Nano
- Stepper Motor drivers
- Arduino Nano
- Few L metal clamps
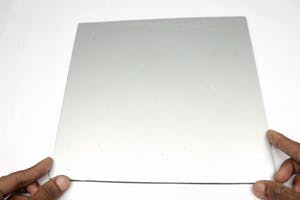
- Sheet of aluminum or wood
- Soldering iron
- USB cable for programming
- Benbox software
- Pen and paper
- Micro servo(sg 90)
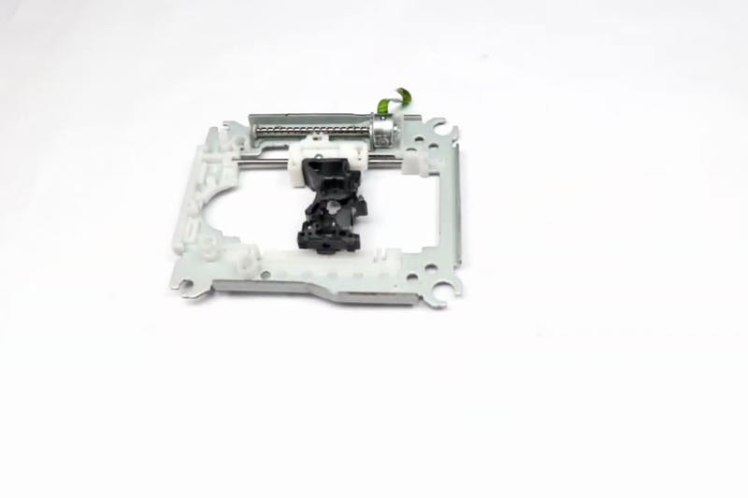
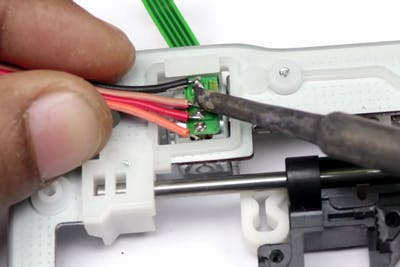
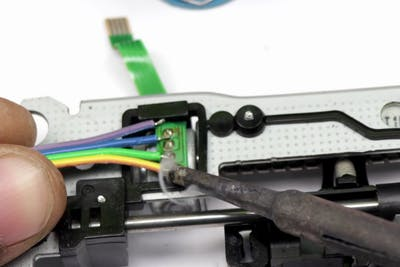
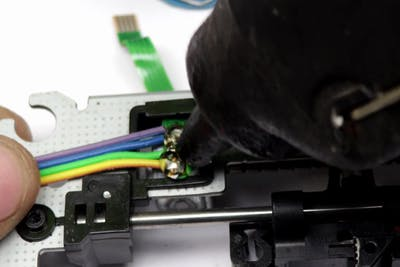
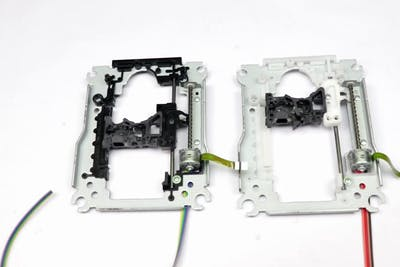
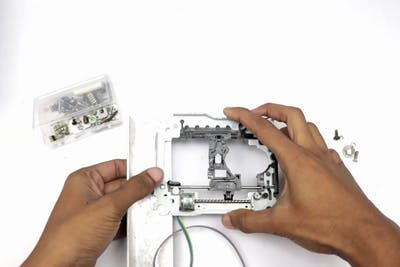
The reason for using the CD drivers is they have good quality stepper motors which serve best to my project.
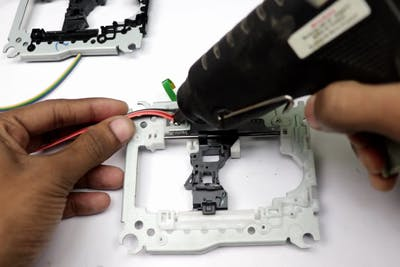
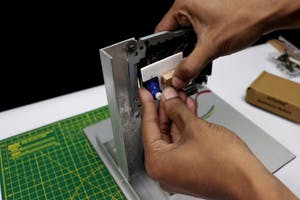
I have cut the wires from the steppers and soldered the wires that I want, after soldering add the hot glue above the surface to keep it strong.
Since we need 2 such parts, Repeat the same steps for the other CD drivers as well.
- Now we have the steeper motor ready to move in the X and Y direction.
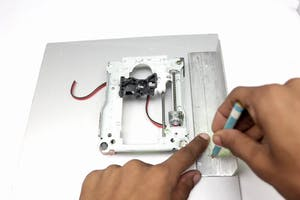
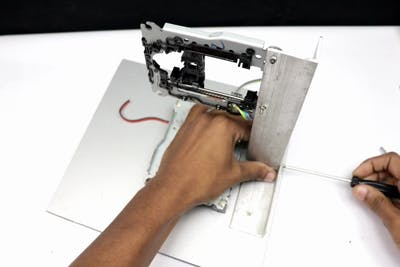
I will start with the base first, add the rubber bushes across the corners and seal them to the frame by using super glue.
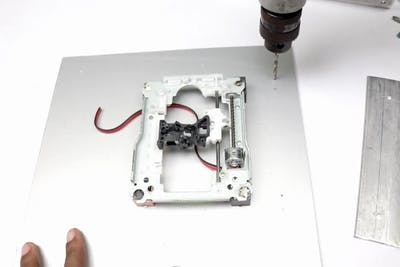
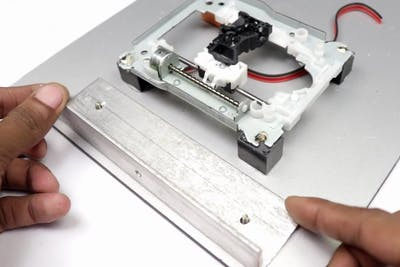
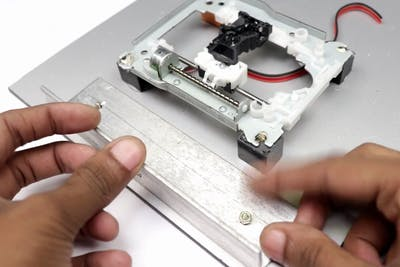
Now place them on the steel frame as shown in the steps, this completes the X axis drive setup, Now for the y axis I have marked the locations for screws and later drilled them with the drilling machine.
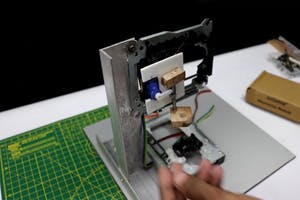
Fix the cd drive to these frames and now connect this part to the base of the machine and secure it with screws.
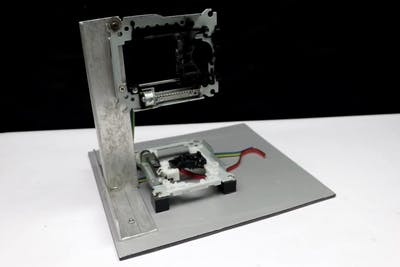
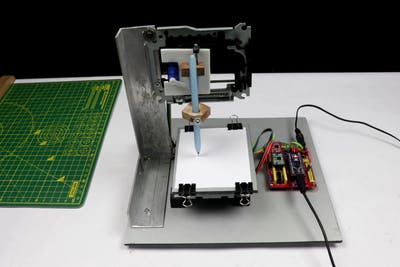
This makes the body part of our CNC machine to complete, now we can move on to adding awriting mechanism.
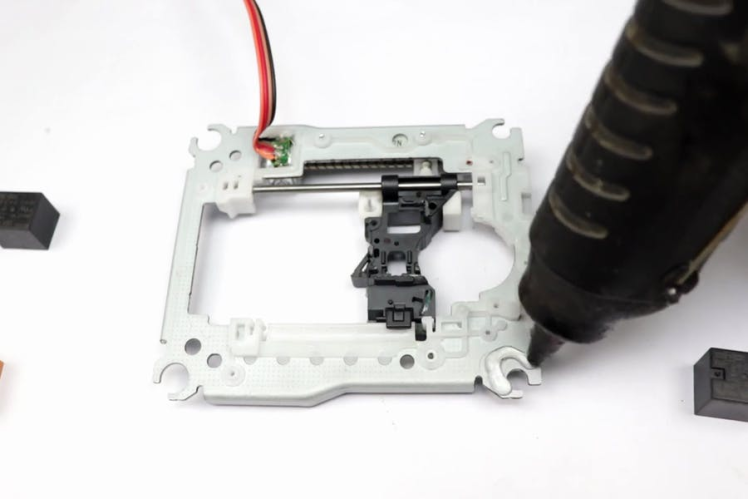
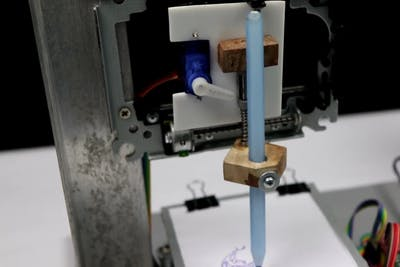
Pen Lift and Drop Mechanism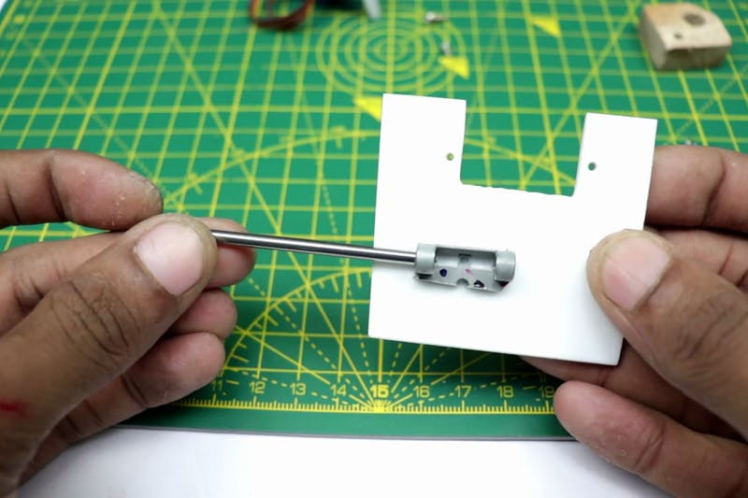


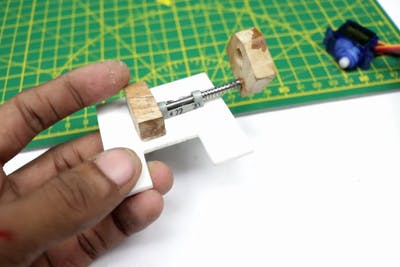
This mechanism is the most important part of our project and you can build it easily.
I will start by taking a piece of wood and add a piece of tube that can slide in and out a piece of steel rod easily.
To the ends of this I added a spring and secured the ends with a piece of wood, In the end I added the main part that runs this mechanism and its the servo motor.
Place the shaft of the servo in the middle so that the mechanism works without any issues.
This makes the writing mechanism of our project and now we can head over to installing this on the drive mechanism.
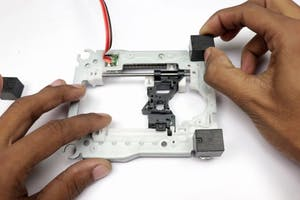
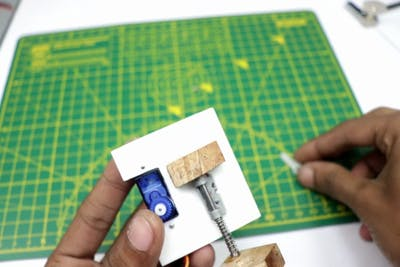
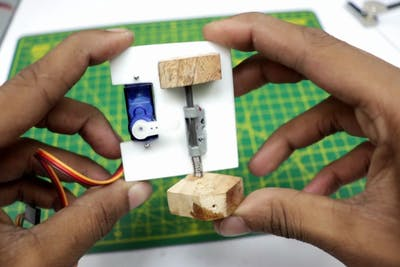
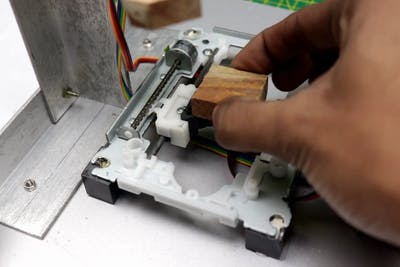
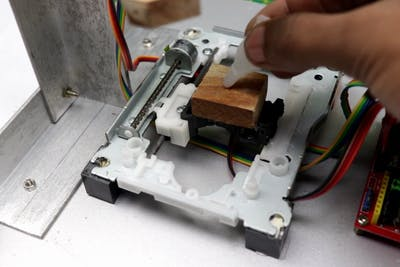
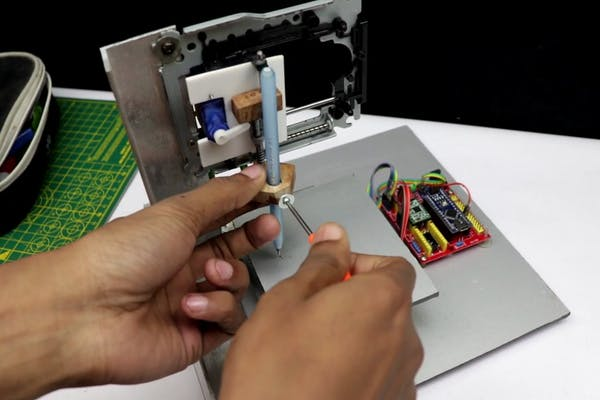
Adding the Writing Mechanism to Driver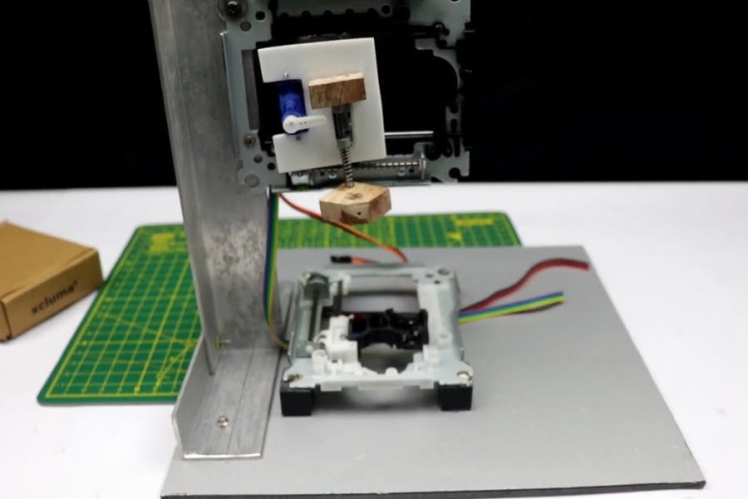

After the mechanism is ready installing this on the driver is pretty much easy, All you have to do is use the double sided adhesive on the stepper motor frame and stick this writing mechanism onto it.
Press firmly so that it secures well into the frame and does not come out when the machine is working.
I prefer to use only double-sided tape and not use superglue or hot glue in this part.
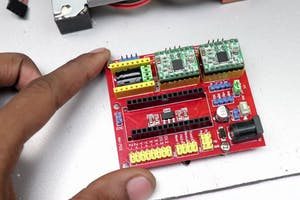
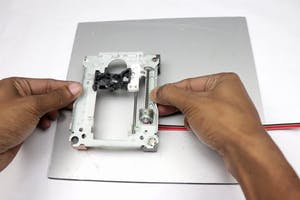
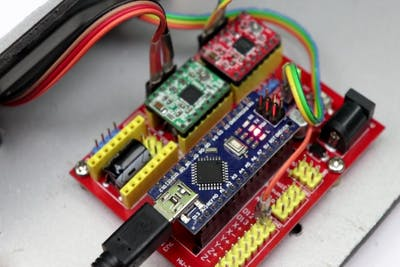
Adding the Microcontroller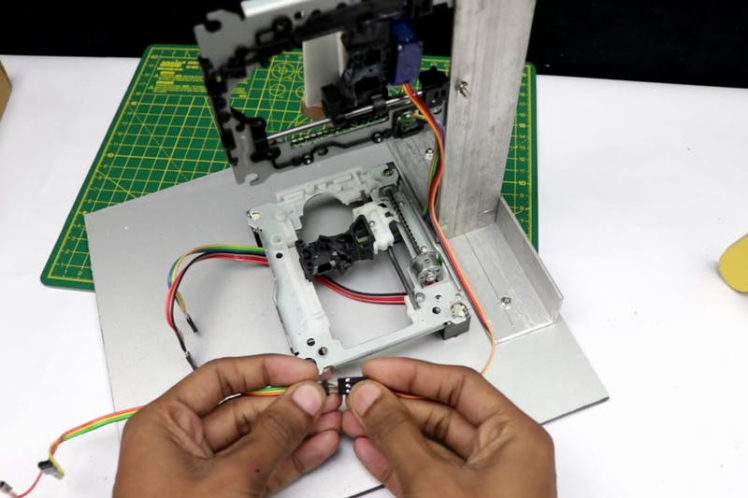
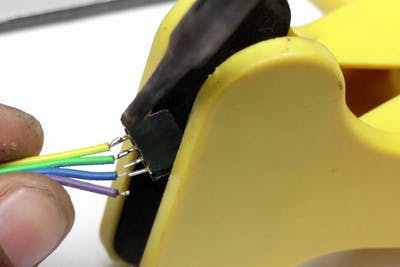
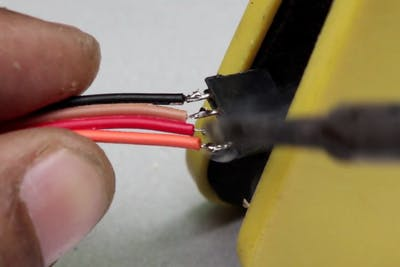
Extend the wire connection with the help of jumper wires and solder the end of wires to the connector pins so that the connections are neat and easy.
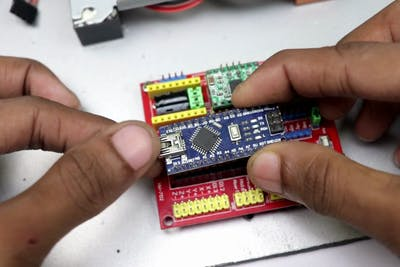
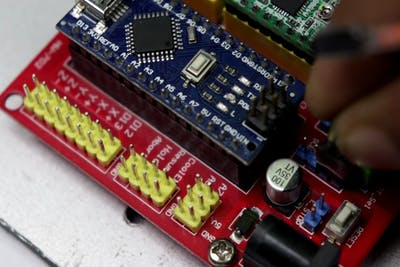
I used the Arduino Nano CNC shield that serves as a control circuit for this CNC.
Since we are using 2 stepper motor we need 2 stepper driving board that will be attached to the Nano shield.
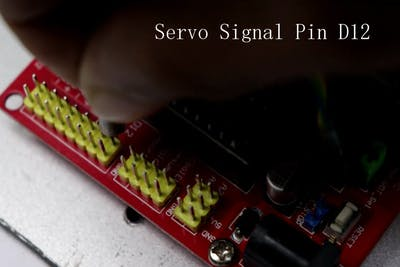
Place the Nano in the slots of the shield, connect the servo wires to the shield and now the circuit part is complete.
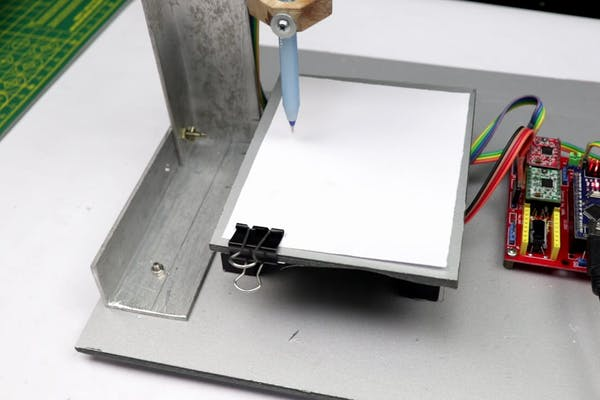
Preparing Moving Plate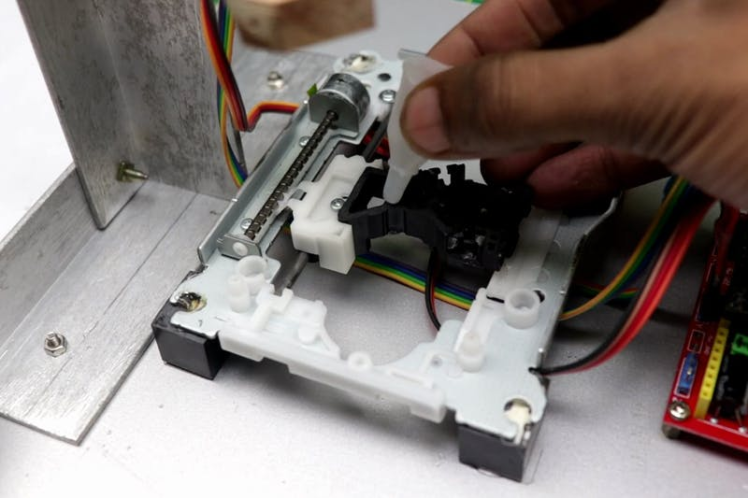

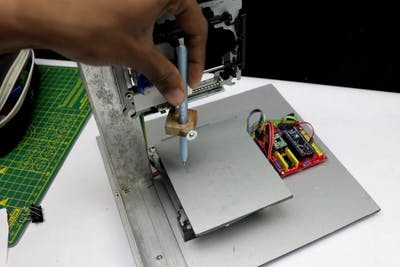
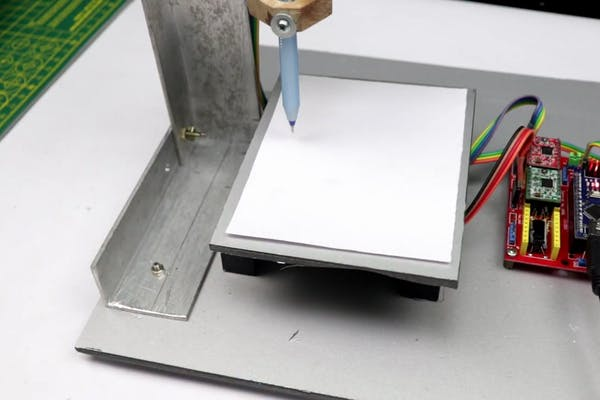
Moving plate or the moving base board is the one that holds the paper, To make this I used a square piece of wood to the top of which we will be adding the paper.
To keep the paper in place I will use the binder clips, adjust the height of the pen tip and this base board so that the pen just touches the tip of paper.
Make some necessary adjustments to make this possible and now the hardware is ready and now we will generate the G-Codes to make some drawings.
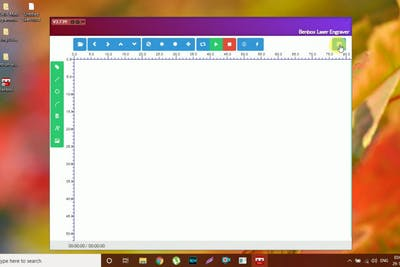
Benbox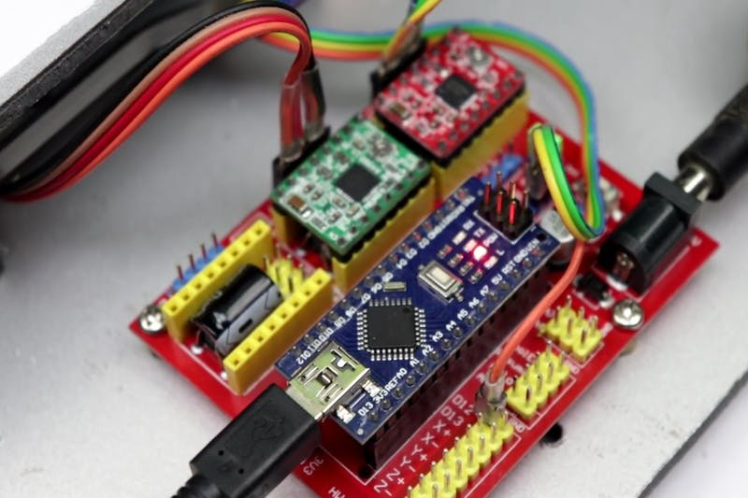
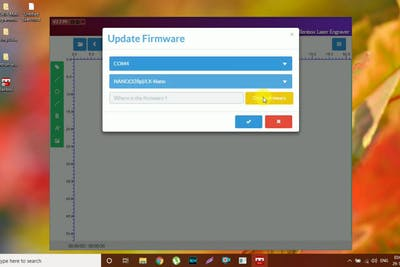
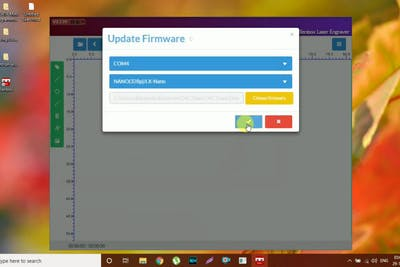
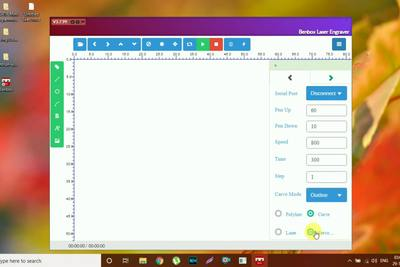
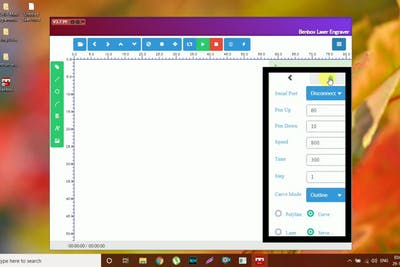

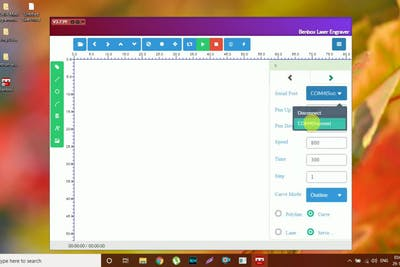
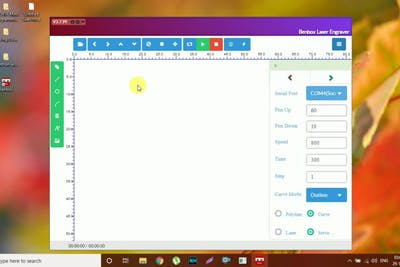
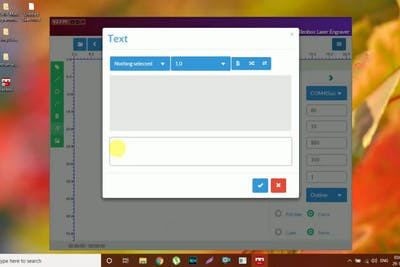
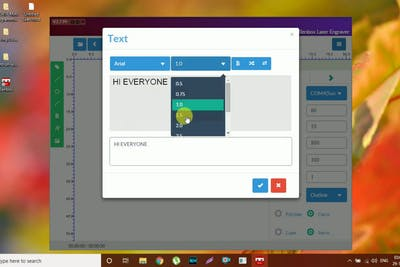
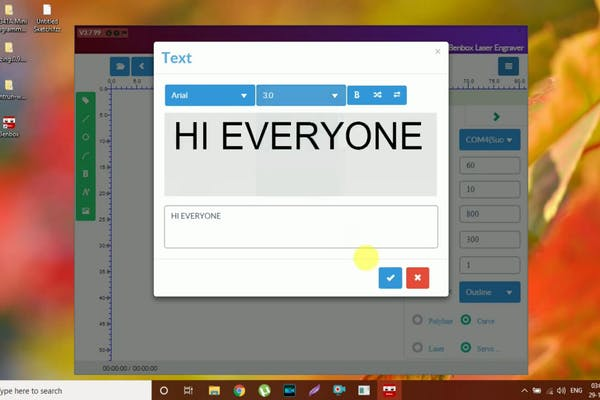
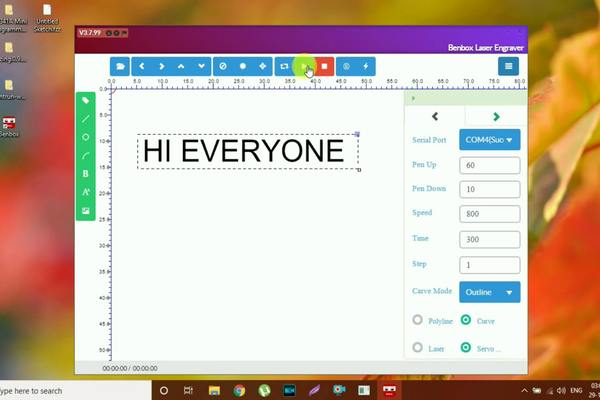
Connect the Arduino Nano CNC shield to your computer and open the Benbox application.
You need to make some settings before proceeding with the Gcode generation, You can follow the above settings given in the images above, make sure to select the correct type of board.
In the end type the name or design you want and you can send these codes to your CNC and see your drawings on the paper.
Working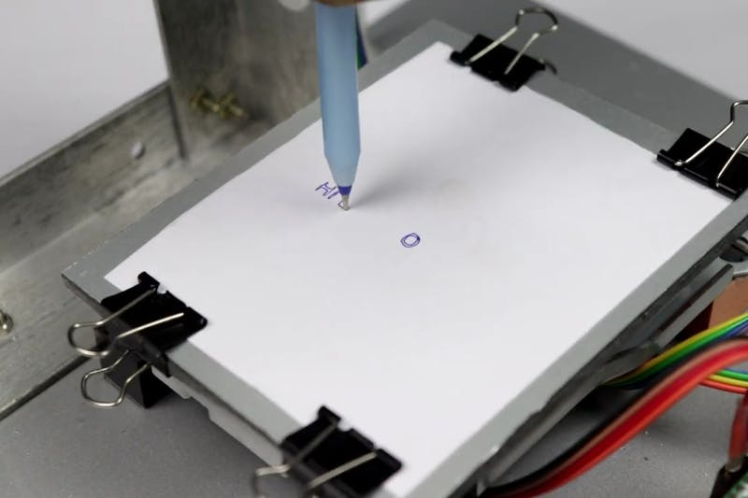
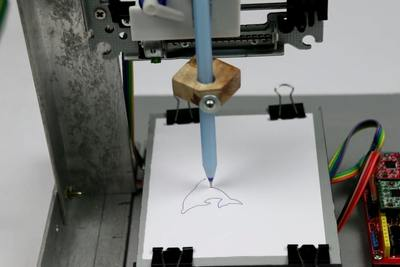
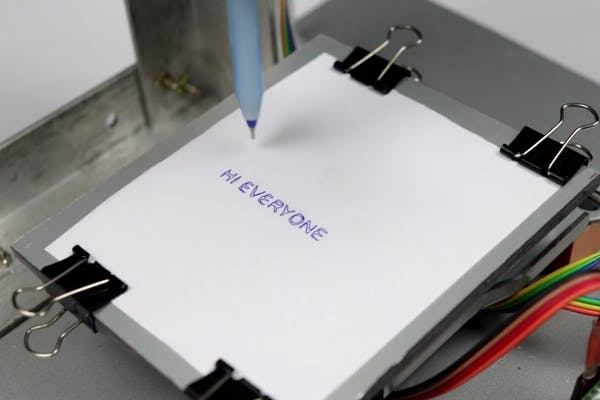
On the first drawing of your CNC you might need to make some small corrections in the hardware and this will be a one time work. From the second time no need to make any changes and the CNC will be perfect for drawing anything.
I made several designs and I got all the designs as I expected, The drawing part is really fun to watch.
If you have any questions ask me in the comments I will be replying to all of your questions with solutions.
Video TutorialSchematics, diagrams and documents
Credits
Related products


Leave your feedback...