
How to Build a ‘Split the G’ Device

Made by eamonmagd
About the project
Built a device to perfectly 'Split the G' in Guinness using sensors & Arduino! ?? Heading to Ireland to test it.
Project info
Difficulty: Easy
Platforms: Arduino, Seeed Studio
Estimated time: 1 hour
License: GNU General Public License, version 3 or later (GPL3+)
Items used in this project
Hardware components

Story
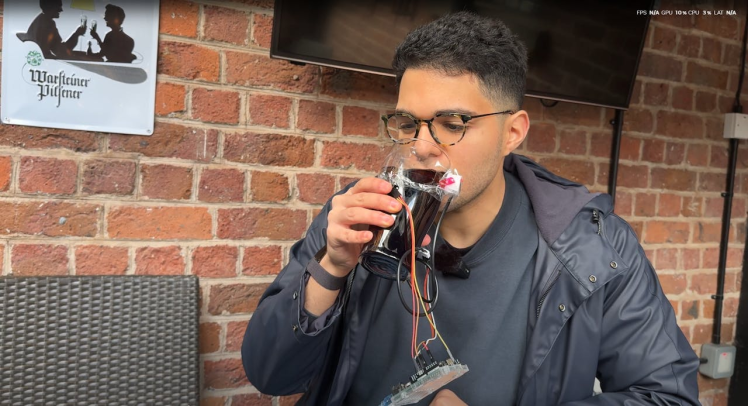
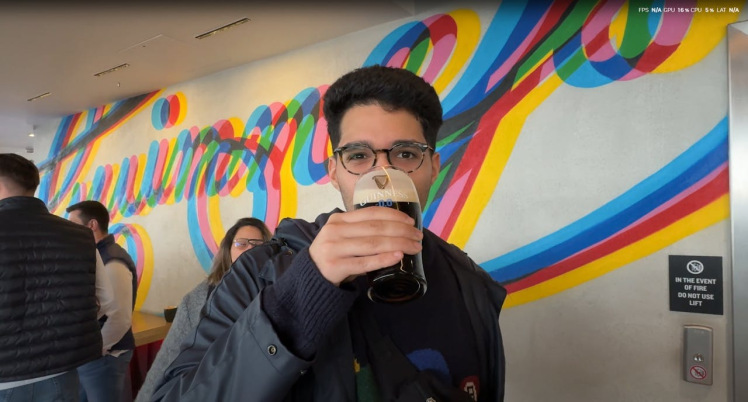
Splitting the G is a true test of Guinness drinking skill — taking a sip so precisely that the liquid level lands perfectly in the middle of the ‘G’ in the Guinness logo. As a non-drinker, I wanted to see if I could engineer my way to success. So, I built a device that uses a non-contact liquid sensor and a buzzer to help me perfect my technique! And guess what? I’m heading to Ireland to put my skills to the ultimate test at the Guinness Storehouse.
If you want to see how it all turned out, check out the full video here: [Full Video]
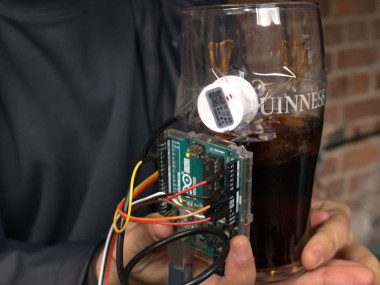
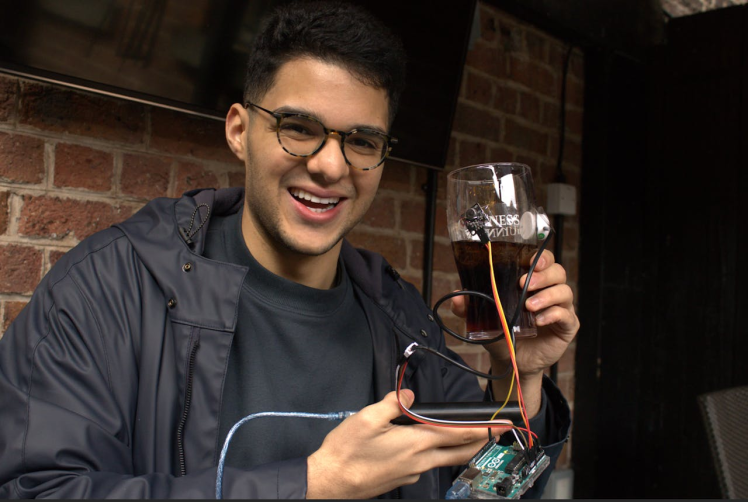
How the ‘Split the G’ Device WorksThe idea behind this project is simple: use an Arduino, a non-contact liquid level sensor, and a buzzer to notify me when to stop sipping. The sensor detects when the liquid level in the glass reaches the ‘G’ in the Guinness logo, and the buzzer sounds to let me know it’s time to stop.
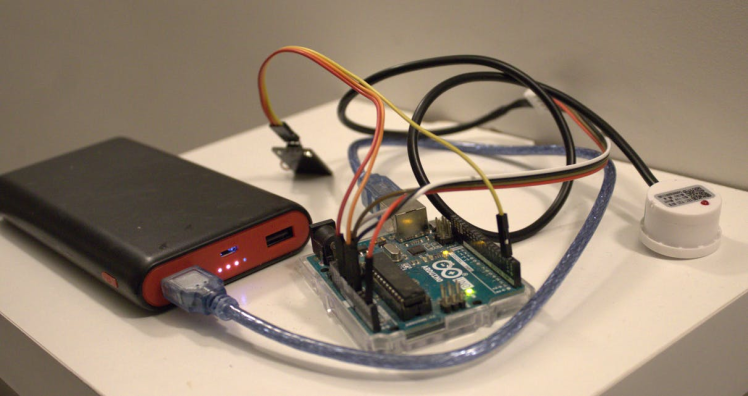
Here’s a breakdown of the components used:
- Arduino (any model) — The brain of the operation.
- Non-contact liquid level sensor — Detects when the beer reaches the correct level.
- Buzzer — Beeps to signal when to stop drinking.
- Jumper wires — For connecting components.
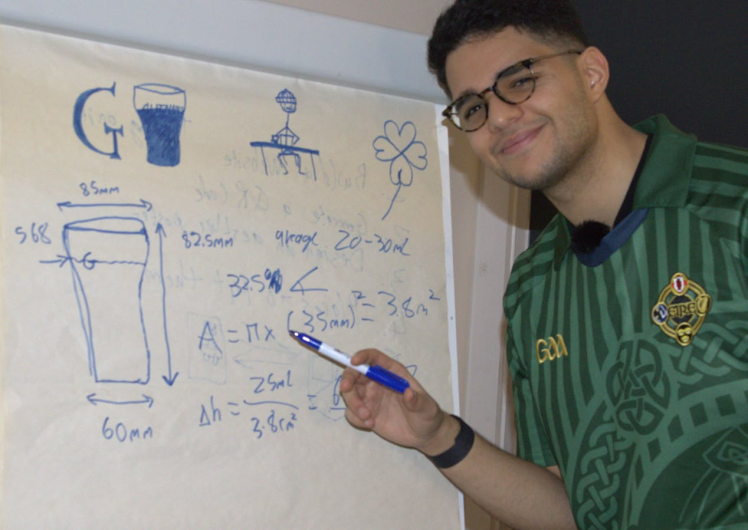
To ensure the sensor detects the right moment to stop, we need to calculate the liquid level drop per sip. Using the glass’s dimensions:
- Top diameter: 85 mm
- Base diameter: 60 mm
- Full pint volume: 568 ml
- Middle of the ‘G’: 82.5 mm down from the rim
At this level, the cross-sectional area is approximately 3.8 cm². Given an average sip volume of 25 ml, the liquid level drops by:

Using this, you can adjust the sensor placement accordingly to trigger the buzzer when the sip reaches the perfect level.
1. Connect the Non-Contact Liquid Sensor
- Attach the signal output to A1 on the Arduino.
- Connect the power and ground to 5V and GND, respectively.
2. Connect the Buzzer
- Connect the positive pin of the buzzer to A2 on the Arduino.
- Connect the ground pin to GND.
3. Upload the Code
- The code checks if the liquid sensor detects a low level (meaning you’ve sipped enough). When this happens, the buzzer activates to alert you.
int sensorPin = A1; // Non-contact liquid level sensor on A1
int buzzerPin = A2; // Buzzer on A2

void setup() {
    pinMode(sensorPin, INPUT);
    pinMode(buzzerPin, OUTPUT);
    digitalWrite(buzzerPin, LOW); // Ensure buzzer is off at start
}

void loop() {
 int sensorValue = analogRead(sensorPin);
 if (sensorValue < 500) { // Adjust threshold if needed
        digitalWrite(buzzerPin, HIGH); // Buzz when the liquid reaches the 'G'
        delay(1000); // Buzz for 1 second
        digitalWrite(buzzerPin, LOW);
    }
    delay(100); // Small delay to prevent rapid buzzing
}Once assembled and coded, it’s time to test! Pour a pint of Guinness (or any dark liquid for testing), place the sensor on the glass, and start sipping. When the liquid reaches the ‘G’, the buzzer will let you know to stop. After some practice, I was able to get a near-perfect split!
Want to see it in action? Watch the full video here: [Full Video]
ConclusionWith this simple yet effective device, I managed to engineer my way to a perfect Guinness pour! I’m taking this setup to Ireland to test my skills at the Guinness Storehouse on St. Patrick’s Day — stay tuned to see how I did. If you’re curious to watch the full journey and see the device in action, check out my YouTube video here: [Full Video]
Cheers (with a Diet Coke, in my case) and happy ‘Splitting the G’!
Code
Credits
Related products


Leave your feedback...