
Diy Webcam Spy-glasses

Made by Its_Triggy / Security / Wearables
About the project
Looking for a project that uses your old, broken laptop? Make yourself a pair of DIY spy-glasses using the webcam! (You can also get a webcam online for $5). The project's quite east and a lot of fun!
Project info
Difficulty: Easy
Platforms: Raspberry Pi
Estimated time: 4 hours
License: GNU General Public License, version 3 or later (GPL3+)
Items used in this project
Hardware components


Hand tools and fabrication machines
Story
The project is documented in its entirety in this video!
I'll go through the build here too though :)
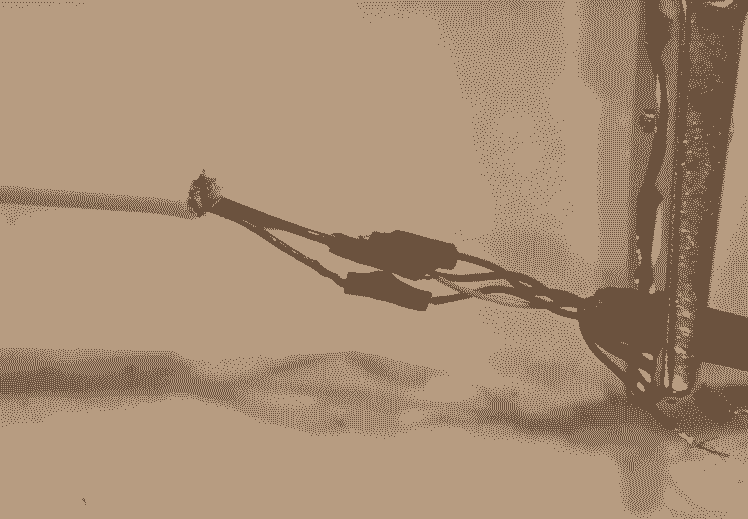
The fist thing you'll want to do is harvest the webcam from your old or broken laptop; this process will be different depending on your laptop. Once you've isolated the webcam, there should be at least 4 wires coming from it (mine had 7). Cut the wires as far from the camera as you can, so you have more wire to work with later on.

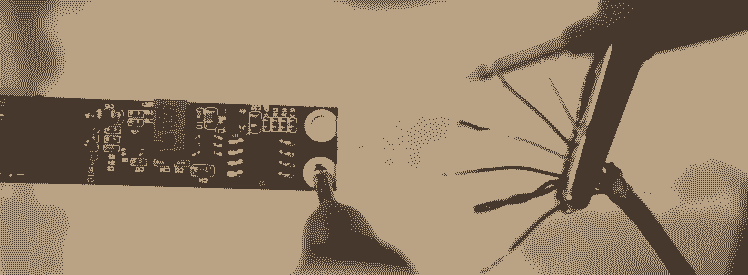
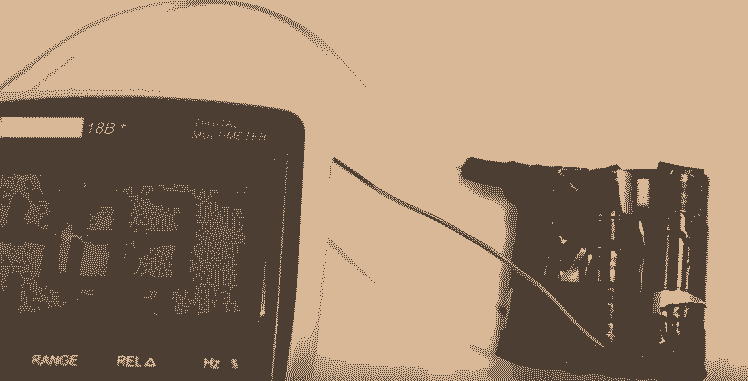
Webcams follow USB protocol, meaning all we have to do is find the cables that match to ground, 5V, data+ and data-. Ground should be the easiest to find. Probe the copper surrounding the screw hole of the webcam with one of your multimeter probes while on the "contact" setting. Use the other probe to check each wire to see which one connects directly to ground.
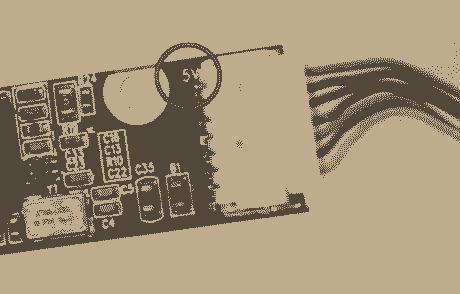
Next, identify the 5V wire. Mine was labelled, and corresponded to the top wire.
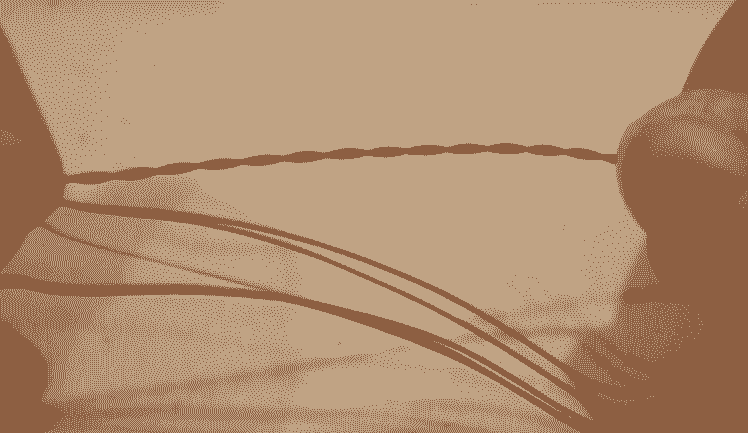
If your camera only has 4 wires, the last two are data! If yours has more than 4 like mine did, look for the wires that are twisted together. Remember from physics that a changing magnetic field generates a current in a loop? coiling the wires prevents any big loops of wire, and the small loops that are created change direction with each loop and cancel each other out. This prevents noise to the data signal.
We'll have to guess which one is data+ and data-, and switch them if the computer doesn't recognize the use device. Let's solder the ground and 5V wires to the corresponding USB wires, and simply tape the other two connections, since we may need to switch them.

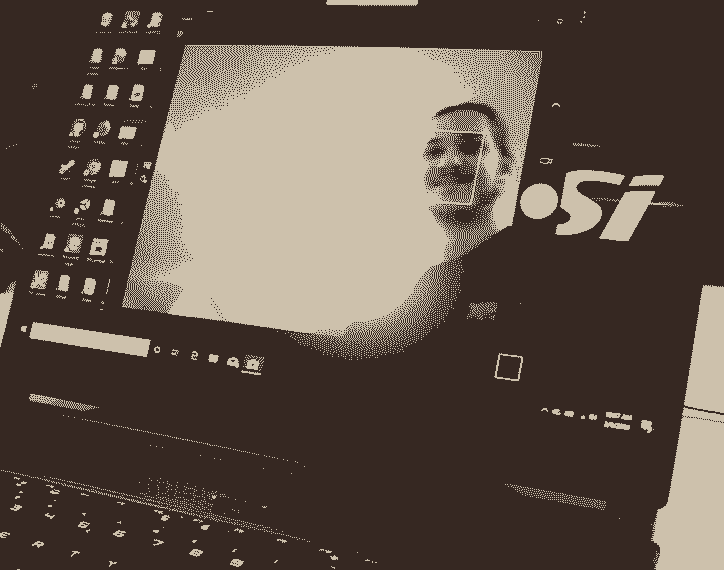
Now plug it into your computer and check for USB devices. Mine was recognized first try, if yours isn't, try switching the data wires. 
The camera should now work if you open an app that uses the camera!
Now let's plug the camera into our raspberry pi, since we can't carry the laptop around in our pocket. We'll create a socket connection between the raspberry pi and the laptop so that we can send data from the raspberry pi to the laptop. We'll create a client script for the RPi and a server script for the laptop. I found these scripts on GitHub and modified them slightly (They'll be attached in the code section).
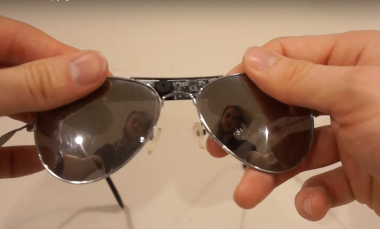
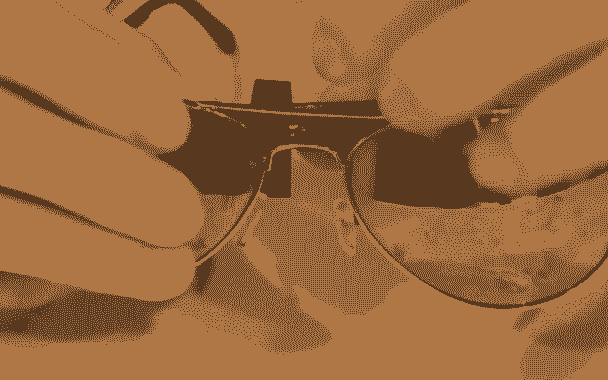
If we run both scripts, we see the images from the webcam displaying on the laptop wirelessly. Very cool! Now let's attach the webcam to some glasses. I used a cheap pair of knockoff sunglasses that had a gap where the camera could fit.
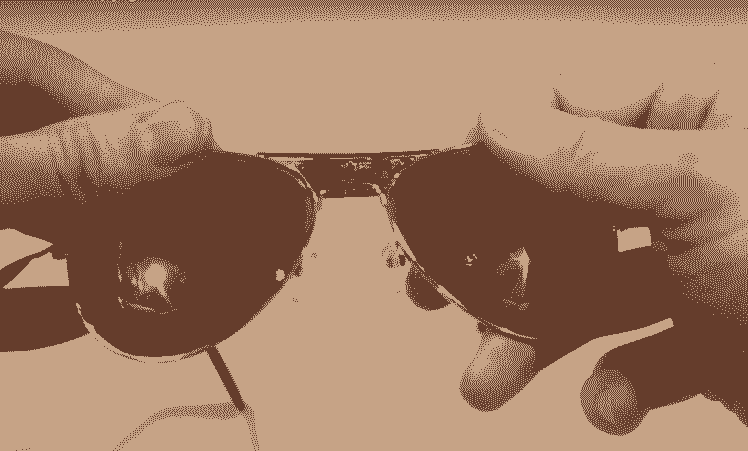
We can then used electrical tape to hold it in place, and to disguise the webcam a bit. 
Now lets tape the wires to the one of the temples of the glasses, and we're ready to test!
Just power the raspberry pi with 5V (I used 3 AA batteries), run the scripts, and toss the raspberry pi in your back pocket!
Code
Credits
Its_Triggy
I'm an engineering student who likes to build projects in his free time! You can check them out here: https://www.youtube.com/channel/UCxTPbRWecEFTu2b018UM-xA
Related products


Leave your feedback...