
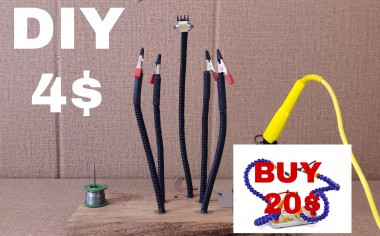
Diy Helping Hands Soldering Station

Made by mukesh-sankhla / Automotive / Productivity
About the project
In this tutorial I am going to show how we can make a super flexible helping hands soldering station using basic materials which are low coast and can be found easily in nearby stores. This 4$ helping hands soldering station looks decent and can perform all the tasks that a commercial helping hands soldering station can do.
Story
Supplies:
- 10 Gauge plastic coated single string metal wire
- Block of wood (15x30 Cm)
- Alligator Pins
- Some different sizes of steel rods
- Solder Holder (Or) Thick metal wire
- Solder tip cleaner (Or) A small container with steel scrubber
- A (7X10m) metal sheet
- Wood Finish Oil
- 5V White LED Light
- Hand drill and other tools
Step 1: Making Flexible Arms:
- Take the hand drill with a long 5mm diameter rod.
- Mark a point on rod for length of the arm.
- Take the metal wire and roll on the rod to make the spring.
- Similarly make few more springs.
- Take the same metal wire and double it using drill.
- This double wire is going to act as core for helping hands.


Step 2: Drilling Holes on the Wood:
- Take the wooden block and mark the positions where you want to place your helping hands, solder holder, lead wire holder and solder tip cleaner.
- Drill the appropriate holes at the marks you made.
- For placing the helping hand drill a hole of spring diameter.
- Inside the same hole drill a hole of core diameter.


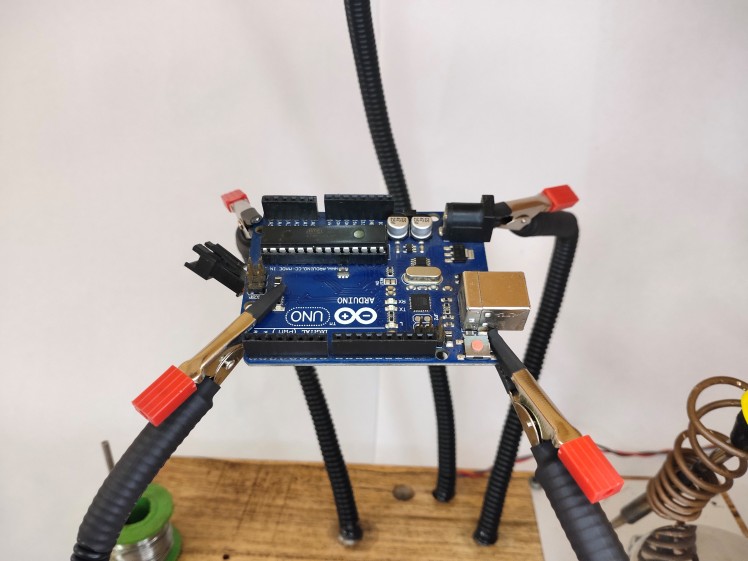
Step 3: Installing Helping Hands:
- Put the cores and springs in the respective holes using glue.
- Take the heat shrink tubes and the alligator pins.
- Fix the alligator pin using super glue.
- After the glue dries position the heat shrink tube and shrink it.
- Put the heat shrink tubes on the teeth's of the alligator pins.
- Glue a 5V LED light on a flexible hand.


Note: You can even put a magnifier and a small DC fan on the flexible hand.
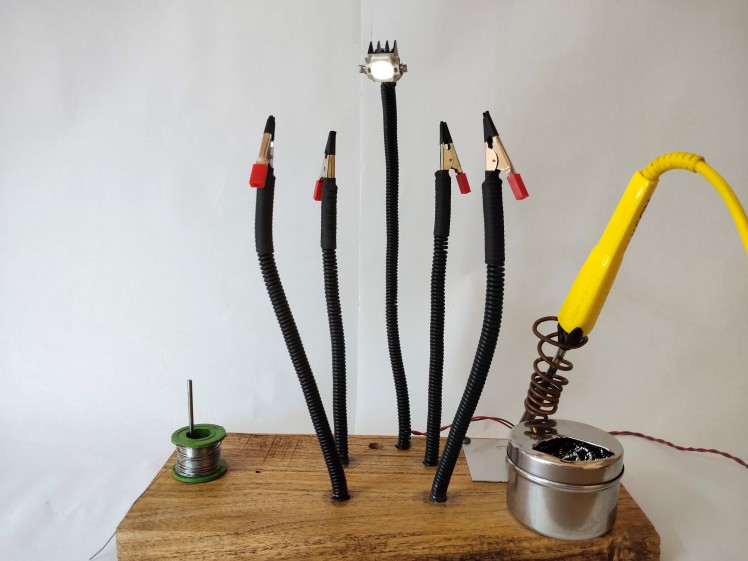
Step 4: Final:
- Fix the container with screws on to the wood.
- Place the scrubber and put the lid.
- To this lid make a opening.
- Fix the solder iron holder and a small rod for lead wire holder.
- Apply the wood finishing oil.


You can use a commercial solder holder and commercial solder tip cleaner instead.
Credits
mukesh-sankhla
Tech Educator | Content Creator | Developer | Maker - Simplifying technology through hands-on learning. Creating high-quality tutorials, projects, and insights on electronics, IoT, robotics, CAD, 3D printing, and software development at Empowering students, professionals, and makers with practical, accessible, and inspiring content.
Related products


Leave your feedback...