
Design Bedroom Lamp

About the project
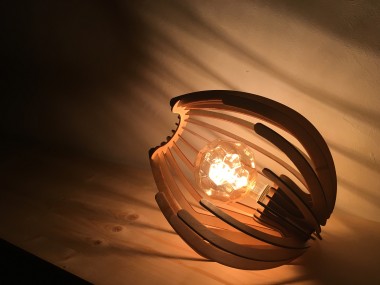
Lamp as an interior design accessory. Good idea for gift.
Project info
Difficulty: Easy
Estimated time: 5 hours
License: GNU General Public License, version 3 or later (GPL3+)
Items used in this project
Hardware components

Software apps and online services
Story
Sometimes it is good to do small, one day side projects to escape everyday routines. Also I needed a gift.
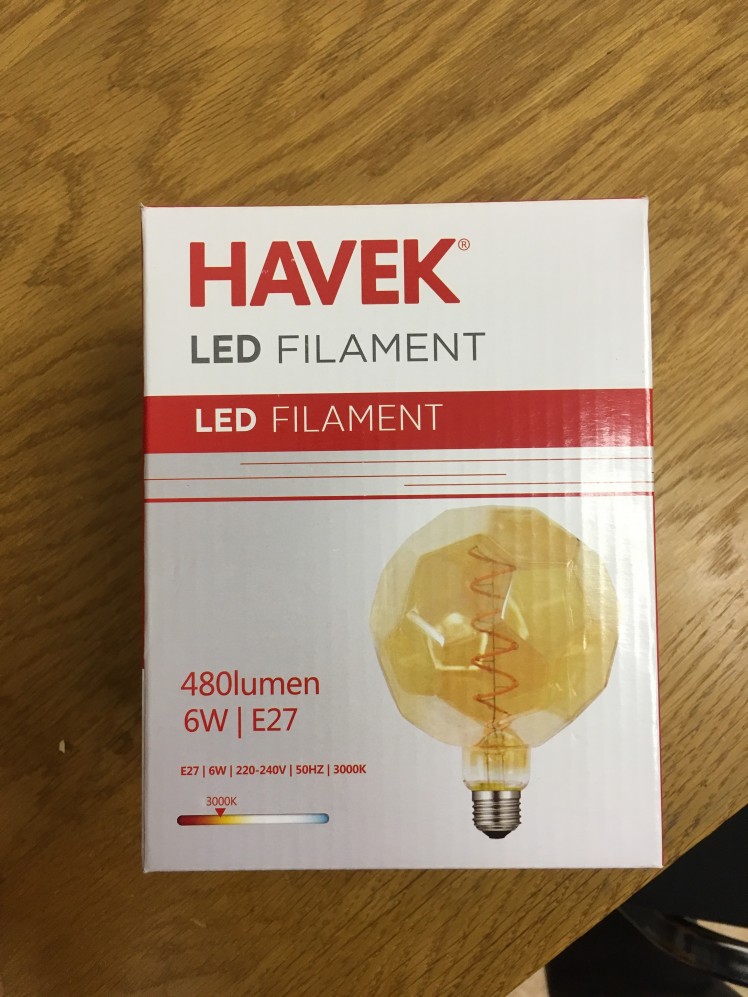
I went to DIY store to buy some LED lamp that would be a bit more special than others. Project also requires cable and socket so I bought them as well. Turned out there was cable that matches bulb color hah.
Here is the light bulb
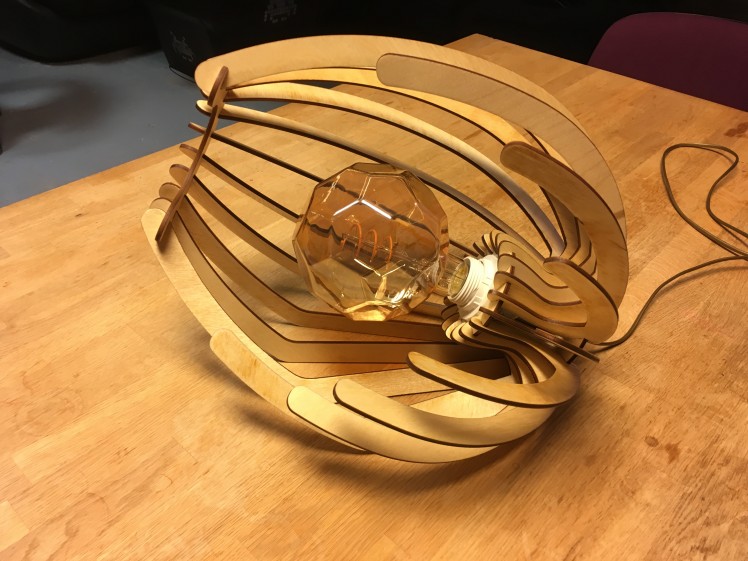
After that, I took my time to design it and put it together. Whole process including designing it and creating 2D files for lasercutting took me one day. So I assume you will be able to replicate it with files already provided in one day easy.
Notes on building process:
Parts were cut out of 4mm plywood. Gaps left for pieces to go together currently are 3.64mm because lasercutter that I have access to, has kerf 0.36mm. This most probably will differ for each lasercutter so you might need to adjust those gaps. I was designing it so that it could be assembled without using glue.
Cut out the pieces and sand them with hand sander or just sandpaper from both sides. I used vacuum cleaner to clean them from dust after sanding.
At this point it is a good idea to hang the pieces on a string or wire and paint them.
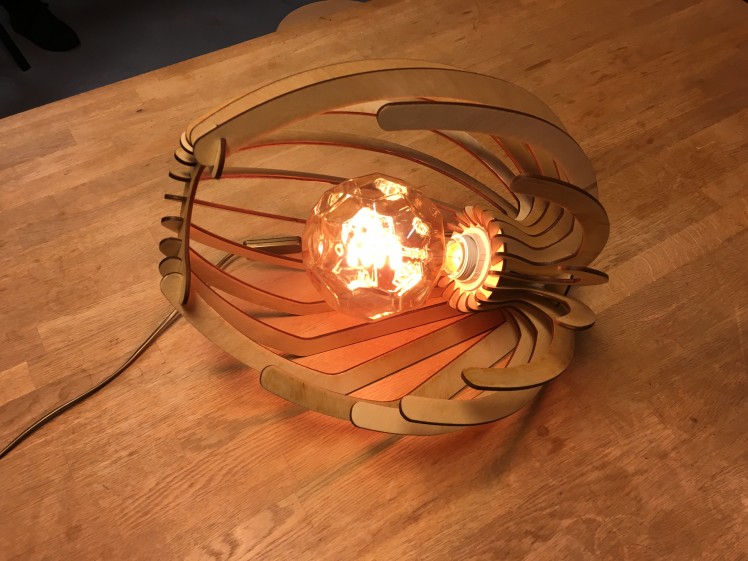
As I didn't had much time, I assembled it first and spray painted the whole thing afterwards with fast drying varnish. That also is ok. It is just better to paint them as early as possible because then there is smaller possibility to leave greasy fingertips and smudge the raw pieces. If you also do it this way, then cover socket and cable with some masking tape and plastic bag.
Assembly steps:
- Put the cable through circle with small hole in the centre
- Put the socket in other circle with large hole in centre and fasten it with nut
- Connect cable to socket
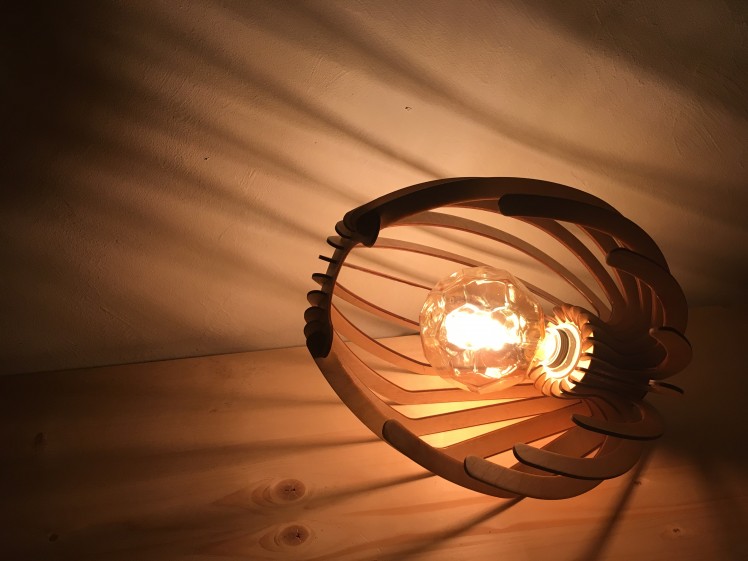
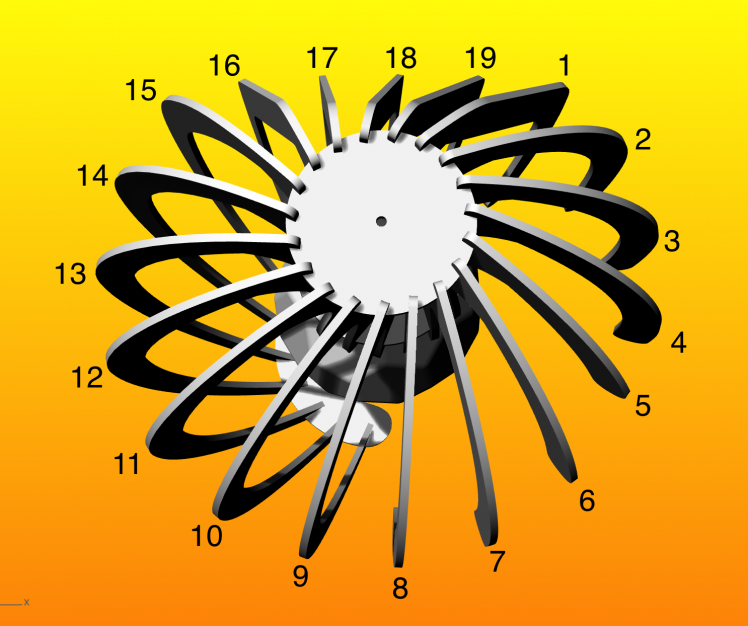
- Mount ribs around circle which has socket mounted in. Ribs have dots at bottom. Mount them in ascending dot count order
- Mount the half-circle top piece in
- Push the bottom piece in
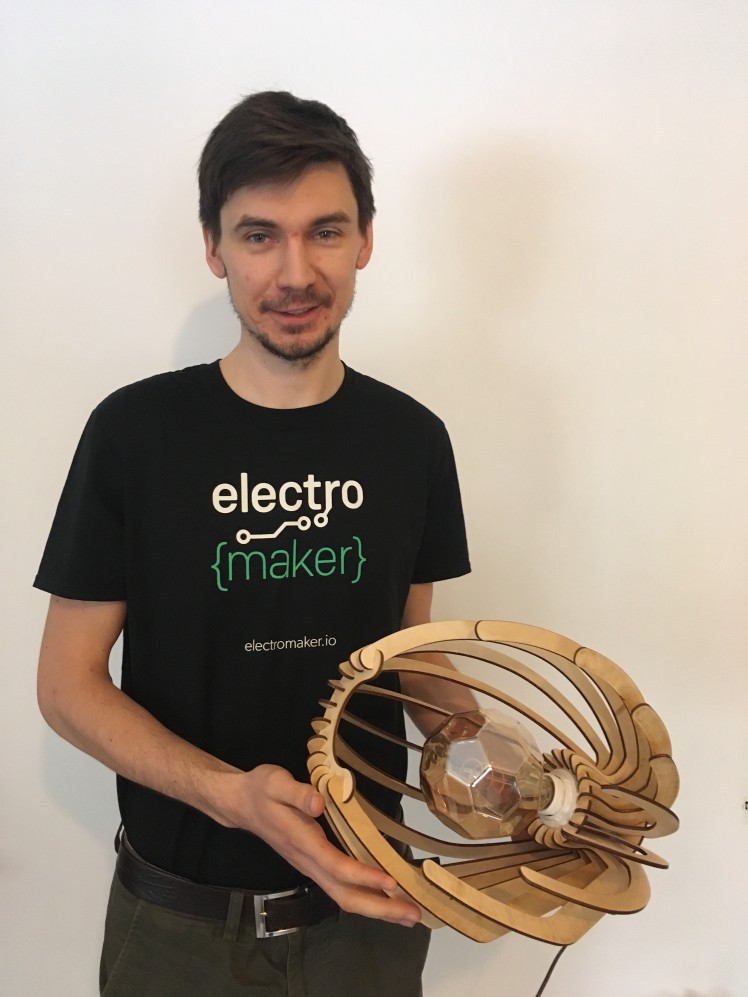 Greetings to guys from electromaker! Not much of electronics project, but this was first thing I built after meeting you at Embedded World 2019.
CAD, enclosures and custom parts
Credits
Related products


Leave your feedback...