
Micro:lab

Made by curbAA / Kids & Family / Productivity / IoT
About the project
A BBC micro:bit user friendly experimentation tool
Project info
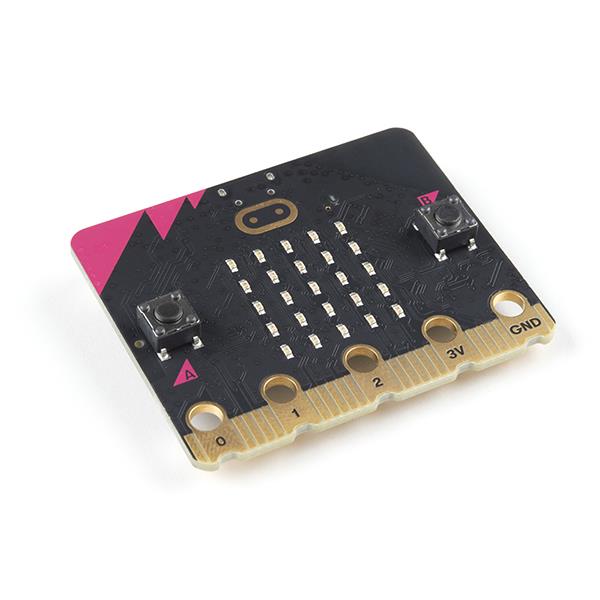
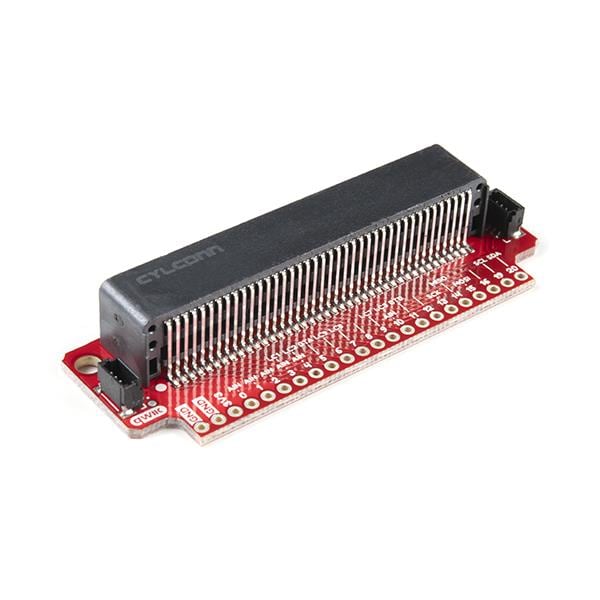
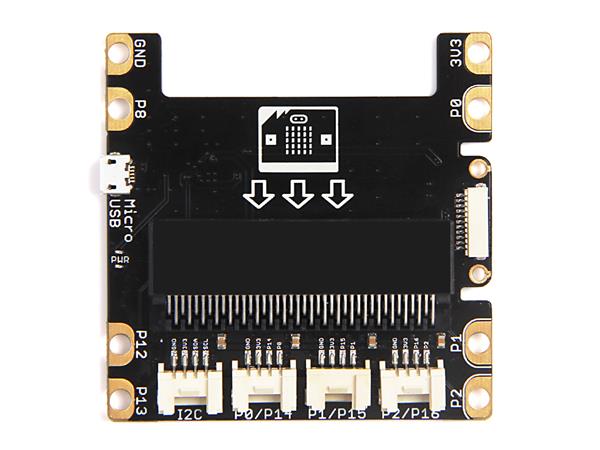
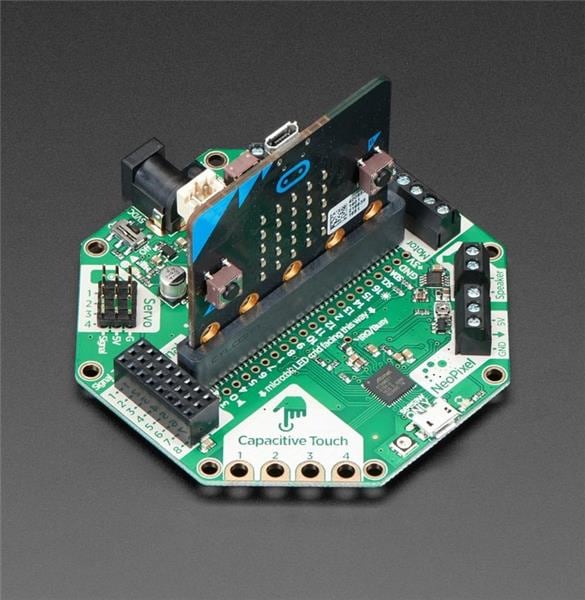
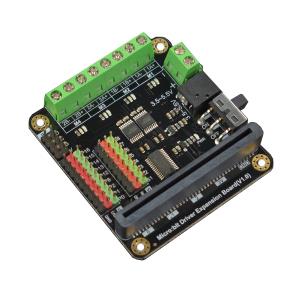
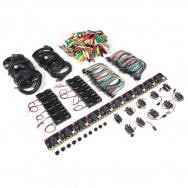
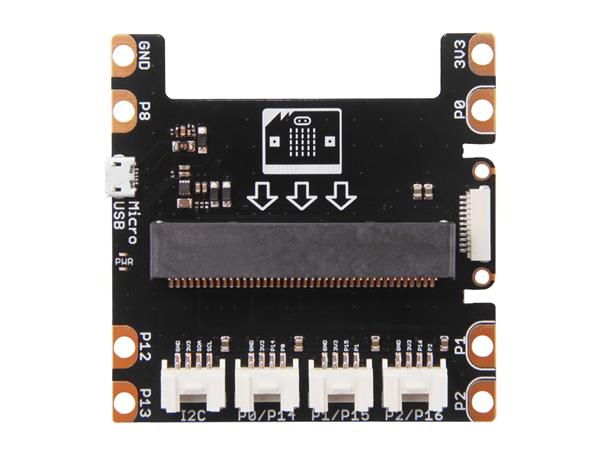
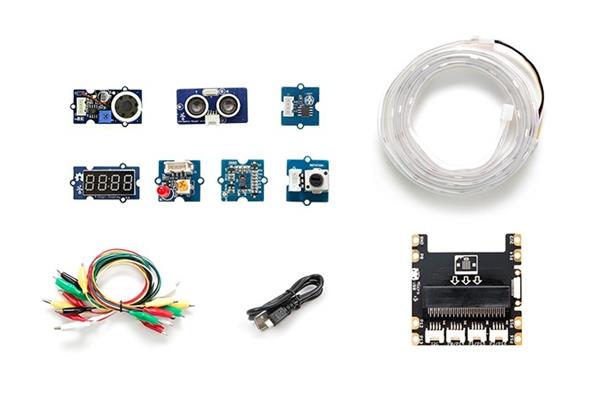
Items used in this project
Story
Story
I'm from a remote part of the planet as you would say. The town that I have lived the entirety of my life is as little as 2000 people. Here, we don't do much tech, there are mostly farmers in the town, and that has not changed throughout it's 200+ years of history.
Amazingly, in my country, there is a project created by the government that gives kids like me (living in zones where there is almost no access to technology) free hardware and education. That's where the micro:bit comes in.
Here, in my country, we can get a micro:bit completely for free. I was stunned the day I found out; I ordered one immediately. And I was thinking that once the school knew about it, it will start giving classes and teaching student's about it.
But, no, it didn't happn at all. The micro:bit did not make any trends in the school; no one cared about it. All that incredible potential for education, wasted. And there is where I realized that we needed to change that AFAP.
You see, for the ones that allready did programming or where interested in computers from a young age, getting to experiment with the micro:bit was really easy. But, and the rest? What about those that don't know how to program it? They couldn't do anything with it unless they knew how to code it first; and teaching how to code is no joke.
But, what if we did not have to learn how to code to experiment with the full potential of the micro:bit? What if we could write/read pins, toggle leds, rotate servos, etc, without the need of coding it? I present to you "micro:lab".
I mean, I know not everyone would like the micro:bit, people are no clones. But it would suck for the ones that would like it and don't have the opportunity to learn about it. Just like the project that gave us the opportunity of getting a free micro:bit in the first place: not everyone is going to want to ordeir it, but the ones that do, have the opportunities at their disposal.
micro:lab
"micro:lab" is a testing tool targeted towards young students for learning, testing, and developing with the BBC micro:bit. This allows them to input commands from the application to their micro:bit or plot data from the microbit into the aplication. It was designed with the intention of easy and intuitive deployment/implementation.
With a minimalistic user interface and easy for classroom installation and implementation, anyone could experiment and learn with the micro:bit without the need of first knowing how to code.
Installation Setup
Prequisities
- Node.JS
- A BBC micro:bit
- Microsoft MakeCode (Recomended for this application customization)
- Winrar or any
".zip"file uncompressor (Unnecesary for Windows 10 users)
Installing
First of all, create a directory in your machine and name it whatever you like, this is where you will download this repository.
If you have Git installed: just do git init in your repository and set the origin remote to my directory and do
`"git pull origin master"`.If you don't have Git installed: simply download a zip file to the directory you created and uncompress it with Winrar or something like that.
Get your micro:bit and plug it into your computer - you'll have to flash the
".hex"file from the"microbit files"into your micro:bit for this to work.Open a terminal in the directory you installed micro:lab and run
npm installfor installing all the dependencies.Last, but not least, you will have to check in your machine in what port your micro:bit is connected for Windows 10, you will have to open up "device manager" from the start menu, go to "ports (COM & LPT)" and checkout if you have like "COM3", "COM5", or something like that in there. Whatever it says, remember the port, open up your text editor, go to the micro:lab directory, go to "server" and open up "server.js", when you are in there, search for the variable "serialPortID" and change it to the value you got from the "device manager".
Deployment
1. Before running this, make sure you don't have any programs, like MakeCode, that read serial ports, becouse they will negate micro:lab access to those ports.
2. For running micro:lab in your computer, you'll have to open up a terminal and go to the directory where you installed micro:lab and run npm start. This will start an express server in your local network in the port 3222 by default.
3. Open up your web navigator of choice and type "localhost:3222/home" in the navigation bar - now you have your application running in your local network.
Common problems
If you aren't receiving any data from the micro:bit when executing the aplication, this could be:
- You are not using the correct
"serialPortID"(change it in the"server.js"file) - You have another program opened that uses serial port readings (like MakeCode, for example)
- You don't have your micro:bit plugged in correctly (try other USB port)
- You touched too much your micro:bit without conscent and now it's mad at you...yes, really. For some reason when you touch the electronic components behind the micro:bit with your fingers, this can cause it to completely stop sending and receiving data from the serial port (just restart the node server in your terminal with
"rs", if it doesn't work, reset both the micro:bit and the server).
What's happening
Basically, this is an aplication that allows you to plot data from the micro:bit's sensors (acceleration, magnetic orientation, and such), and put it to display in your machine. You can also, from your computer, send data and actions to the micro:bit, like a remote control. You can digitally toggle the IO pins in the microbit, or toggle a specific led on its screen, for example.
This allows you to make tests in real time with your micro:bit, without to having to code it every time. Allowing for more interactive classroom experiences with the micro:bit.
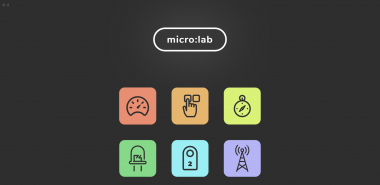
General Objectives
Accelerometer
Being able to represent the data of the accelerometer of the micro:bit in both: a graph, and a 3d visual representation of the micro:bit being tilted in real time.
Buttons
Being able to make the micro:bit do something stated in the page beforehand when you press a button (having a menu that lets you pick what you want the micro:bit to do when you press a button, like, show an icon or a string in the screen).
Compass
Being able to represent the data of the magnetometer of the micro:bit in both: a graph, and a 3d visual representation of the micro:bit being rotated in a magnetic field in real time.
Leds
Being able to show a string or an icon in the microbit, stated by the user.
Pins
Have the capabilities of both reading and writing (digitally and analogically) values from and to the micro:bit IO Pins.
Radio
Setting the channel, sending a value, string, etc, and listenig to them when received, all remotely based on user input.
Original project
Versioning
Authors
- curbAA - Initial work
Contributors License
This project is licensed under the MIT License - see the LICENSE.md file for details
Code
Credits
Related products

Leave your feedback...