
Project info
Difficulty: Easy
Platforms: Arduino
Estimated time: 1 hour
License: GNU General Public License, version 3 or later (GPL3+)
Items used in this project
Hardware components


Story
Description
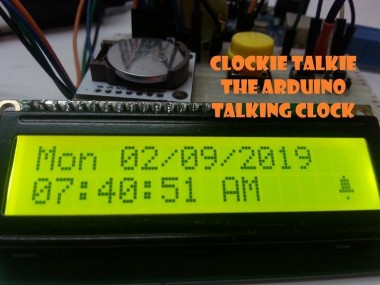
Few months back I sow a post on the tallkie library and I know that one day It's going to be handy. While working on a spelling game, and still thinking that the talkie is a real text to speech, I knew time has arrived to try tit out.I was just a bit bummed that it can "only" do predefined variables, but that immediately made me think what can be done with it.And the most logic thing, after few crazy complicated ideas, was to make a talking clock.So pulled up an arduino uno, tinry rtc, i2c lcd and a speaker and after few trials and errors I had a working first version of a talking clock.I liked it so much and so did a lot of the people that sow my post of the process that I decided its worth over doing.... and creating a proper project documentation. Hope you like the project.
Details
The heart of this project is with out a doubt the talkie library, without it, it was just another clock.The talkie library allows a sort of text to speech, why sort off, since its a preset vocabulary and not true text to speech.
Nonetheless, it's impressive.
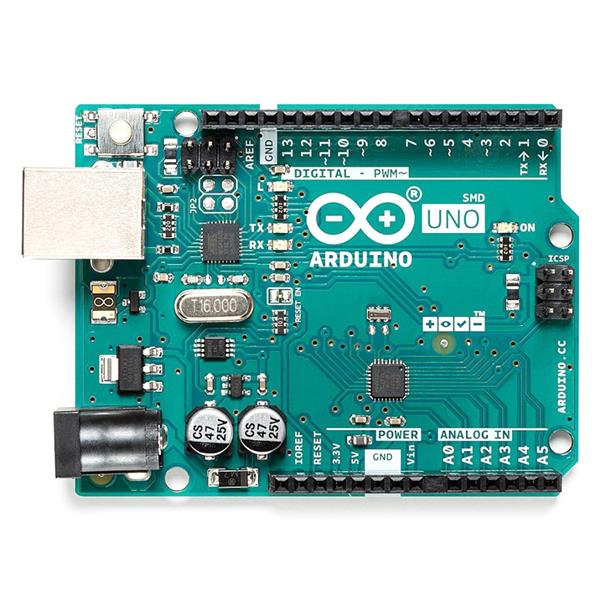
The library only works on on 168 or 328 based Arduinos at 16MHz onlyhttps://github.com/going-digital/TalkieThere there for the logic board to choose was the arduino uno.
I took a Tiny RTC module that I had here, a 16x2 I2C LCD and hooked it all up together with 3 momentary switches on a breadboard.The first thing did was to run the example of the RTC from the library and that is to set the time on the RTC. simple and effective for what I needed at the moment Next I wrote a simple code that get the time and date from the RTC and display it on the screen. that was fairly simple task as well. I then added a piece of code that said the current time, and was triggered by one of the buttons. Here is a video of how it looked at the end of this
The next day I went on to add the option to adjust the time.
With position select between h/m/s and up and down buttons to set the value. And last I added an alarm setting and time check - and when its time to wake you up - it will just keep on saying the time every 10 seconds, till you press a button.
If you are interested in the code there is a link to the git. Still got a few things planned for this project, one of the more obvious one is a case.
Schematics, diagrams and documents
Code
Credits
Related products


Leave your feedback...