

Items used in this project
Hardware components
Story
Here is what our family created for Christmas:
Elfie is anxious to do his tricksHow to build it
You need to get the some driftwood, a tree trunk and a metal round bar from your hardware store. Carefully choose the driftwood branches so they form a triangle when piled up.
Drill a hole in the trunk and in the center of each branch. We are going to use the trunk as a base, so stick in the metal bar and start piling up your branches from longest to shortest. Remember that this could be a family activity so invite everyone in the house to place some branches!
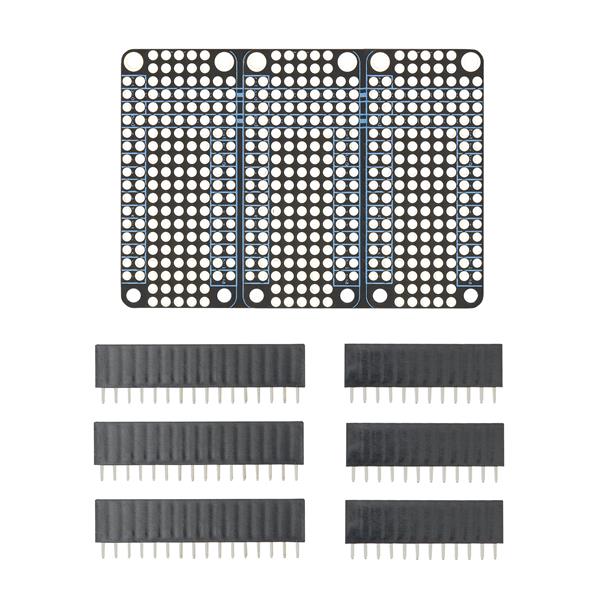
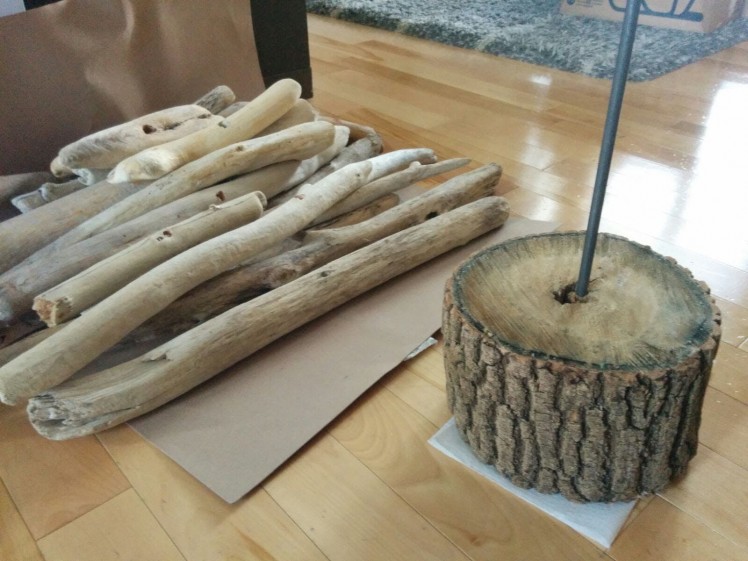 Raw materials
Once assembled, get some christmas LED lights and add the decorations to your Christmas tree.
Here be dragons
For this part there is HIGH VOLTAGE involved so kindly ask everyone to get back to their activities for the time being.
Let me re-state that: do not do this if you do not feel comfortable working with high voltages.
If you don't feel comfortable with high voltages that's OK, just buy a Wemo® Mini Smart Plug or similar and proceed to next step. Oh wait, even better, use an IoT Power Relay from SparkFun. More info about it here.
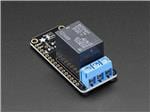
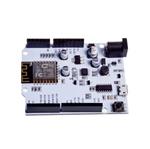
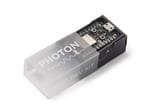
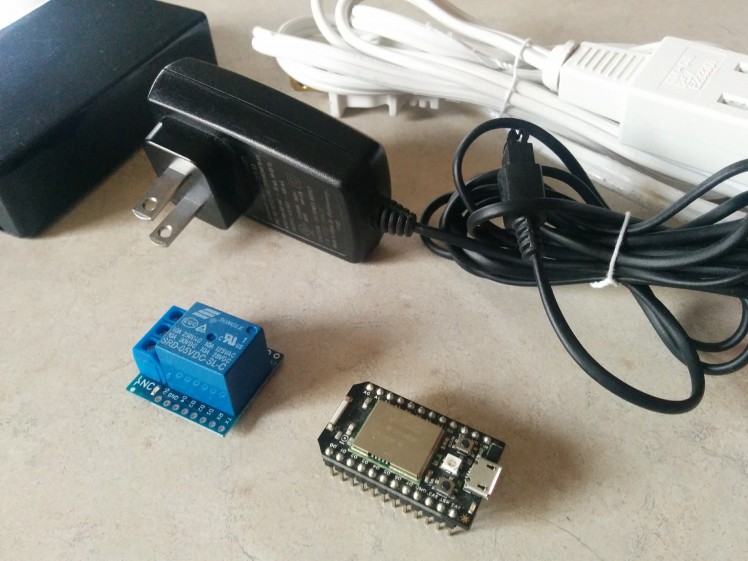
I used an "ancient" Particle Core I had around (you can use a Photon too or most probably any other Arduino compatible MCU) and wired it together with a Wemos mini relay (or any Arduino compatible will do) and a 5v 1Amp power source that I recycled from an old phone charger. You are going to need a plastic box and electrical tape.
; ; 1 / 2
1 / 2
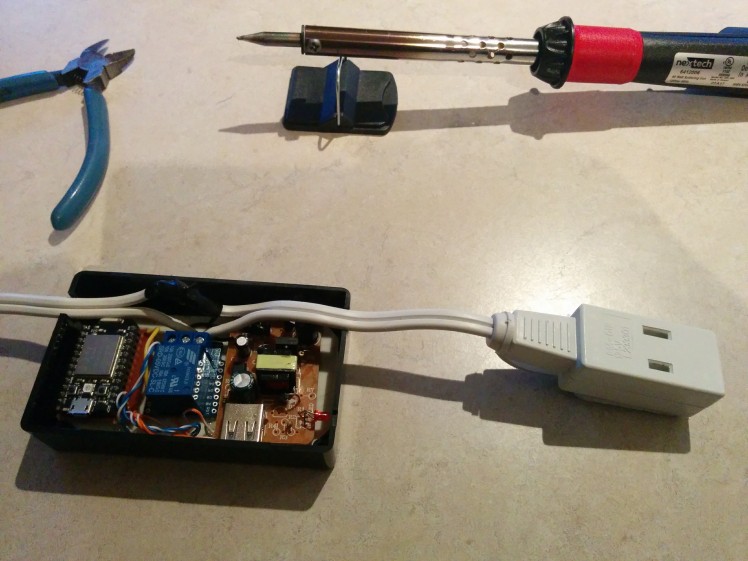
Time to be creative, wire and solder the pieces together:
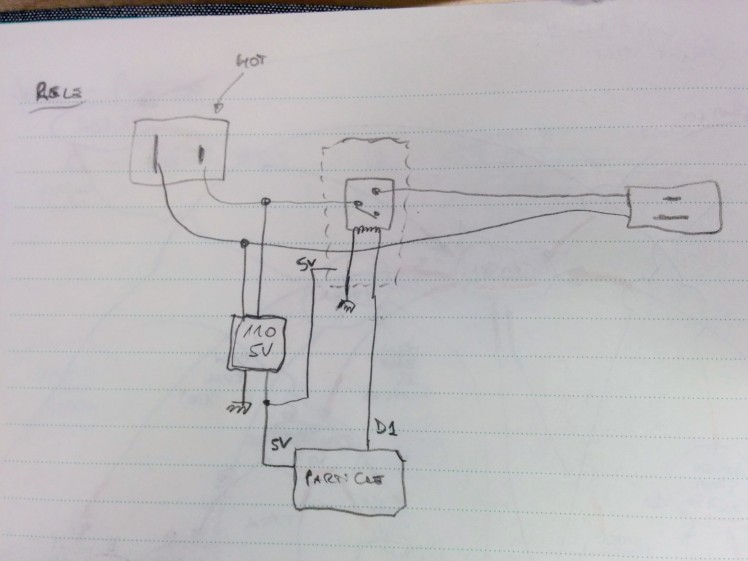
If you get lost, follow this schematic (remember that you want the relay to open the hot wire, so connect it to the COMMON and Normally Open pins):
The end result should look like this:

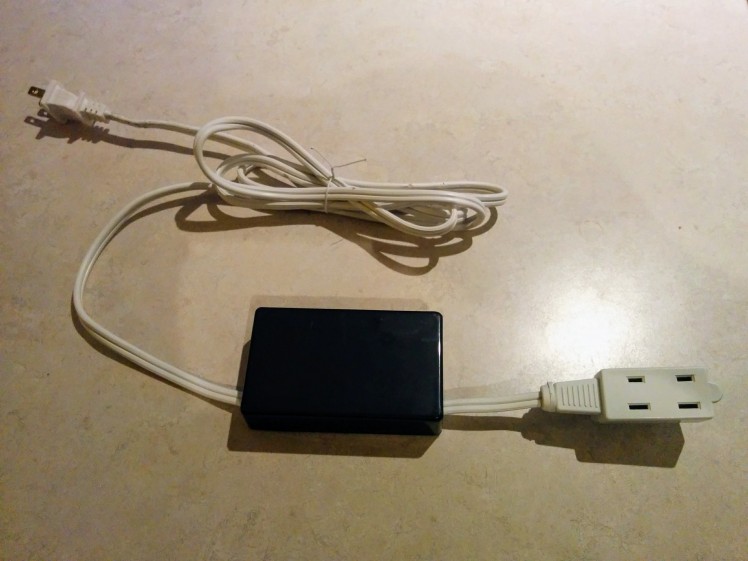
Sorry, the end result should rather look like this:
Once fully assembled, it's time for flashing the firmware.
Schedule
You can control the schedule with the following lines:
const String timeOn = "07:00AM";
const String timeOff = "08:00PM";
Feel free to change them to whatever fits you.
Remote control
I declared a couple of cloud functions in Particle, so I could control it from my phone or a browser:
 Particle.function("turnOff", turnOff);
 Particle.function("turnOn", turnOn);
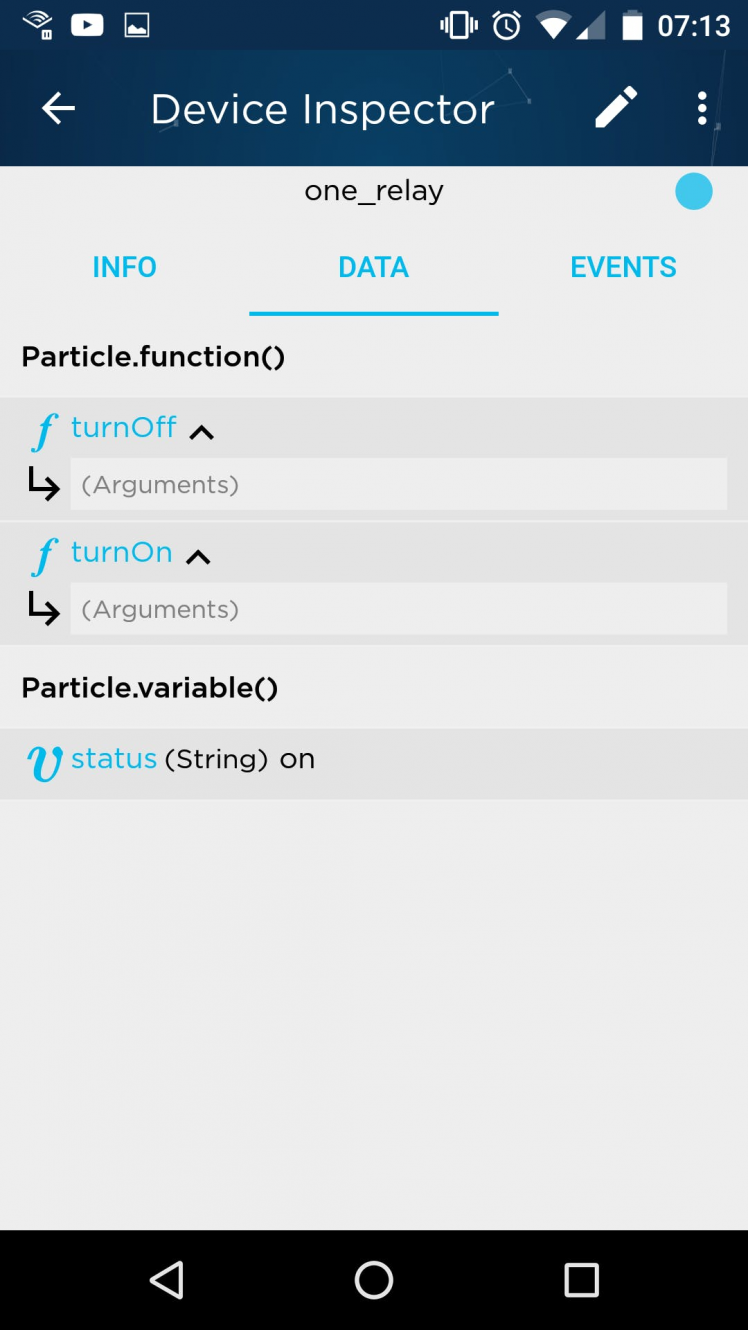
Control it with the Particle app:
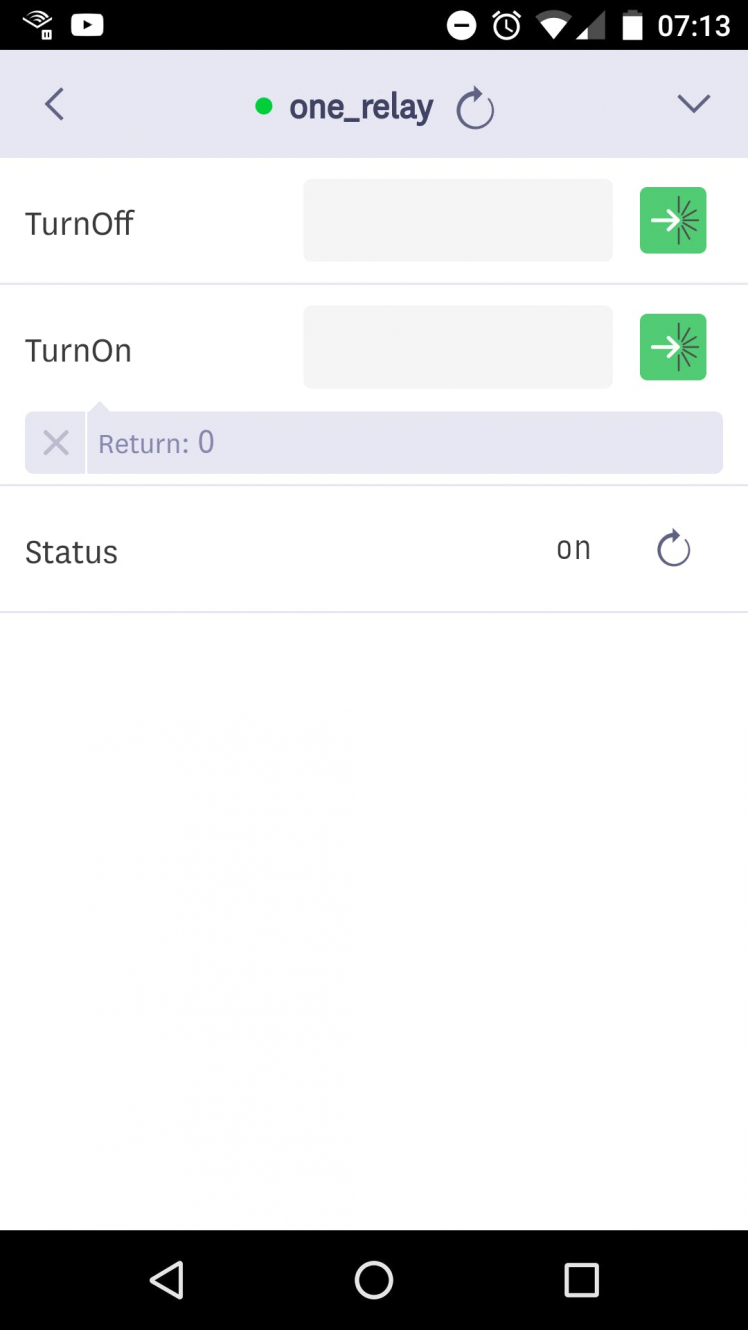
Control it with Porter:
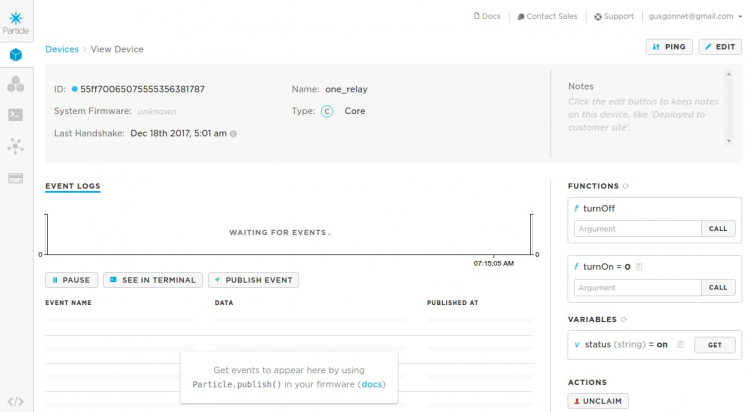
Control it from the Particle devices interface:
Conclusion
I've initially planned on working on this for an hour or so in a snowy sunday, but few challenges with size of the initial 5V charger not fitting the project box made it a bit longer. But hey! The tree lights up every morning and shuts down at bed time these days.
Merry christmas to the Hackster community!
Help
If you require professional help with your projects, don't hesitate to write me a line about your needs at gusgonnet@gmail.com. Thank you!
Schematics, diagrams and documents
Code
Credits
Related products

Leave your feedback...