Building An Esp32-based Network Speed Monitor
About the project
Will guide you to build a Network Speed Monitor with ESP32
Project info
Difficulty: Easy
Platforms: Espressif
Estimated time: 1 hour
License: GNU General Public License, version 3 or later (GPL3+)
Items used in this project
Story
Ever wondered how fast your WiFi network really is? While internet service providers promise high speeds, real-world performance can fluctuate due to network congestion, signal interference, or hardware limitations.
In this tutorial, we’ll build an ESP32-based WiFi Network Speed Monitor that runs periodic tests and displays results in requests per second (req/s) or megabits per second (Mbps). This IoT-powered speed test will help monitor network stability and detect downtime.
What You’ll Learn:- Connecting an ESP32 to WiFi
- Sending HTTP requests and measuring response time
- Calculating network speed in Mbps
- Displaying speed metrics via Serial Monitor or OLED
- Implementing an automatic network health check
Before starting, ensure you have the following:
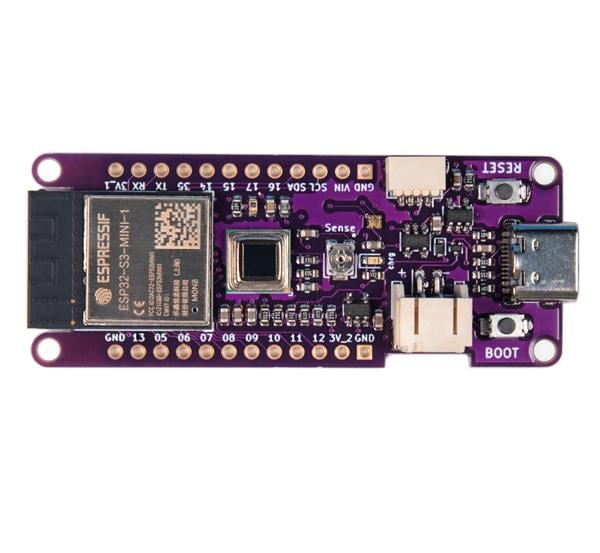
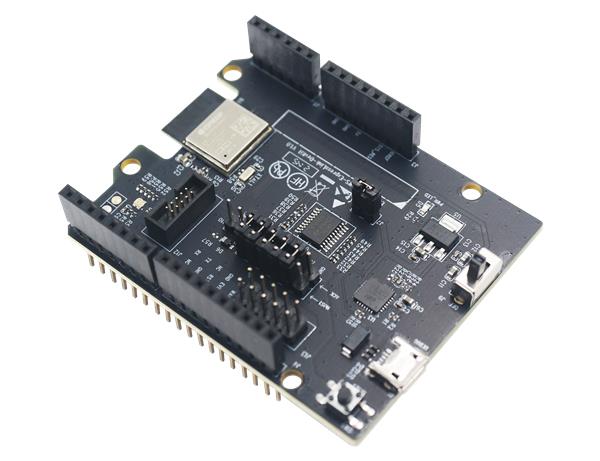
- ESP32 Development Board
- WiFi Connection (2.4GHz recommended for ESP32)
- Arduino IDE (with ESP32 Board installed)
- Jumper Wires (if using a display)
- OLED Display (Optional)
- WiFi Connection: ESP32 connects to your WiFi network.
- HTTP Requests: It sends multiple requests to a test server (
httpbin.org). - Response Time Measurement: Calculates request duration to estimate network speed.
- Data Processing: Converts speed into requests per second or megabits per second (Mbps).
- Display Results: Outputs results via Serial Monitor or an OLED screen.

You must check out PCBWAY for ordering PCBs online for cheap!
You get 10 good-quality PCBs manufactured and shipped to your doorstep for cheap. You will also get a discount on shipping on your first order. Upload your Gerber files onto PCBWAY to get them manufactured with good quality and quick turnaround time. PCBWay now could provide a complete product solution, from design to enclosure production. Check out their online Gerber viewer function. With reward points, you can get free stuff from their gift shop. Also, check out this useful blog on PCBWay Plugin for KiCad from here. Using this plugin, you can directly order PCBs in just one click after completing your design in KiCad.
Setting Up Arduino IDEBefore writing code, install the following libraries:
- WiFi.h - ESP32 WiFi connectivity
- WiFiClientSecure.h - Secure HTTPS requests
- ArduinoJson.h - (Optional) For handling API data
To install:
- Open Arduino IDE → Go to Sketch → Include Library → Manage Libraries
- Search for WiFiClientSecure, ArduinoJson, and install them.
Here’s the complete ESP32 code to measure WiFi speed in requests per second and Mbps
#include <WiFi.h>
#include <WiFiClientSecure.h>

const char* ssid = "YOUR_WIFI_SSID";
const char* password = "YOUR_WIFI_PASSWORD";

const char* testHost = "httpbin.org";  // Test server for HTTP requests
const int testPort = 80;

WiFiClient client;

void setup() {
  Serial.begin(115200);
  WiFi.begin(ssid, password);

  Serial.print("Connecting to WiFi");
  while (WiFi.status() != WL_CONNECTED) {
    delay(1000);
    Serial.print(".");
  }
  Serial.println("nConnected to WiFi!");
}

void loop() {
  Serial.println("Testing network speed...");

  int numRequests = 10;  // Number of HTTP requests
  long startTime = millis();

  for (int i = 0; i < numRequests; i++) {
    if (client.connect(testHost, testPort)) {
      client.print(String("GET /get HTTP/1.1rn") +
                   "Host: " + testHost + "rn" +
                   "Connection: closernrn");

      while (!client.available()) {
        delay(10);
      }

      while (client.available()) {
        client.read();
      }
      client.stop();
    } else {
      Serial.println("Connection failed!");
    }
  }

  long elapsedTime = millis() - startTime;
  float speedReqSec = (float)numRequests / (elapsedTime / 1000.0);
  float speedMbps = (numRequests * 0.2 * 8) / (elapsedTime / 1000.0); // Approx. 200 bytes per request

  Serial.print("Network speed: ");
  Serial.print(speedReqSec);
  Serial.println(" requests per second");

  Serial.print("Download speed: ");
  Serial.print(speedMbps);
  Serial.println(" Mbps");

  delay(60000);  // Run test every 1 minute
}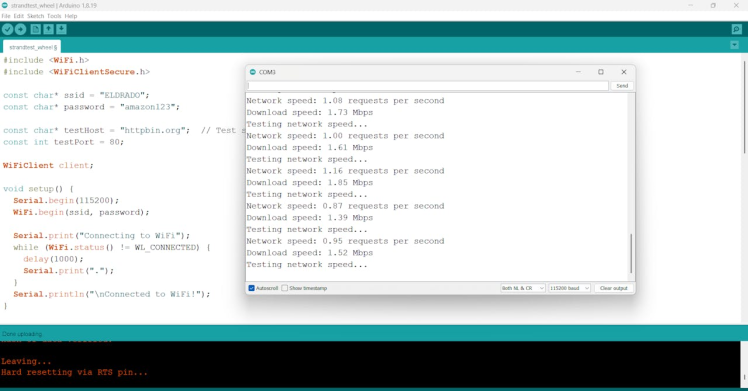
- Connects ESP32 to WiFi
- Sends 10 HTTP requests to
httpbin.org - Measures total time taken for all requests
Calculates speed:
- Requests per second (req/s)
- Download speed (Mbps) using
DataSize * 8 / TimeTakenformula - Repeats speed test every 60 seconds
If you’d like visual feedback, connect an SSD1306 OLED display and modify the code:
#include <Adafruit_GFX.h>
#include <Adafruit_SSD1306.h>

#define SCREEN_WIDTH 128
#define SCREEN_HEIGHT 64
Adafruit_SSD1306 display(SCREEN_WIDTH, SCREEN_HEIGHT, &Wire, -1);

void setup() {
  display.begin(SSD1306_SWITCHCAPVCC, 0x3C);
  display.clearDisplay();
}

void loop() {
  display.clearDisplay();
  display.setTextSize(1);
  display.setTextColor(WHITE);
  display.setCursor(0, 10);
  display.println("Speed: " + String(speedMbps) + " Mbps");
  display. Display();
}You can extend this project by: ✅ Adding a Web Dashboard – ESP32 hosts a web page displaying results. ✅ Storing Data – Log speed trends using Firebase or an SD card. ✅ Real-time Alerts – Trigger a notification when the WiFi speed drops below a threshold.
Conclusion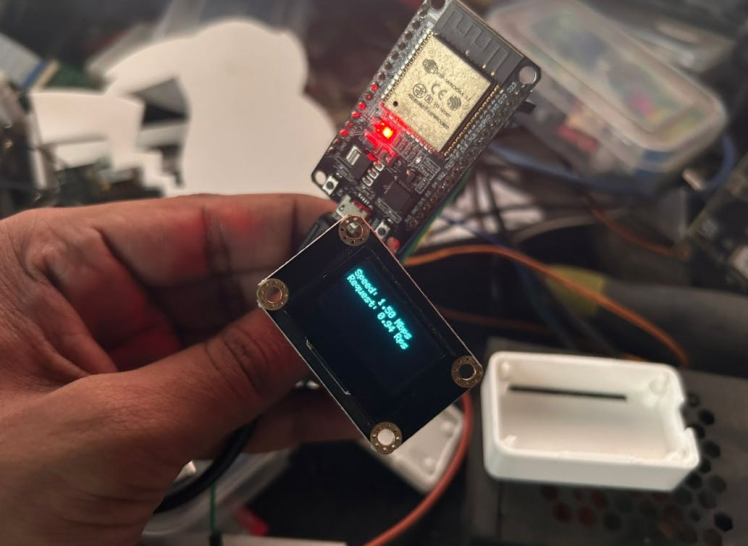
With this ESP32-powered network speed monitor, you can check WiFi performance, detect fluctuations, and even automate connectivity testing for smart home applications. 🚀





Leave your feedback...