
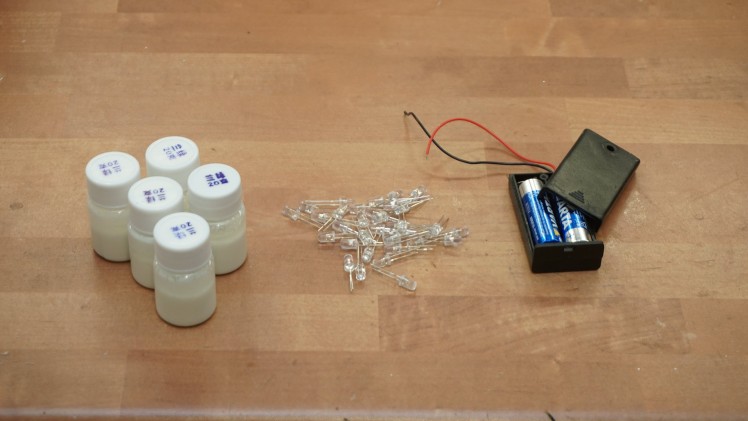
Items used in this project


Story
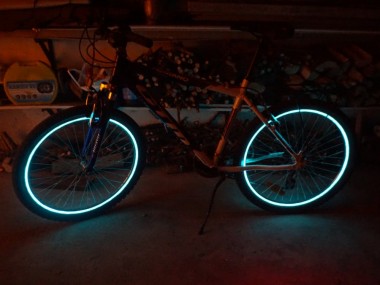
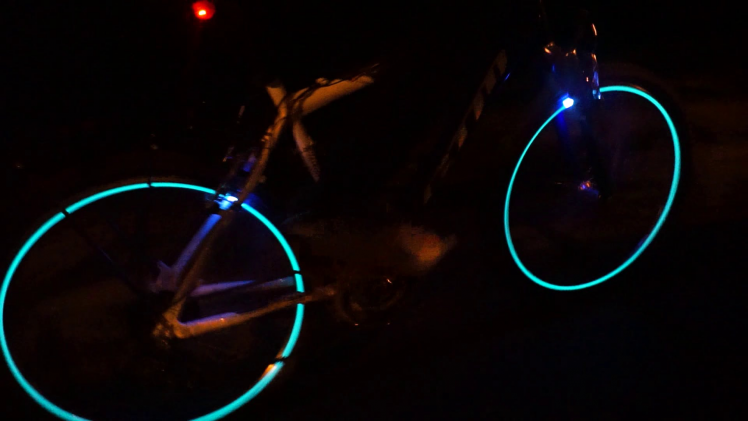
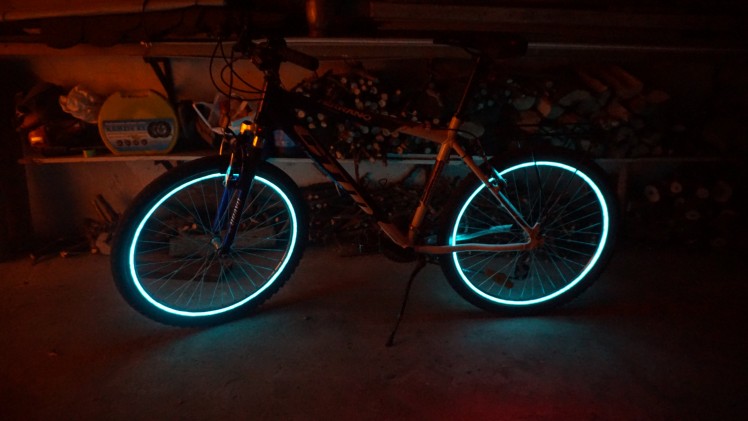
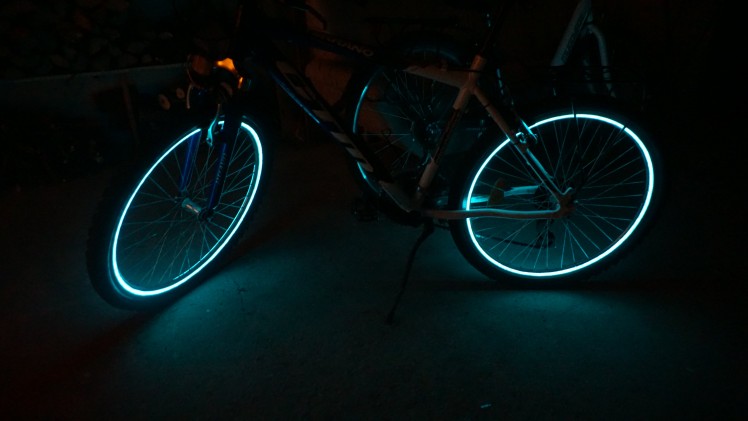
Night time visibility is an important factor in the safety of riding a bicycle. But who am I kidding? This light is simply cool and that's why you want it! :-D Fortunately, the light is super simple to build, and doesn't require any special tools or skills. Just time and patience.
The effect is achieved simply with glow in the dark point and LEDs. Also, check out the video with the entire build process documented.
Step 1: Before You Start
There is a couple of things, you'll need:
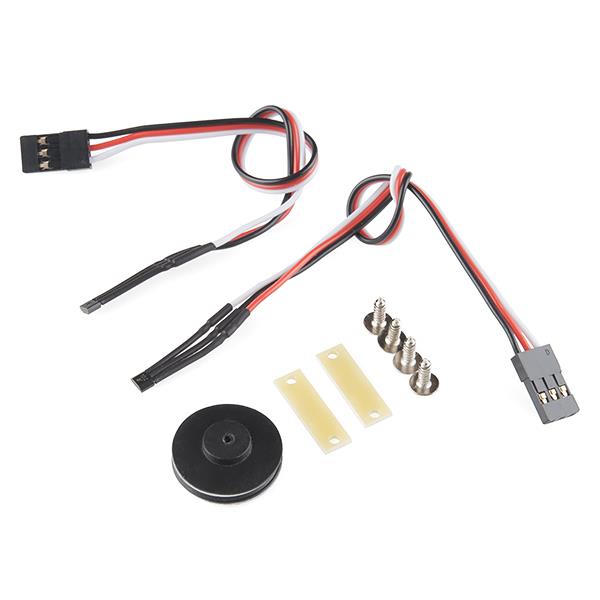
- 12x UV LEDs - just get 100 of them as they are so cheap
You will also need some masking tape, paintbrush and wire to hook up the LEDs. Lastly, you'll need a battery holder for 2 AA batteries or you can you power bank like I'm doing.
Step 2: Painting
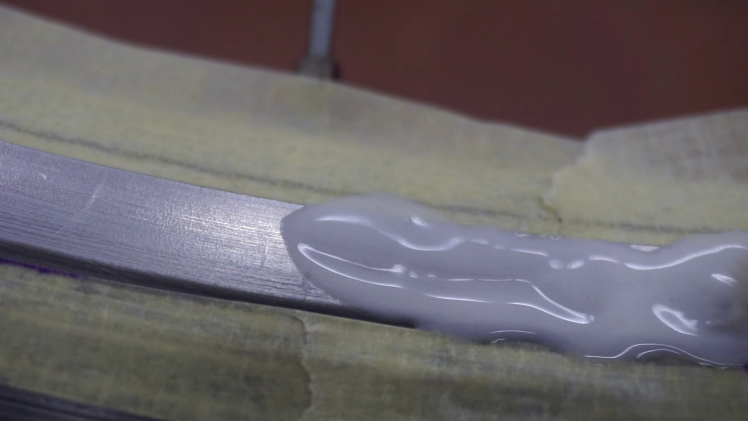
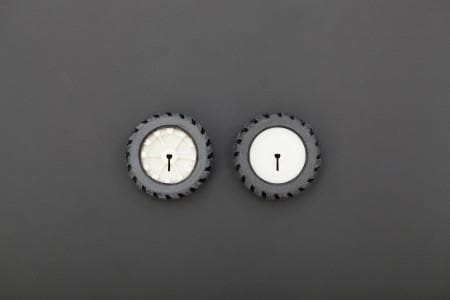
The first and most time-consuming step is painting the wheels. It's pretty straightforward however. You could try painting the circle free handed but that probably wouldn't end up great. Instead, it's a lot easier to mask out the outline of the circle. First of all, find a spot where you want the circle to be and clean the surface thoroughly. I started with a wet sponge to get most of the dirt out and then followed with some alcohol and paper towel.
Next, mask everything that's not supposed to be painted. Instead of trying to place the masking tape precisely in the shape of a circle, simply make a rough outline. Grab a compass and mark a line on the tape that is a set distance from the edge. You can then take an x-acto knife and cut along the line. It is a lot easier when you put the wheel back on the bike, rest your knife on the frame and slowly turn the wheel. That way you'll have a perfect circle and you might not even need to draw the line first.
When painting, make sure to leave a lot of paint on the wheels. The surface might appear uneven and too thick when the painting but once it dries it will be fine. Check the video for reference at 1:17
Once your paint has dried I'd suggest putting on a protective clear coat. Just avoid spraying on the braking surface.
 1 / 4
1 / 4
Step 3: Wiring
When it comes to circuits it couldn't be any simpler than this. all 12 LEDs connected in parallel directly to a battery. Well, that is if you're using 3V battery. If you decide to use a power bank which is a lot more convenient in my opinion you need to add a single 22Ω resistor in series. Both schematics are right here.
When it comes to mounting the LEDs to the bike I used a custom 3D printed holders. which you can download btw. but those aren't necessary of course. The LEDs can by simple glued to the frame. But really there are dozens of ways to do it so I'm gonna leave it to your imagination.
You might also notice I'm soldering everything together but that isn't necessary either. If you don't have soldering iron simply twisting the legs of the LEDs together will do the job. Maybe even something like twist wire connector could work but that might be a bit too bulky.
 1 / 3
1 / 3
Schematics, diagrams and documents
CAD, enclosures and custom parts
Credits
Related products


Leave your feedback...