

Arduino pov vision clock

Made by raushan-kumar
About the project
Hello guys in this article, I am going to tell you about the making an easy Arduino POV Clock. I have made a mini POV display using Arduino
Project info
Items used in this project
Hardware components

Story
Hello guys in this article, I am going to tell you about the making an easy Arduino POV Clock. I have made a mini POV display using Arduino nano & some LEDs
Here is a speciality of this project. usually, we make a POV display using a big, high-speed Dc motor because our POV circuit runs on 9v or another little bit weighty battery.
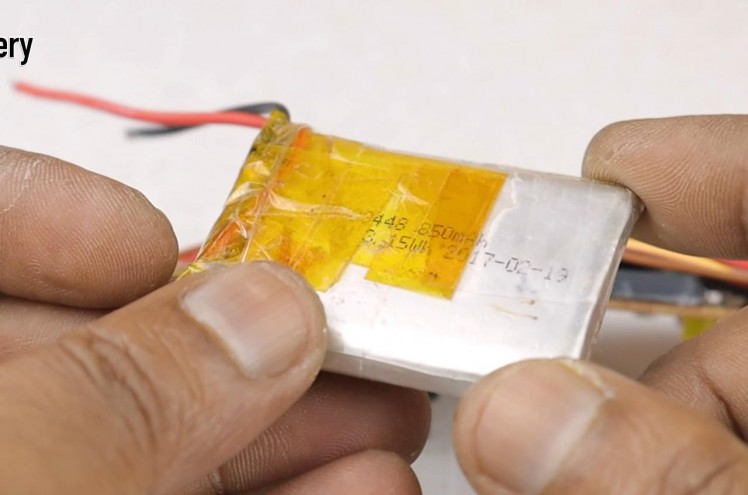
Different color for better visual effect.The device is powered by a lithium ion battery through a step-up converter
The propeller display is in a way like LED Matrix. It contains 19 LEDs (Light Emitting Diodes) which are arranged in the form of an 19*1 matrix (19 rows and 1 column).
Thank You, NextPCB:This project is successfully completed because of the help and support from NextPCB. Guys if you have a PCB project, please visit their website and get exciting discounts and coupons.
Get $100 coupon from NextPCB: https://www.nextpcb.com/register
Check now our new offers here
Free shipping 0$ PCB Prototype:https://www.nextpcb.com/pcb-quote
Thanksgiving Christmas lucky draw 100% win: https://www.nextpcb.com/christmas-lucky-draw
They are arranged in the form of ladder one over the other. These 19 LED can be made to display any content like text, numbers, symbols etc.


I will list out the circuit related components here. There are other tools and stuff you might require in order to construct this POV Display. I will mention those while I explain the construction.
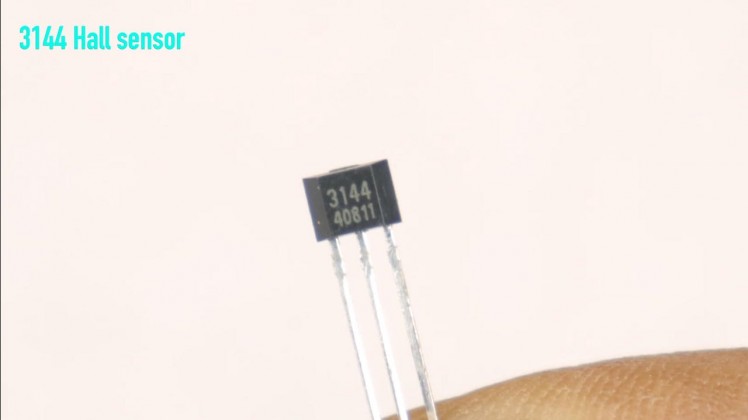
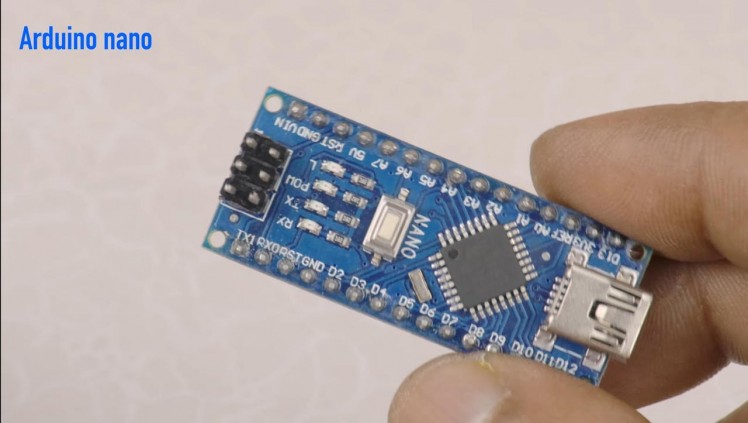
The electronic part contains the Arduino Nano 17 LED diodes and the Hall effect sensor.
- Arduino nano
- 220-ohm resistor
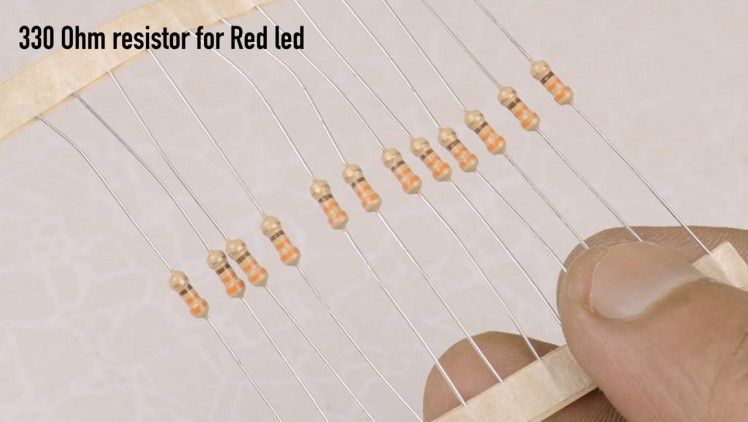
- 330-ohm resistor for red LEDs
- Hall effect sensor.
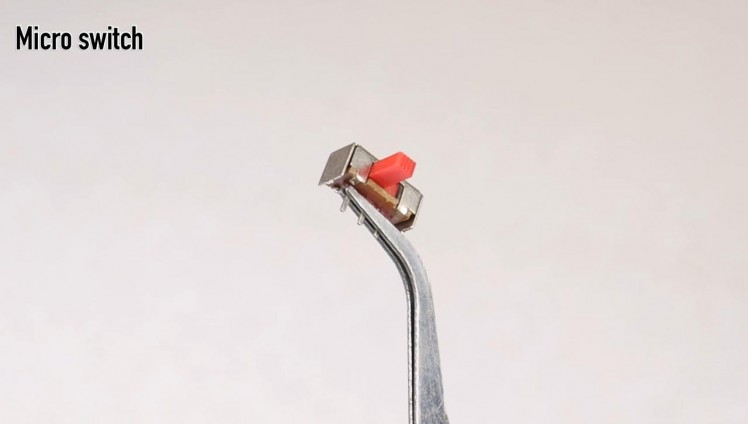
- Motor s
- witch
- battery
- Vero board
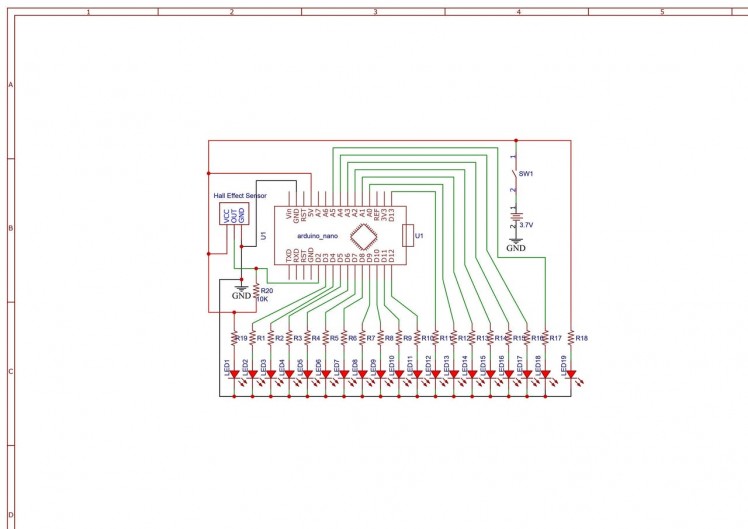
The following image shows the circuit diagram of the POV Display using Arduino Nano.
Circuit of Arduino controlled POV Display is very simple, we simply connected 19 LEDs with Arduino Uno as per circuit diagram above.
Step 3: Assemble the Motor Base Board
1 / 2

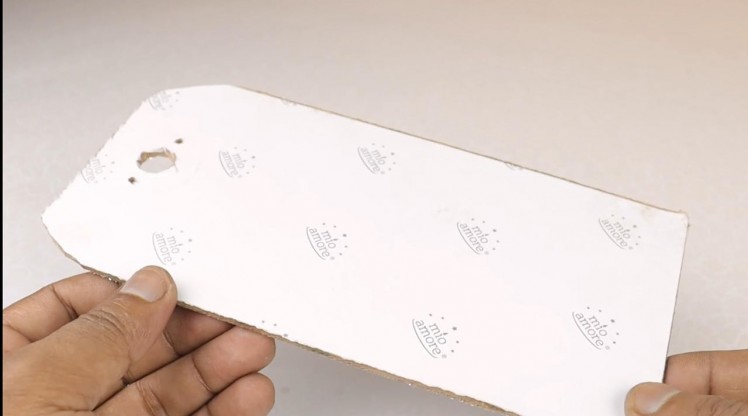
First take a stable base; I used a board sheet which was lying around.
You can get a wooden plank or a cardboard box.
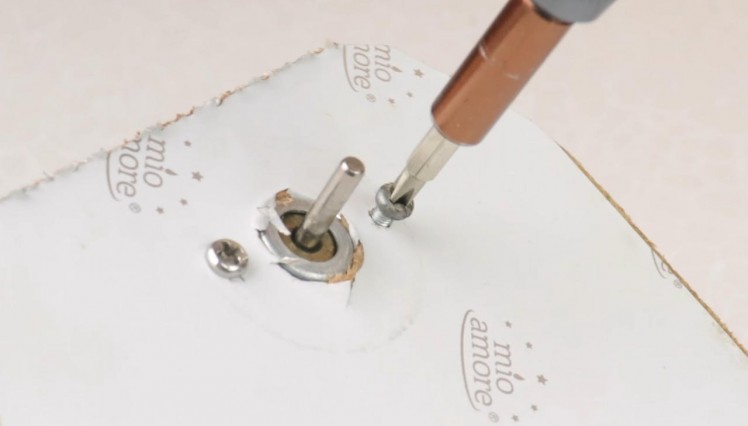
Then make a hole in the middle of (base) and insert the DC motor axis in it.
Make sure the hole is tight enough to hold the motor and motor can rotate freely.
I used screw to put the axis in place.
Step 4: Assemble the Circuit
1 / 6


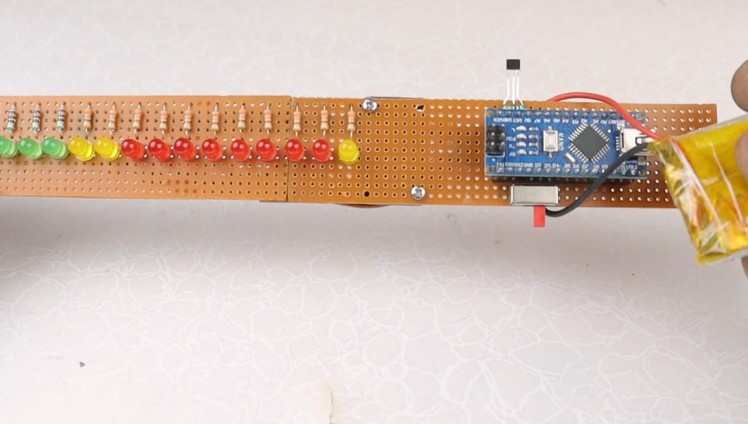
After that take each 19 LED and test it with button cell or any other source.
Then take some resistors and solder them with LEDs as per the picture and circuit diagram shown above.
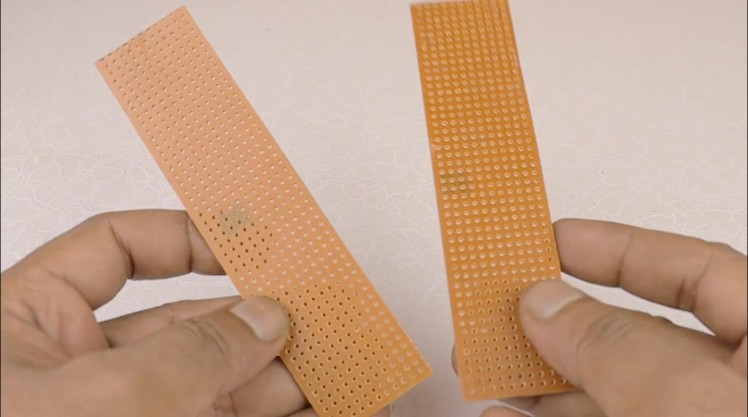
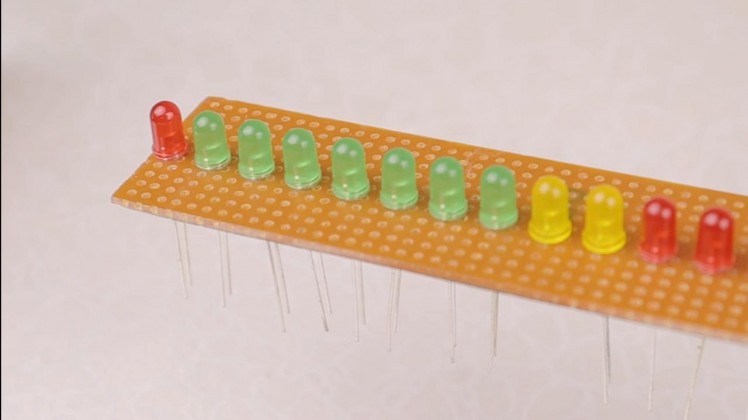
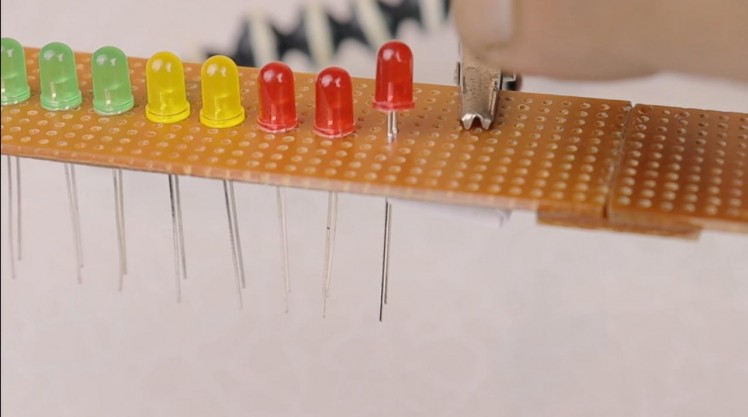
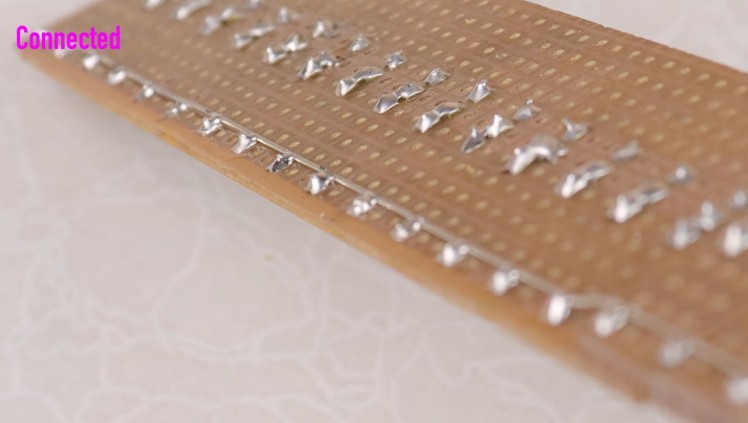
Take 19 LEDs and place them in a row. Solder them to the perf board.
Connect the soldered LEDs
Connect the soldered resistors
as shown in above figure and circuit diagram.
Mounting Arduino Nano
Attach the Arduino on to the PCB board
Solder two female header strips to insert the Arduino Nano.
So the final Propeller setup will look like below:
Step 5: Connecting LEDs to Arduino
1 / 4
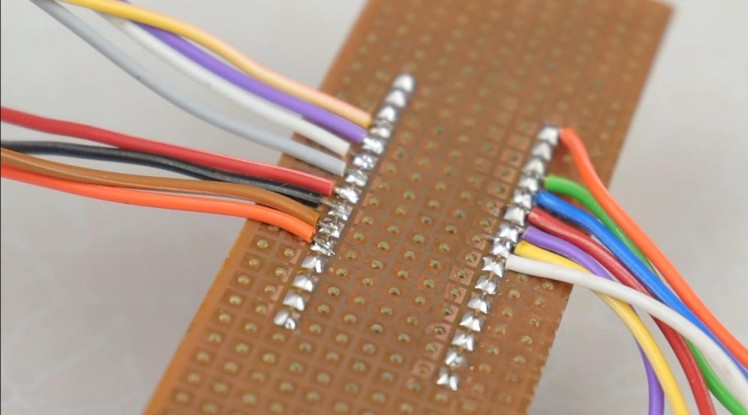
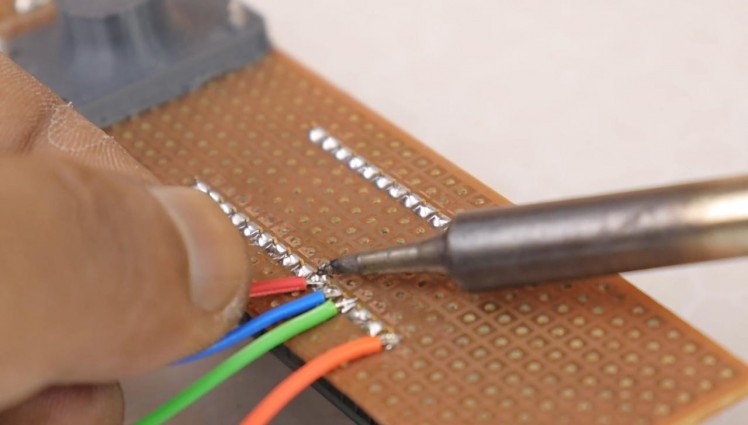
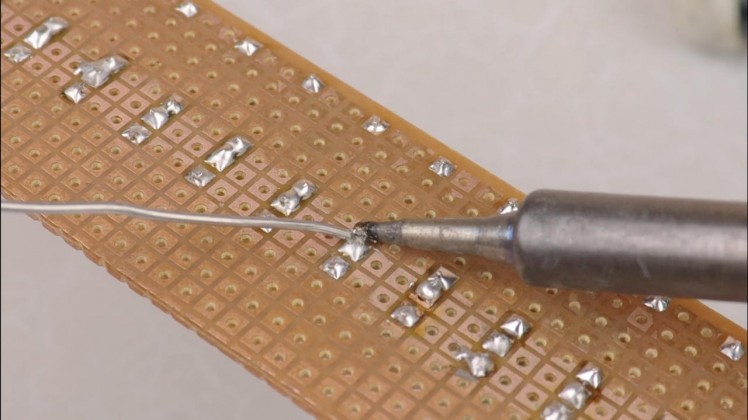
The other end of the resistor must be connected to Arduino.
So, take a bunch of single gauge wire and connected the resistors to corresponding pin of the Arduino Nano.
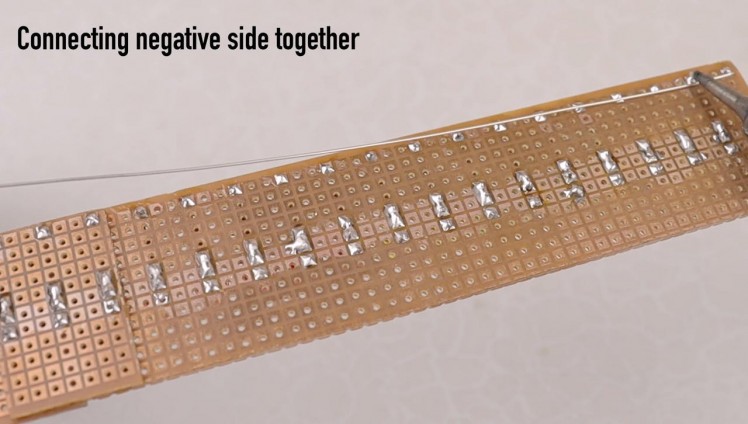
Also, all the Cathode terminals the LEDs can be shorted with a long wire and connect this wire to the GND terminal of Arduino Nano.
Step 6: Mounting the Propeller in Motor
1 / 3
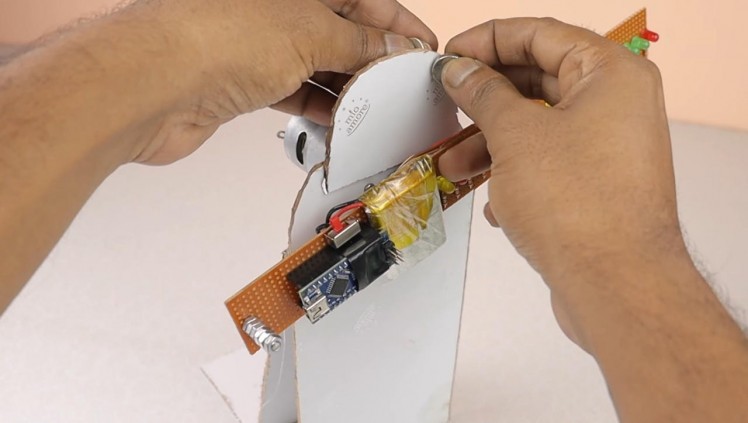

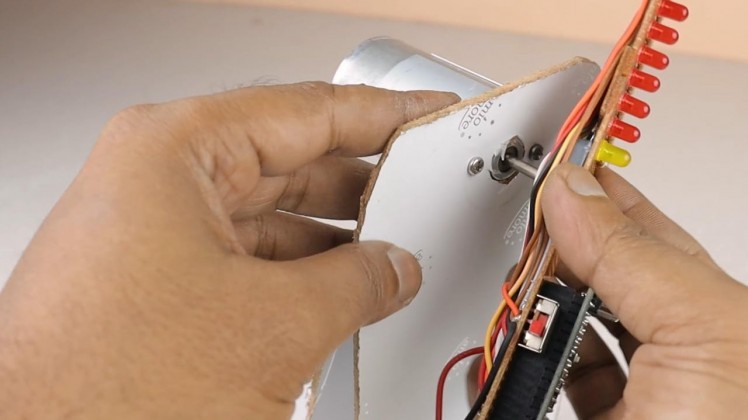
- First of all we will put the assembled circuit which will act as fan in the motor
- Now we will put the magnet on the right side we will place it carefully so that our sensor can read it
- This finishes the complete construction of the POV Display using Arduino Nano.
1 / 2
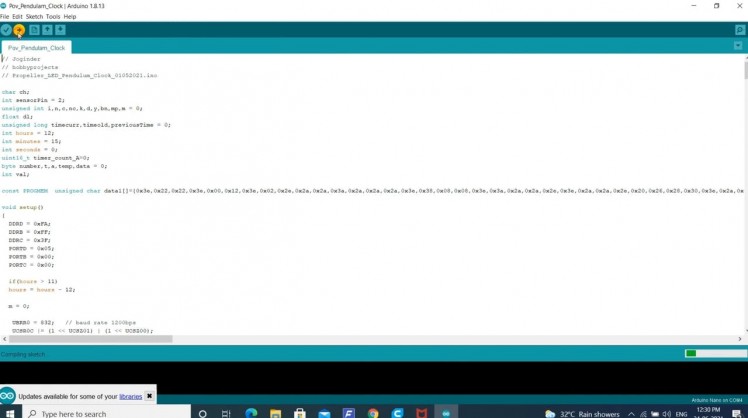
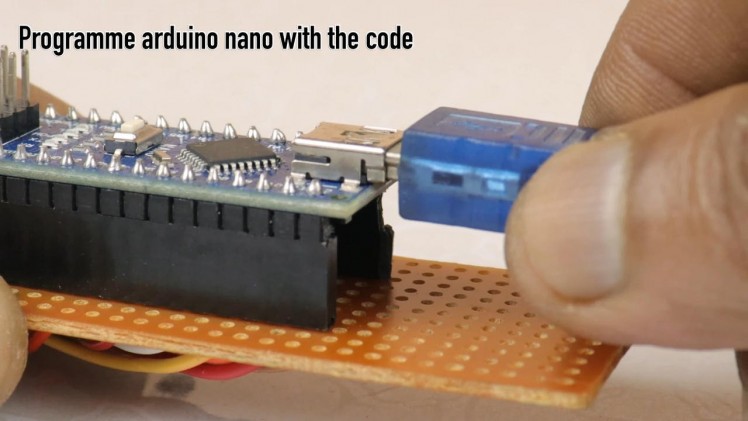
Download code for Arduino pov display from here & upload it to Arduino nano
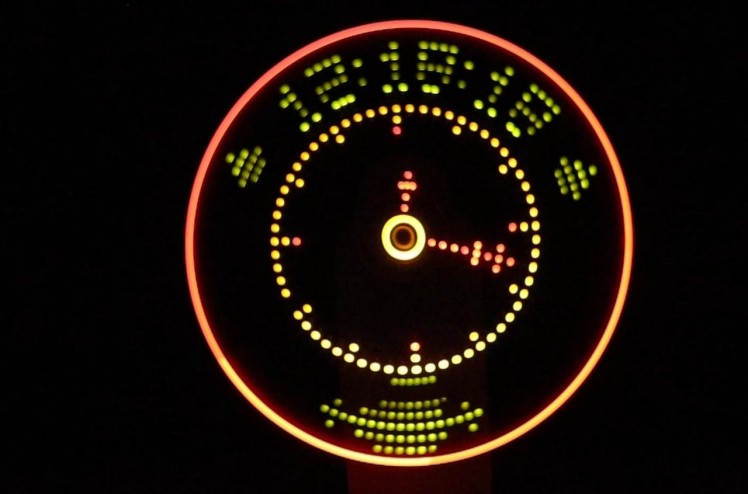
Step 8: Testing
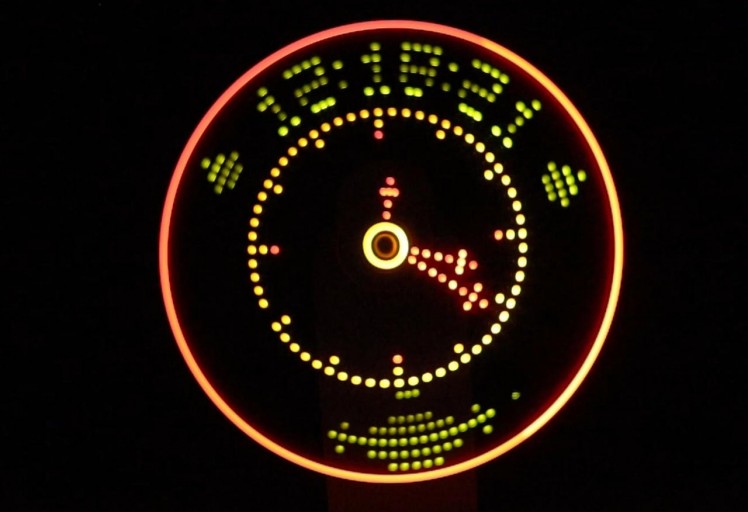
A propeller clock, also known as a Persistance Of Vision (POV) display is based on a mechanically moving led row.
This led row is either oscillating or rotating at a rate superior to human's eye remanence, making a dot matrix which seems to float in the air.
Schematics, diagrams and documents
Code
Credits
Related products


Leave your feedback...