
App Controlled Led Matrix Wearable

About the project
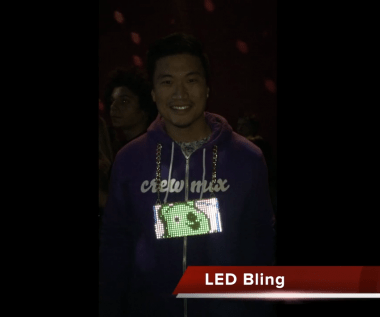
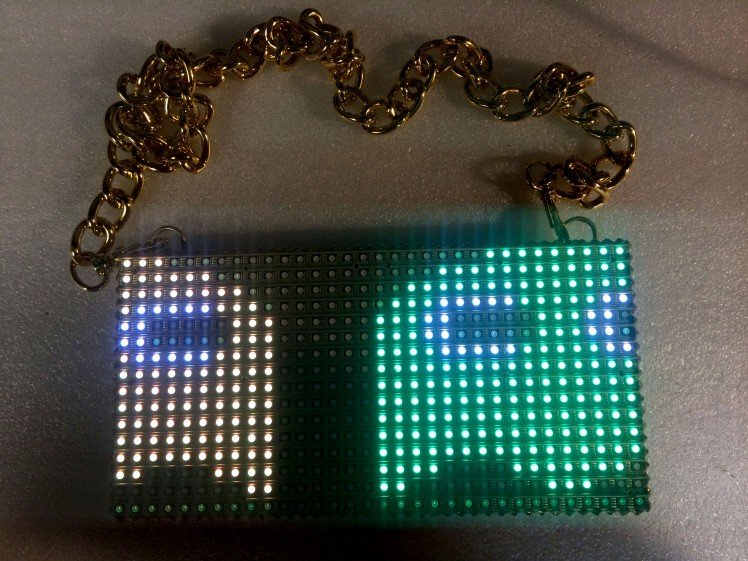
LED Bling controlled with an iOS or Android app over Bluetooth. Add your own LED designs simply by importing your GIFs into the apps. Apps include over 90 pixel art designs commissioned from pixel artists.
Project info
Difficulty: Moderate
Estimated time: 7 hours
Story
Step 1: Flash PIXEL Board With Low Power Firmware
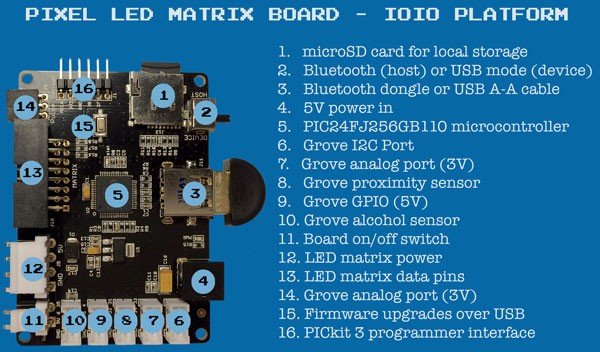
You'll need to re-flash the PIXEL board with the low power firmware. This is a must do, the 2000 mAH LiPo + 5V converter or phone battery pack will not be able to supply enough power to use the normal PIXEL firmware.
Instructions here to flash firmware, use the iOS/Android 32×16 firmware version.
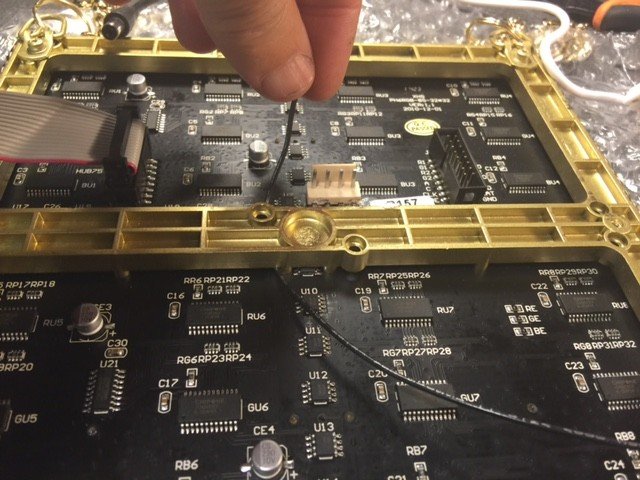
Step 2: Quick Wire Up Test
Before proceeding, wire everything up to ensure all is working.
IMPORTANT: Move the toggle switch on the board back to the "Host" position and plug back in the Bluetooth dongle.
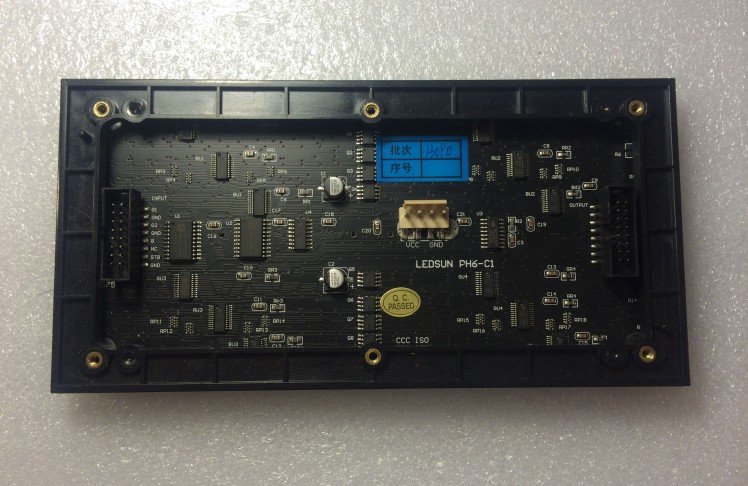
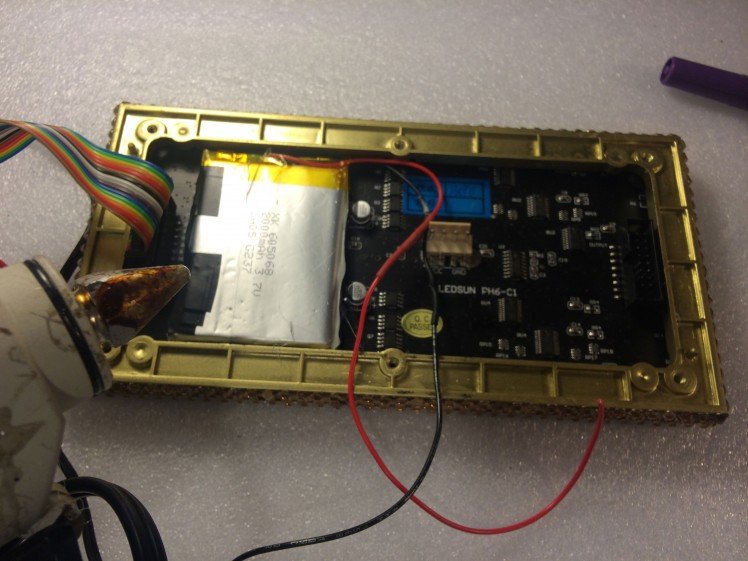
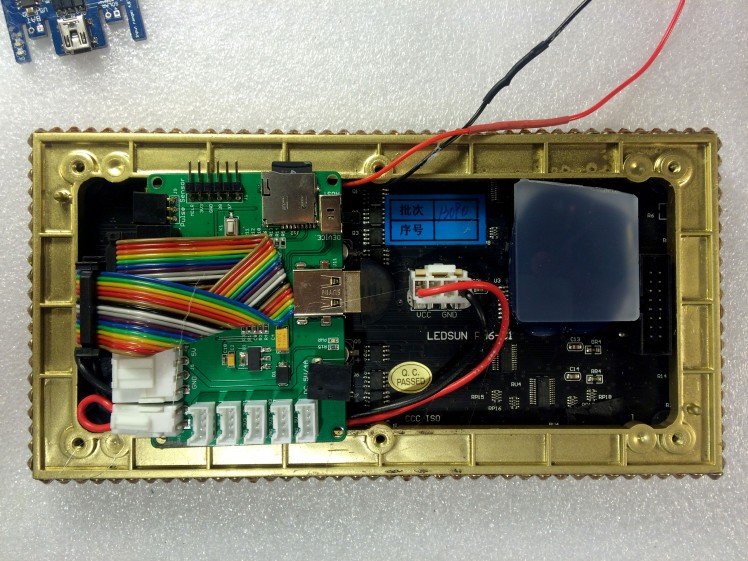
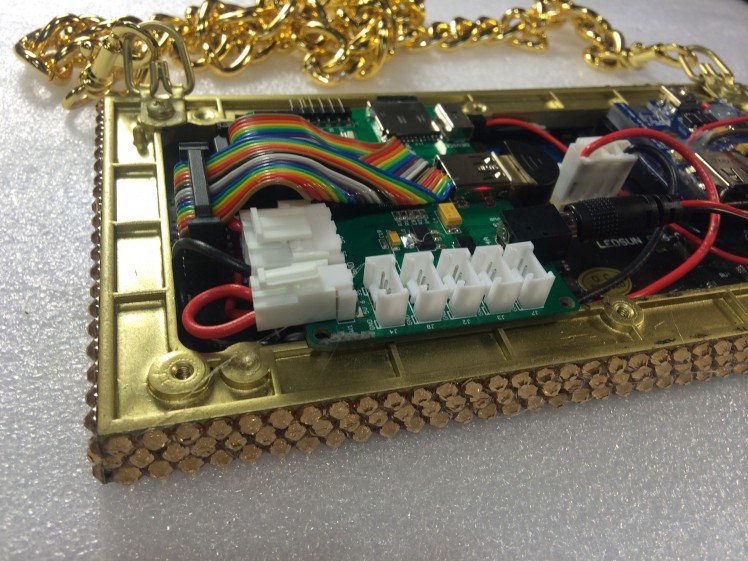
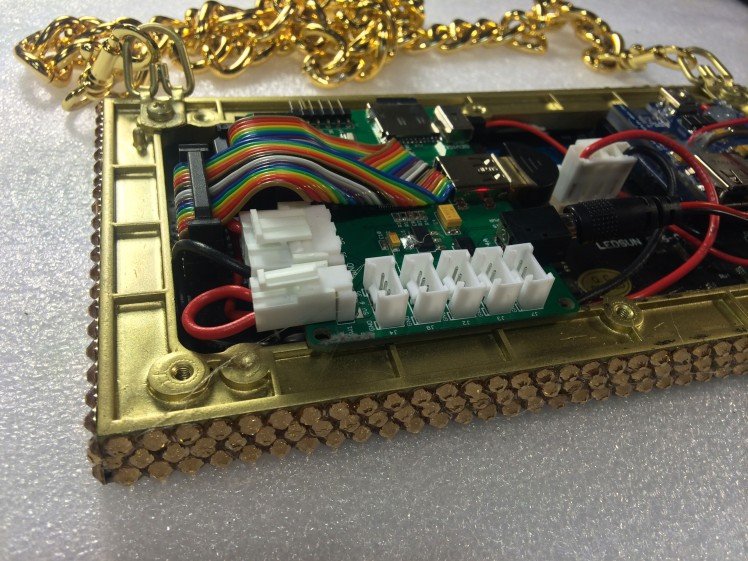
Connect the IDC cable (ribbon cable) from the PIXEL board to the LED matrix and the 4-pin power cable from the PIXEL board to the LED matrix. Both cables are notched and can only go in one way.
Plug in power to the DC jack of the PIXEL board.
Note that the PIXEL board will come with an on/off switch which plugs into the PIXEL board. The on/off switch isn't really needed in a portable installation like this so you may cut out the on/off switch and splice the wires together as in the picture above.
Now proceed to Step 3 and get the Android app to test displaying a GIF animation.
Step 3: Get the iOS App or Android Apps
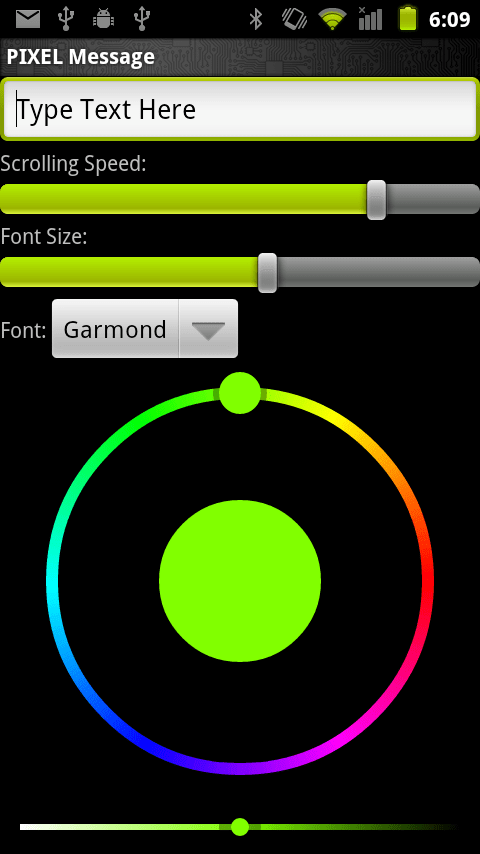

Android - Get the GIF Animations App - Free App
Android - Get the Scrolling Text and Twitter Feed App - Free App
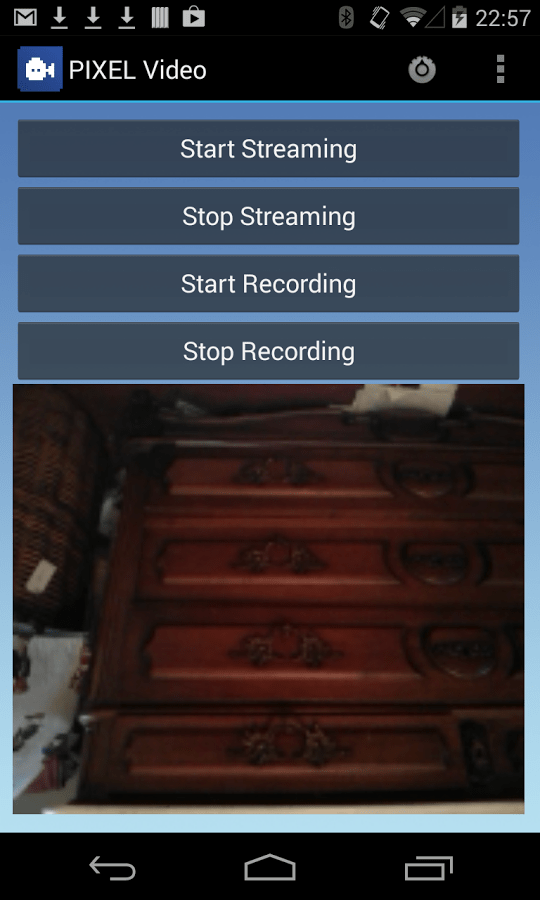
Android - Stream Video from your Phone to iBling - Free App
I wrote the apps to be compatible with older Android devices too, it should work on Android devices back to version 2.2. The Android device must have Bluetooth however.
If you don't have an Android, you can also program the display using the desktop application for PC and Mac, you'll just sacrifice the wearable interactivity. Or consider grabbing an older Android device off eBay which typically can be had for $40 - $50 USD.
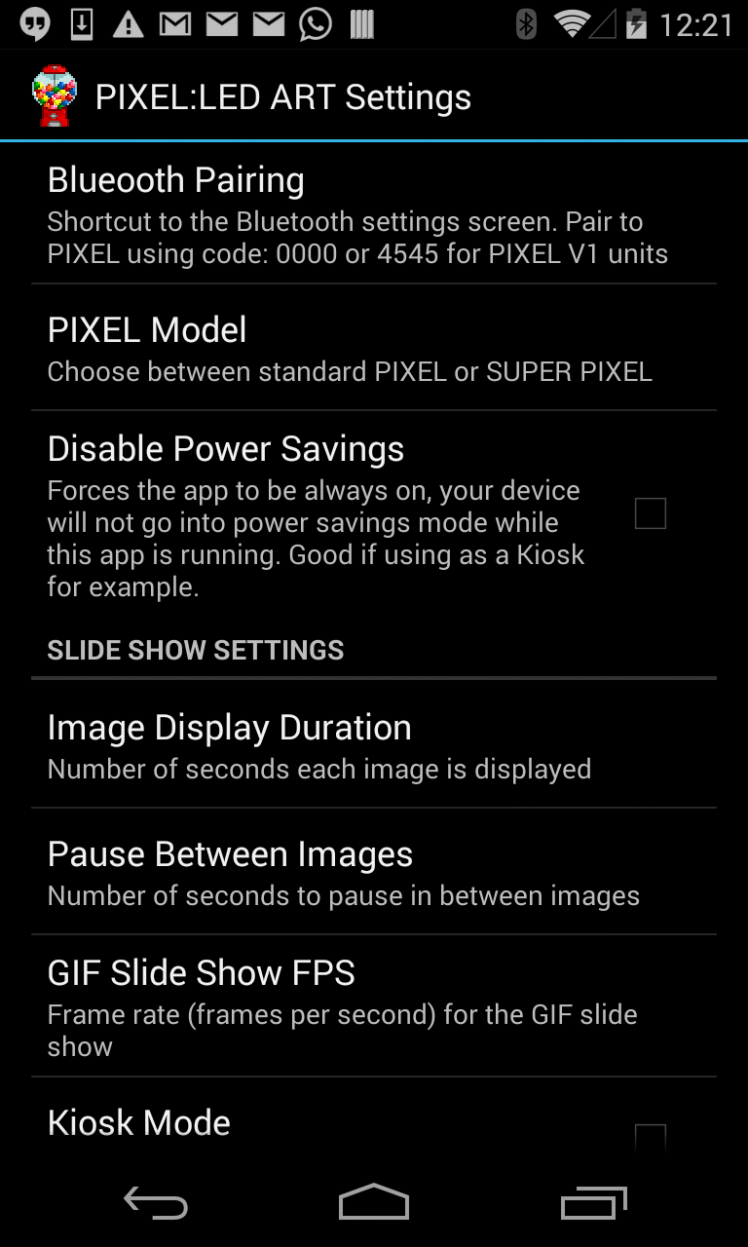
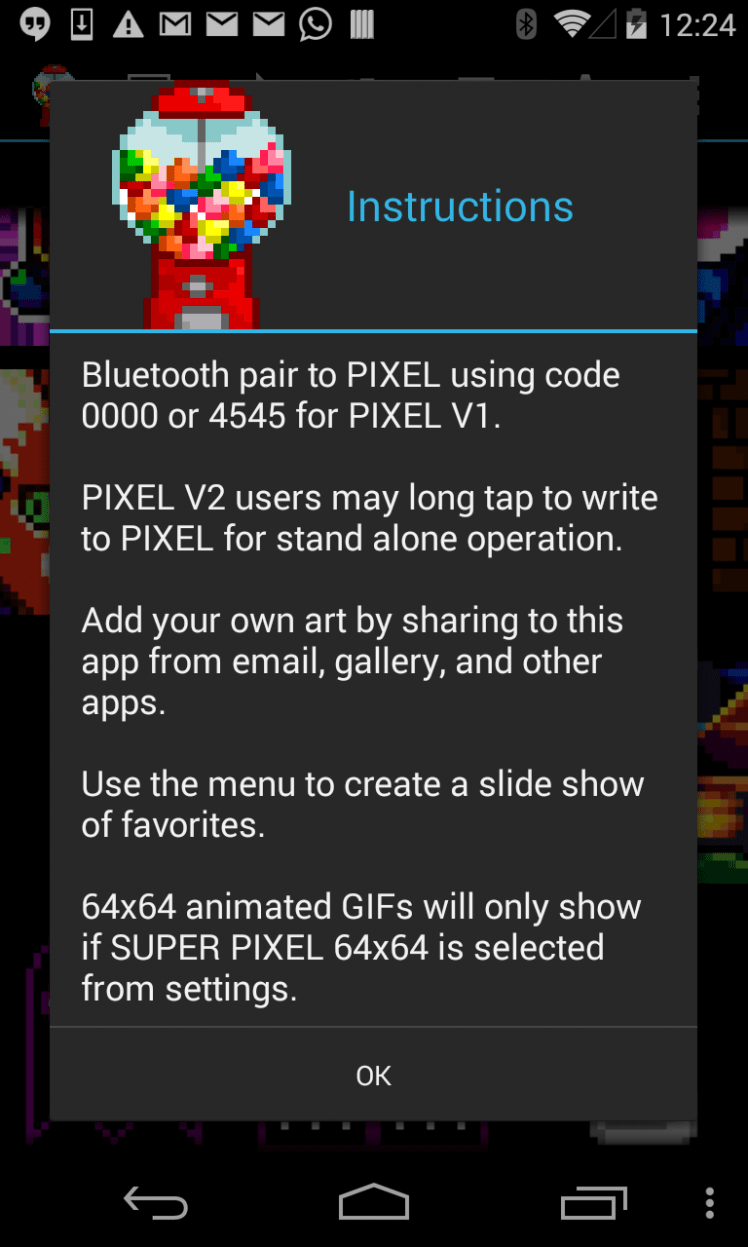
After getting the Android apps, first Bluetooth pair to PIXEL using code: 0000 and then go to the Settings in the App and choose "PIXEL Model", the default will be "PIXEL 32x32", change this to "Adafruit 16x32". This tells the Android app what kind of LED matrix to use.
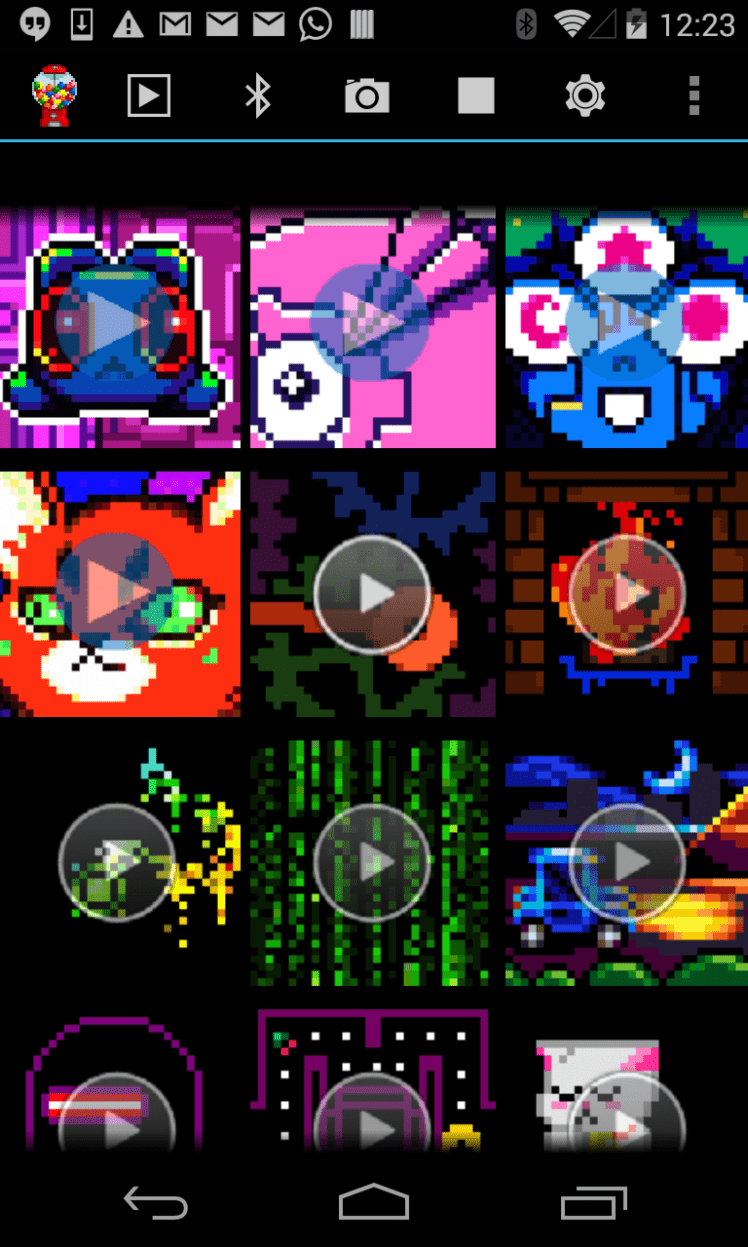
You can use the existing GIFs in the app or add your own. The included GIFs were a collaboration with pixel artists all over the world. To add your own GIFs, share any GIF using the Android share feature. The app will automatically re-size the GIF to 16x32. Higher resolution GIFs will not turn out well so stick to lower resolution GIFs and pixel art. Note the GIF app also supports sending a picture from your camera phone to the display.
Be sure and check out the scrolling text app too, that one also has a Twitter search feed feature turning yourself into a walking Twitter feed.
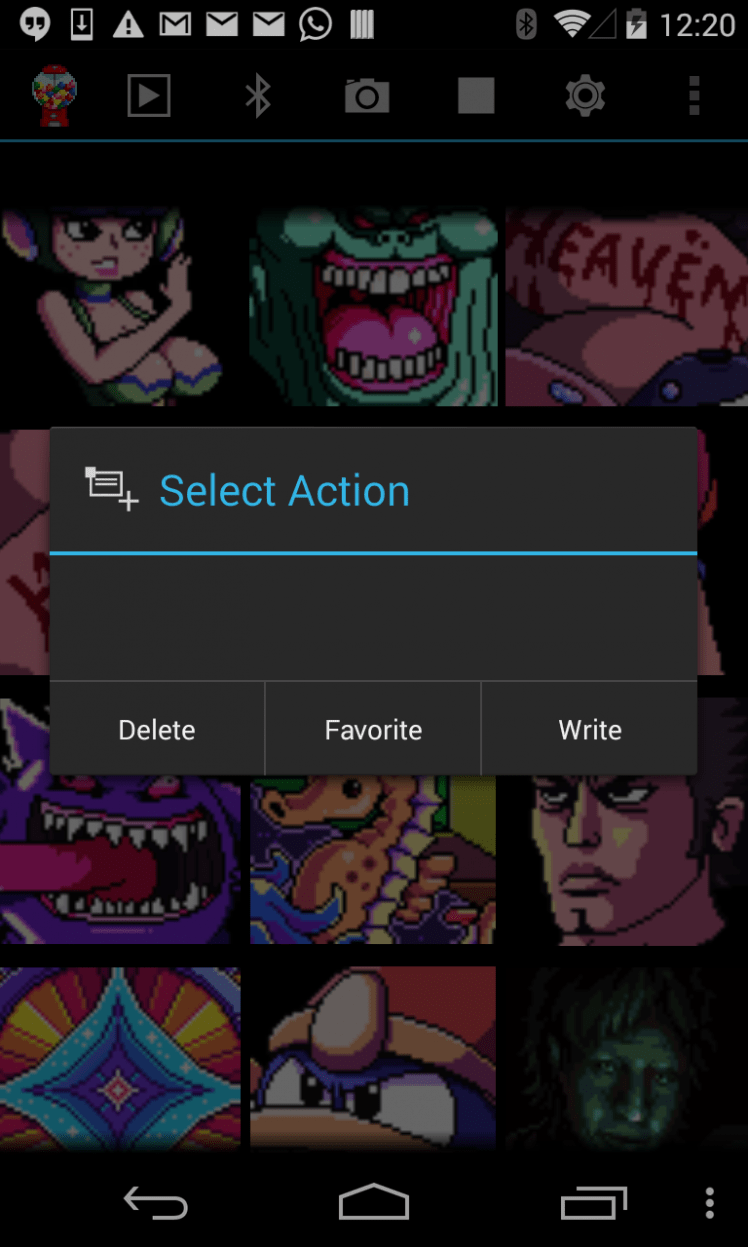
The apps will allow you to stream GIFs, still PNGs, and scrolling text from your phone over Bluetooth. And if you want a particular GIF, PNG, or scrolling text to persist, then long tap from the app which will then do a write to the board's microSD card. Now your selection will play and loop without the need to have your Phone Bluetooth connected.
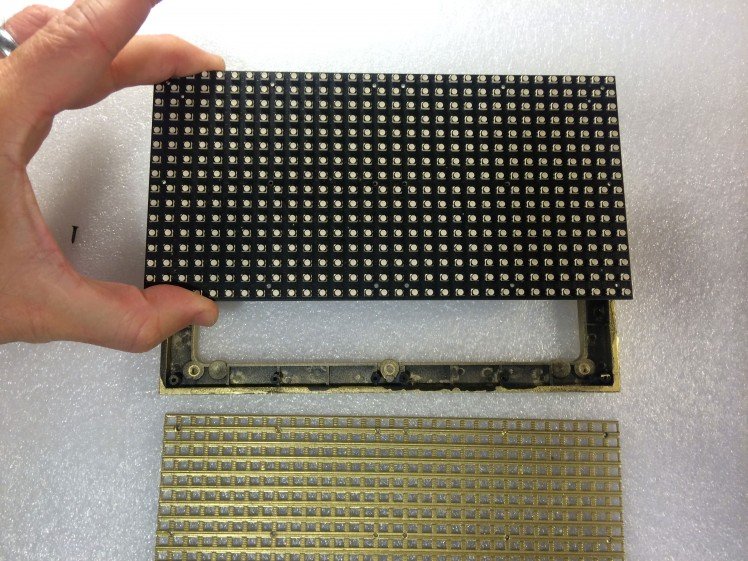
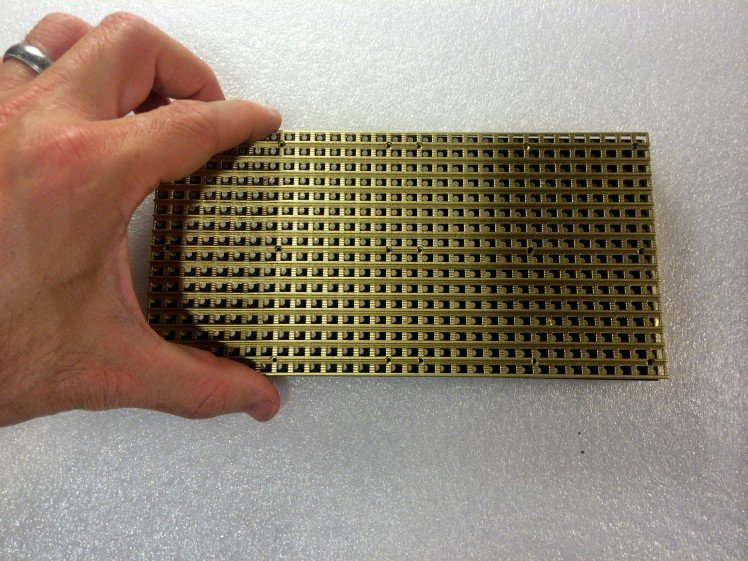
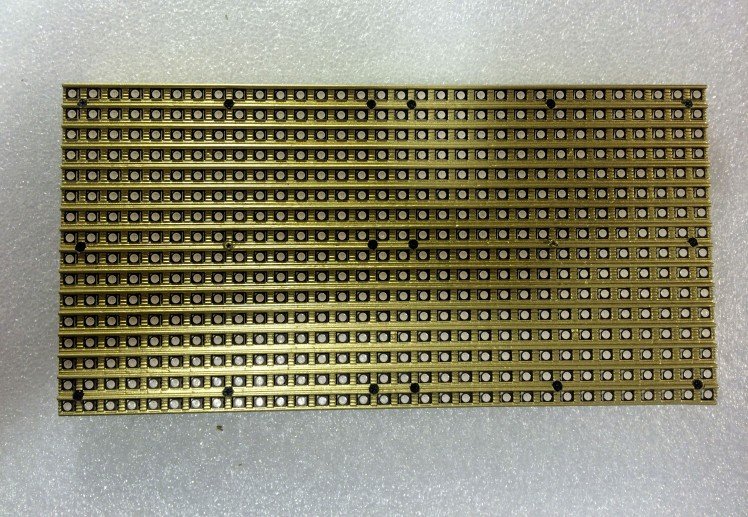
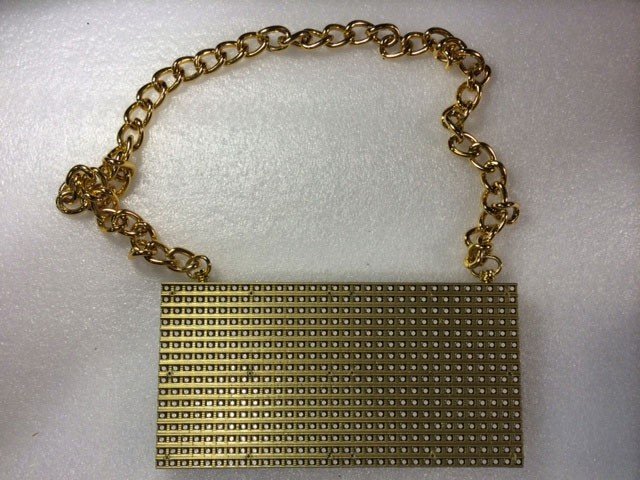
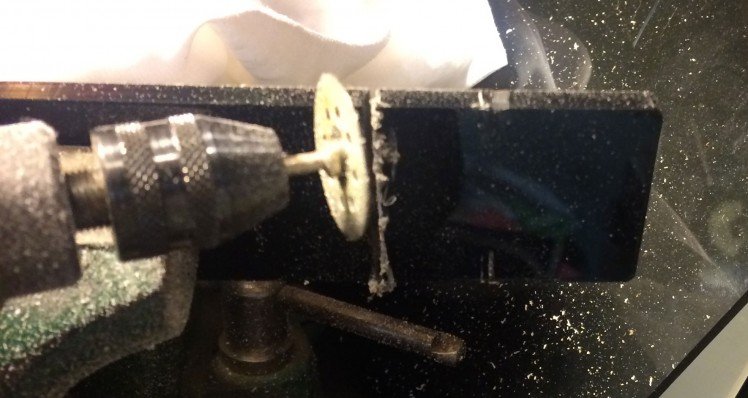
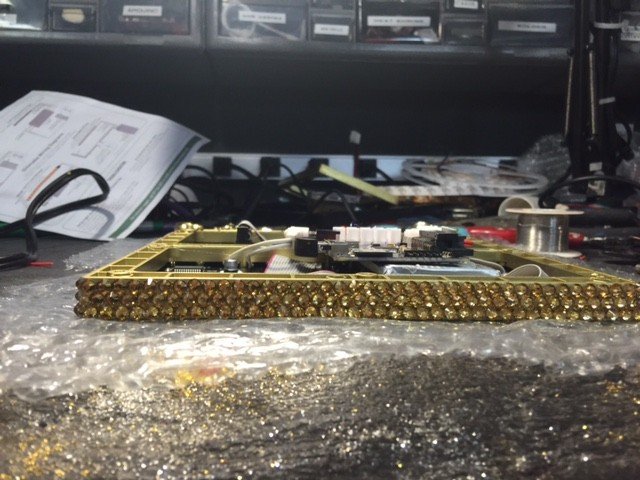
Step 4: Disassemble LED Matrix Case
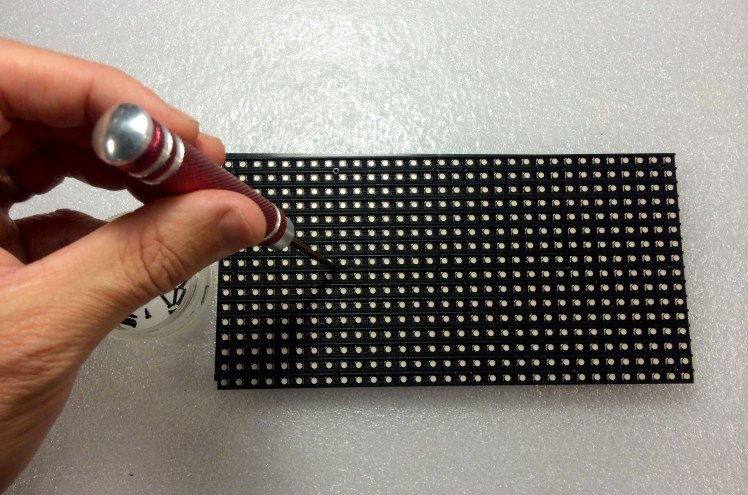
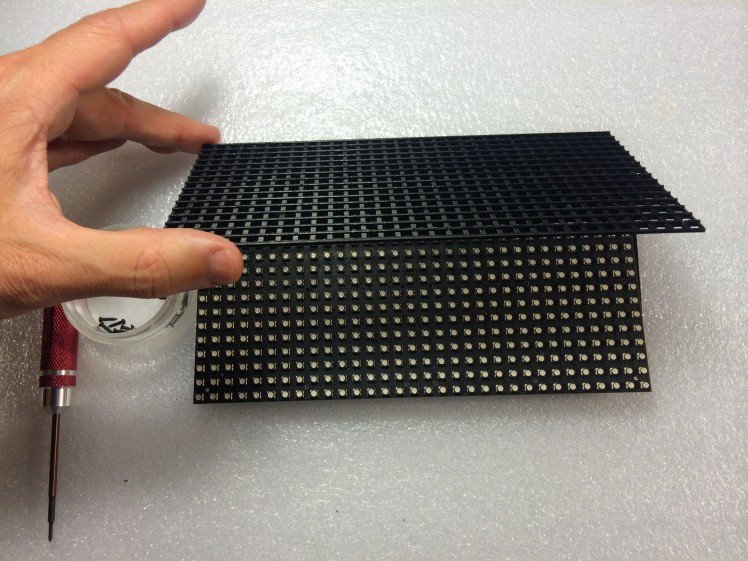
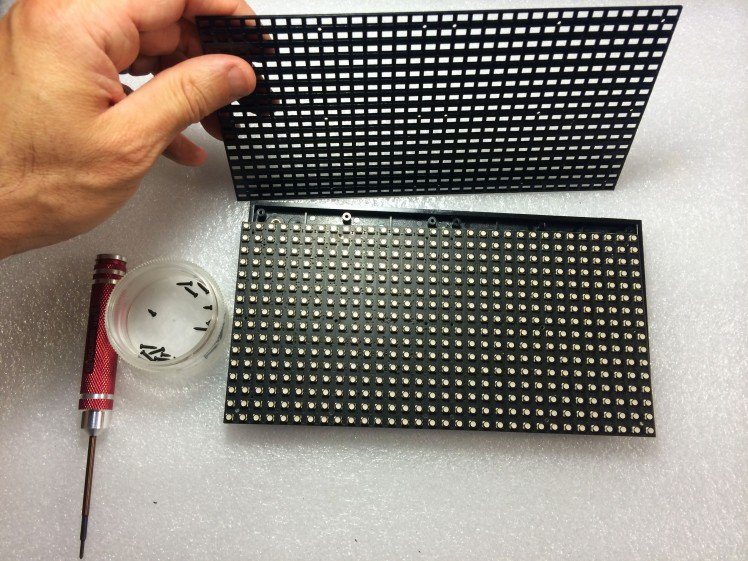
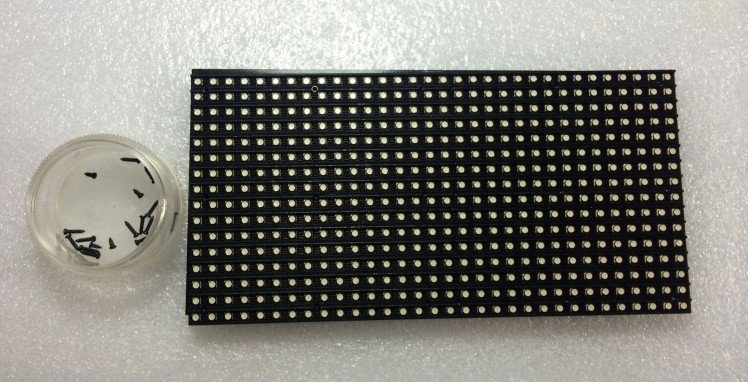
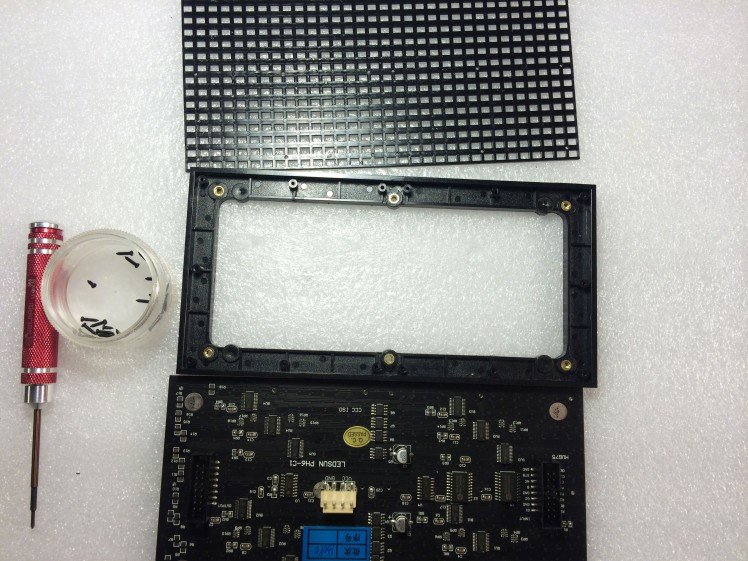
Before spray painting, you're going to need to disassemble the LED matrix case. Undo all the small screws on the front of the LED matrix.
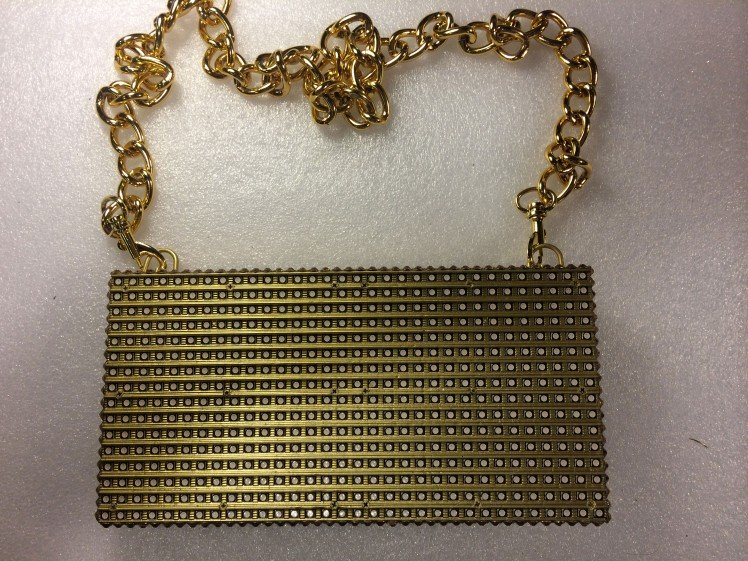
Step 5: Spray Paint Gold
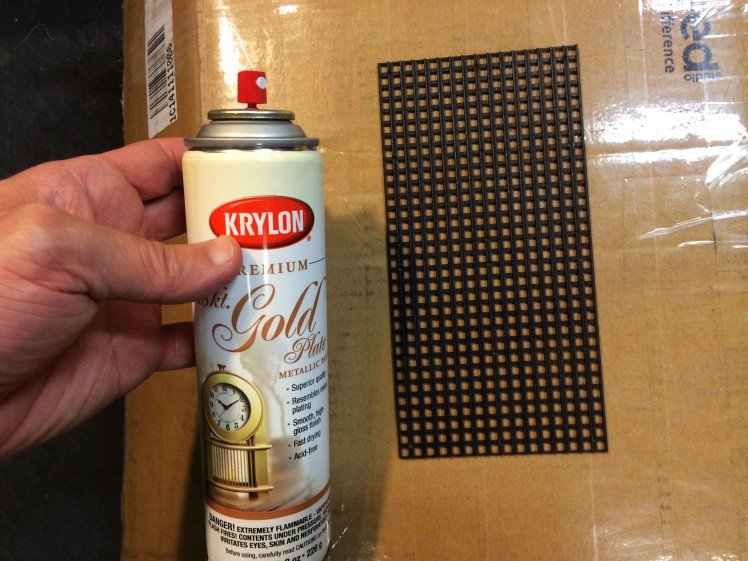
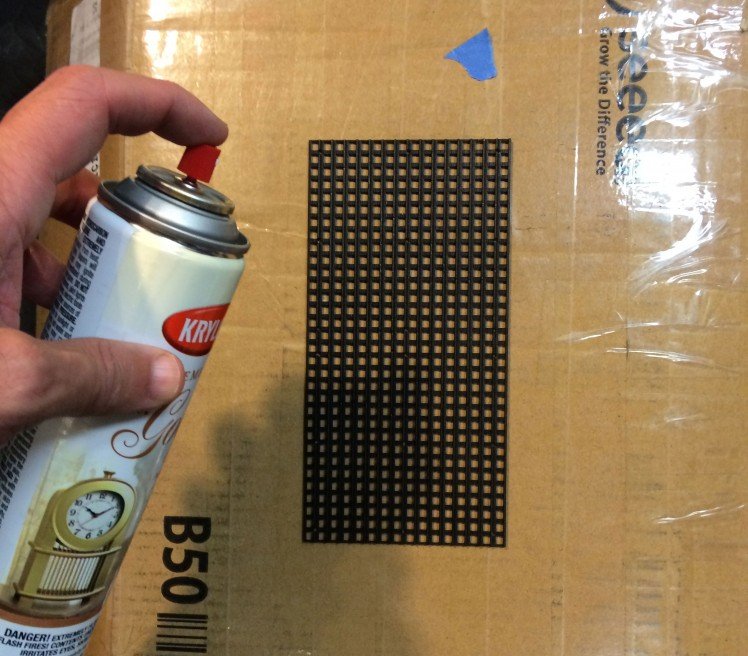
Spray paint the black bezel cover and back case of the LED matrix. DO NOT spray paint the LED matrix board itself.
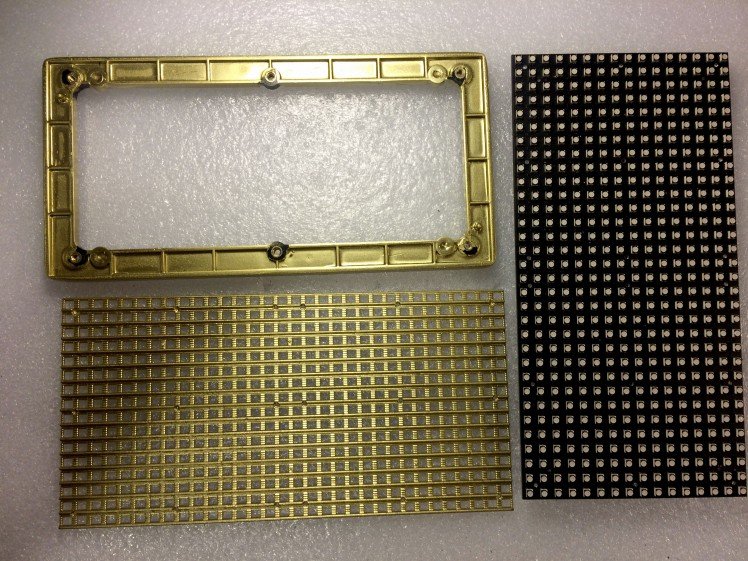
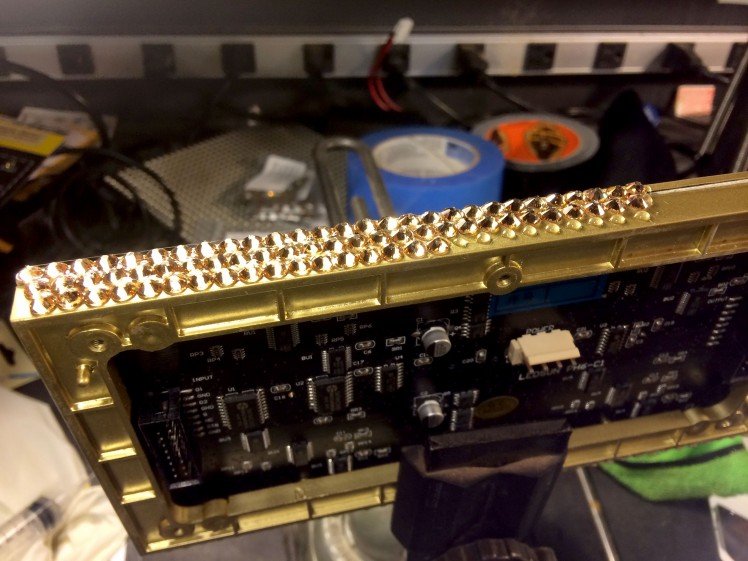
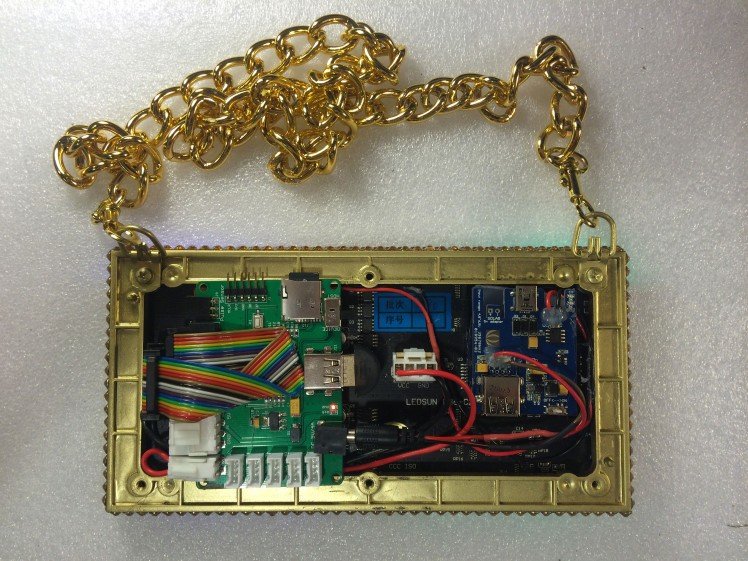
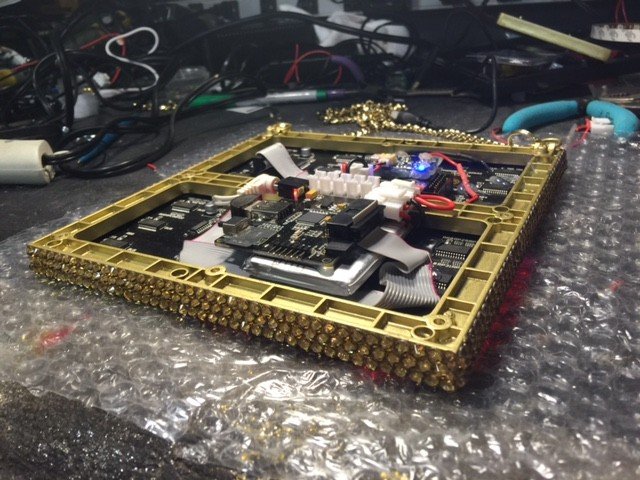
Step 6: Reassemble LED Matrix Case
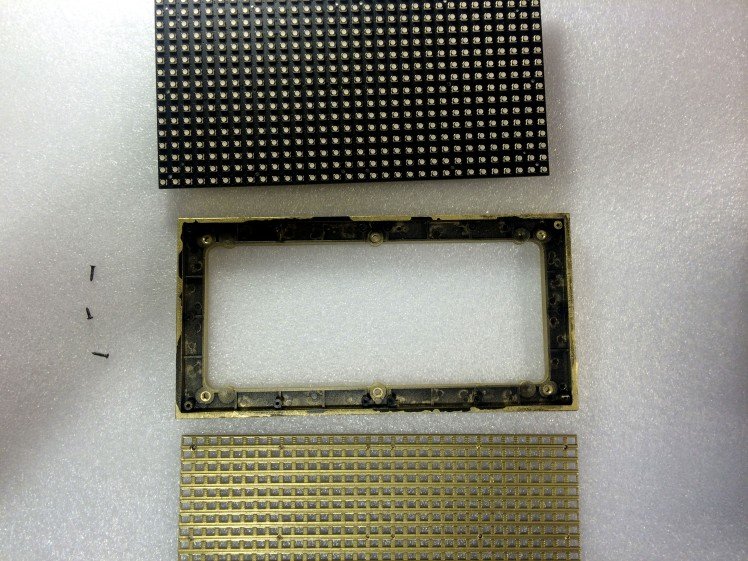
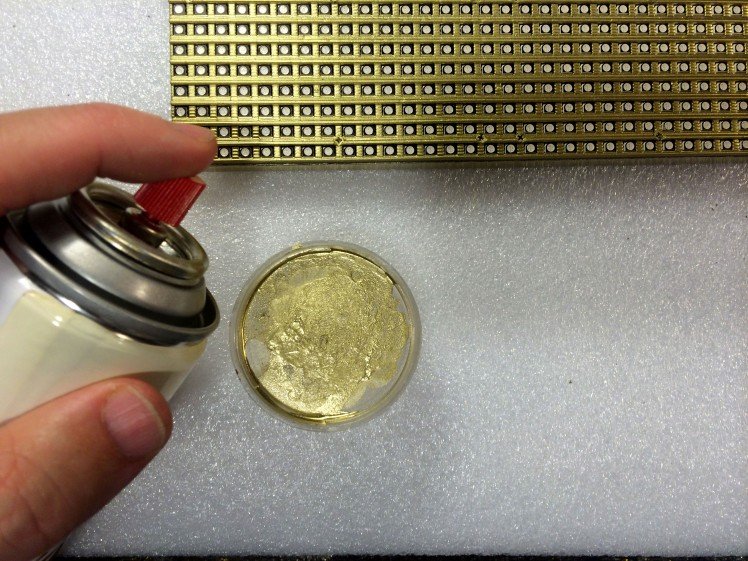
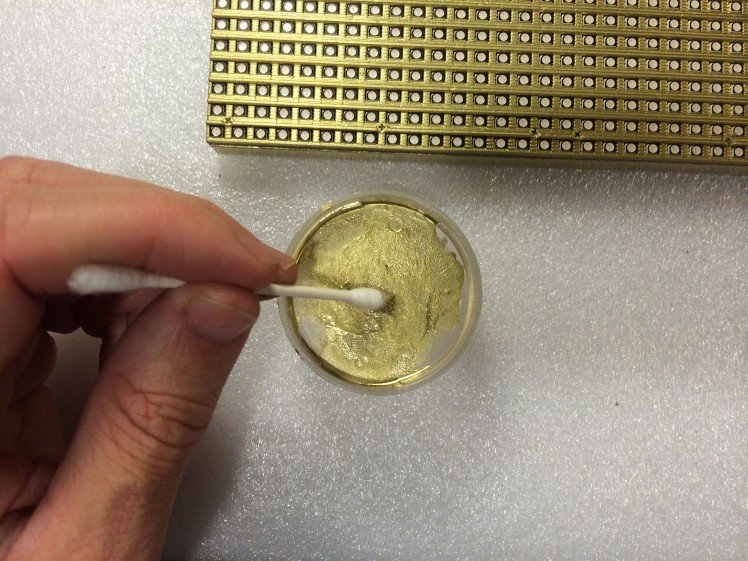
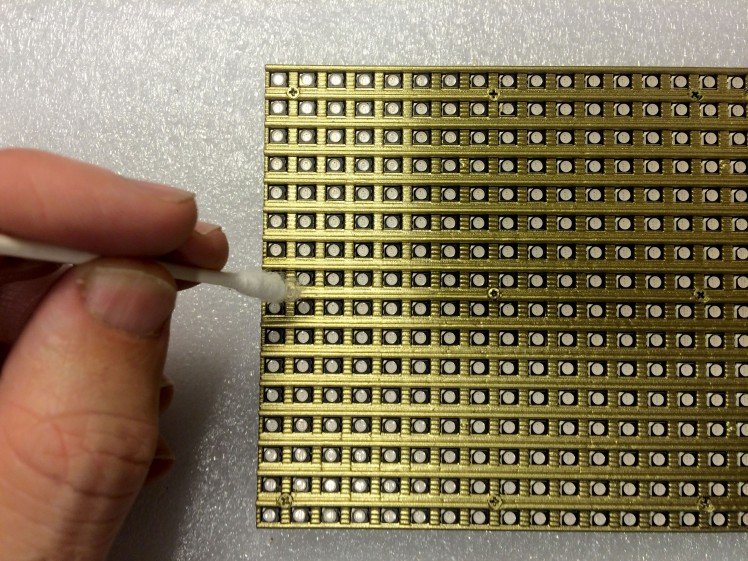
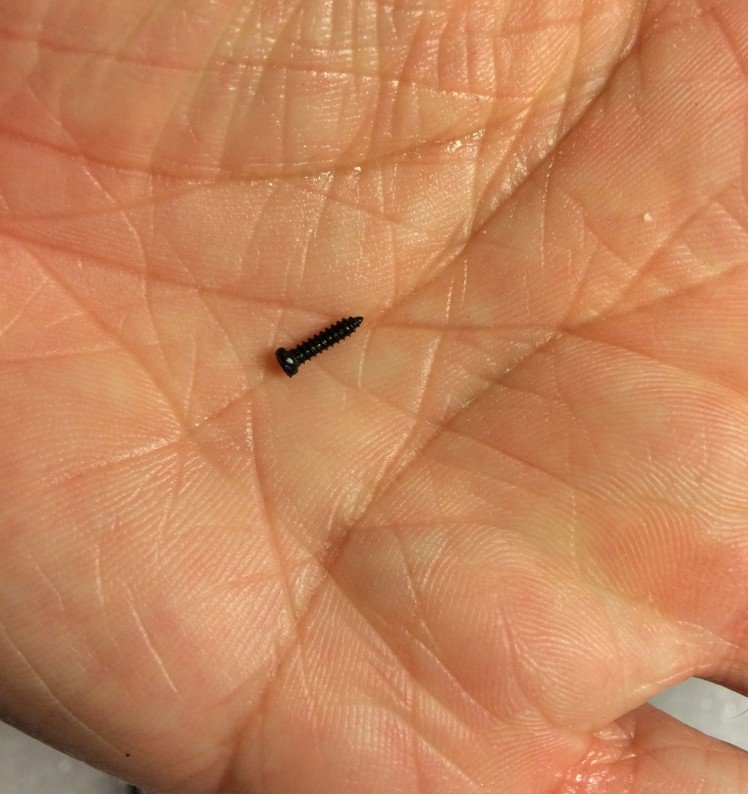
After the paint has dried, reassemble the LED matrix. You'll see that the black LED matrix screws stand out now, kind of ruining the effect. So best to paint those black screws gold too. I didn't have any matching gold paint around nor a fine tip brush but improvised by spraying the gold spray paint into a container and then dabbing the paint on the screws with a Q-tip which worked just fine.
In hind sight, it would have been easier to paint the top of the black screws with the gold paint before screwing them in. Just be sure and paint only the screw heads and not the threaded part as the screws are a tight fit and will not go in if the threads are painted.
Step 7: Crystallize
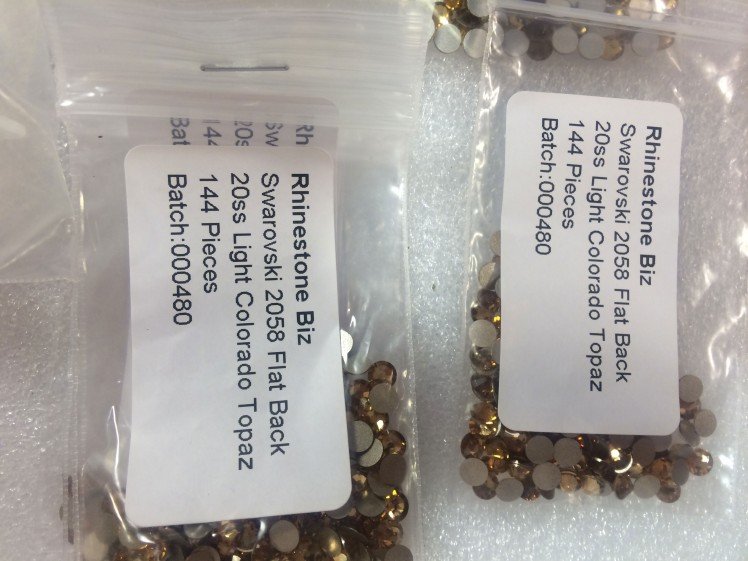
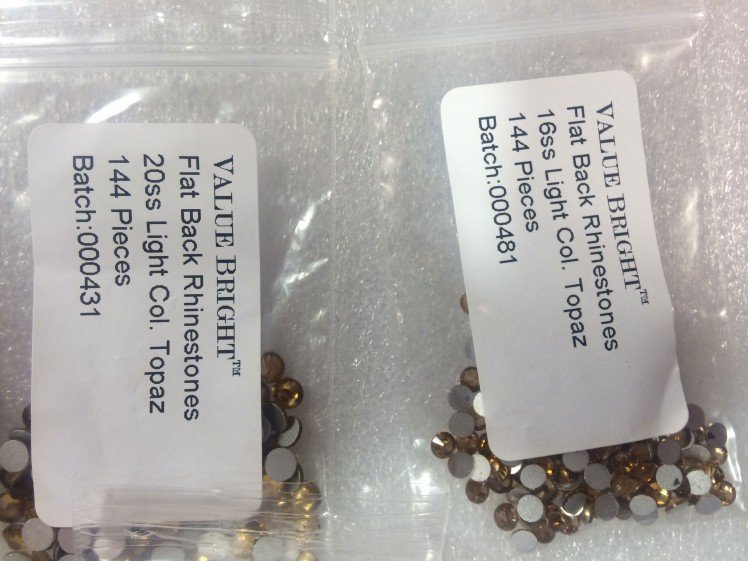
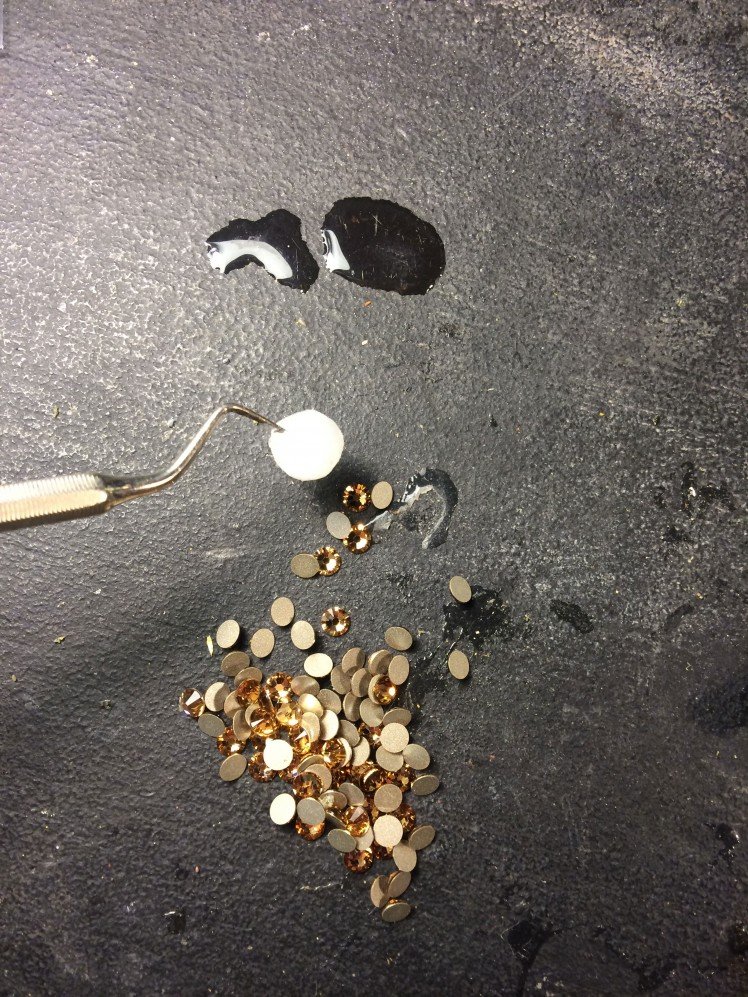
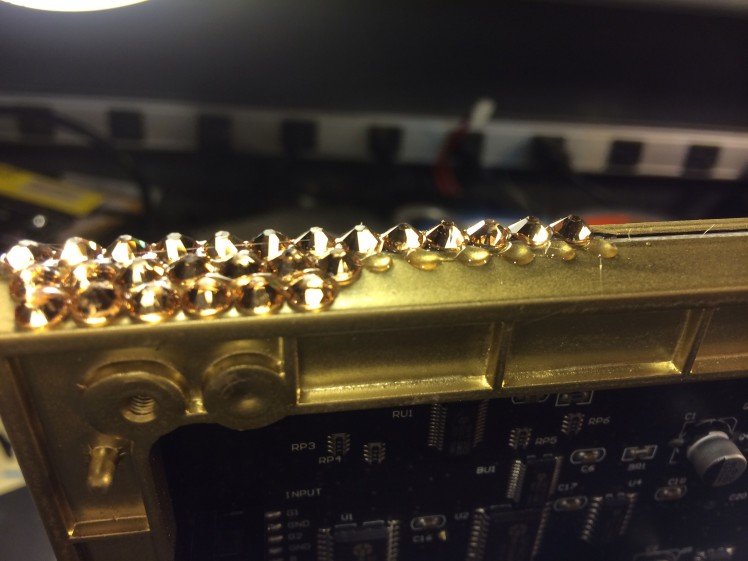
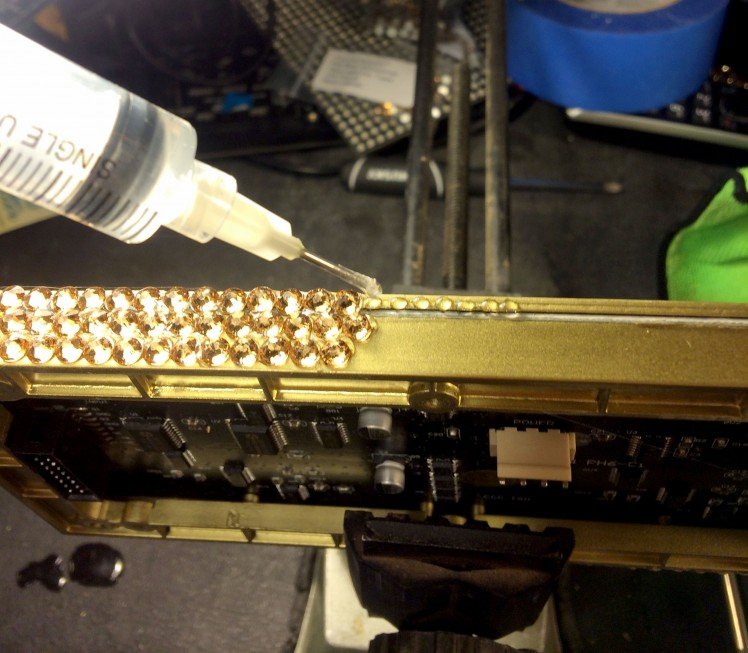
This step is optional but I'd recommend if you want the full bling effect.
I used genuine Swarovsky crystals but I also bought a batch of the imitation Swarovsky crystals from rhinestone biz.com. The Swarovsky ones do shine a bit more but I must say the imitation ones are pretty darn good too. If you put them side by side, you can tell the difference but you'll be just fine with the imitation ones if you want to save a little. Use the smaller 12ss size crystals for the just the ends where you have a small space to fill.
Here's a good tutorial on how to apply Swarovsky flat back crystals. Note: Do not use hot fix Swarovsky crystals, these are only good for adhering to fabric and porous materials.
Use E6000 craft glue with a syringe. This video explains how to insert the glue into the syringe.
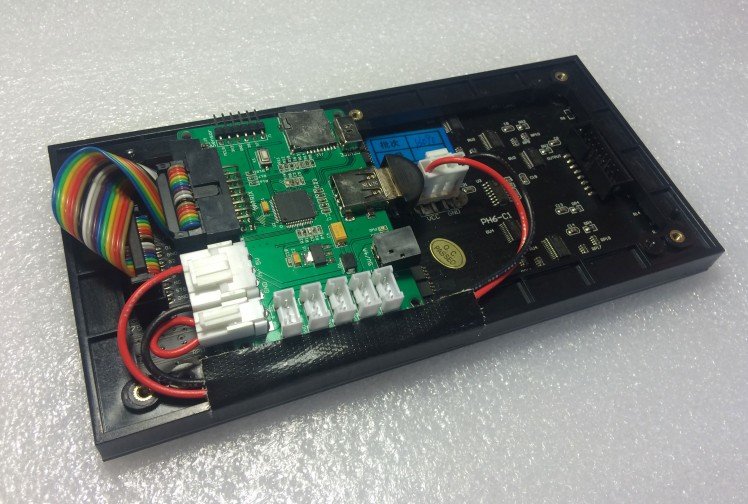
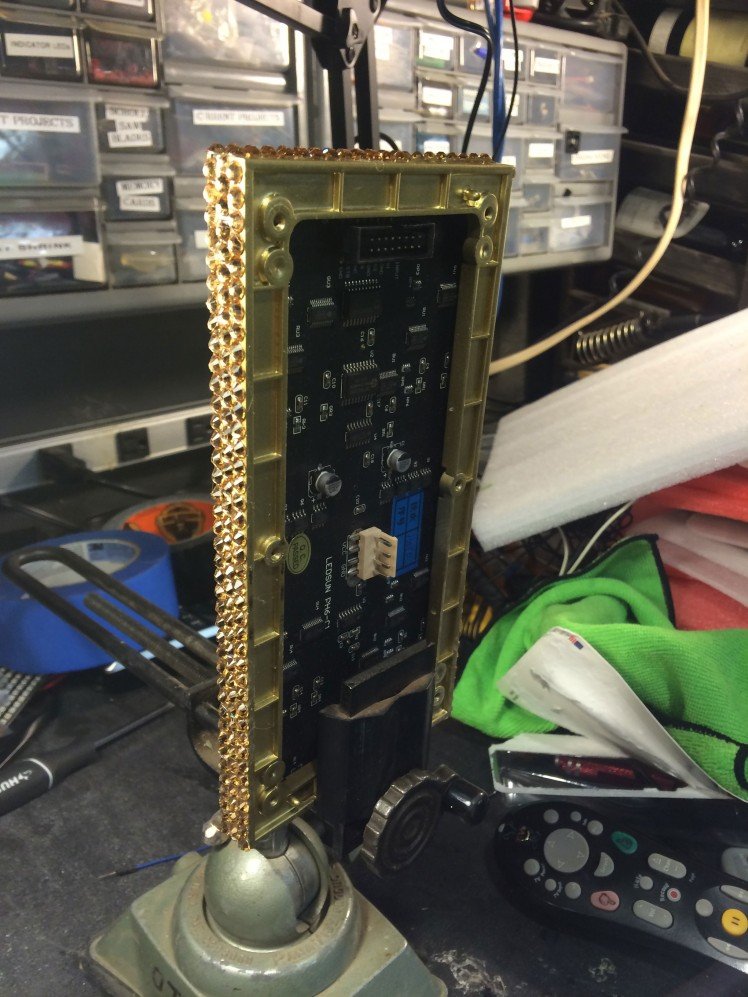
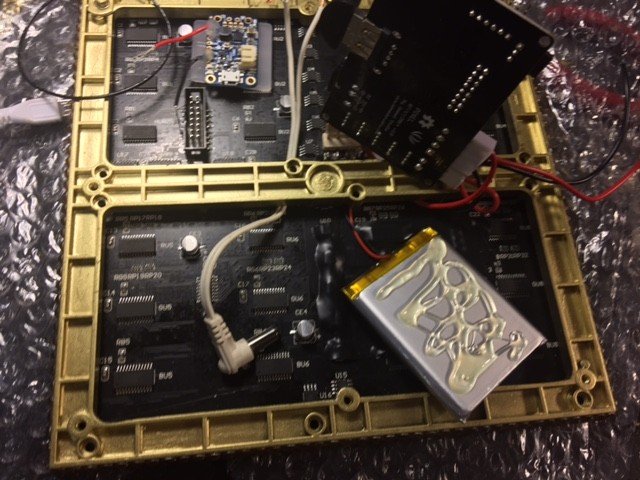
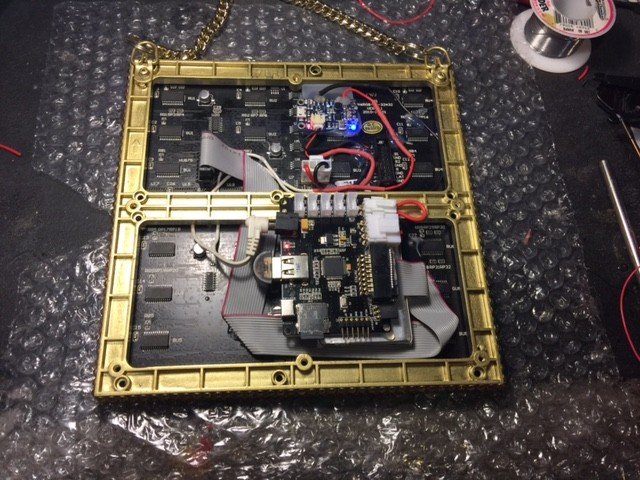
Step 8: Final Assembly
Video of final assembly
The video illustrates how to do the final assembly. A few pointers:
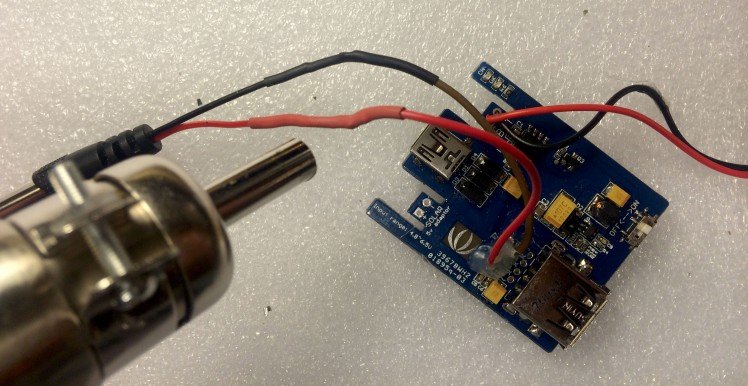
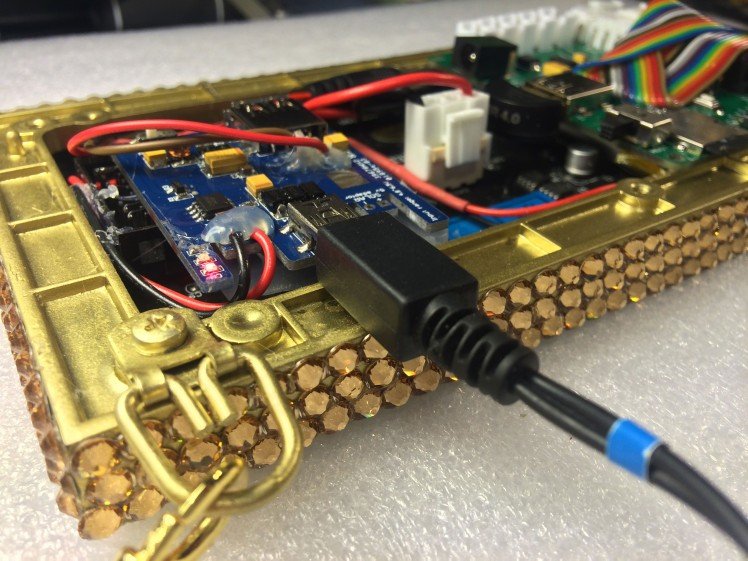
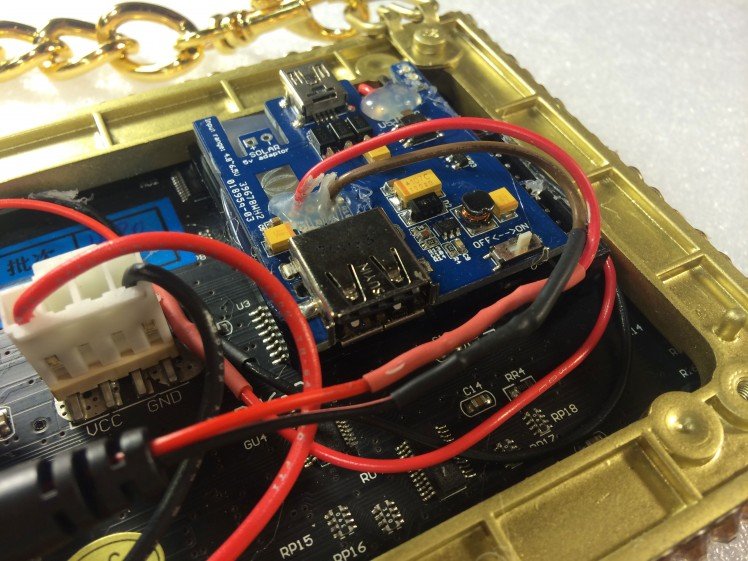
- The 2000 mAH LiPo battery is located under the PIXEL board and is hot glued to the LED matrix
- Mount the PIXEL board with hot glue as far to the left as possible as you'll want to leave the most amount of clearance between the Bluetooth dongle and the LED matrix power connector. This is because if you ever want to flash the firmware in the future, you'll need to unplug the Bluetooth dongle and plug in the USB A-A cable.
- Fold over the LED matrix ribbon cable and hot glue to the PIXEL board.
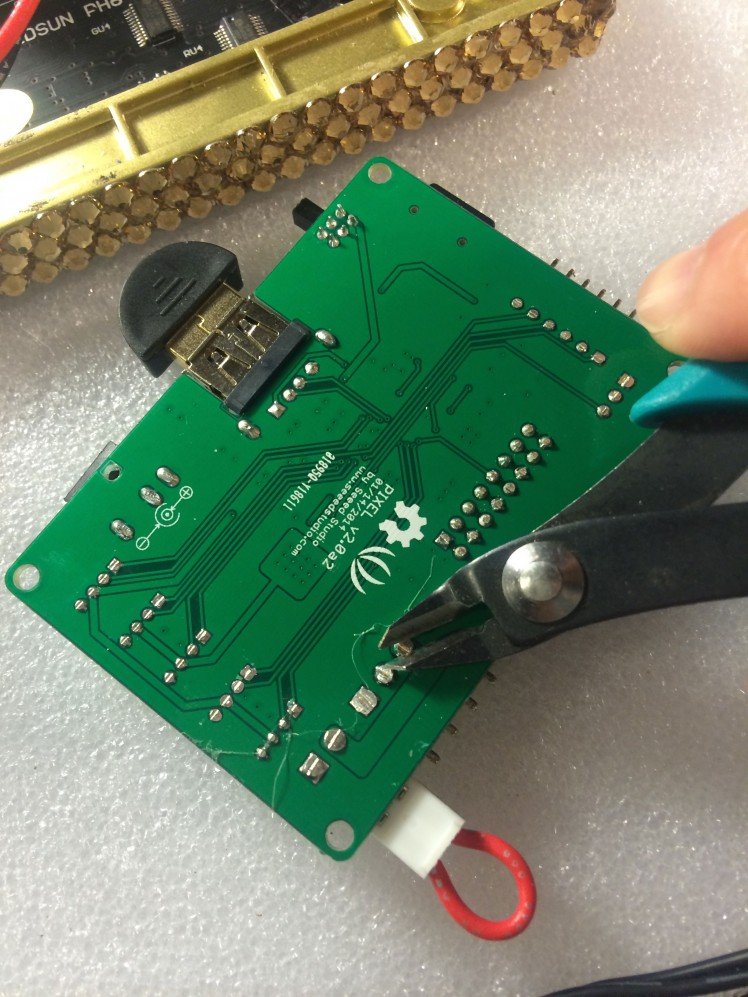
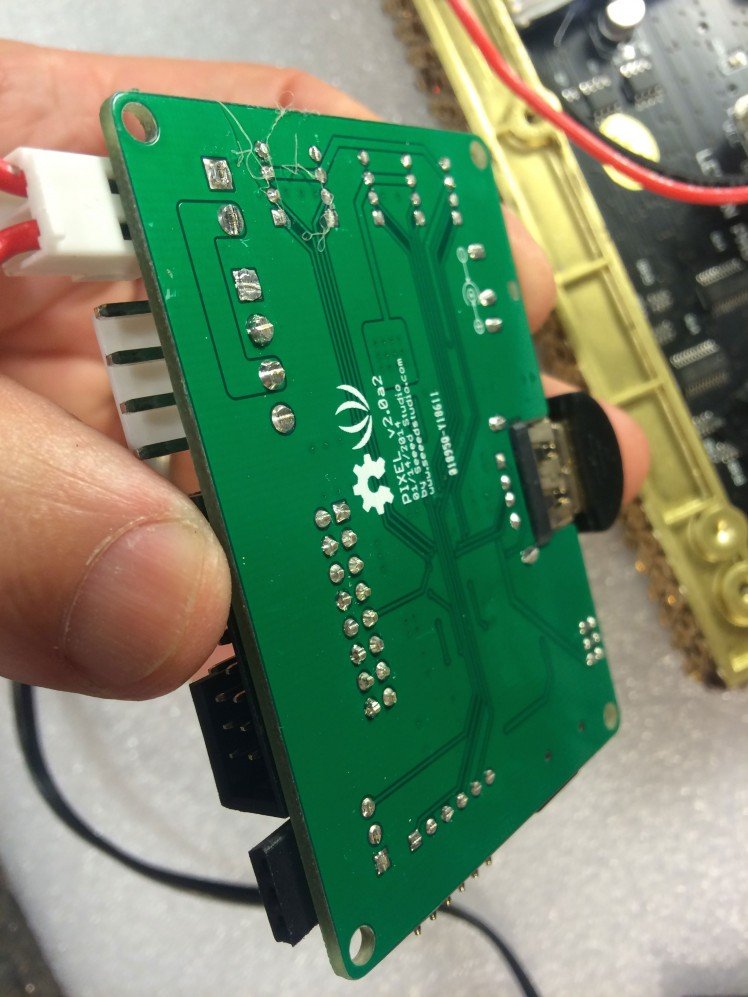
- Use your flush cutter pliers and snip off the leads on the bottom of the PIXEL board. Otherwise, they will dig into the LiPo battery.
- Leave enough clearance for the LiPo circuit such that you can plug in the USB cable to charge. I simply hot glued a couple pieces of acrylic to give it enough height. The acrylic underneath the LiPo circuit also prevents a short circuit between the LiPo circuit and the LED matrix.
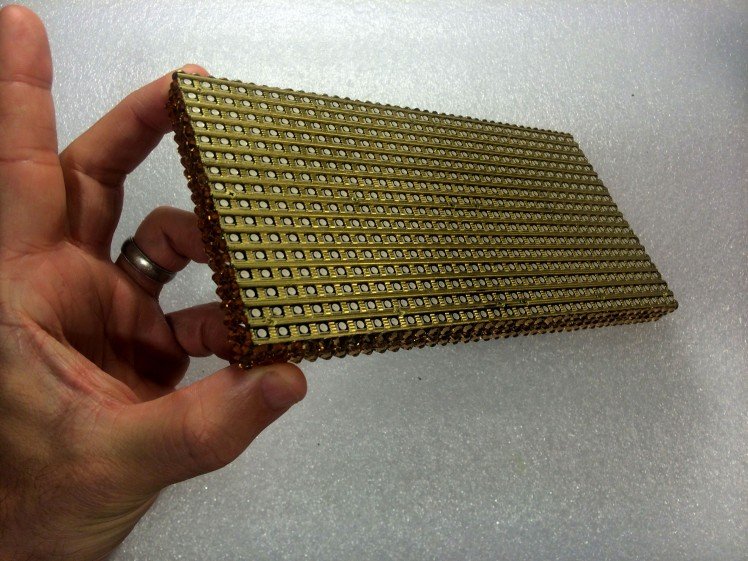
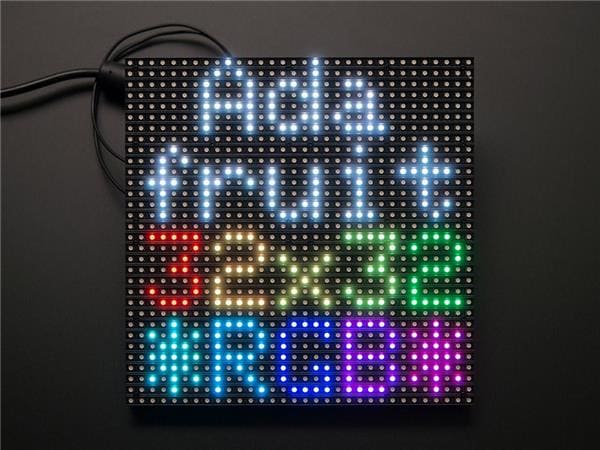
Step 9: 32x32 Version - 1,024 LEDs
I also made a larger 32x32 version.
Code
Credits
Related products


.jpg)

Leave your feedback...