
A Tiny Car Using A Tiny Microcontroller

Made by vin-vout-io
About the project
You have seen cars made using Arduino it's good and big, but have you seen a tiny car using a tiny microcontroller?
Project info
Difficulty: Moderate
Platforms: Microchip, SparkFun
Estimated time: 1 hour
License: GNU General Public License, version 3 or later (GPL3+)
Items used in this project
Hardware components

Story
You have seen cars made using Arduino it's good and big, but have you seen a tiny car using a tiny microcontroller? Ye, s you guessed it right, the attiny85. If you follow me on YouTube, you know that I am obsessed with ATtiny85. So one day this idea came to me (There are other makers who have got the idea before me so I took inspiration from them)
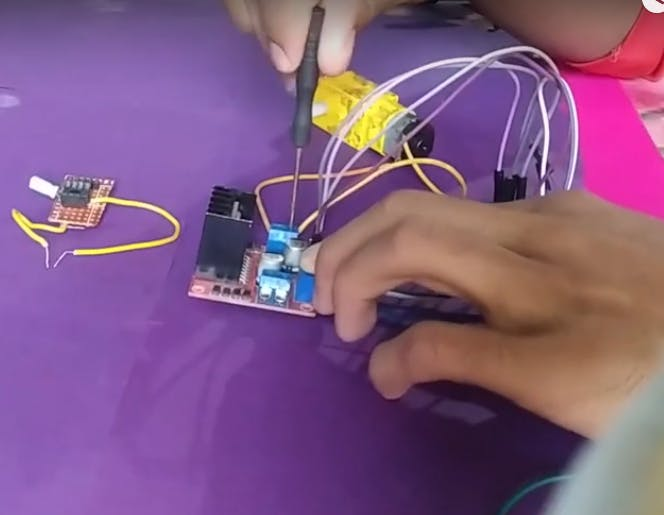
it's all done now it's time for the connections I'll provide the schematics and code in the description don't worry after connecting everything I put the motor driver inside the small box and then glued the motors to the side of the box
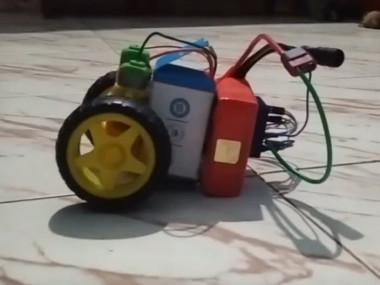
For the body of the car, I took a small cardboard box (of dimension 3.5*4.5), so that way I can put all the electronics in it.
Programming Part
1 / 2
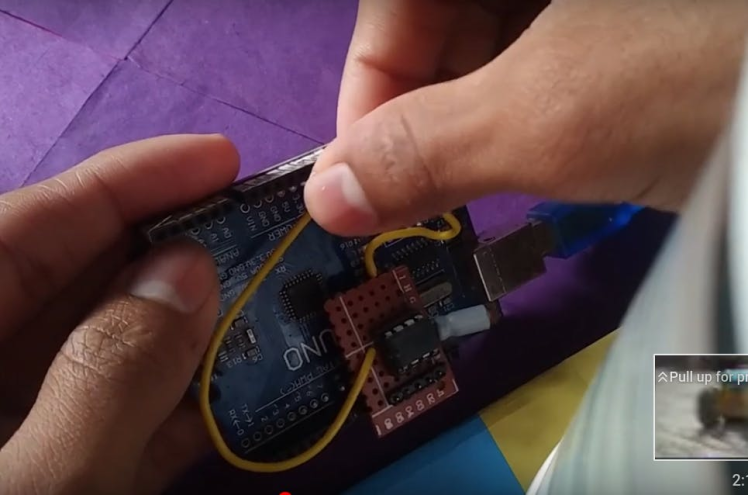
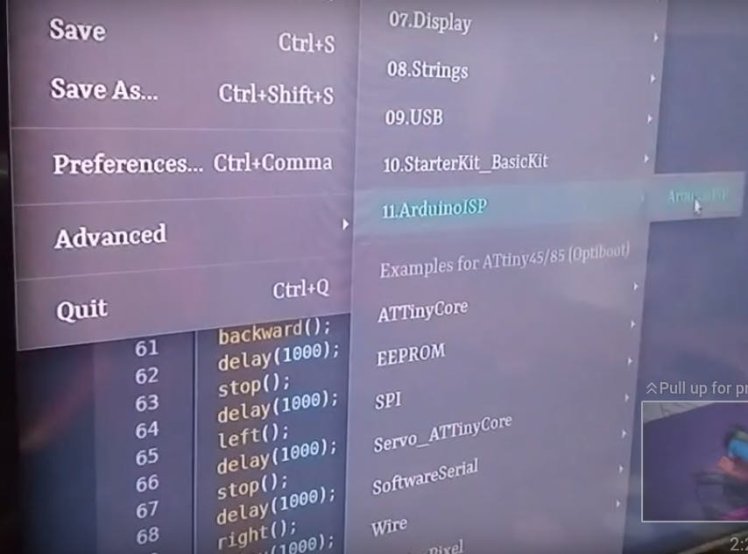
let's upload the program to the microcontroller. Here I'm using an Arduino as ISP to program the attiny85. Don't worry I've got you covered, here you go check out this to learn how to program your attiny85. first, we need to upload a code from an example called Arduino ISP, in order to work with our Arduino as an in-system programmer (ISP).
after that, we go to our main code and select the upload using the programmer
That's it.
Connections
1 / 2
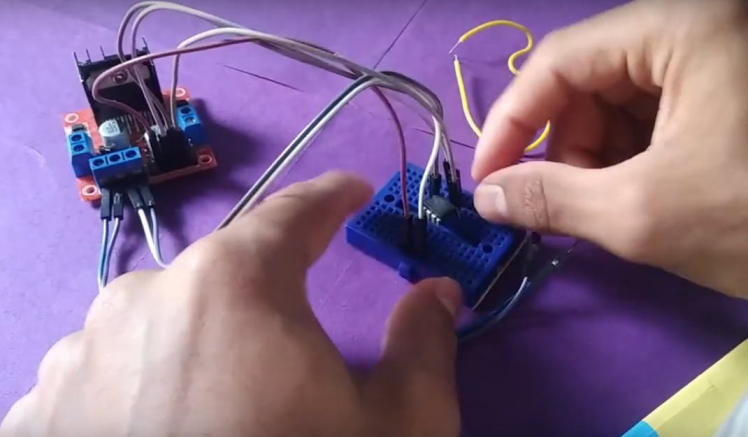
I am powering the L298 (motor driver) using the 12v battery. The attiny85 can work with a voltage range of about 1.8v - 5.5v, so here I am taking the 5v output from the motor driver to power the attiny85.
now make the connections as shown in the schematic below
PuttingEverything
1 / 2
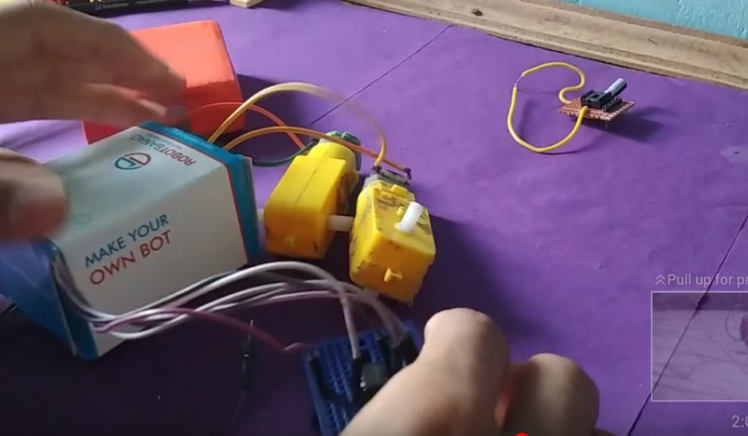
after connecting everything I put the motor driver(with wires connected, carefully) inside the small box and then glued the motors to the side of the box
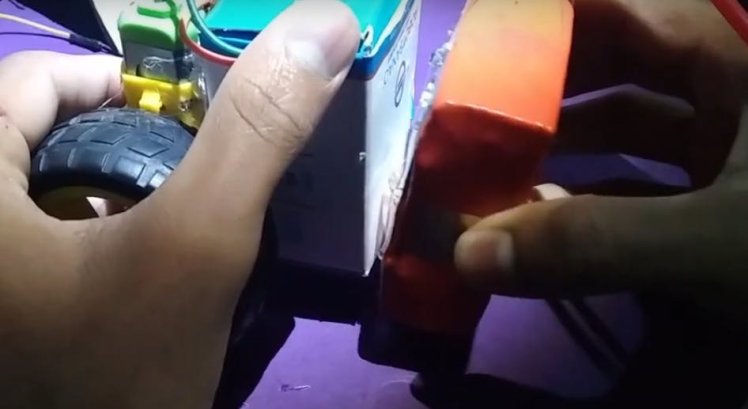
also, attach a 12V battery to the other side of the box and
its action time
Schematics, diagrams and documents
Code
Credits
Related products


Leave your feedback...