
How To Connect 3d Printer To Ar Glasses
Made by The Tactigon / 3D Printing / Augmented Reality / Wearables
About the project
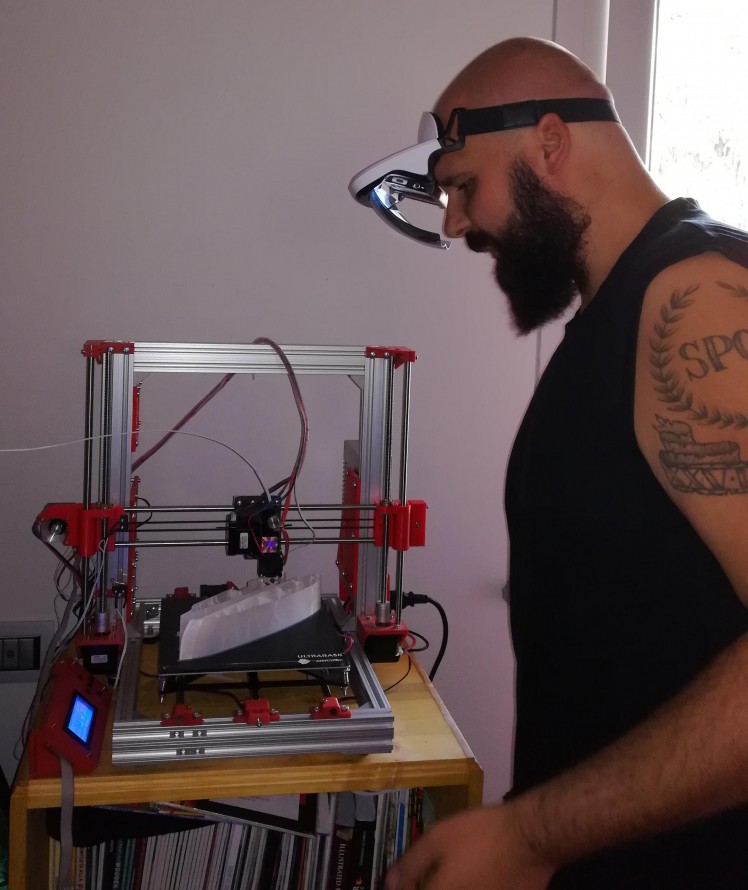
We connected our 3D printer with an augmented reality headset. The Tactigon Skin acts as gesture controller!
Project info
Difficulty: Difficult
Platforms: Android, Google, Raspberry Pi
Estimated time: 1 hour
License: GNU General Public License, version 3 or later (GPL3+)
Items used in this project
Hardware components


Software apps and online services

Story
Hello! This is our latest project: an augmented reality application that connects to an OctoPrint instance and allows you to control your 3D printer - hands free!!!
Think about every time you had to level your heatbed, maybe with auto-level plugin, and switch from thumbscrews to the mouse, forth and back until the bed is OK.
Not to mention the need of the PC, or the browser on your mobile device, not always friendly on these devices.
Here comes The Tactigon Skin (T-Skin), an awesome device, programmable with Arduino IDE that integrates 9DoF IMU with accelerometer, gyroscope, magnetometer, four programmable buttons, and an ergonomic case which lets you use your hand while wearing it!
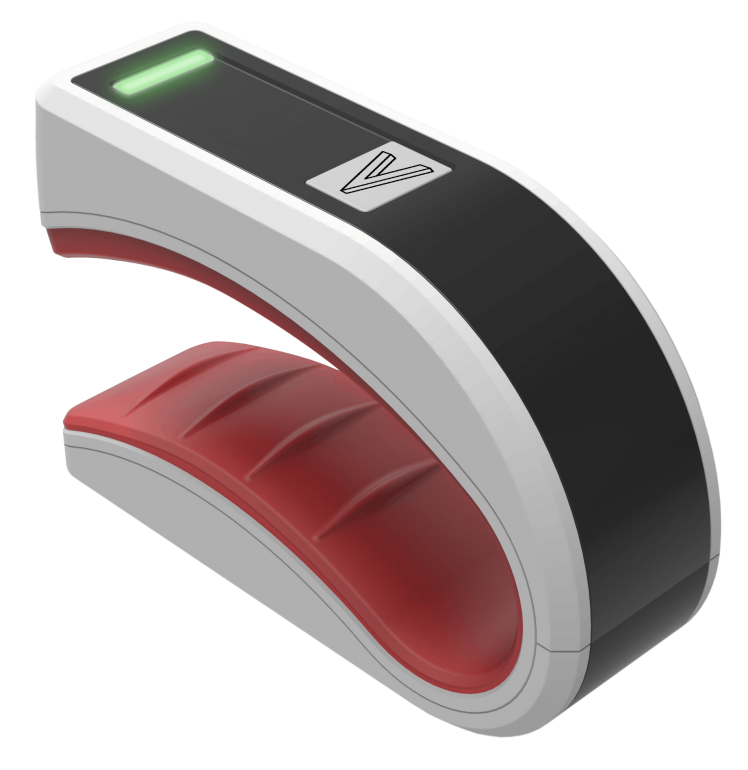 The Tactigon Skin (T-Skin)
Things used in this project
Hardware
- Tactigon Skin
- Android Device
- Raspberry
- 3d generic printer
Software
- Processing
- Arduino IDE
- Google Cardboard VR SDJ
- Octoprint
Prerequisites
In order to progress with this project, you need some software and hardware available:
- your own installation of Processing 3.4, with Android Mode enabled (including VR Mode).
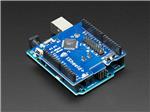
- A running – reachable instance of OctoPrint: we used a Raspberry Pi to host it, thanks to OctoPi image. You can use any OctoPrint installation.
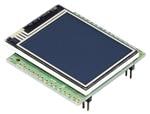
- A Smartphone capable of running Google Cardboard software, and with Bluetooth Low Energy compatibility.
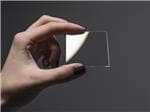
- An Augmented Reality Headset with space for a smartphone, we choose the first headset we found on the web.
- The Tactigon Skin (T-Skin) as controller.
- Arduino IDE to program The Tactigon Skin.
Processing
Processing is available for free download at https://processing.org/ . Installation is straightforward. Once setup has finished, we can move on and install the Android Mode.
To install Android Mode, we click on the Java button in the upper-right corner and select Add Mode.. Select now Android Mode and start the download with the Install button.
OctoPrint
OctoPrint is an awesome platform to control a 3D Printer. Beside its awesome web server designed to interact with almost any 3D Printer, it exposes API which allows developers to implement their own interface, application or even gadget to place in the kitchen and keep an eye on the printer status, handle its files and print jobs. Installing this on the Raspberry Pi, allows to integrade all the electronic in the 3D Printer case!
All you need is to setup its web server and get the API KEY to send commands via POST requests.
Google Cardboard
Processing offers a simplified way to program for Cardboard. Although we use an Augmented Reality device, using this Virtual Reality environment allowed us to avoid any trouble on splitting the screen for each eye. We finally flipped the image on the screen to have a nice view on the Augmented Reality goggles. To use Google Cardboard application, a device with Accelerometer and Gyroscope is needed. We also use Bluetooth Low Energy to connect to the T-Skin device.
Augmented Reality Headset
We got this Augmented Reality headset. It provides a place to put the smartphone in, and the frontal translucid screen reflect the smartphone screen to have a nice view of both reality and data showed by the smartphone.
The Tactigon Skin (T-Skin)
The Tactigon Skin is a programmable device (with Arduino IDE) that offers a nice microcontroller unit (STM32, 32MHz, 32 Bit) coupled with a 9DoF IMU with Accelerometer, Gyroscope and Magnetometer. Bluetooth Low Energy radio is integrated in the device, as an RGB LED and ambient temperature and pressure sensors. Its ergonomic case provides four programmable buttons. The gesture controller made easy!
Arduino IDE
The Tactigon Skin is programmable with Arduino IDE, by downloading and installing the board and the library developed by Next Industries. We need it to program our T-Skin with the right sketch (more than 50 applications available on the website) to interact with the Processing application running on the Android Smartphone.
Architecture
In this project, we connected The Tactigon Skin and the Android smartphone via Bluetooth Low Energy. The T-Skin sends gesture data to the Android Application, which in turn select the right menu on the screen. T-Skin’s Buttons are used to click the selected on-screen button. The Android Application interacts over WiFi with Raspberry Pi and OctoPrint server, sending HTTP Get and HTTP Post requests to fetch data or send commands. OctoPrint’s API KEY are embedded in the requests. OctoPrint talks to the printer over USB cable.
Let's take a look at it!
OctoPrint is a fantastic environment which exposes REST API, with JSON reply. It enables remote control of your 3D printer(s) over HTTP connection.
BUT you need traditional control input devices!
 First version, with no input, only data visualization
The T-Skin acts as human interface to provide a cozy process.
The application uses Cardboard SDK, but thanks to Processing for Android VR mode, we made it easy to customize for everyone who would like to expand its functionality, edit the user interface, or input behaviour.
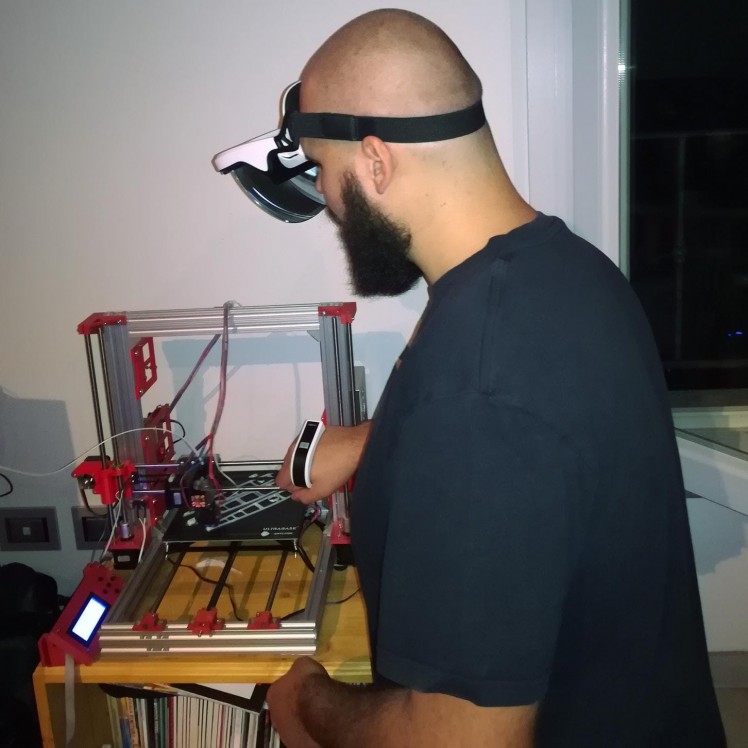 First integrations with T-Skin, browse temperature, progress, ETA... And yes, always Michele printing Cessna's wings...
 Final Results
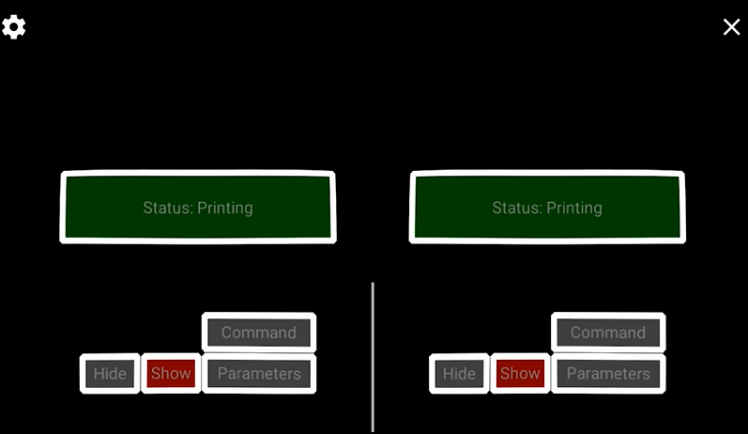
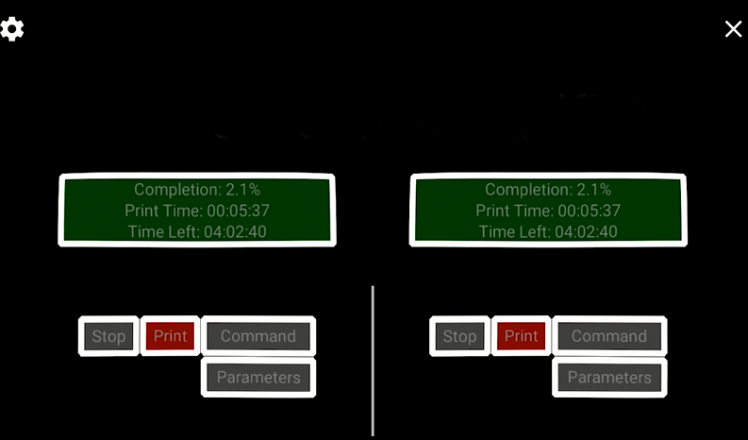
You can see the final result on our YouTube Channel. With gestures, you can browse printer “Parameters”, like % Complete, Print Time and Print Left (see Figura 1) or in the “Status” menu you can see Bed Temperature, Tool Temperature and Printer Status (Printing, Operating, Error).
You can also “Start” o “Stop” printer, with the menu “Command”. Parameter can be shown or hidden by using the parameters buttons.
Credits
The Tactigon
The Tactigon is a brand of Next Industries Milano. Next Industries is a born of a passion to develop devices and sensors fit for Iot Technology. Our team is made of incredible experts in movement detection for big structural monitoring systems, software development and wearable device.
Related products


Leave your feedback...