
Devanimus: Ai-powered Mood Tracker & Enhancer + Chatbot

Made by SNatesan / Artificial intelligence
About the project
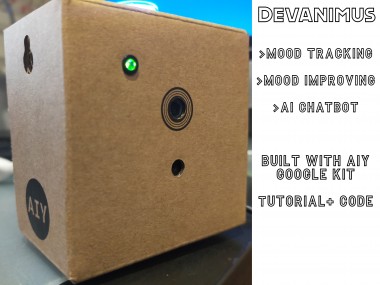
DevAnimus is a an AI-powered device which helps to track and enhance mood, which is paired with an additional app, where users can interact with a chatbot and improve mood.
Project info
Difficulty: Easy
Platforms: Google, Raspberry Pi, ThingSpeak
Estimated time: 3 hours
License: Creative Commons Attribution-NoDerivs CC BY-ND version 4.0 or later (CC BY-ND 4+)
Items used in this project
Software apps and online services

Story
Introduction
One of the worst issues in today's society is mental health, a worldwide epidemic affecting many demographics. From the elderly to teenagers, mental health is one of the largest issues which many face. A design which can help track the moods of loved ones (i.e. for doctors), which can simultaneously enhance their mood is required to help combat the epidemic.
One example case study for this design is for those who suffer from bipolar disorder, which can cause dramatic spikes in mood. This can help carers track their emotions and reach out remotely when required, thereby reducing the cost of care and also allowing for remote reach.
Kit and Software
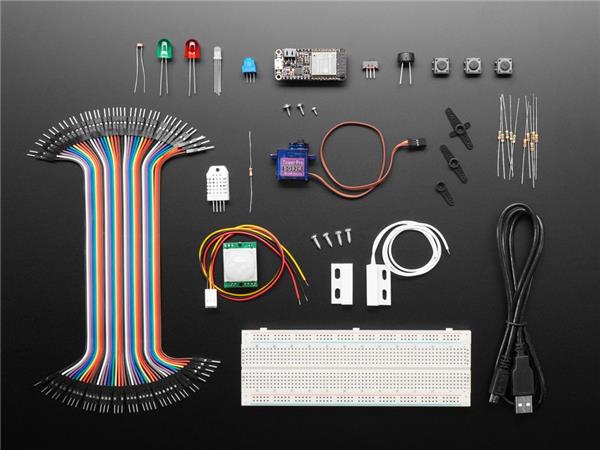
This project is built using:
- Google AIY Kit: This is an AI-Powered kit run via a Raspberry Pi which can help track mood
- Thingspeak: This will be used to help store the mood data through visual graphs and be used to determine the mood of the individual, and will be used to make the decision to enhance the mood if necessary,
- MIT App Inventor: External App to help present the mood data as well as acting as interface to enhance mood and offer a 'therapy' chatbot.
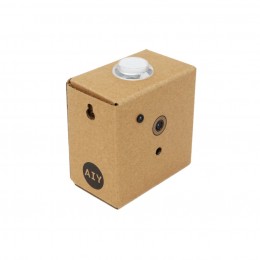
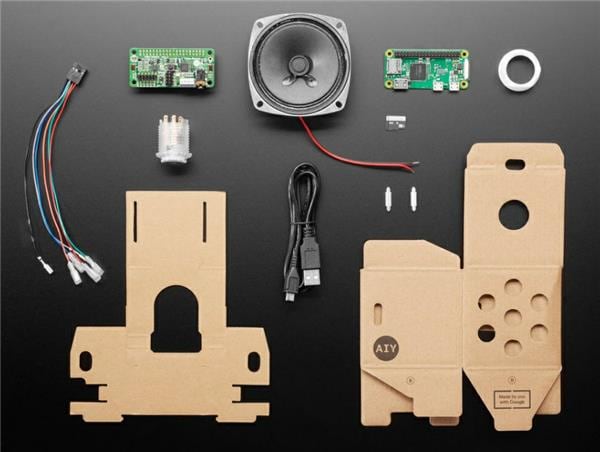
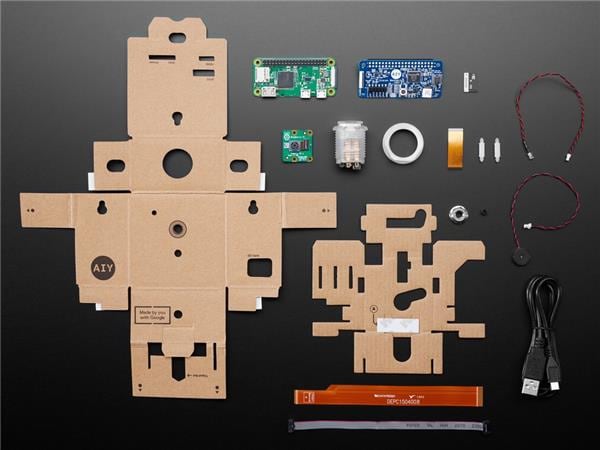
STEP 1: Assembling the AIY Vision Kit
Follow the steps on: https://aiyprojects.withgoogle.com/vision
These steps will help you get started with the aiy vision kit, and will inform you on how to get setup. Before you get started, here are some top tips :
- Ensure your Camera is adequately placed inside the connector latch, remember the black side of the camera aligns with the black side of the connector latch.
- Double-check standoffs are being inserted into the correct holes, as they can be hard to remove.
- Once you are started, the demo of joy detection will be played immediately. Use the taskctl method to stop, and every time the device reboots it will play.
- Safety Light or Buzzer not working ? Double check your connection, you may have the swapped around.
STEP 2: Modifying the Joy Detector Code
In order to send the data to thing speak we need to edit some of the code to send the value of joy through WiFi to thingspeak. The code is below, make sure to change your API key (write not read key) before starting.
STEP 3: Automatically turning on the camera
You can make the design automatically work without any buttons by using the raspi-config comand. Open the terminal and type:
- sudo raspi-config
Then proceed to enable the camera and reboot, you should be able to see the data being streamed on thingspeak.

STEP 4: Connecting to Mit App Inventor
There are many tutorials for parsing thingspeak data through to MIT App Inventor. This may take some trial and error but I recommend you check out: https://www.youtube.com/watch?v=gA-3cvfqHpY You need to store your mood data as a variable.

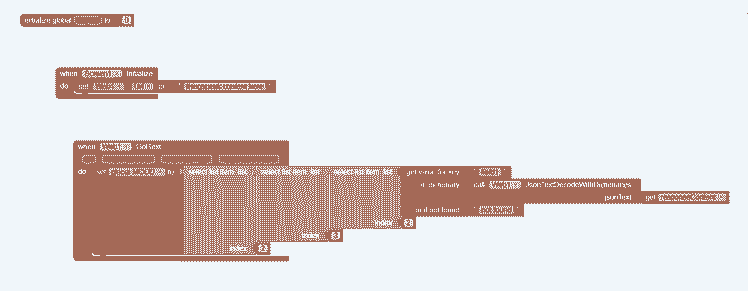 STEP 5: Logic for MIT App Inventor and Mood
After successful pairing the ThingSpeak data, we can now do something to improve people's mood ! Below is the logic !

You can choose a wide variety of options, such as playing music (in this example). However, if someone looks upset, they may require further assistance to get them back into happiness !An example is a chatbot, using Dialogflow !
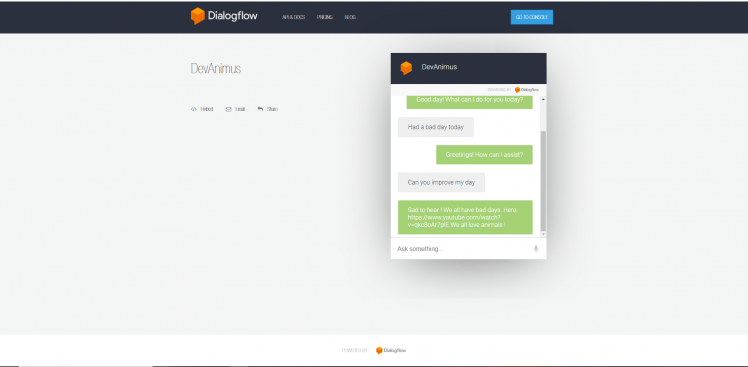
STEP 6: Dialogflow Chatbot
We can create a simple dialogflow chatbot, which uses google cloud ! This will help users to talk,and share the worries with an AI-Powered bot ! For this part we will use a knowledge base ! There is a great video here: https://www.youtube.com/watch?v=kF33Ime0a2k
Create you gcs account, then go to dialogflow and create a new chatbot. Then enable knowledge bases and create a new base. Import your file, and build your bot !

Remember to ensure everything is relevant for your target audience ! You can update responses, but to extend you can even convert them into intents ! These will allow you to achieve even more ! You can connect dialogflow to smart appliances, e.g. lights.
To integrate the chatbot into the app, enable the web integration and then link the design into the webviewer element in app inventor.
Schematics, diagrams and documents
Code
Credits
Related products

Leave your feedback...