

Toit with Qubitro

Made by pradeeplogu0
About the project
Connect your ESP32 Devices to a powerful Toit Environment, and manage the data with Qubitro Cloud.
Project info
Difficulty: Easy
Platforms: RakWireless
Estimated time: 1 hour
License: GNU Lesser General Public License version 3 or later (LGPL3+)
Items used in this project

Story
Toit with Qubitro:
Have you considered creating your own Internet of Things (IoT) product? Yes, thousands and thousands of codes are sufficient. But how about managing the device and devices data without any physical interactions?. These are the critical things when it comes to developing and managing an IoT Product, We can do this all in a very simple manner, will see that in this blog post.
Do you know about Toit & Qubitro?Toit is built on the free and open source Toit language, so you write your applications in a high-level, memory-safe language and let the battery-optimized virtual machine execute them efficiently on your ESP32s. Fast to develop, safe to run.
Toit Console
Toit allows you to control your ESP32 devices over the air, as well as upload and update software. As a result, large-scale deployment is simple. After connecting and deploying your scripts to the ESP32 via Toit, we'll need a cloud partner to visualize our device data. Here comes Qubitro; if you want to know more about Qubitro please visit Qubitro Blog.

First, you have to connect your ESP32 devices to Toit. For this, you have, signup for an account with Toit.
Here I have used Rak11200 Wi-Fi core as an esp32 development board. for more details https://docs.rakwireless.com/Product-Categories/WisBlock/RAK11200/Quickstart/
toit.io

toit.io
The interface will look like this once you've signed in with Toit.
toit console

toit console
Then, from the left menu bar, select the Serial tab and click on Ready.

When you click Ready, it will look for any ESP32s connected to your computer's com port.
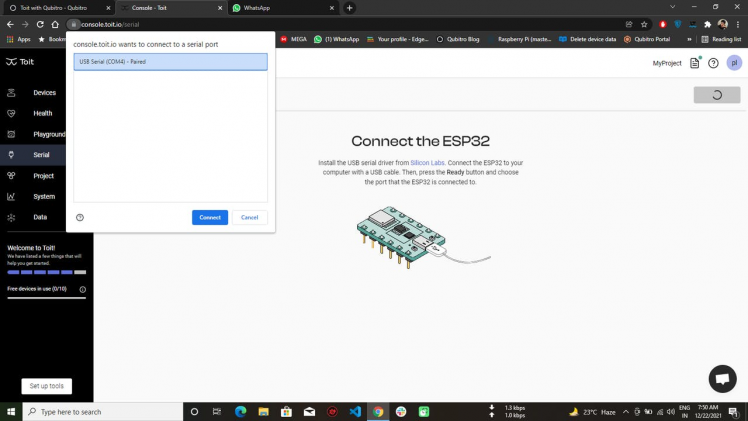
Following that, it will display the various com ports; select the suitable com port and click Connect.

Then, in order to control through network, you must burn Toit firmware to the esp device. To do so, go to the menu and select Provision.
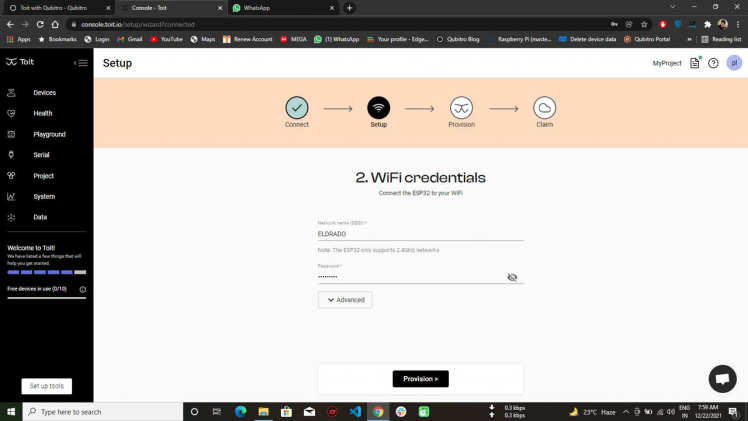
To provision the ESP32, enter the Wi-Fi credentials. It took a few seconds for the firmware to upload, and then it will connect to your Wi-Fi network.
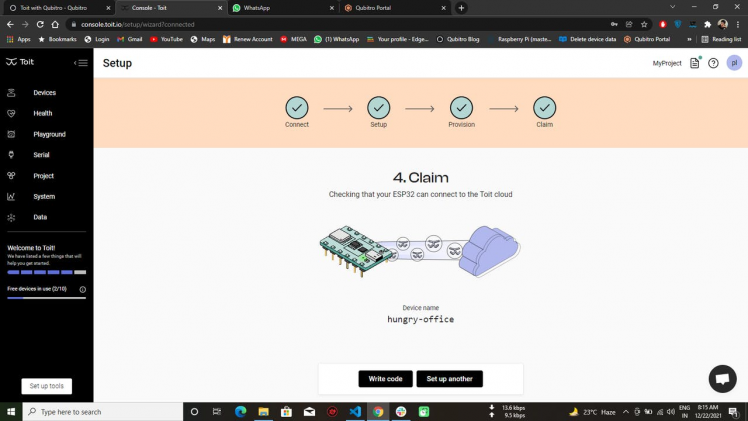
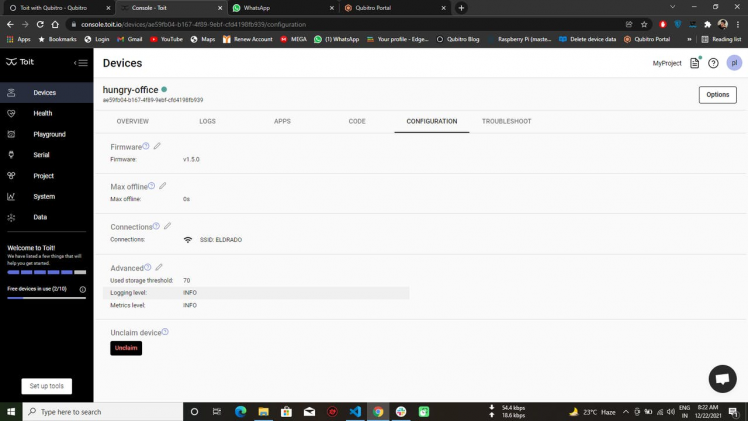
Navigate to the Device tab using the navigation bar. There, you'll find your device listed.
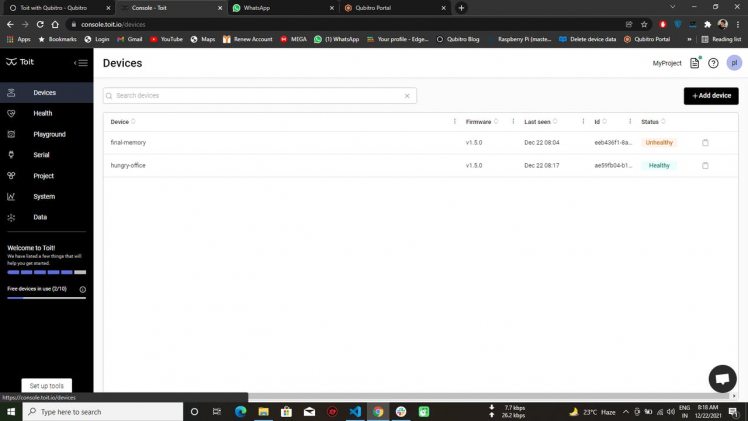
When you open your device and look about, you'll notice a variety of options such as device status, logs, and configuration.
Now that we've successfully linked our ESP32 to Toit Console, the next step is to set up the Toit Programming environment. You can find this information in the Toit Docs.
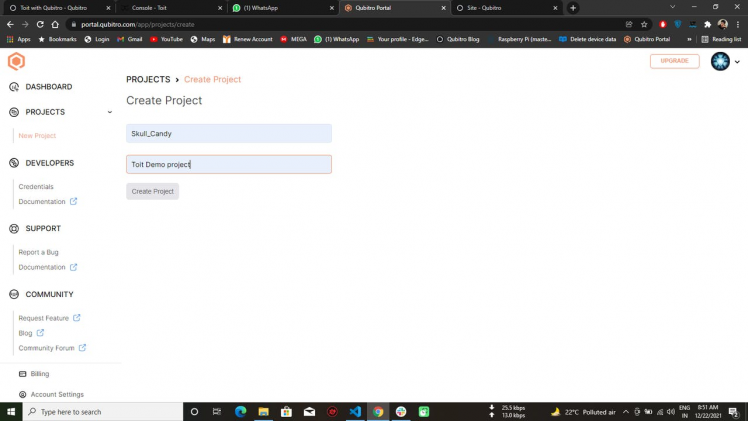
Let's configure Qubitro :To begin, you should first create a Qubitro account. Then, as seen below, you should create a project.
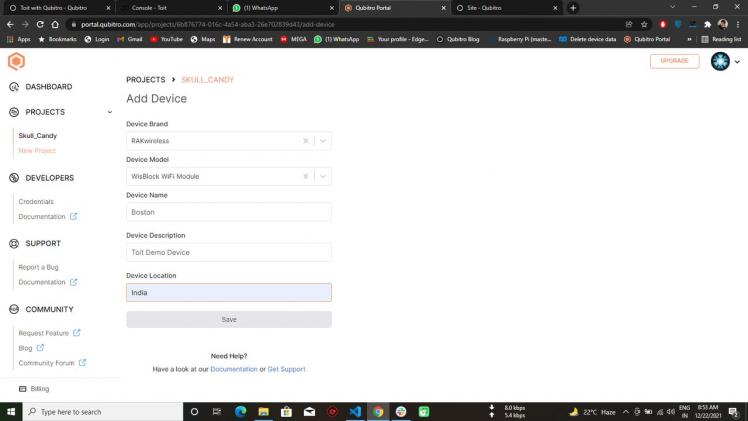
After you've created a project, pick device brand and device model to add a device to it.
After creating a device, you'll need the device credentials for further process.
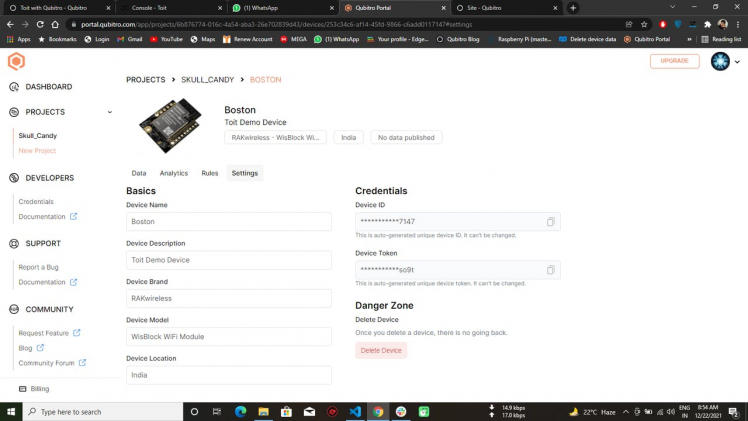
Copy the device ID and the Device Token from the portal.
Let's move on to programming:Now that we've set up both the Toit and Qubitro environments, we'll need some Toit Lib packages to connect our Toit Device to Qubitro.
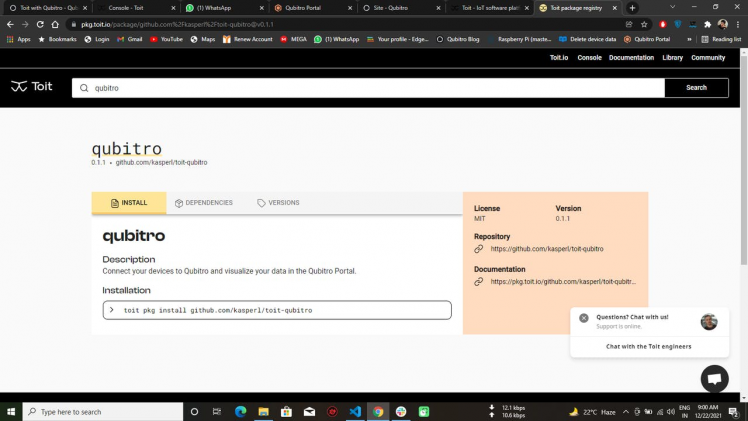
Open VS Code and pick the Toit Extension after installing the Qubitro package with your Toit. It will automatically redirect you to the Toit authentication page, where your Toit Esp32 devices will appear following a successful login.
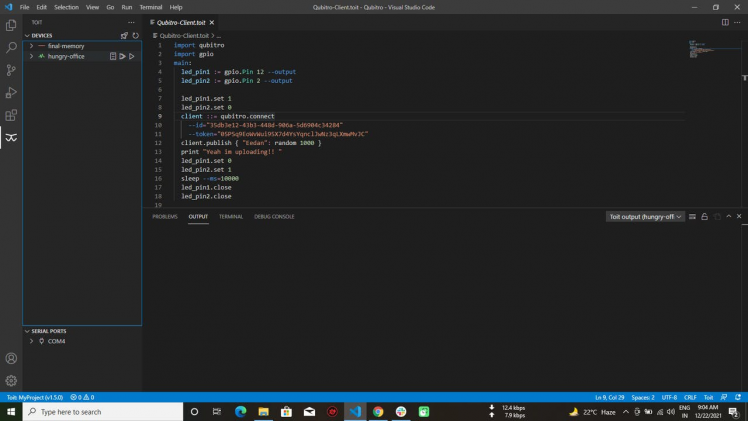
I've provided the random data values to Qubitro in this, but you can input your own sensor data here as well. Then, in the code, replace the device ID and tokens with your Qubitro Device ID and tokens.
import qubitro
import gpio
main:
  led_pin1 := gpio.Pin 12 --output
  led_pin2 := gpio.Pin 2 --output

  led_pin1.set 1
  led_pin2.set 0
  client ::= qubitro.connect
    --id="253c34c6-af14-45fd-9866-c6add0117147"
    --token="VpVrlbUfn6jjrTTdddNgMfsjCI6ko8-iki63so9t"
  client.publish { "Data1": random 1000,"Data2": random 1000, "Data3":random 1000}
  print "Yeah im uploading!! "
  led_pin1.set 0
  led_pin2.set 1
  sleep --ms=10000
  led_pin1.close
  led_pin2.close
You can execute the program directly from the.toit file, however if you want to use this code as an application (Boot up Script for your device), you'll need to deploy the.yaml file.
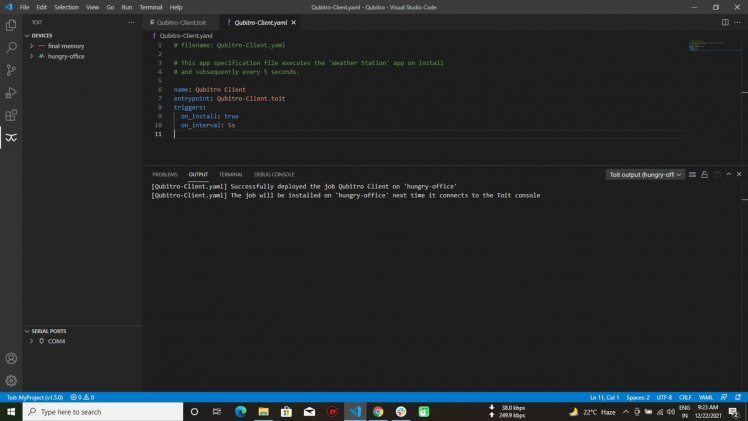
# filename: Qubitro-Client.yaml

# This app specification file executes the 'Weather Station' app on install
# and subsequently every 5 seconds.

name: Qubitro Client
entrypoint: Qubitro-Client.toit
triggers:
  on_install: true
  on_interval: 5s
Here is the sample code to connect Rakwisblock and Toit with Qubitro.
Deployment:Once you've entered your code into VS Code and selected the Device to deploy the program, the deployment process is quite straightforward. After that, press the deploy button, which will prompt you for the.yaml file. Select the proper yaml file, and the program will begin to upload.
This is the message that appears after successful uploading.
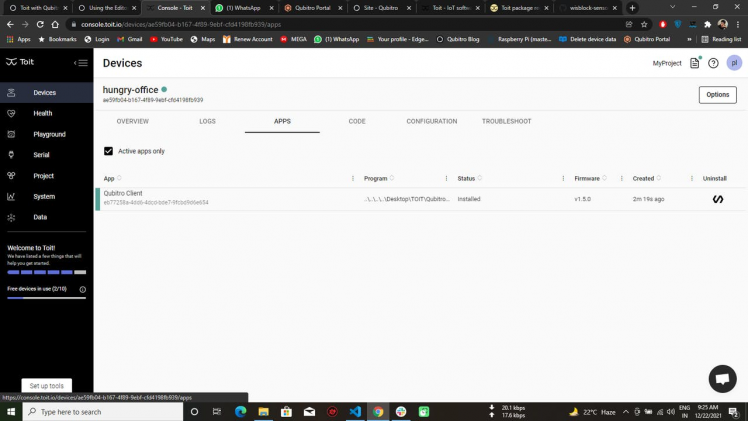
Select your device's Application area in the Toit interface, and you'll see the program, which we uploaded using VS Code.
Open up the Qubitro portal and check for the incoming data.
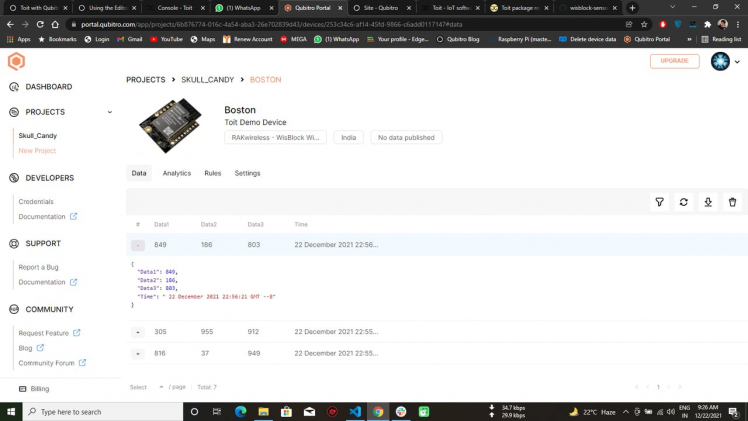
Visualize the data according to the usage.
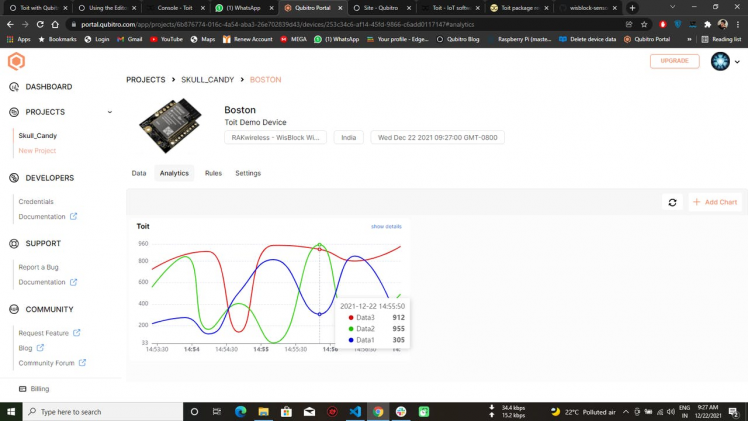
You can see all our readings are showing up perfectly…😎
Helpful linksCode
Credits
Leave your feedback...