

Sensly Hat For Raspberry Pi Air Quality & Gas Detector V1.1

Made by Altitude_Tech
About the project
Sensly is a portable pollution sensor capable of detecting the pollution levels in the air using its onboard gas sensors to collect information about the various gases present. Being aware of this data helps you to take action and bring the pollution levels down around you.
Project info
Difficulty: Moderate
Estimated time: 2 hours
Items used in this project
Hardware components

Story
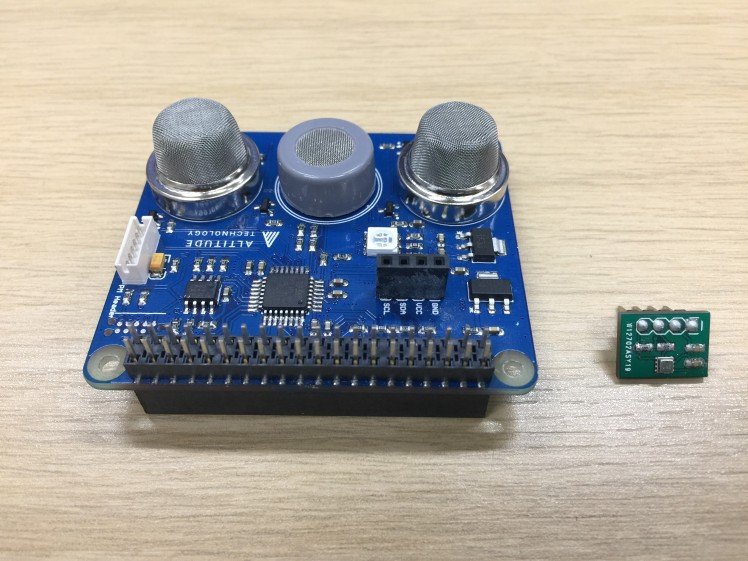
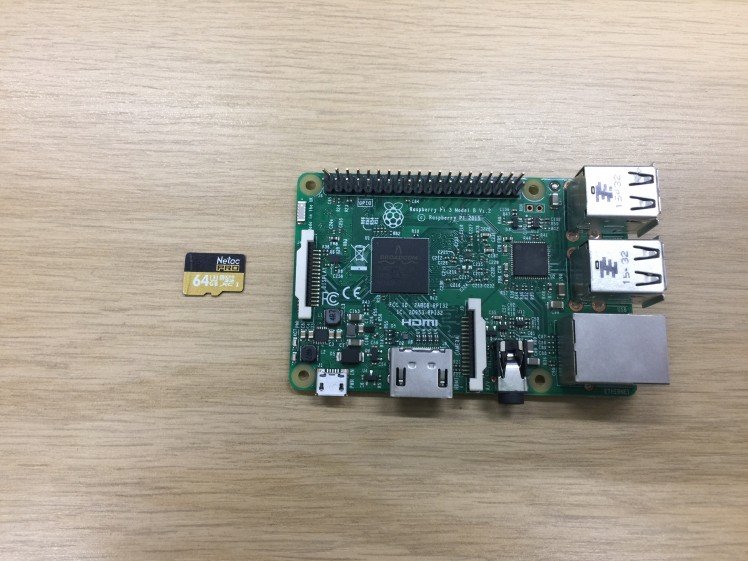
Step 1: Parts in the Box
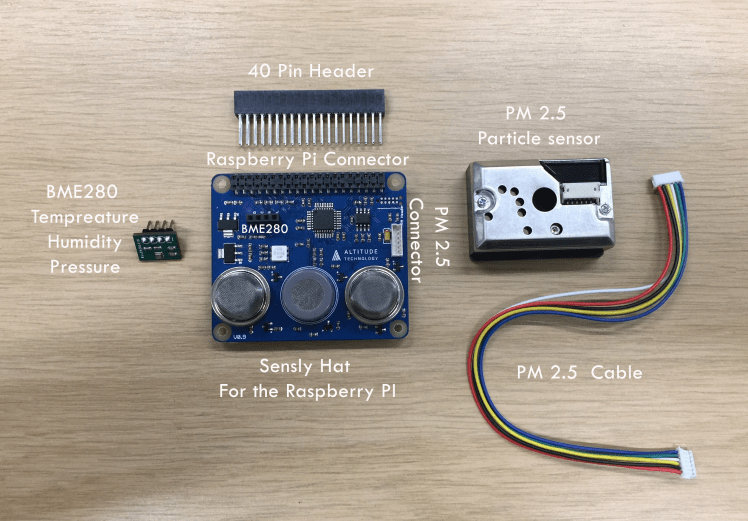
Start with getting everything you need.
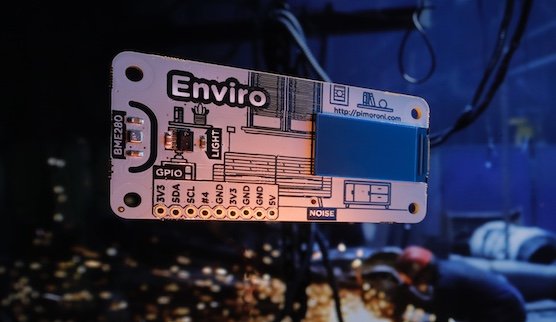
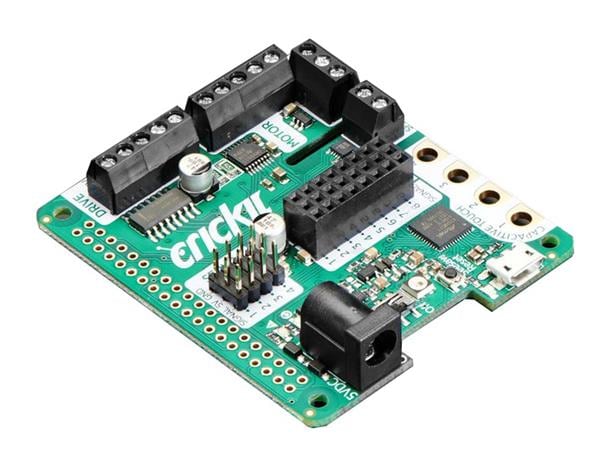
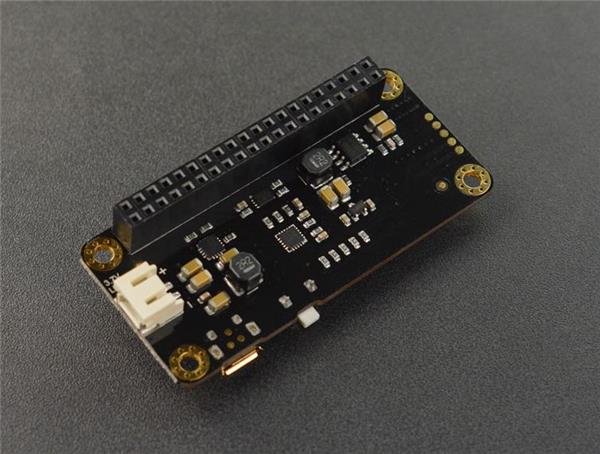
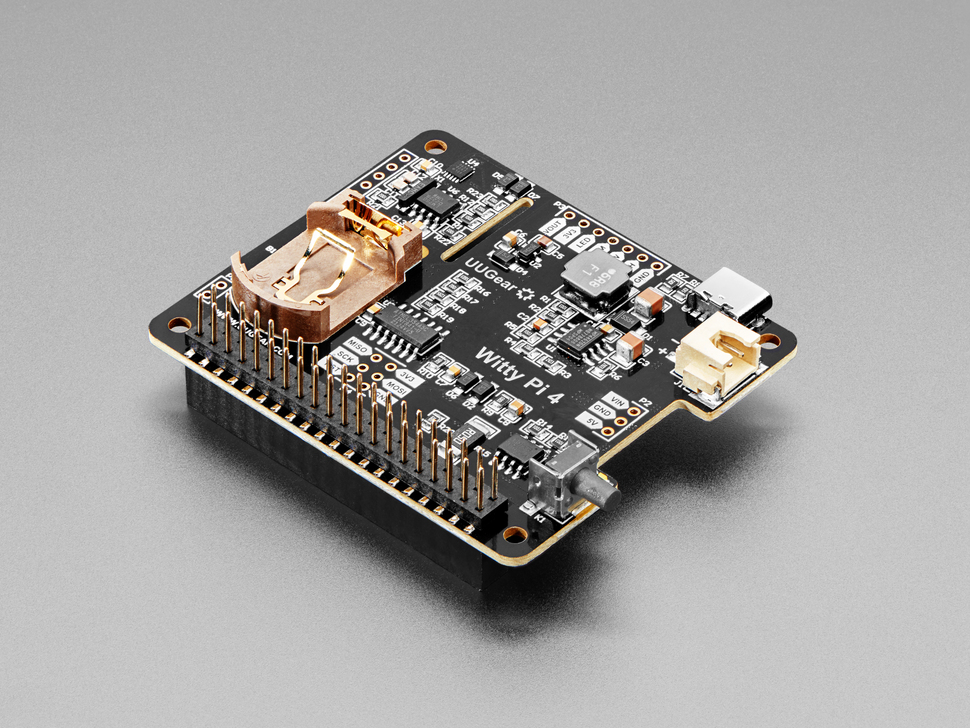
- Sensly HAT
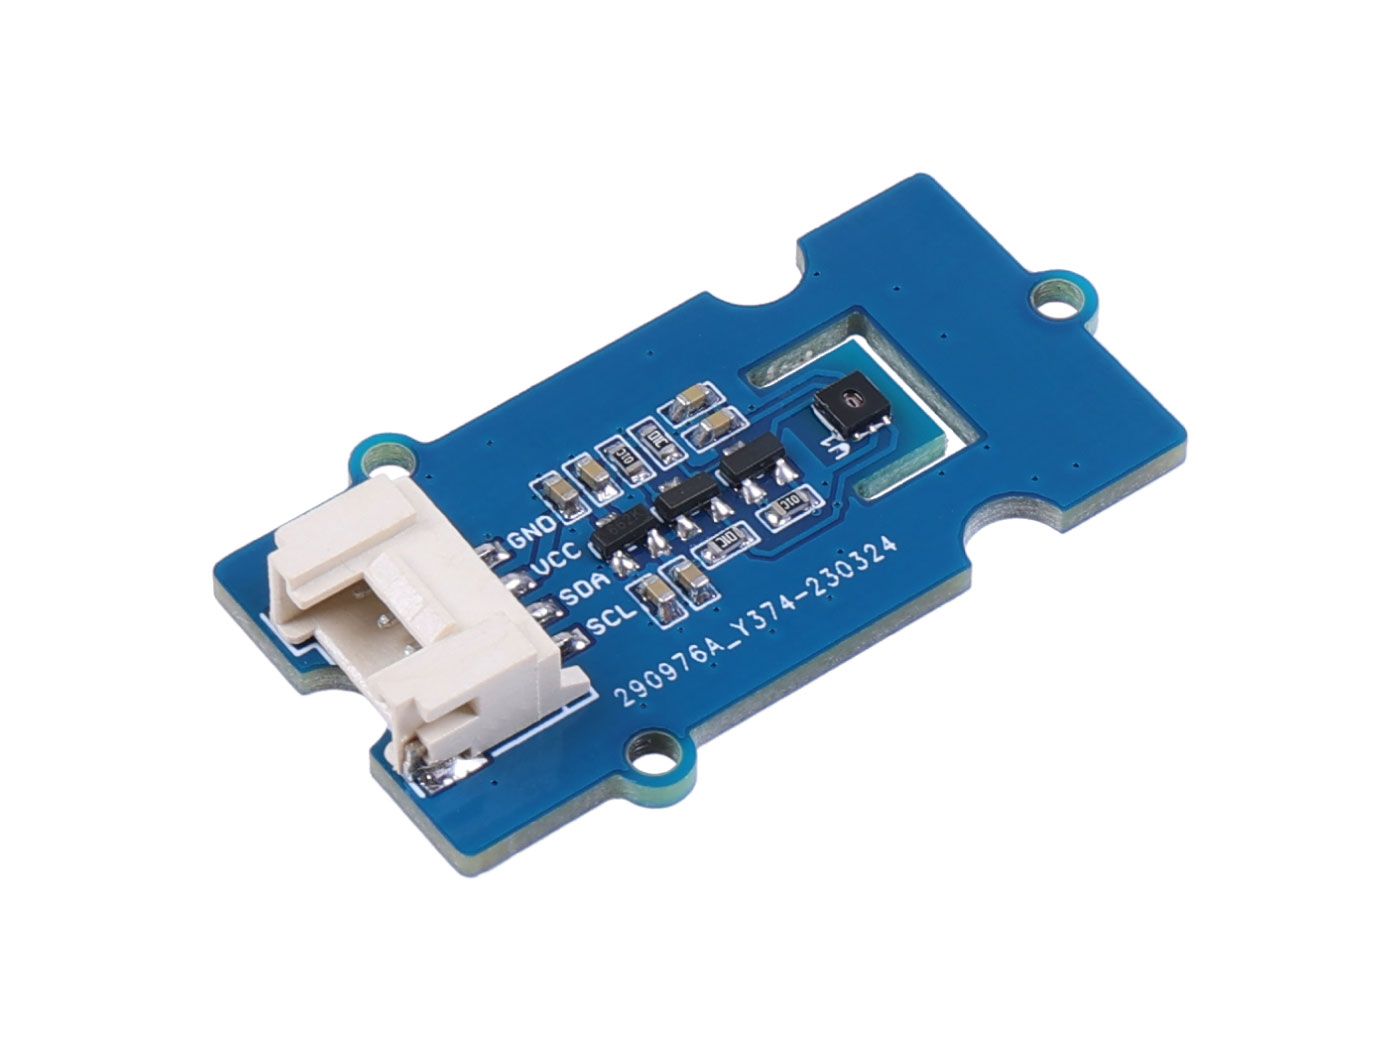
- BME 280/680 temperature, humidity and pressure sensor module
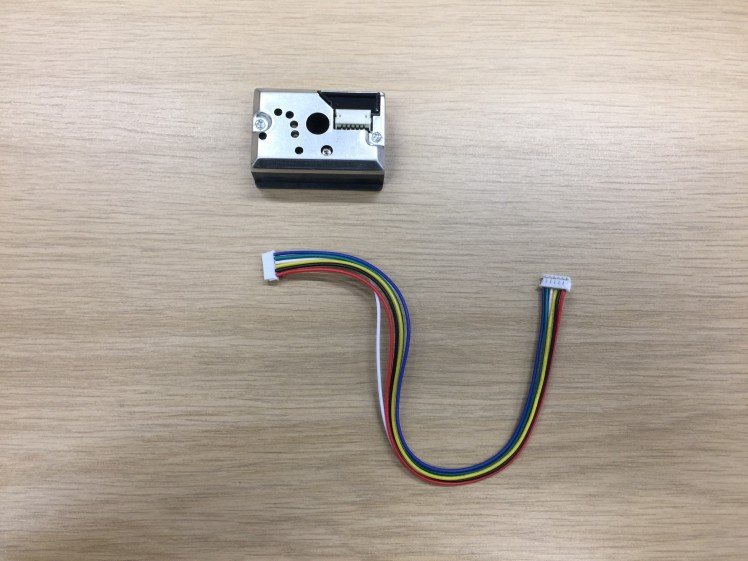
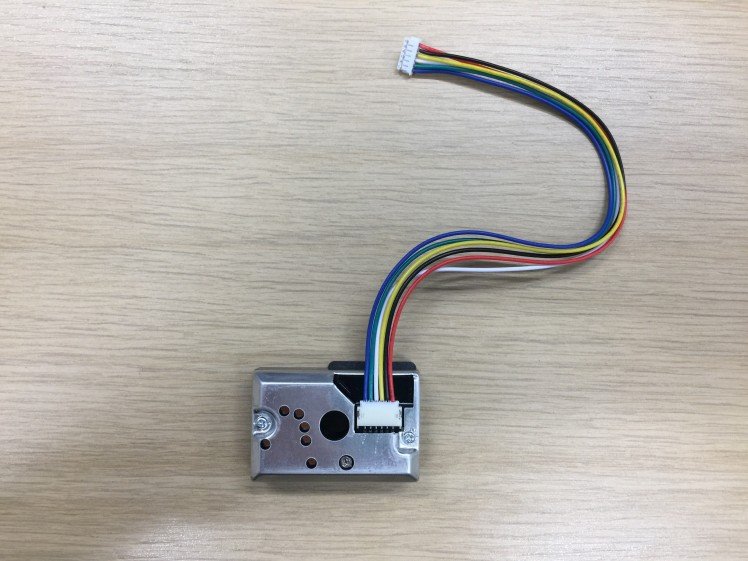
- Sharp PM10 Sensor
- PM10 Cable
- 40 Pin Raspberry Pi header
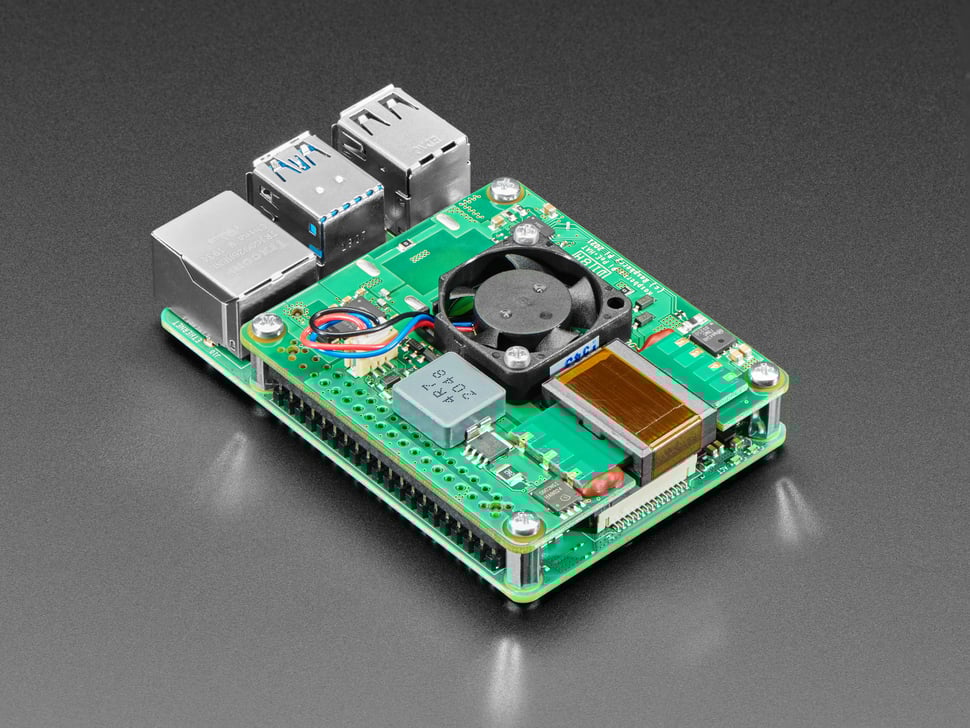
Step 2: Putting Sensly All Together
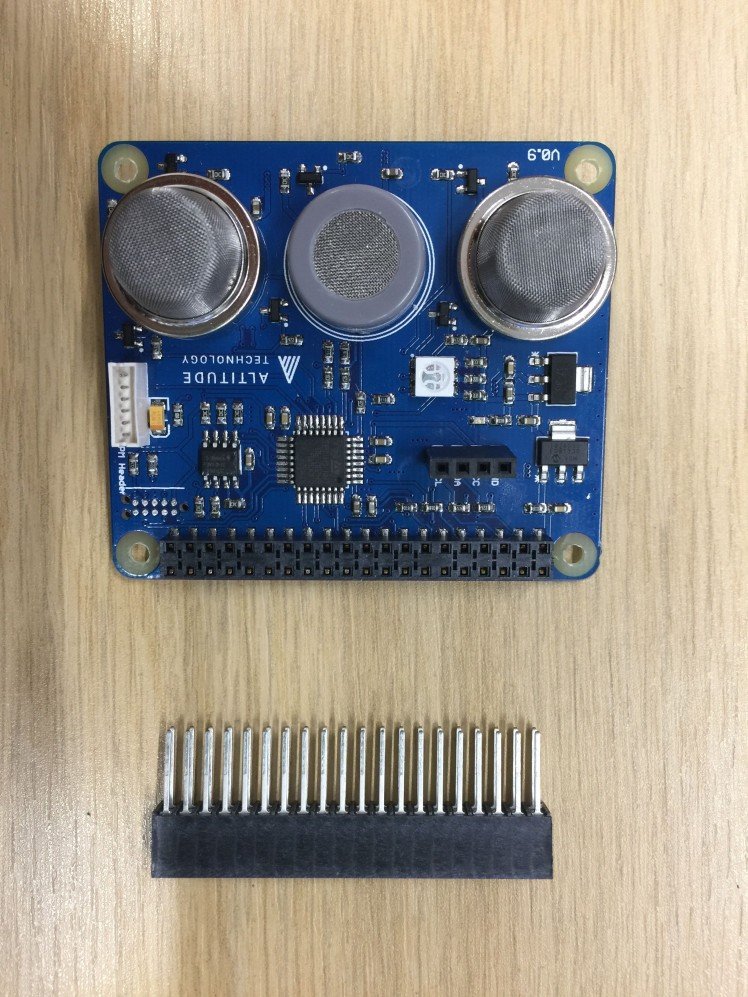
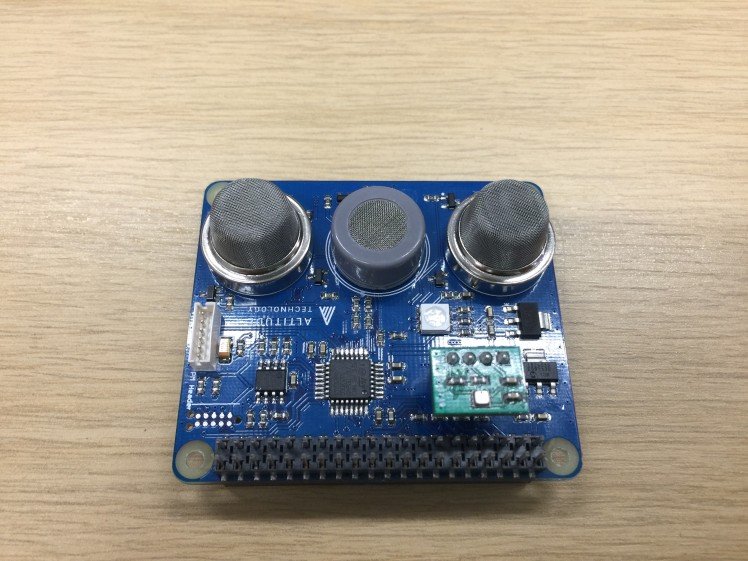
Let’s put it all together:
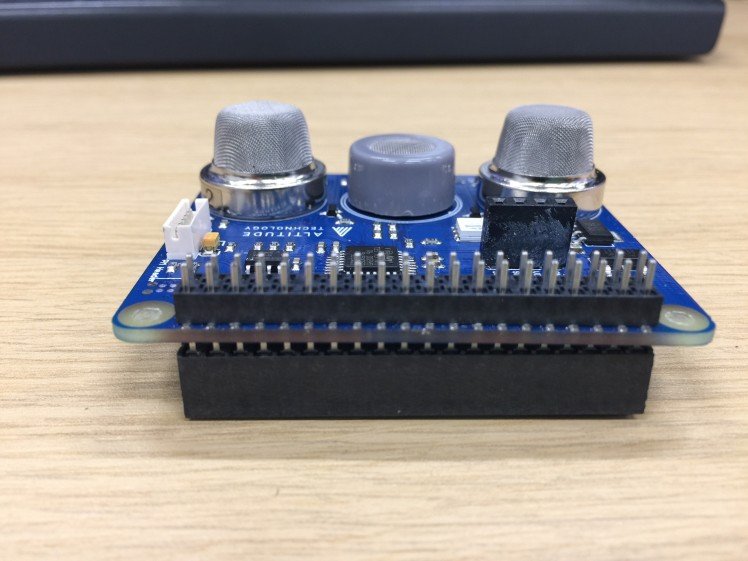
- Put the 40 pin header into the pin holes on the Sensly HAT then place the Sensly HAT onto the pi
- Place the BME 280 module on to the Sensly HAT ensuring the pins match up. Look under the module to know which direction it should be facing.
- Plug the PM Sensor Cable into the port labeled PM Header
- Once this is done, we can power on the Raspberry Pi.
- Due to the power draw of the Sensly Hat when fully operational it is recommended that you use a raspberry pi charger to power your pi.
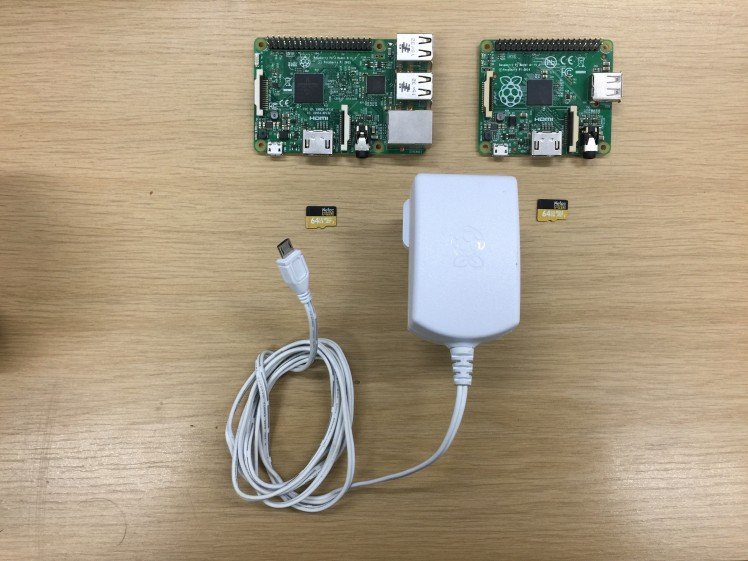
Step 3: Extra Parts
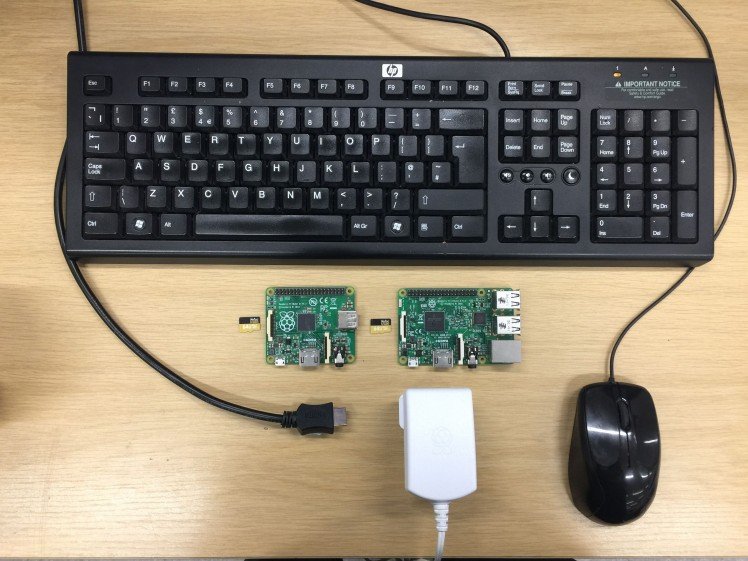
Getting everything for your raspberry pi
- Raspberry pi 2 or 3
- Monitor
- Keyboard and mouse
- Internet Connection
- HDMI Cable
- Raspberry Pi 3 charger
- Latest version of Raspbian Jessie
Step 4: Setting Up the Raspberry Pi
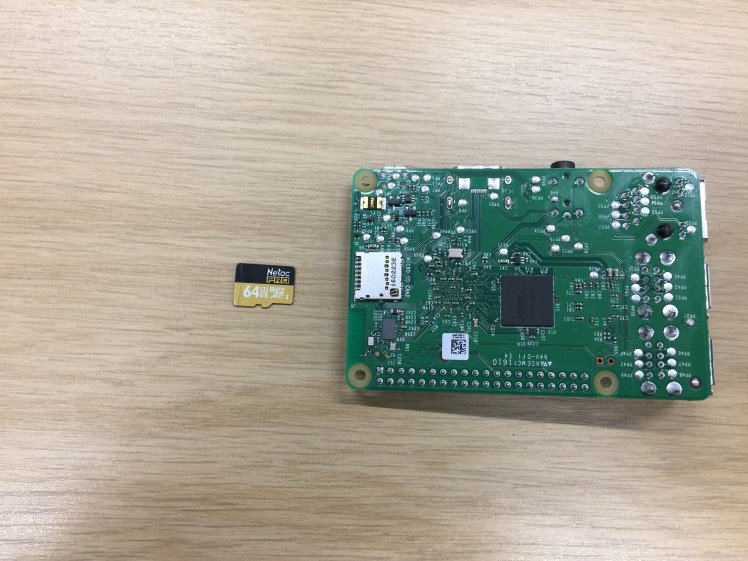
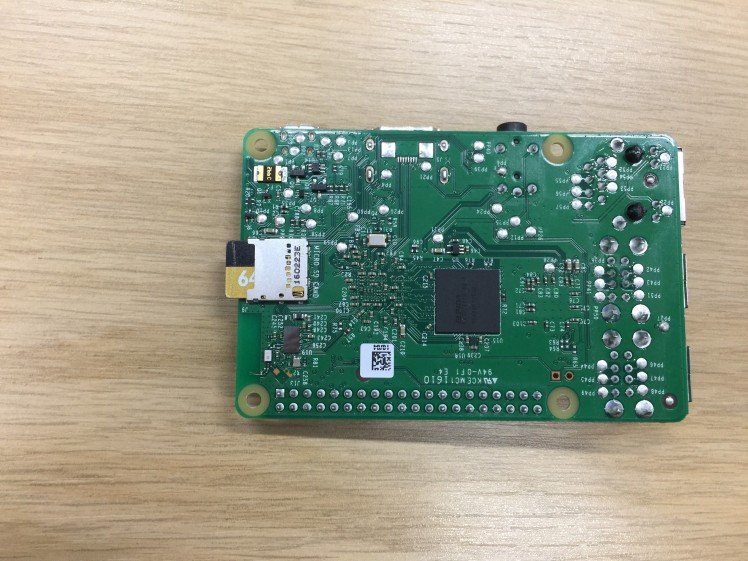
The guide to setup a raspberry pi if you need from the raspberry pi foundation
https://www.raspberrypi.org/learning/hardware-guid...
Latest version of Raspbian Jessie can be found on the link below.
https://www.raspberrypi.org/downloads/
Step 5: Download the Software
Setting up the Raspberry Pi to connect to the Sensly HAT.
There are a few ways to do this, first you can download the Raspbian image here . This will be preconfigured to work. Secondly, you can download the install script from
https://github.com/Altitude-Tech/Sensly_Install
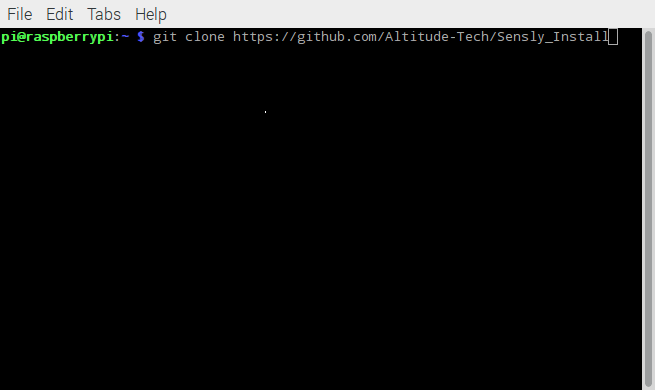
Firstly we need to download the install scripts using the command. Make sure you are in your home directory
- $ git clone https://github.com/Altitude-Tech/Sensly_Install
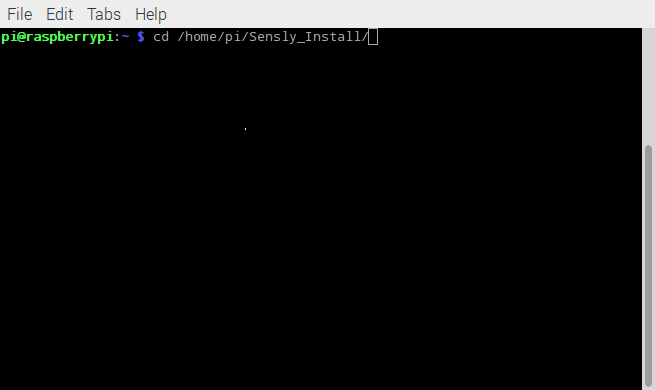
Then we change directory to the Sensly_Install folder
- $ cd /path/to/Sensly_Install
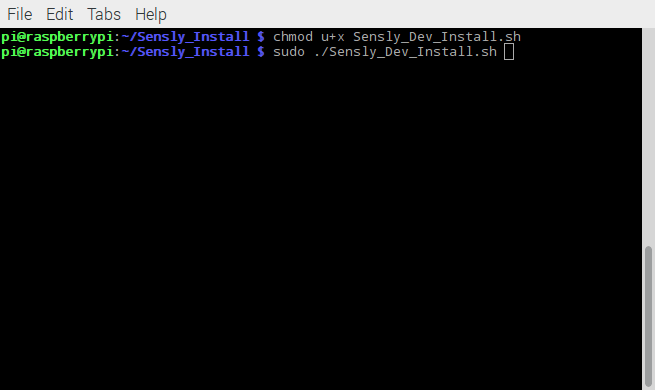
Next, we need to make the install script executable.
- $ chmod u+x ./Sensly_Dev_Install.sh
Finally we run the script. There will be some prompts that you will need to type in Y to confirm you want to continue
- $ sudo ./Sensly_Dev_Install.sh
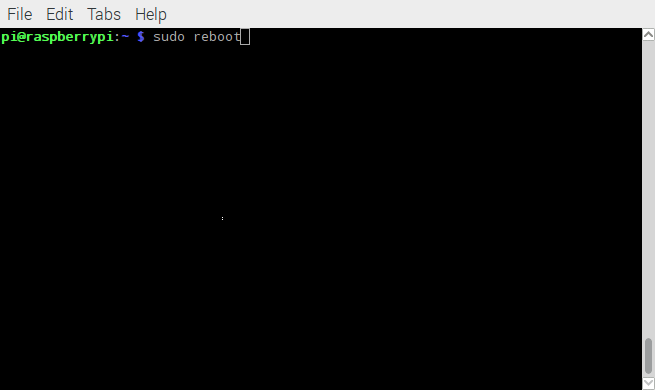
Once completed it your pi will restart. To confirm that everything is working we can run the following command.
- $ i2cdetect -y 1
You should be able to see positions 05 and 76 on the screen.
Step 6: Calibration Firmware
To be able to run the calibration process, an update step is required. The first step is to download the files for the calibration firmware at:
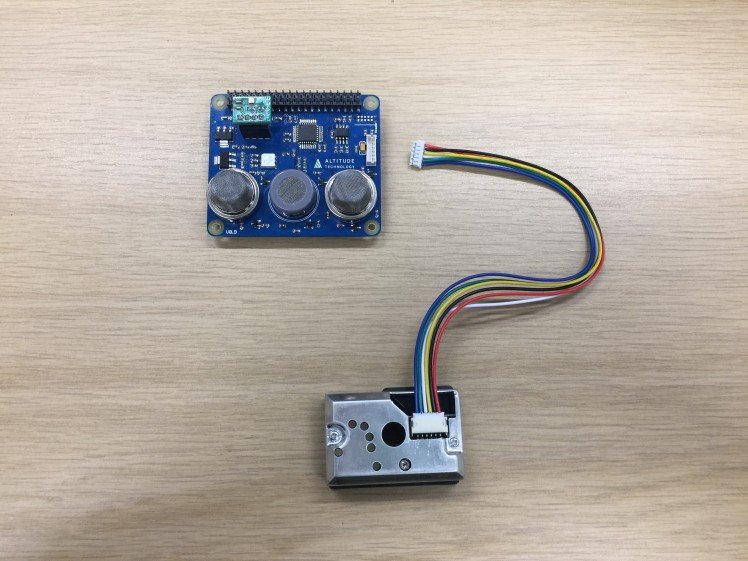
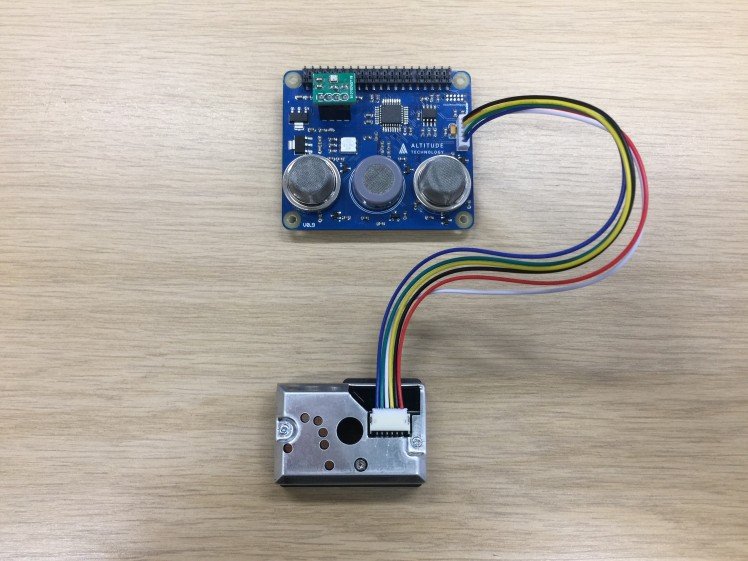
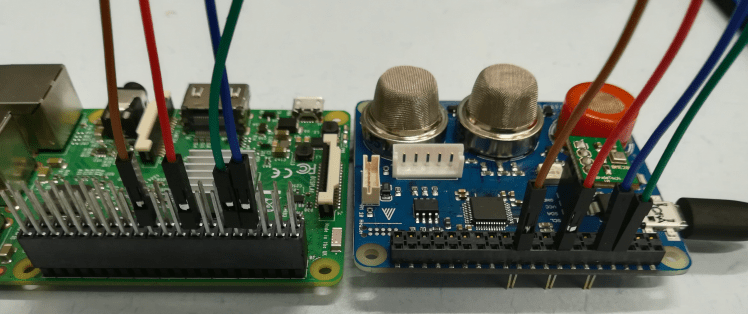
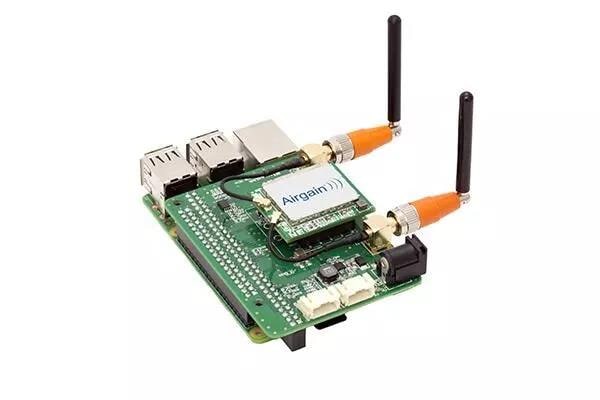
For the Firmware upload to Sensly we need to have another setup of the raspberry Pi and Sensly as shown above.
Sensly will be power via the USB. The green and blue wire are swap for communication purposes.
Next step, is to run the Firmware script.
- $ sudo python Firmware_Updater_Calibration.py
Once the upload has finished, connect the Sensly as always and go to the next step.
Step 7: Calibrate the Gas Sensors
There is a pre-heating/burn-in phase required to remove the protective coating the sensors have when we receive them from the manufacturers, this is typically 48 hours and only has to be done once. After that, we typically recommend heating the sensor for 15 minutes to stabilize readings before logging any > https://github.com/Altitude-Tech/Sensly
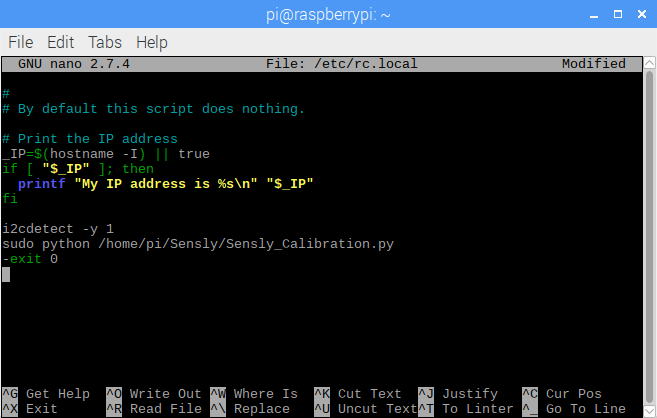
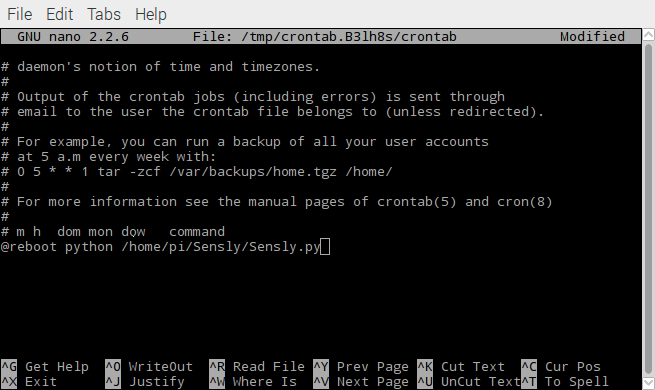
Next, we need to put the following command into the file
- $ @reboot sudo python /path/to/Sensly_Calibration.py
The command needs to be in the same place as shown in the picture above. Then we close the file using Ctrl+x then Y. This will mean every time you start up your Pi it will run the calibration script.
You can now take it to you clean air environment and leave it for between half an hour, to an hour. The longer the better.
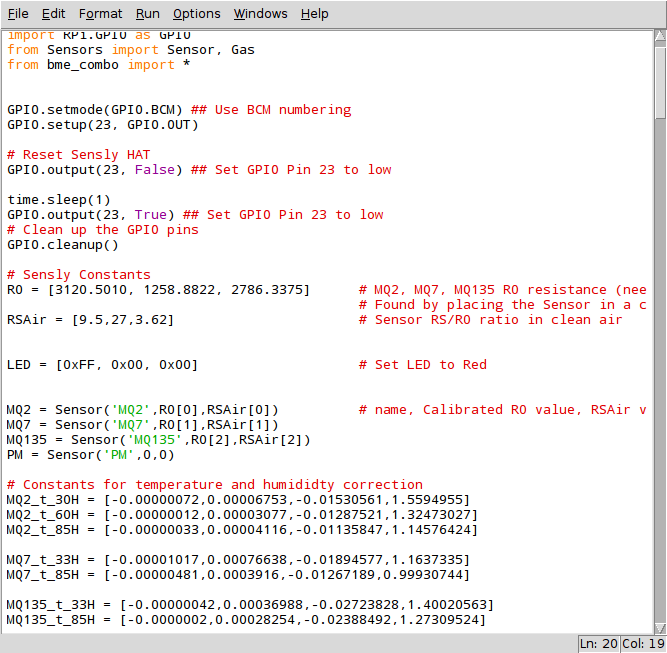
Once this is finished you should have a file named Sensly_Calibration_"date"_"time".csv where "date" will be replaced with the current date stored on the Raspberry pi and "time" is replaced with the current time. This file will contain the R0 values calculated during the calibration phase averaged every 5 minutes. Since the script logs a running average, you take the last entry in the file as the R0 values for the MQ2, MQ7 and MQ135. This will then be put into the Sensly.py file. to enable us to calculate the PPM values for each gas detected
Step 8: Running the Sensly HAT
To be able to run Sensly in full operation mode we need to update the firmware to get it out of Calibration mode. This is done by running the Firmware_Updater_Operation.py script, but first, the Sensly needs to be connected as in step 6.
Then we run the Firmware updater as follows:
- $ python Firmware_Updater_Operation.py
Once the Sensly firmware has been updated, connect the Sensly with the Raspberry Pi as usual.
Now run the Sensly.py script:
- python Sensly.py
Finally, to enable you to run the script automatically we then run the crontab command again.
- $ crontab -e
Then add this to the end of the file while removing our earlier entry
- @reboot python /path/to/Sensly.py
Now every time you boot your pi the Sensly HAT should be logging >
Please share your data as it will help us build better updates for Sensly.
If you think you have the skills to write a great Instructable using Sensly then purchase one from our store and if we like it we will refund your money and even send you more goodies!
Code
Credits
Altitude_Tech
Altitude Tech LTD is founded by professionals and students in the area of robotics, electronics and product design, which makes the team the heart of the company.
Related products


Leave your feedback...