
Scotttv- A Simple Mediaplayer For My Autistic Son

Made by Alains Projects / Kids & Family
About the project
Hi, I needed a simple media player that my son can understand. I could not find a commercial solution, so I built one based on a raspberry
Project info
Difficulty: Moderate
Platforms: Raspberry Pi
Estimated time: 2 weeks
License: GNU General Public License, version 3 or later (GPL3+)
Items used in this project
Hardware components


View all
Story

Details
Hi all,
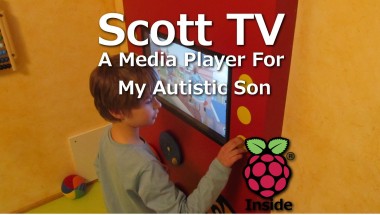
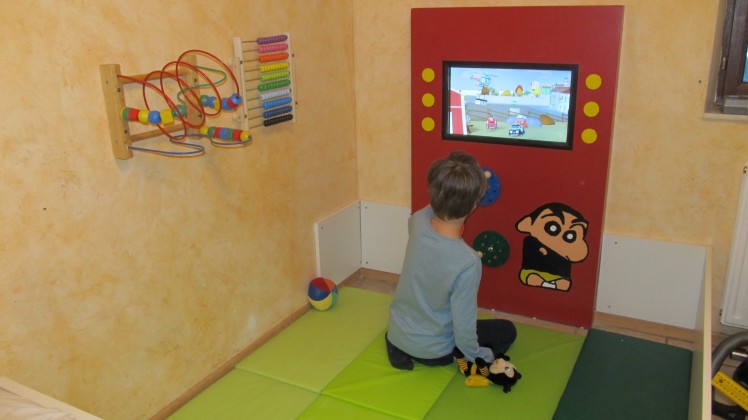
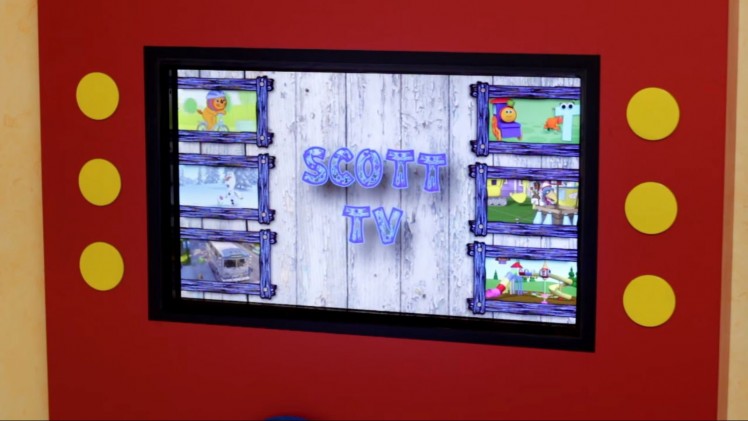
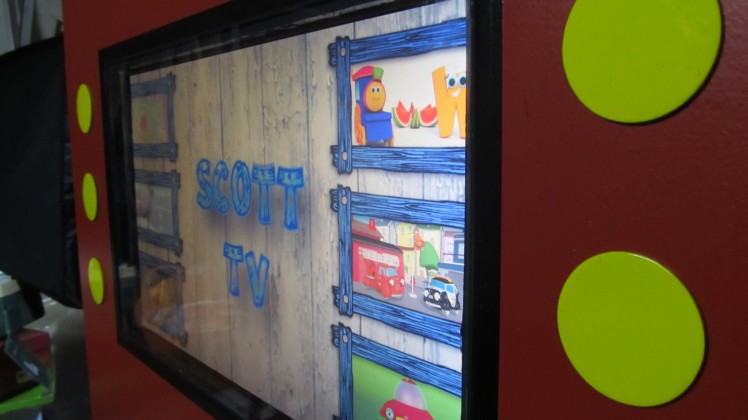
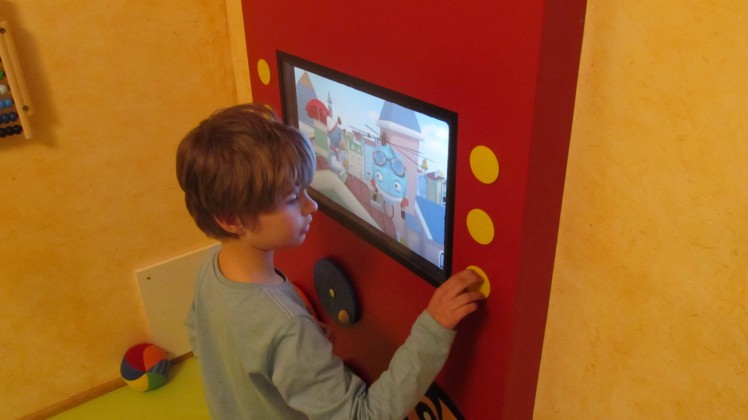
I want to show you this media player for my son Scott.
He has autism, so the challenge was to make it simple, robust and easy to clean.
So I build this device with 6 Big Buttons. The media menu shows a preview of 6 cartoons. If the button next to the preview is pushed, this movie is played. Now all the buttons are offline for 5sec.
If you push any of the 6 buttons, the movie stops and the player jumps back to the main menu.
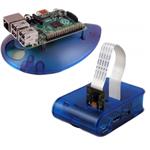
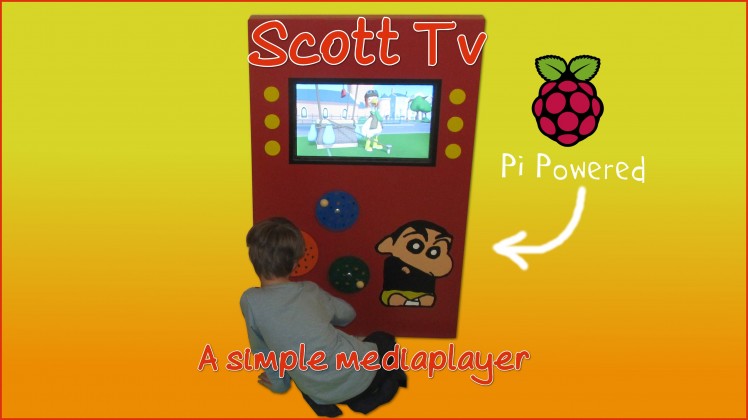
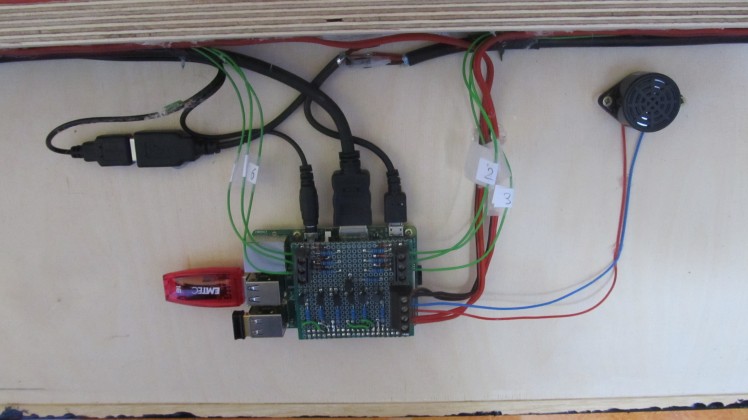
It's based on a raspberry pi B+
Scott loves it
Instructions
Step 1
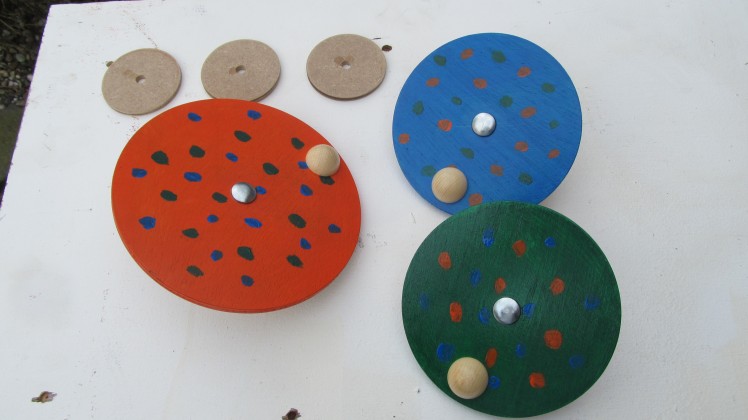
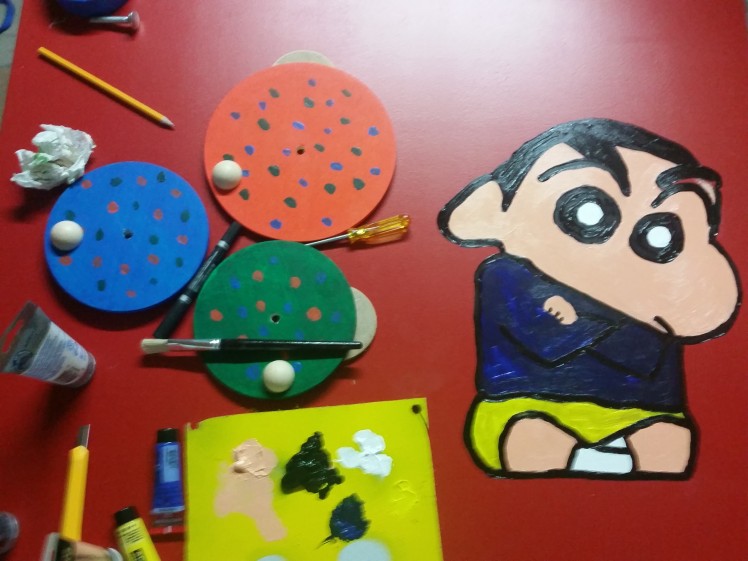
Last Details For The Enclosure3 Wood discs colored and painted with transparent protection paint.
In the front I drilled 9mm holes. For the moment these discs are just turning around, but I will add some cool features on it later on.
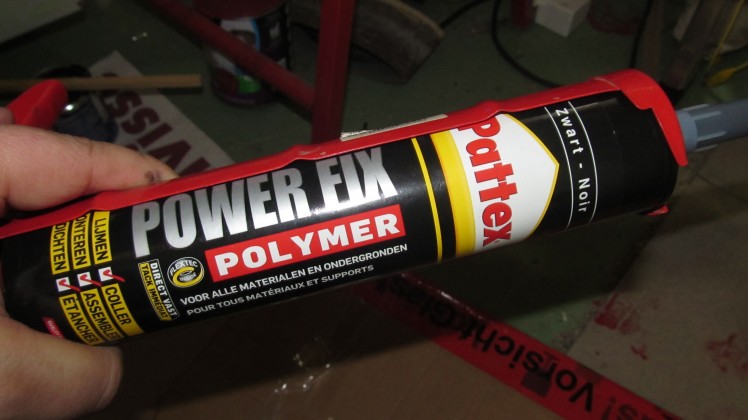
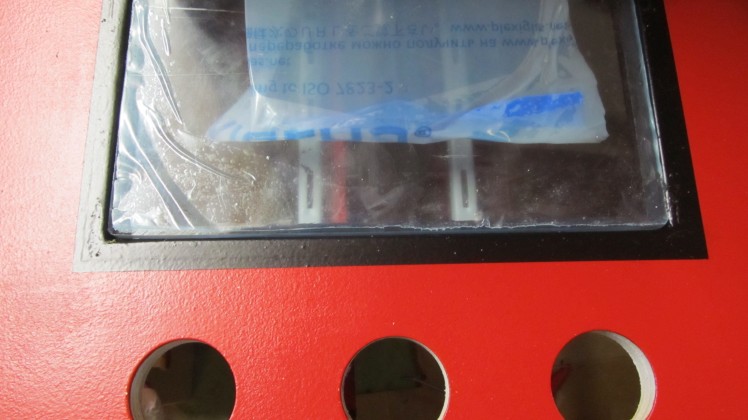
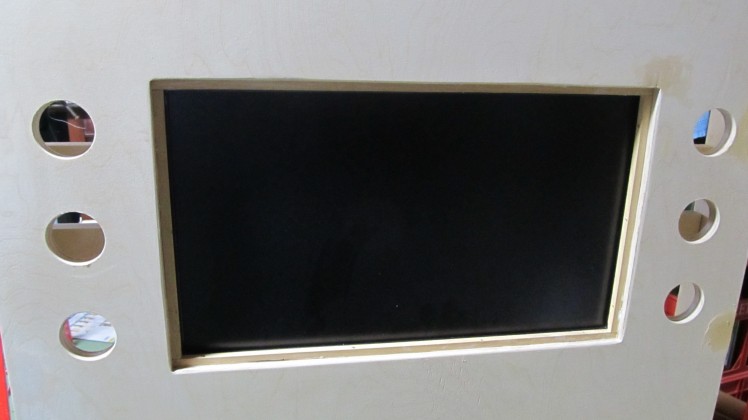
With black power fix, I clued a 8mm Plexiglas sheet for the Screen protection. Let it dry over night with weights on it.
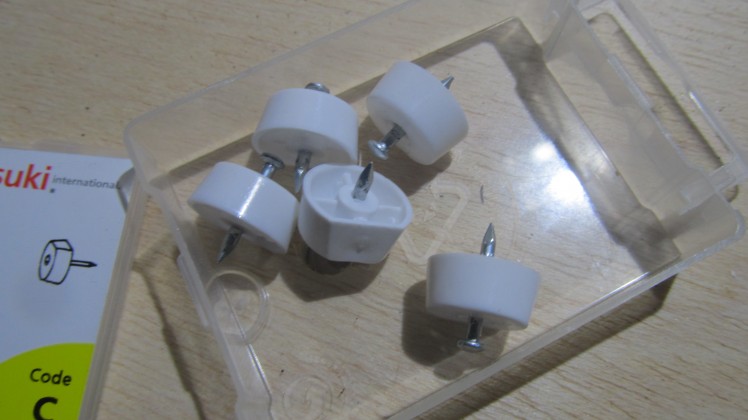
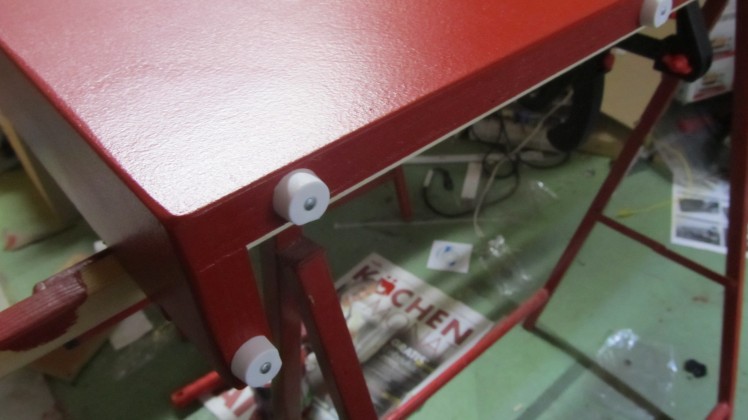
Furniture Nail feets on the bottom of the construction
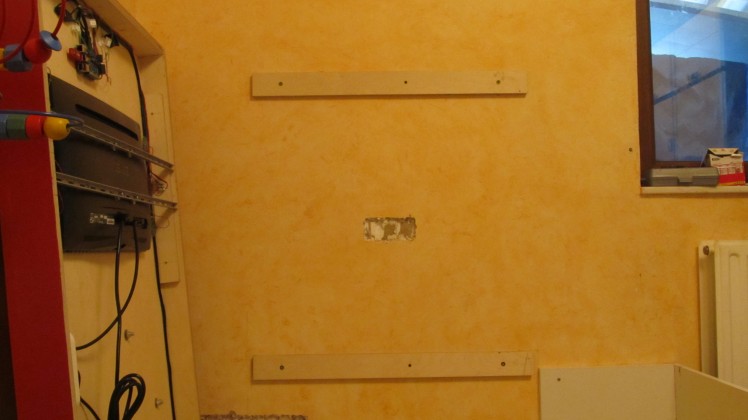
To mount it on the wall, I used 2 wooden boards. Fix them to the wall and screw the ScottTV on it
And the best part: Scott loves it.


Step 2
Raspberry Pi SoftwareI use arch Linux as operating system. It's lightweight and just console based.To playback the videos in the console in overlay mode, I use the omxplayer.
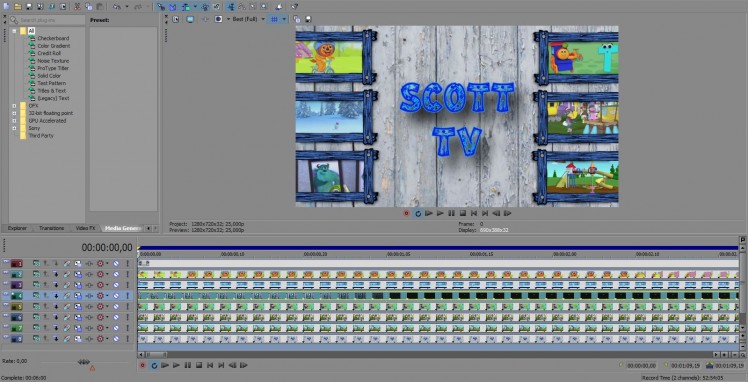
The main-menu is just a one minute looped Video created in Sony Vegas and Gimp for the still images.
The software is written in Python3.x. Then main program "scotttv.py" is starting the menu.m4 and then checks if a button is pushed. If you push a button it stops the menu.mp4 and calls "callvid.py" Here the selected movie (01.mp4 - 06.mp4) is started. When you push now a button, the movie stops and returns to the script "scotttv.py". When no button is pushed and the movie comes to his end, it returns to "scotttv.py" to.
In here the movie menu.mp4 is started again.
My 2 python scripts at Github
Step 3
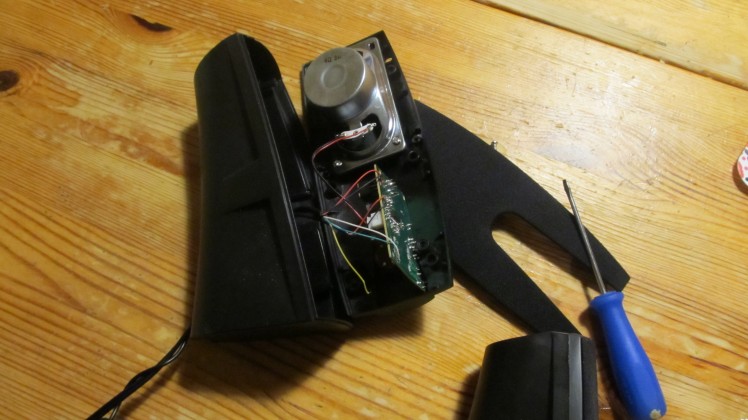
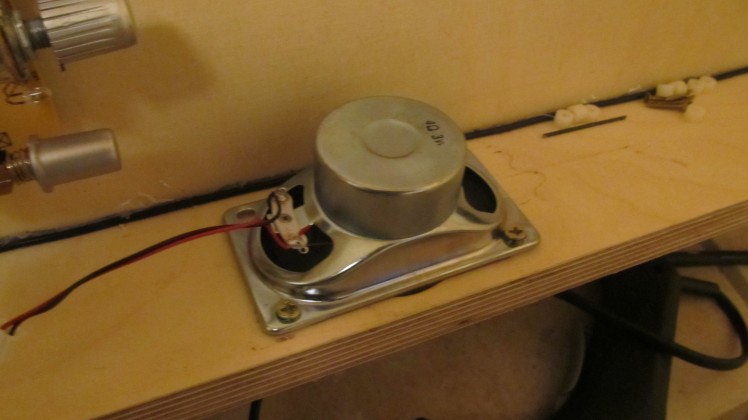
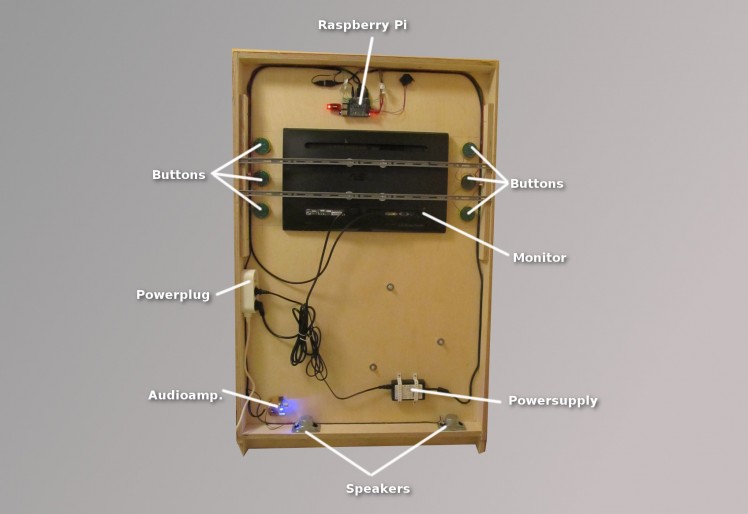
Tech InsideTake apart cheap USB powered Speakers, so you will get an amplifier and 2 Speakers and all the wiring you need.
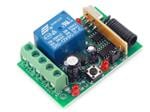
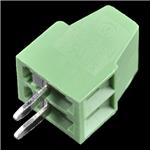
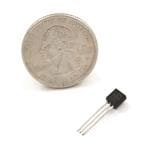
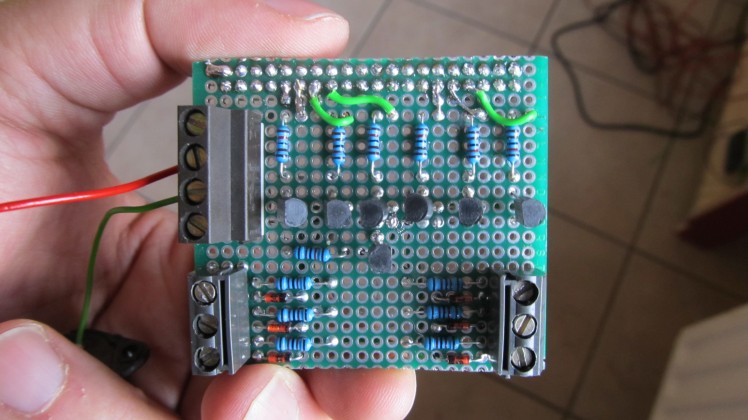
I build an adaptor circuit to connect the 5V buttons to the 3,3V Gpio's of the raspberry. The buttons are connected each to an transistor. The transistor pulls the gpio down to GND.
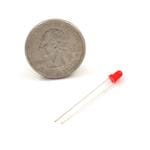
All inputs are connected over diodes to a buzzer so each time you push a button you have a feedback.
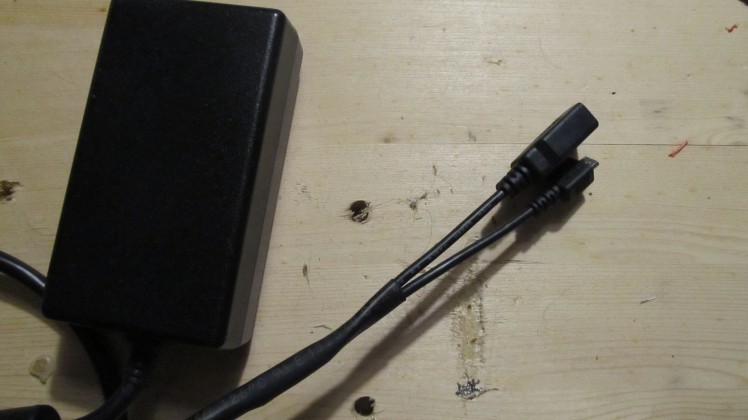
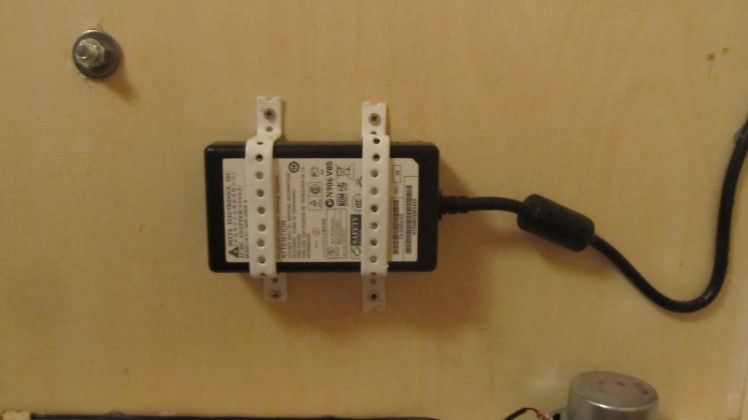
For the power, I used an old 5V 4A power supply. I cut an OGT cable in 2 parts and connected them to the power supply. The micro USB is for the raspberry and the USB port is for the speakers.
All the cables are hot glued in the box
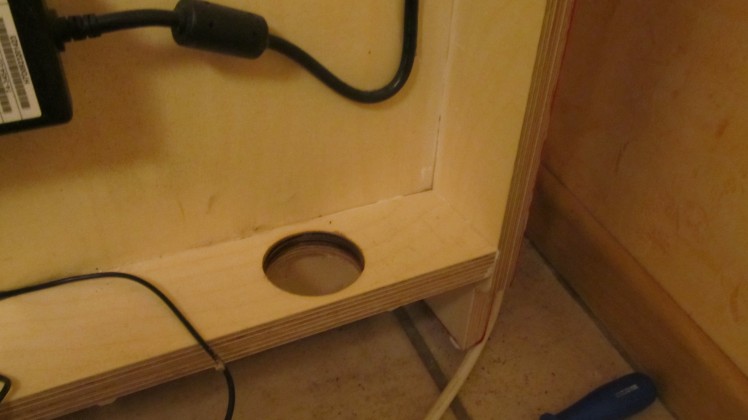
The Speakers are mounted inside, so they can not be destroyed. I drilled 2 holes in the wooden board so that the sound will go downside.


Step 4
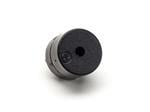
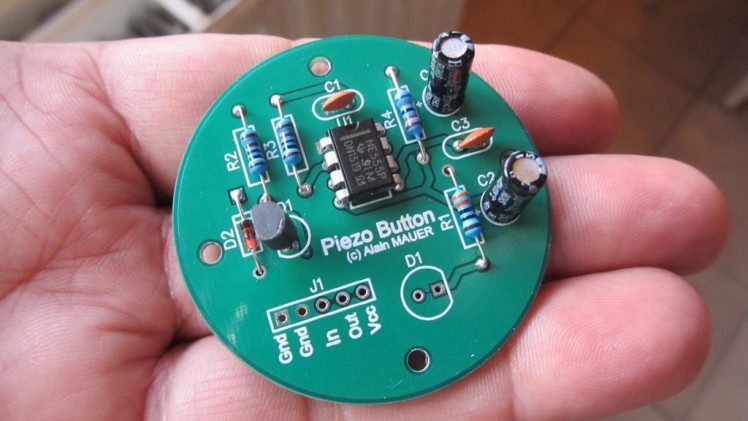
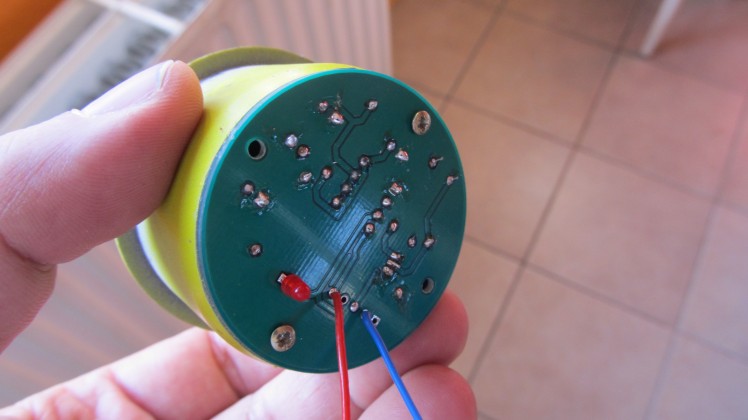
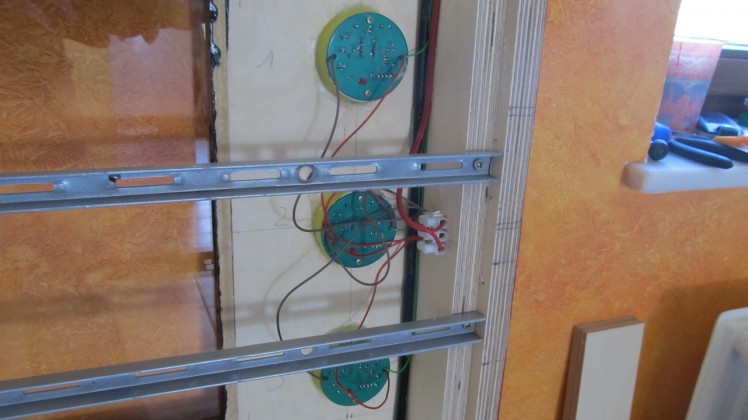
The Big Piezo ButtonsI need a few robust buttons. I could not find buttons in a certain size, so I decided to create my own.When you push or tap the front side of the button, you will get an impulse of +-1sec.The piezo will generated a small impulse, which is amplified by a transistor. A Ne555 in monostable mode gives me a 1sec impulse.
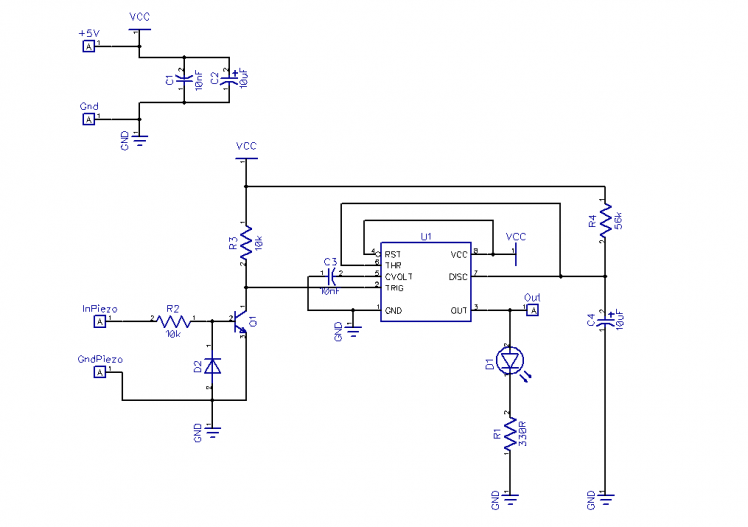
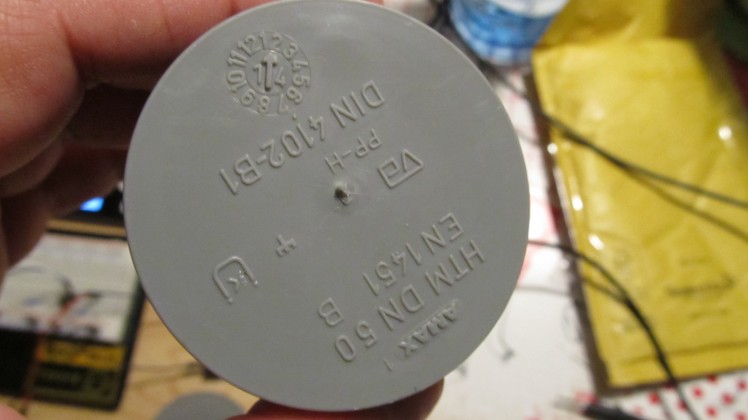
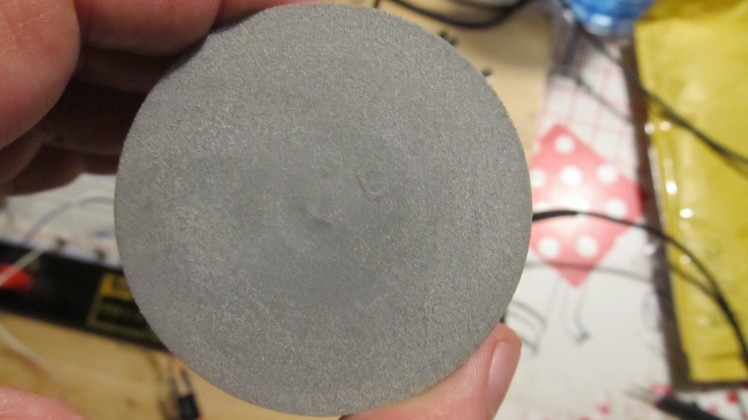
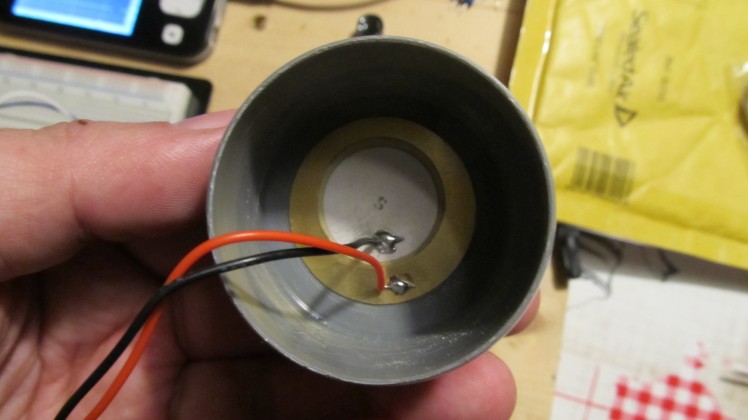
I used a 55mm Pipe Stop End. I sand the piece to remove the irregularities.In the pipe stop end, I glued a 35mm Piezo element inside it with super glue.
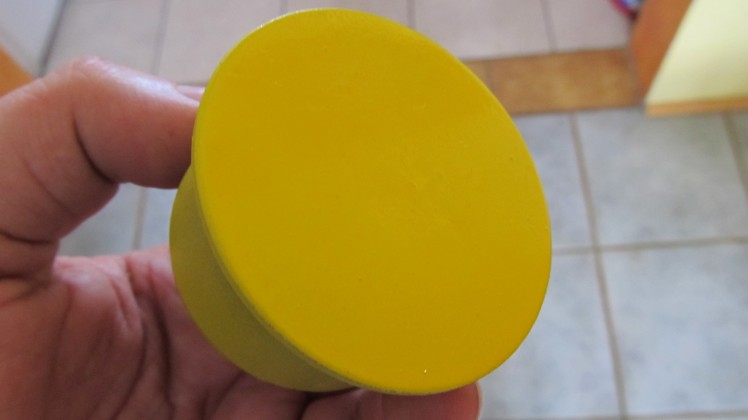
I painted the Button yellow.
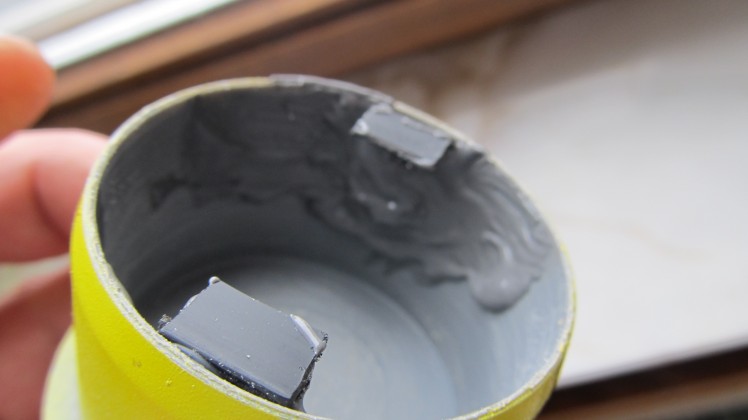
I used a piece of plastic angle and cut 2 small pieces of it. With Hot glue they are kept in place and with epoxy glue they will stay there forever.I drilled 2 small holes in the angels to fix the PCB.
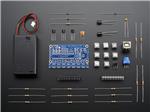
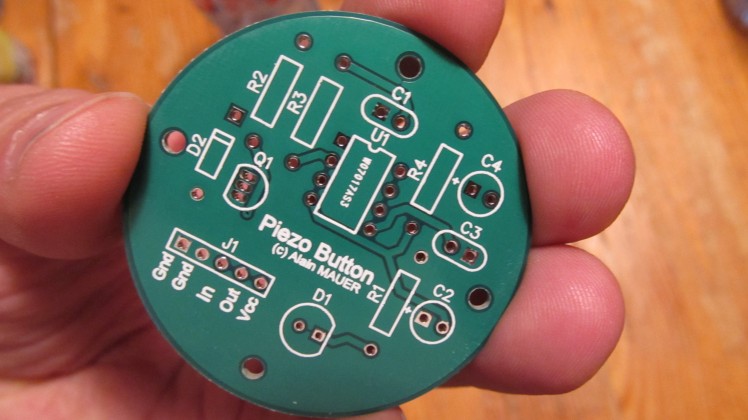
Because I need about 8 buttons, I decided to create a PCB.I used DipTrace for the layout, and I ordered them at http://www.pcbway.com/
Step 5
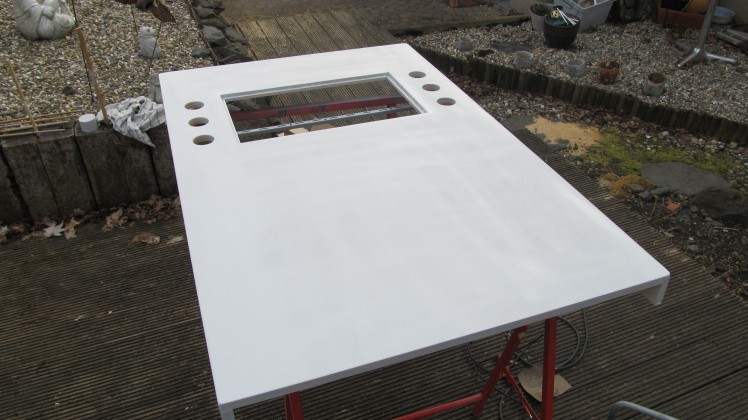
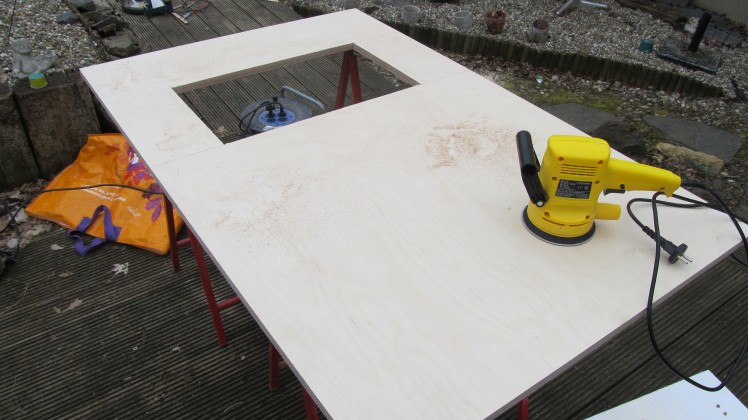
Paint JobAfter sanding the whole thing, I sprayed a few layers of gray ground paint.
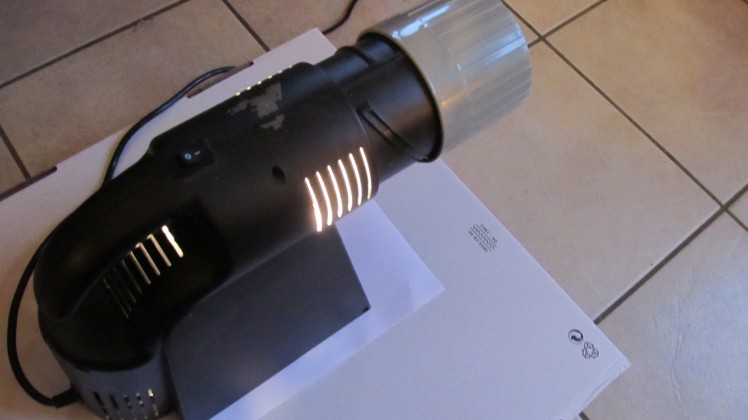
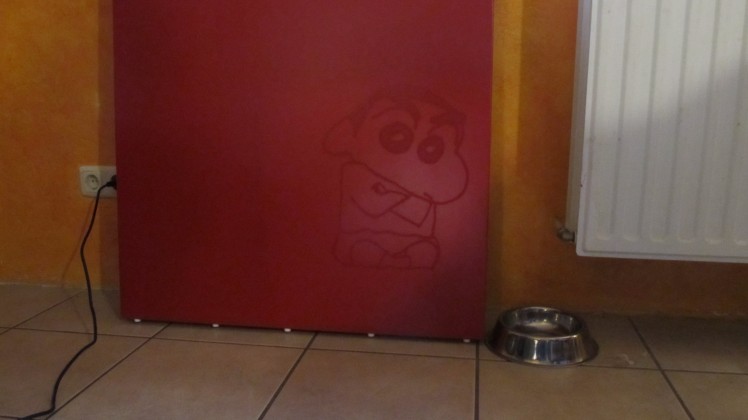
All painted with red paint. I used a small projector to put an Image of Shin Chan on the front. Then I drew the picture and colored it with Acryl colors.
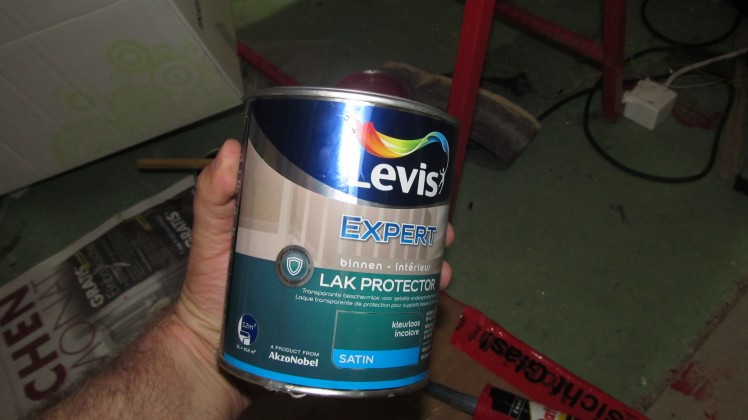
Now 2 layers of transparent protector paint

Step 6
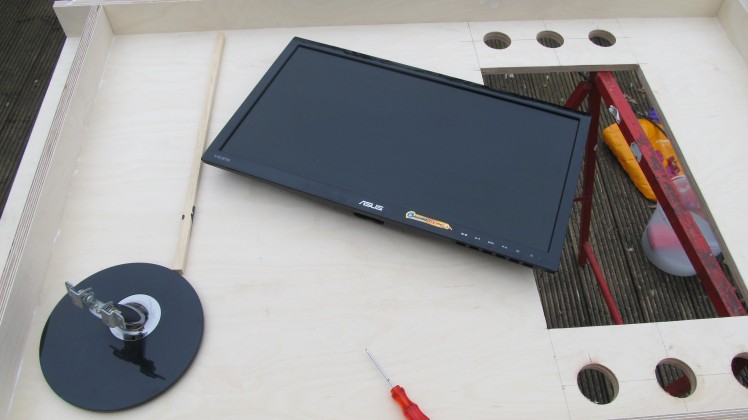
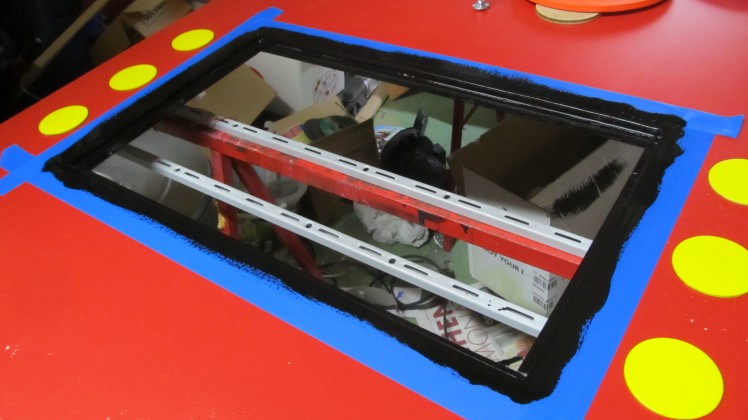
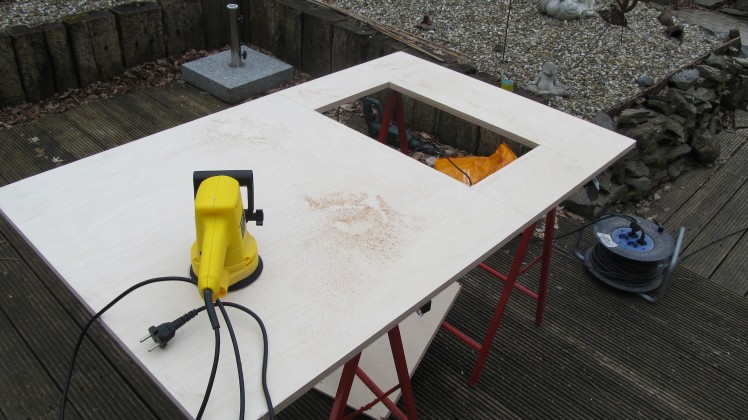
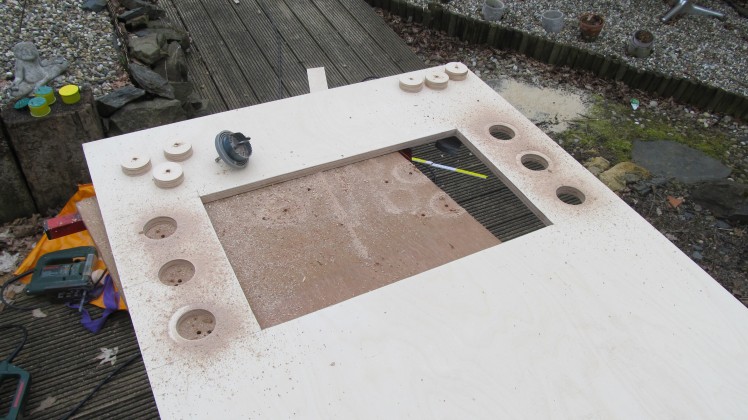
WoodworkingCutting a hole in the wood plate. I took the dimensions of the LCD screen and I added 1 cm on each side. Drilling 48mm holes for the buttons and test if everything fits.
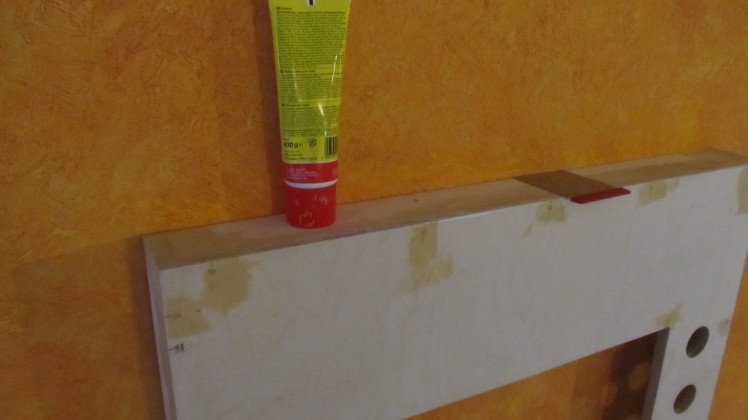
Fill all the irregularities with wood paste
On the bottom 2 cut outs for the foot bar
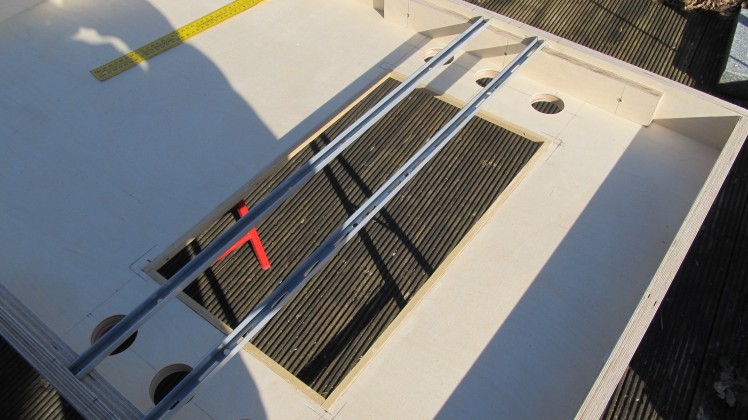
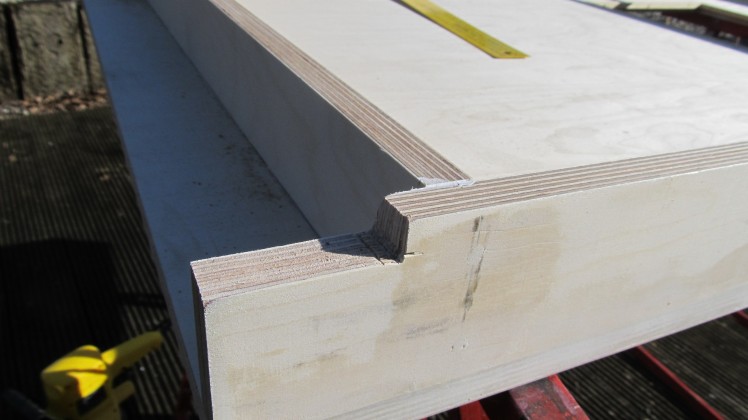
These are the sizes, i used for the construction

Project Logs
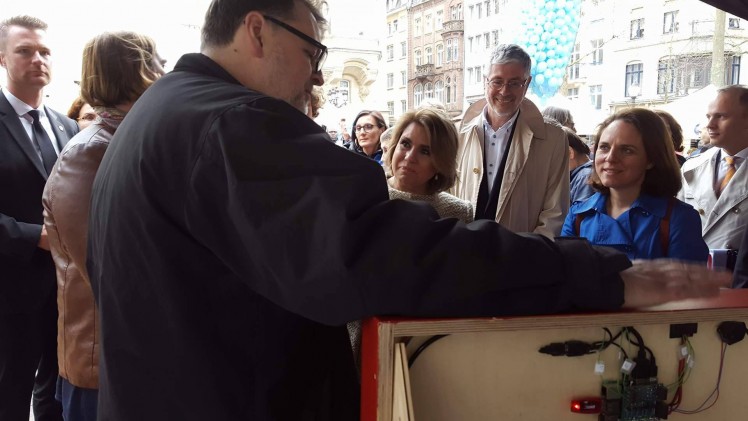
Maria Teresa, Grand Duchess of Luxembourg
Hi, Here is a picture, where I explain the Media Player for Scott to Maria Teresa, Grand Duchess of Luxembourg and to Corinne Cahen minister of families at the Autisme awareness day.
User Interface
Working on a user intterface. The player is easy to handle for my son, but now I want to make it more easy to upload movies to the player.
Scott Tv on Tv
Today the local Tv channel broadcasted the report about Scott's Media Player.
It's in luxembourgish language
http://tele.rtl.lu/emissiounen/top-thema-magazin/3071713.html
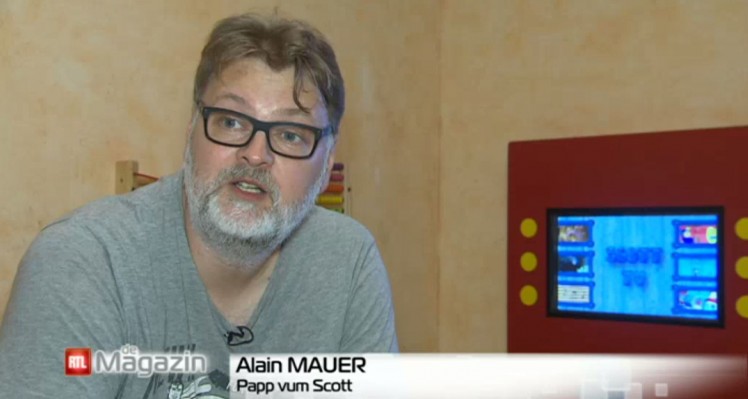
Local Tv in the house
We are very exited. The local Tv channel RTL had visited us for a small television report about Scott's Media Player. Will make a post when it's broadcasted.
Upgrade for Scott TV
I added a submenu to Scott's TV. The Raspberry pi based media player for my autistic Son. To make it more interesting for him, I can add now 6 times 6 different videos and music. Consider to follow the project on Hackaday.io
The new submenu
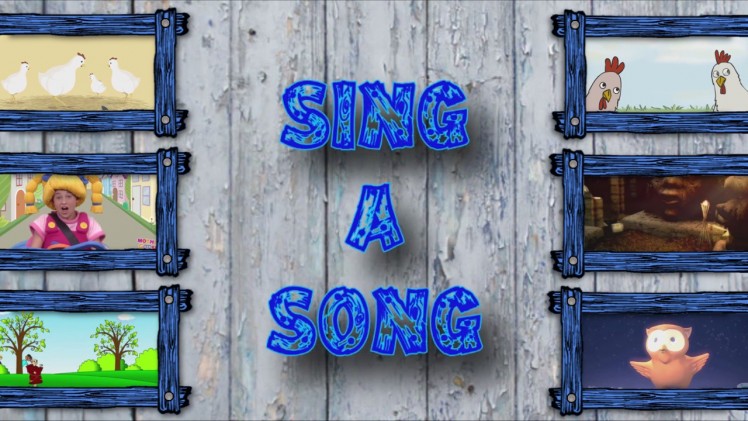
Here are the new scripts. They are not finished yet, but Button Nr 3 has now a Submenu
https://github.com/awall9999/ScottTV-upgrade
The next step
Scott still loves his TV. It's one of the Best things I've ever built and I should use it to educate him
We are living in Luxemburg and most of the TV shows for Kids are in German or French. I thought, it would be an interesting Idea to create a simple TV-Show "SeasamStreet style" in Luxemburgish language, where I can explain simple things to my son. I can even make some kind of interactive show controlled by the 6 buttons.
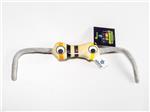
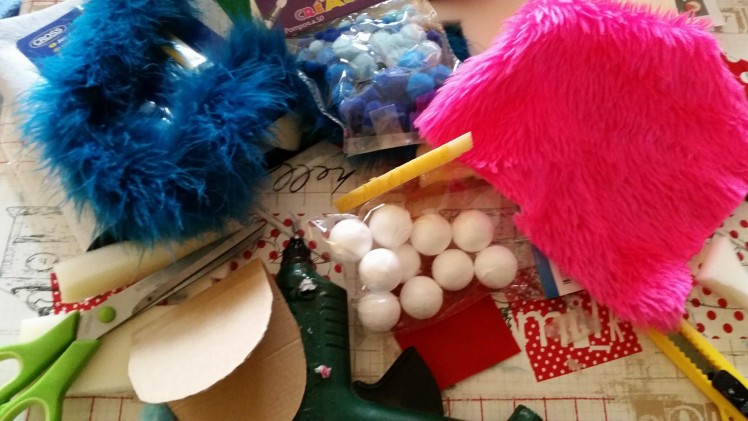
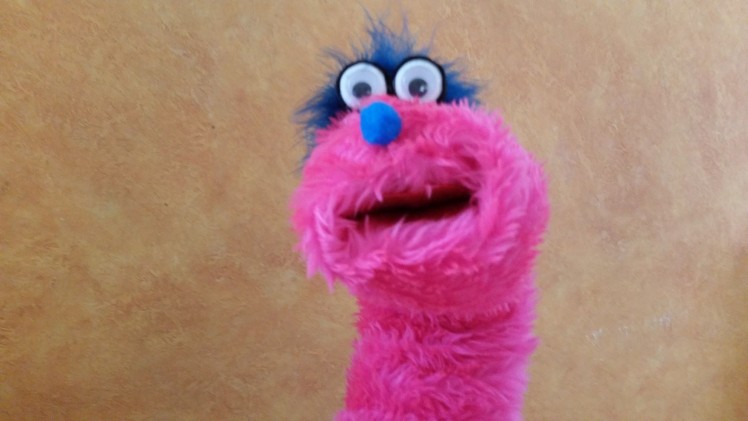
The first step is done..... I've build a Puppet :)
Little problem
Scott is regulary tapping and knocking against the front plate, so that yesterday the buttons did stop to work. The problem was very easy to locate. The adapter circuit felt of the raspberry. This time I fixed the adapter on the raspberry with a little bit of hot glue and a cable tie.
Scott Tv In the Print Media
Hi All,
One remark in my own interest, You can find an Article about Scott's Tv in the MagPi Magazine Nr 46
Free Download here: https://www.raspberrypi.org/magpi-issues/MagPi46.pdf
And in the German c't Make Magazine 3/2016. Preview
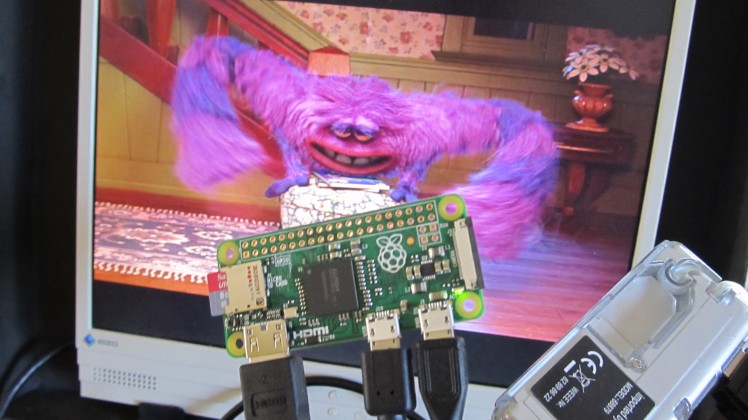
Pi Zero
Running Scott TV on a Raspberry Pi Zero ... check
I think i will build a portable version
Analysing...
To see if Scott knows the relation between the buttons and the cartoons, I removed Frozen from button number 2. It seems that he does not like this movie. I placed now the little video clip with Twinkle Twinkle on this position , because I know he loves this clip. I showed him once and he listens now for hours to this. Each time the clip ends, he goes back to the media player and start this video again and again.
My wife, my daughter and I are so happy to see that Scott is really interested in something.
And again a big Thank you to the community and the Hackaday Team.
Important Space
Hi, I forgot to mention something. I know that Scott will tap against the front screen, so it's important that the monitor is not in contact with the front construction of the ScottTv. The Monitor is fixed on the backside. There is a space of 6mm between the Plexiglas with the wood and the monitor

New Way To Control
Scott has found a new way to control his TV. Thank God I used 8mm Plexiglas ;
Changes to do and results
Hi, all
The scrips are working perfectly. I have to make a few little changes to make it look nicer.
-Disable the console
-Add a SplashScreen
Code
Credits
Related products


Leave your feedback...