
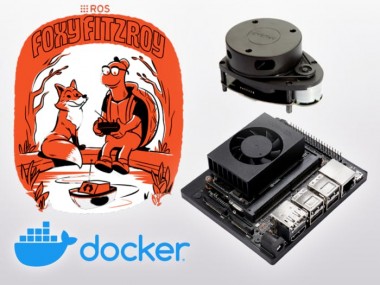
Lidar Integration With Ros 2 Foxy On The Nvidia Jetson Board

Made by shakhizat
About the project
LiDAR integration with ROS 2 Foxy Fitzroy using Docker container on the Nvidia Jetson SBCs.
Project info
Difficulty: Moderate
Platforms: NVIDIA Jetson, balena
Estimated time: 3 hours
License: Apache License 2.0 (Apache-2.0)
Story
The initial long-term support (LTS) version of ROS 2 was Dashing Diadamata in May 2019. Currently, Foxy Fitzroy (code named Foxy) is the latest LTS version. ROS 2 Foxy Fitzroy was officially released on June 5, 2020. It is supported until May 2023 and runs on Ubuntu 20.04 (Focal Fossa). As you already know, the Jetpack image only runs Ubuntu 18.04 and that only allows it to run ROS2 Eloquent which has less features.
There are two ways of using ROS 2 Foxy with the Nvidia Jetson boards:
- To flash the Jetpack image with Ubuntu 18.04, upgrade Ubuntu to 20.04 and then install ROS 2 Foxy, normally using sudo apt-get install command. Ubuntu Focal and the upgrade process are not supported by NVIDIA.
- The second option is to install it using Docker. By using Docker, you can boot a ROS environment in a second.
In this tutorial, you will learn how to connect and integrate your LiDAR with the ROS 2 Foxy middleware on the Nvidia Jetson board using Docker. At the end, we will be using Rviz which is a very powerful ROS tool for visualizing the status of your robot, sensor information, map building, navigation, and debugging.
Hardware requiredBefore you get started with this tutorial, you will need the following:
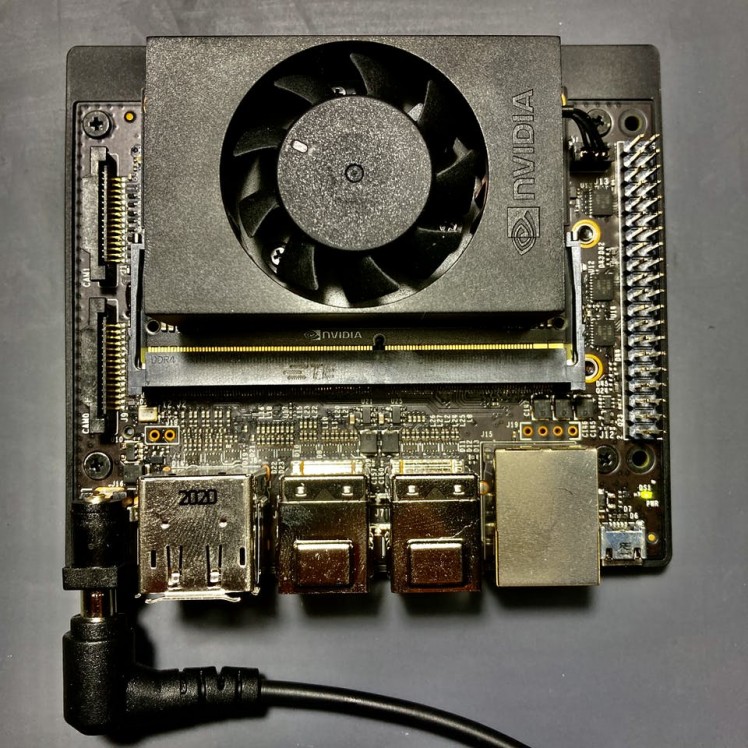
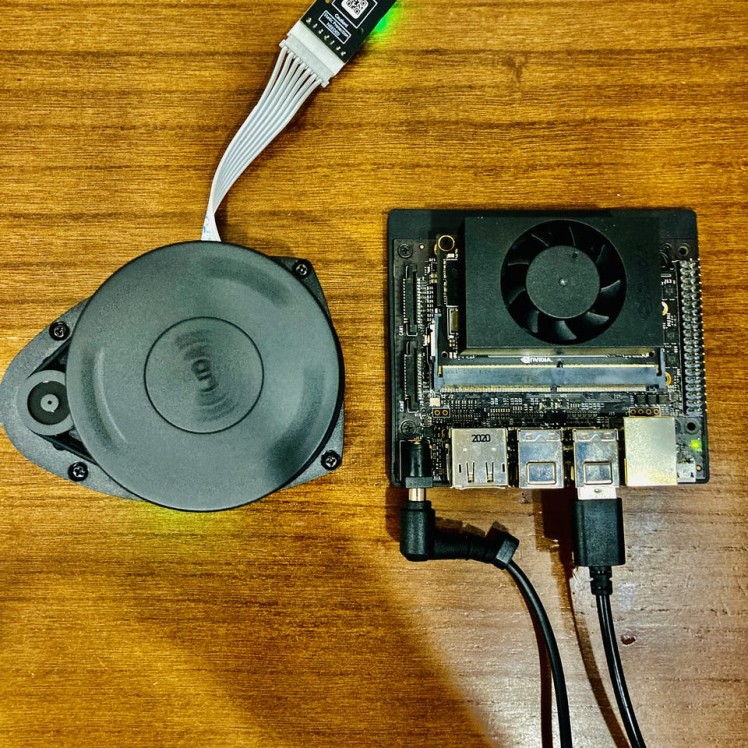
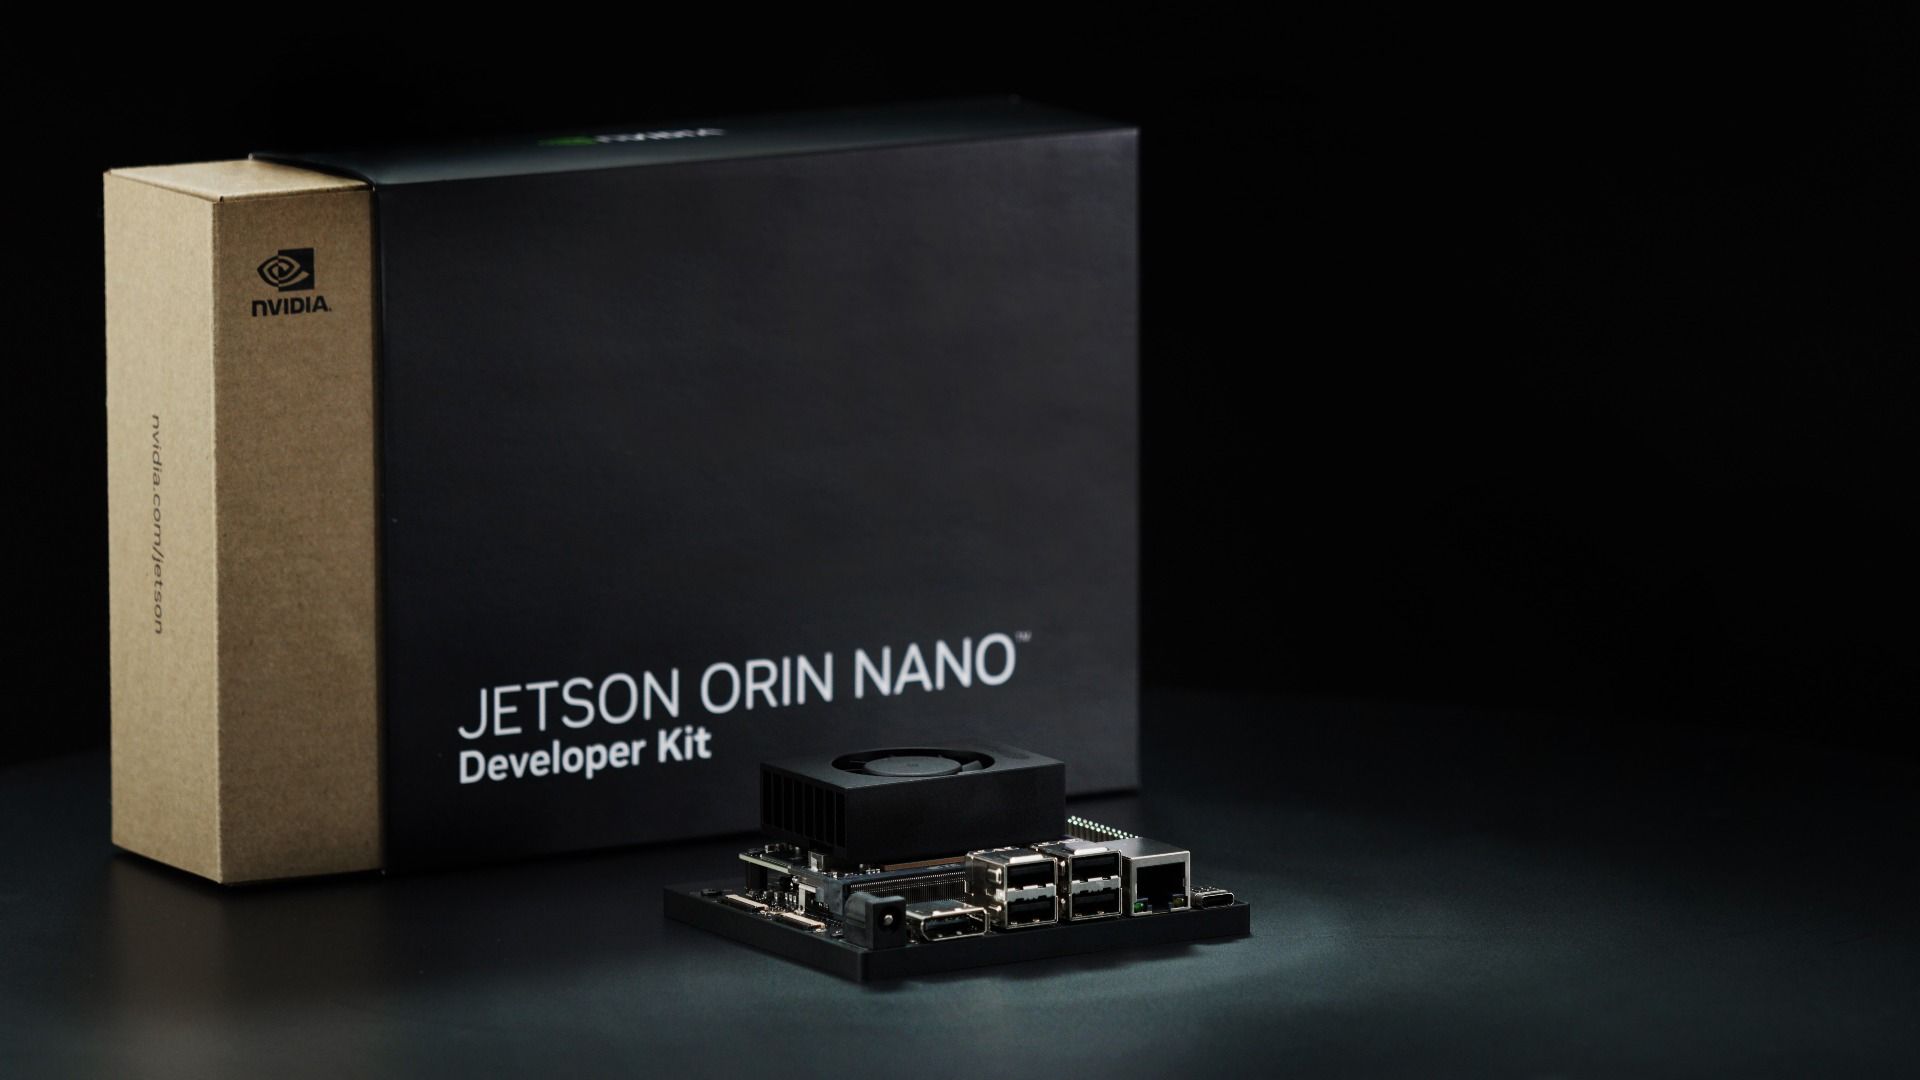
- NVIDIA Jetson board. Here we’ll be using Jetson Xavier NX.
- RPLidar A1M8 with connector. RPLIDAR is a low-cost LIDAR sensor suitable for indoor robotic SLAM(Simultaneous localization and mapping) application. The connector is being used for charging, data transfer and controlling the device.
- High-performance microSD card: 32GB minimum
- MicroSD to SD adapter
- A computer with an internet connection and the ability to flash your microSD card. Here we’ll be using laptop.
- Some experience with ROS build system is helpful but not required.
- Familiar with the Linux command line, a shell like bash, and an editor like nano.
- ROS applications use a lot of compute resources and the heat sink may not be enough for the heat generated. Consider adding a cooling fan.
In a nutshell, docker is a service that provides portable stand-alone containers that come bundled with pre-installed software packages. These containers make your life easier because they come with the right software versions and dependencies for whatever application you are trying to run.
My main computer is a MacOS, so I flashed the SD card with Balena Etcher that supports most platforms. Insert the card into the board, connect your keyboard/mouse/monitor and power. It turns on automatically. Here, I assume that you have already installed JetPack on the NVIDIA Jetson board.
Our first task is to update all our existing packages before we proceed further. We can upgrade all existing packages by running the following two commands on the Jetson.
sudo apt-get updatesudo apt-get upgradeJetpack image is already preinstalled with the Docker Engine. So, we can list all the images using the below command:
sudo docker imagesIf it worked, you should see below output
REPOSITORY TAG IMAGE ID CREATED SIZEnvcr.io/nvidia/l4t-base r32.4.4 10faffedd5fa 3 months ago 634MBThe Jetson board hardware architecture is differs from the architecture behind your regular PC, laptop or cloud instance. Nvidia Jetson boards are based on the ARM architecture and we can verify it using below command:
sudo docker versionWe should get an output similar to this one:
Client:Version: 19.03.6API version: 1.40Go version: go1.12.17Git commit: 369ce74a3cBuilt: Fri Dec 18 12:25:49 2020OS/Arch: linux/arm64Experimental: falseServer:Engine:Version: 19.03.6API version: 1.40 (minimum version 1.12)Go version: go1.12.17Git commit: 369ce74a3cBuilt: Thu Dec 10 13:23:49 2020OS/Arch: linux/arm64Experimental: falsecontainerd:Version: 1.3.3-0ubuntu1~18.04.4GitCommit:runc:Version: spec: 1.0.1-devGitCommit:docker-init:Version: 0.18.0GitCommit:sudo apt-get updatesudo apt-get upgradeLet us start by creating a Dockerfile that will contain all the installation steps. A Dockerfile defines an entire runtime environment with a single fileю
FROM arm64v8/ros:foxyWORKDIR /rootSHELL [ "bash", "-c"]ENV ROS_WS /rosRUN apt-get update && apt-get install -y nano && rm -rf /var/lib/apt/lists/*RUN mkdir -p ${ROS_WS}/src && cd ${ROS_WS}/src && git clone https://github.com/youtalk/rplidar_ros.gitRUN bash -c "cd ${ROS_WS} && source /opt/ros/foxy/setup.bash && colcon build --symlink-install"You need clone a GitHub repository:
git clone https://github.com/shahizat/docker-ros2-lidar.gitChange the directory to the project:
cd docker-ros2-lidarThen build the project:
sudo docker build -t my/ros:app .Please wait until that installation is complete. If everything is in order, Docker should pull the image from the Internet and execute it. You should get a below message.
Successfully built c6e99fc727adSuccessfully tagged my/ros:appNow use the Docker images command to see the image you've just created.
sudo docker imagesThe output will look like something like this:
REPOSITORY TAG IMAGE ID CREATED SIZEmy/ros app c6e99fc727ad About a minute ago 606MBarm64v8/ros foxy 6cae8f243225 12 days ago 599MBnvcr.io/nvidia/l4t-base r32.4.4 10faffedd5fa 3 months ago 634MBThen plug the USB cable to your RPLIDAR. Flashing green light indicates normal activity of sensor.
Provide access to the ttyUSB0 by the following command:
sudo chmod 666 /dev/ttyUSB0Finally, run a Docker Container interactively using bellow command. You will use the --device flag.
sudo docker run -it --device=/dev/ttyUSB0 --net=host my/ros:app bash -c "source /ros/install/setup.bash; ros2 run rplidar_ros rplidar_node"If the container is successfully running, a quick command docker ps can verify this.
Open a new terminal window and run the following command:
sudo docker ps -aYou should see the container you just started in the container list.
So, open a new terminal with a new instance of a container's shell, we just need to run the following:
sudo docker exec -it CONTAINER_ID bashExecute docker commands from inside the container.
source /opt/ros/foxy/setup.bashBefore using ROS 2, it’s necessary to source your ROS 2 installation workspace in the terminal you plan to work in. This makes ROS 2’s packages available for you to use in that terminal.
To check the list of topics you can run:
ros2 topic listIf this command return the robot list of topics, it means the remote connection is successful.
As you can see here, we have 3 topics:
/rosout/rosout_agg/scanOnce you know the name of a topic, you can listen to it directly from the terminal. Let us first look at how raw data from LiDAR look like when they are published on topic /scan.
ros2 topic echo /scanYou will see the bellow output:
header:stamp:sec: 1612574769nanosec: 736412065frame_id: laser_frameangle_min: -3.1241390705108643angle_max: 3.1415927410125732angle_increment: 0.01745329238474369time_increment: 2.3908269142225436e-08scan_time: 8.58306884765625e-06range_min: 0.15000000596046448range_max: 12.0ranges:......Another way to look at this is running:
ros2 topic info /scanWhich will return:
Type: sensor_msgs/msg/LaserScanPublisher count: 1Subscription count: 0To see all available sub-commands run:
ros2 --helpThere are many different libraries and tools in ROS2, and not all compile fully on ARM. So, it is not possible to make a full desktop installation. We should install ROS packages individually. By default, It does not include GUI tools.
Rviz cannot be started remotely from SSH. If you really want to start it, it is better to connect with VNC into your Jetson board. Well, if you try to start rviz in the container, it will simply fail.
Workaround is to install: ROS 2 Eloquent Elusor
Visualize with RViz2 using ROS 2 Eloquent ElusorRVIZ2 is a great visualization tool in ROS2. To run rviz2, you may need to enable hardware acceleration into the container to make use of OpenGL dependent applications.
It would be so much easier, to install ROS 2 Eloquent Elusor, rather than trying to run rviz from Docker environment.
Eloquent Elusor is the latest version for Ubuntu 18.04 Bionic. So, before starting this section, obviously make sure you have installed ROS2 Eloquent Elusor, using this Iink.
After the installation is completed, run the below docker command.
sudo docker run -it --device=/dev/ttyUSB0 --net=host my/ros:app bash -c "source /ros/install/setup.bash; ros2 run rplidar_ros rplidar_node"The --net=host option is used to make the programs inside the Docker container look like they are running on the host itself.
Leave this terminal window running. In another terminal run rviz2 tool using below command:
rviz2Change fixed frame to laser_frame. Then click Add button located in the left bottom corner of the RViZ GUI and then select LaserScan object, and then set the topic of LaserScan object to /scan.
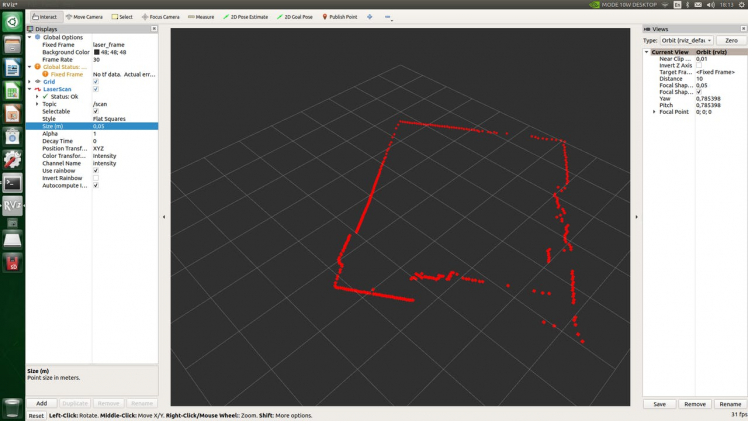
If all went well, you should be seeing something similar to the above. If not, you will want to check your LIDAR connectivity.
I hope this tutorial was helpful in this journey, and gives you a decent guide to building ROS 2 Foxy on the Jetson board. Thanks to containerized solution like Docker you can create and deploy ROS workspaces in minutes. Please feel free to ask any questions here. I'd love to hear any feedback you have.
ReferencesCredits
Related products


Leave your feedback...