

How To Make Powerful Bluetooth Speakers Using Coconut Shell

Made by diy-projects-lab
About the project
Hey friends hope you are doing great, in Articlei will show you how I made this amazing Bluetooth speaker with the help of Cocon
Project info
Difficulty: Easy
Estimated time: 1 hour
Items used in this project
Hardware components

Story
Hey friends hope you are doing great, in this post I will show you how I made this amazing Bluetooth speaker with the help of coconut shell.
Coconut shell is disposed ofas waste in the kitchen after the coconut is taken out, but in my project, it plays a main role!
The coconut shells served as the best outer frame for the speaker, in this project I made one of the best desk companions.
Bluetooth speaker is one of the most commonly used gadgets, if you are a student you always need a speaker to listen to some good music when you are bored, so I highly recommend you guys to make this speaker and see how it goes.
You can see how powerful the bass is from the image on this step! imagine how crazy the sound would be.
In simple terms, I will explain to you how this Bluetooth speaker works.
When you press the power button, the Bluetooth speakers turn to on and you can see the name of the device in the smartphone or laptop whichever you are trying to connect to
Connect the device and play your favorite music, don't worry about the backup, the 2200mah lithium-ion batteries provide long music playtime.
Now let's gather the supplies required to make this, the materials inside the shell are mostly electronics and those are simple materials that could be found easily at your nearest electronic shops.
Supplies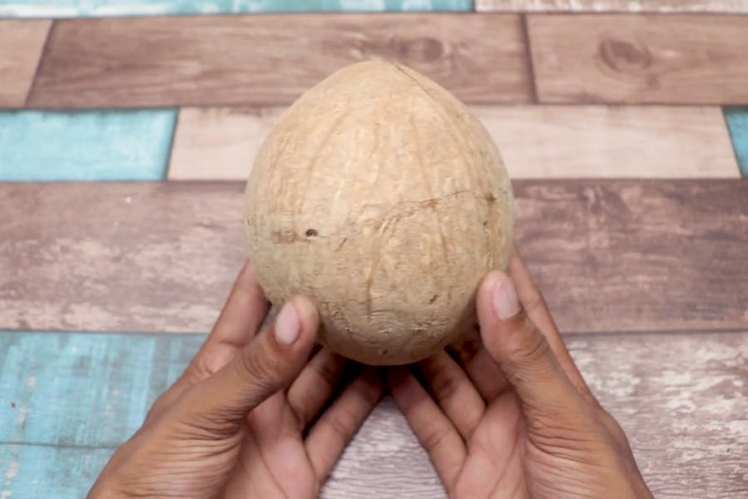
- Coconut shell from 2 coconuts
- Speakers
- Bluetooth module
- Lithium-ion battery
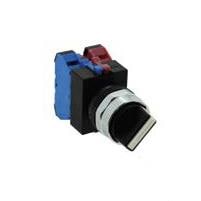
- Switch
- Super glue and hot glue
- Wires for connections
- Soldering iron and lead
- Drill machine
- Sanding paper
- Emery paper
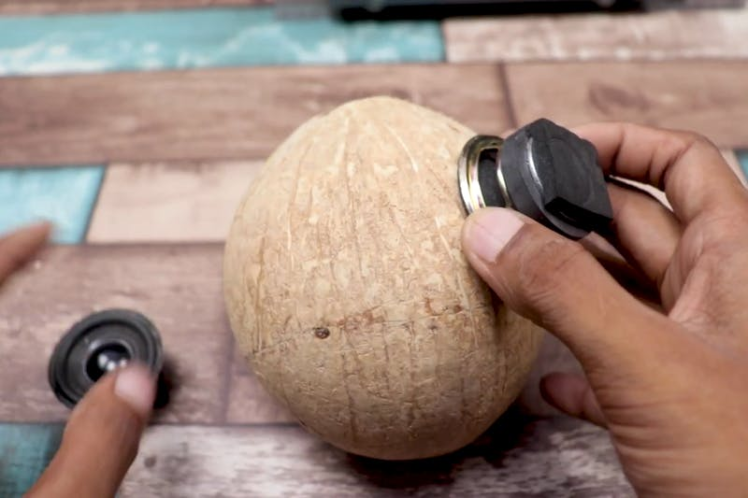
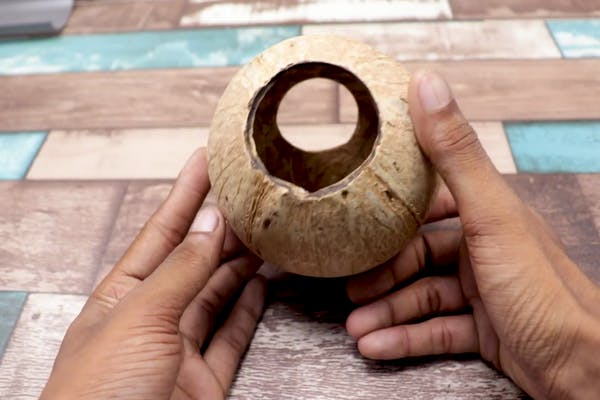
The frame is made from the coconut shell and I highly recommend using the shell from a single coconut.
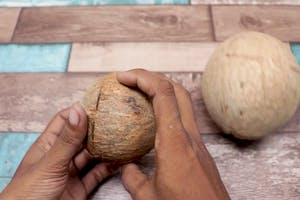
After you break the coconut into 2 pieces, sand the outer surface with emery paper until you have a clean outer surface.
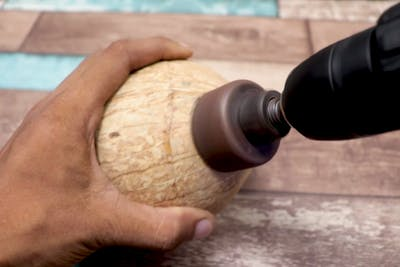
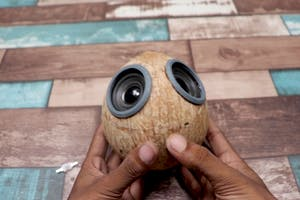
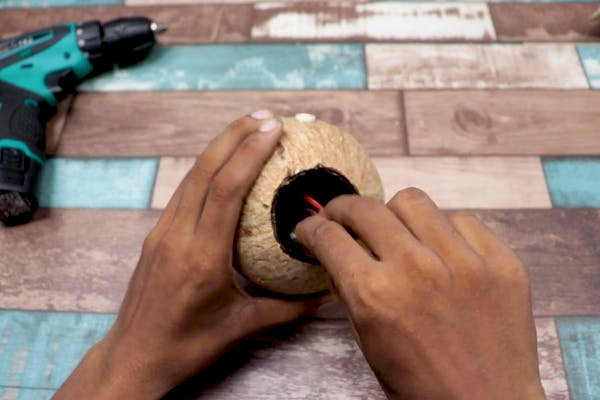
Now depending on the size of the speaker mark the shape of the speaker on the shell.
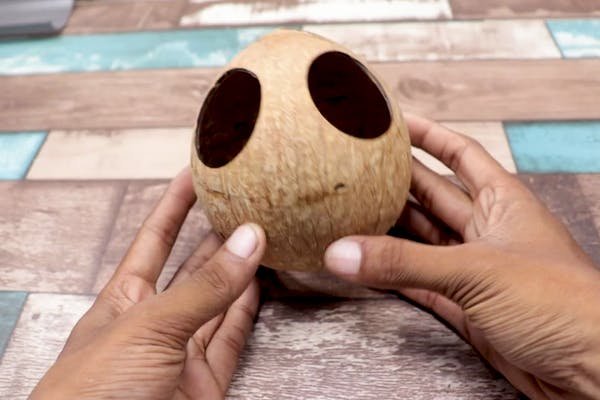
Use atool like the circular drill to drill the hole on the marked surface, you can see how my holes turned out, really cool!
You might also need to cut the base to the size of the components that you are using.
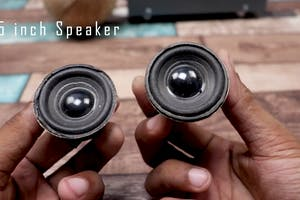
Placing Speakers
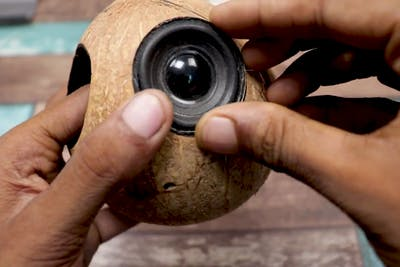
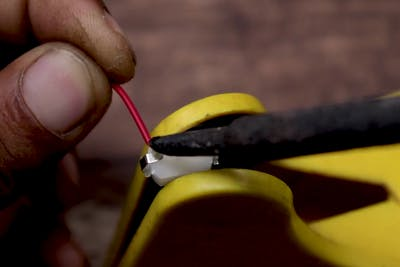
The speakers that I bought did not have any soldered wires, so I soldered them.
I used different color wires so as to easily identify them while I connect to board, after the connection was complete, we can add the speakers to the shell.
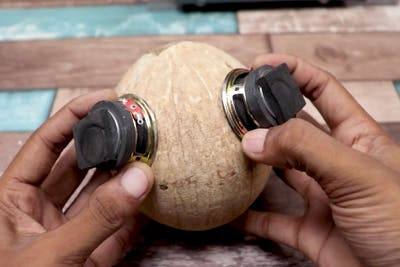
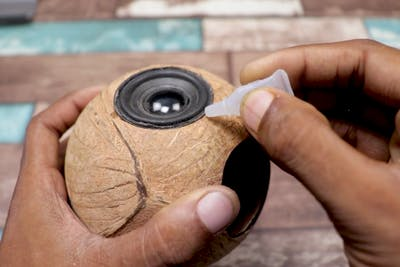
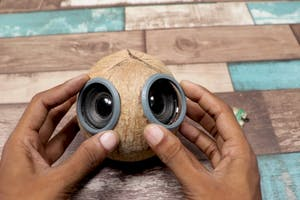
Place the speakers and then use tiny amounts of superglue to hold them in place, this step is very fun to build since it feels like a work of art! and indeed it is
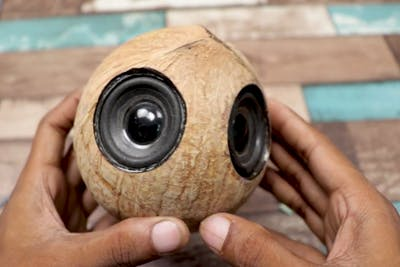
After one speaker is placed repeat the same step for the other speaker also, Now we have the outer shell with speakers attached.
Finishing the Speakers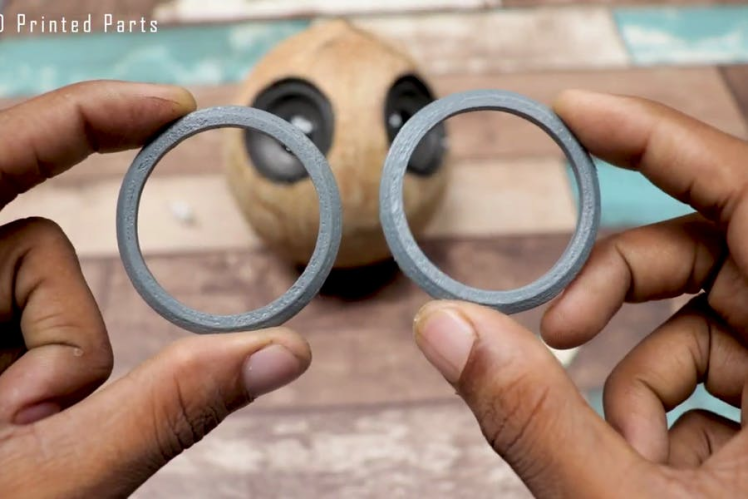
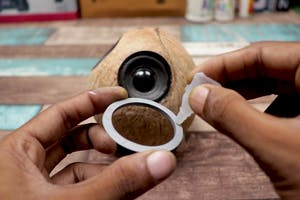
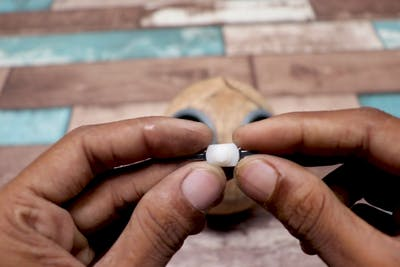
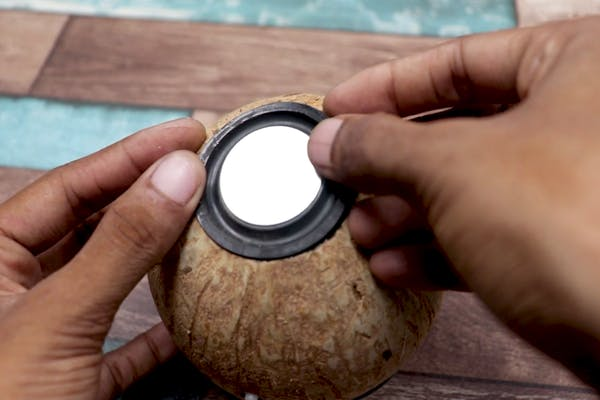
You can also leave the speakers as it is, but I wanted to add a little extra to the outer surfaces, so I designed a ring kind of thing.
After I designed them and made changes to the design to have a proper fit I got a final ring design that fits perfectly.
I made 2 for both of the speakers, adding this is very easy, add a few drops of super glue and there you go.
As I said this is an optional step, if you don't have 3D printer you can leave it the way it was before.
Building Electronic Connections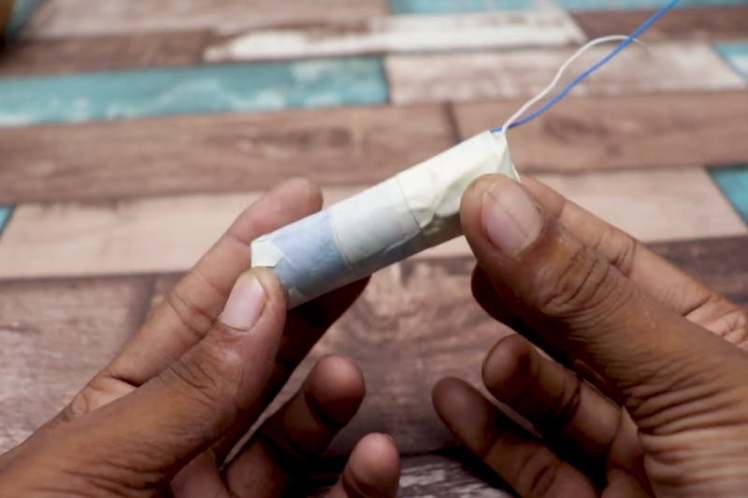
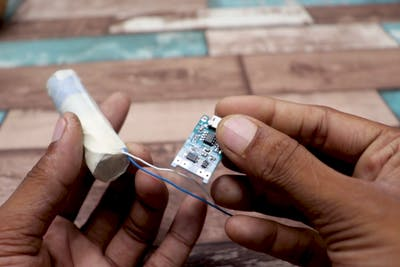
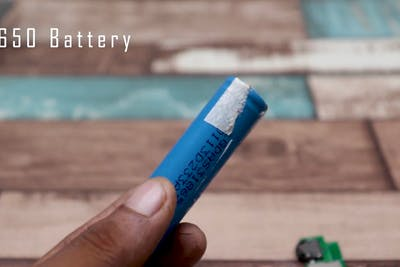
The main part that runs the whole gadget is the battery, and you might be wondering why am I covering the battery with tape, this is to have insulation so as not to have any short circuits inside the electronics.
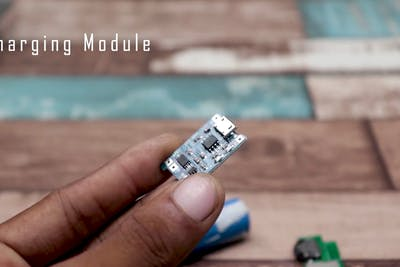
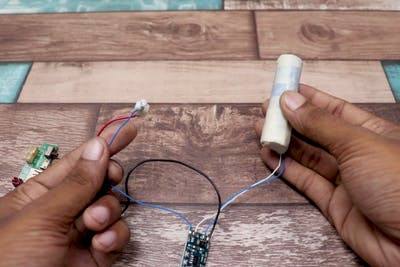
The battery is fully covered with tape and later soldered on the terminals with wire, now these wires are connected to the battery charging module.
While soldering make sure the strength of the solder is very strong because once after adding the battery inside the shell removing it again and again is not worth the time.
Now add the charging port or we call it a DC port to the charging side of the battery as we don't have access to the USB type of charging.
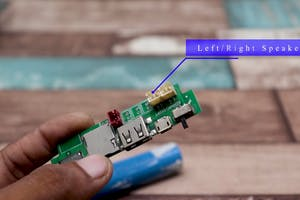
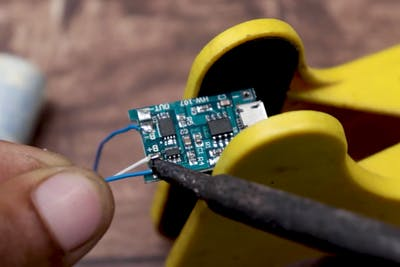
In the end, add the Bluetooth module, the connections are clearly given on the board and anyone can easily follow those when making connections.
Electronics Casing


The inside of the shell holds all the electronics, after we finish the connections we can place them inside the shell.
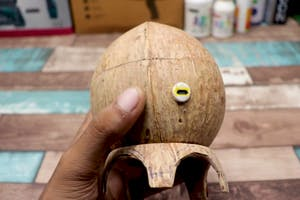
Here I have made a big change that seems unusual! I used optic fibers, you are wondering why optic fibers?
The shell is completely solid and we can't see what's inside, we need to check the charging status of the battery, and the charging module has an indicator, I pasted the optic fibers on top of this indicator, and now the other end is kept outside the shell.
Cut the excess fiber and you are ready with the indicator part, now finally we can add the base and glue it to secure to the shell
Final Touches

To have a proper base I made a stand kind of thing using the other shell, you can use the same design.
I have marked and later cut the marked areas with the cutter and if you have any sharp edges you can finish them with emery paper.
After you add the stand using hot glue we can finish the other parts too, there is no need to work on the charging port.
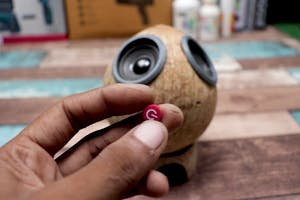
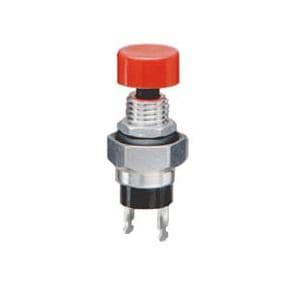
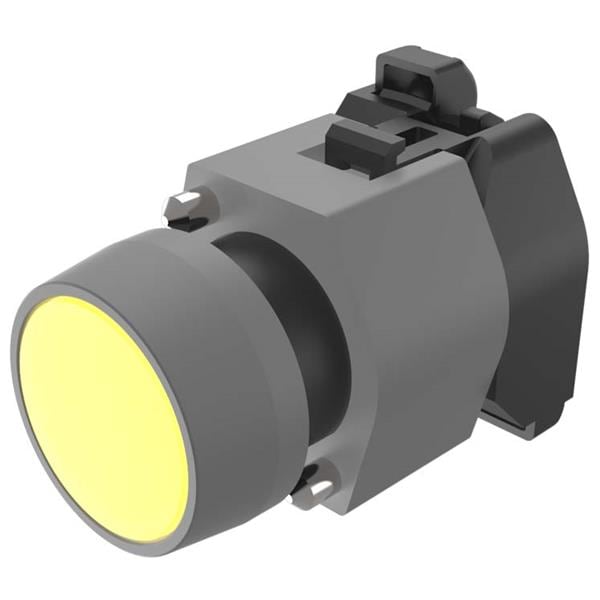
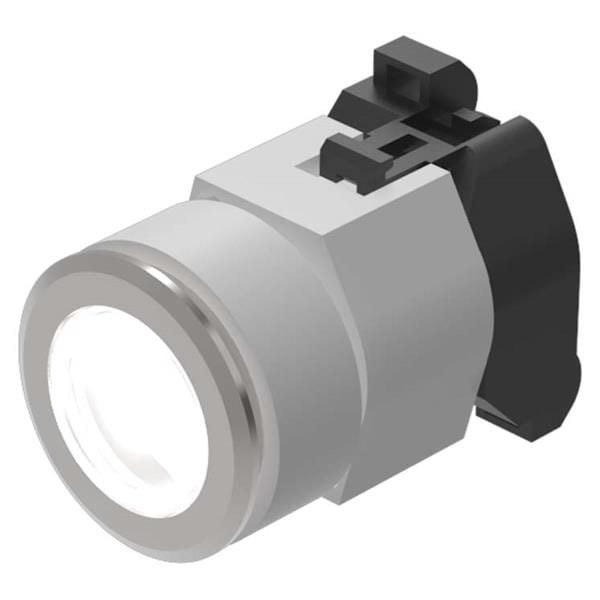
I found a small button that could be overlaid on the button of the power switch, I added these to make the project look more attractive.
Final Touches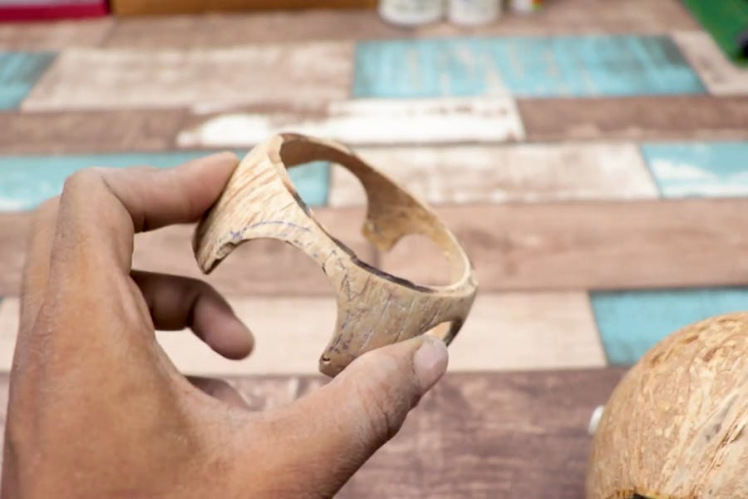


To have a proper base I made a stand kind of thing using the other shell, you can use the same design.
I have marked and later cut the marked areas with the cutter and if you have any sharp edges you can finish them with emery paper.
After you add the stand using hot glue we can finish the other parts too, there is no need to work on the charging port.
I found a small button that could be overlaid on the button of the power switch, I added these to make the project look more attractive.
Coconut Shell Working VideoWorking video of the coconut shell project for you guys so as to see what a wonderful creation is this!
You can try to build this project for yourself and have a companion on your desk, Thank you for reading this article.
Schematics, diagrams and documents
Credits
Related products


Leave your feedback...