
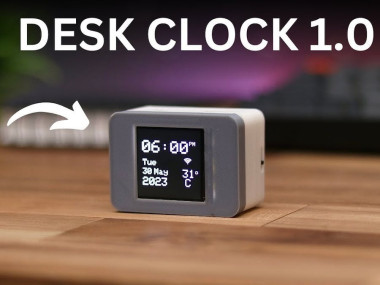
How To Make A Small Desk Clock With Weather Station

Made by rau7han
About the project
Hi beloved readers in this project I will show you how to make this Small Desk Clock with Weather Station
Project info
Difficulty: Moderate
Platforms: Espressif
Estimated time: 1 hour
License: Creative Commons Attribution-ShareAlike CC BY-SA version 4.0 or later (CC BY-SA 4+)
Items used in this project

Story
Hi beloved readers in this project I will show you how to make this Small Desk Clock with Weather Station This is a step-by-step article, I will guide you through the process of creating your very own desk clock using a Mini LCD display, Wemos D1 Mini microcontroller, lithium-ion battery, and the ability to show real-time weather and temperature data. This project combines electronics, programming, and creativity to build a unique and functional desk accessory
Thank You NextPCB:
This project was successfully completed because of the help and support from NextPCB. Guys if you have a PCB project, please visit their website and get exciting discounts and coupons.
NextPCB offers high-quality, reliable PCB starting at $1.9, and multilayer starting at $6.9. Also, everyone can enjoy free PCB assembly for 5 boards!
What can you expect by building this project?
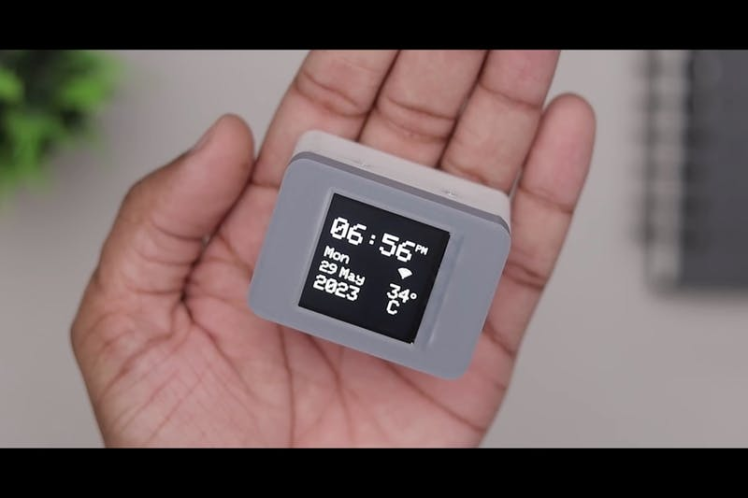
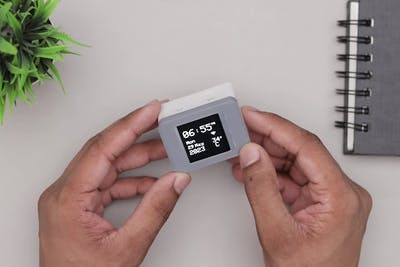
There are many things but most importantly you will have a desk clock that shows you the real-time temperature, Day, Date, and time.
Along with this, you will learn lots of things like how to make connections and the basics of electronics and programming..
Supplies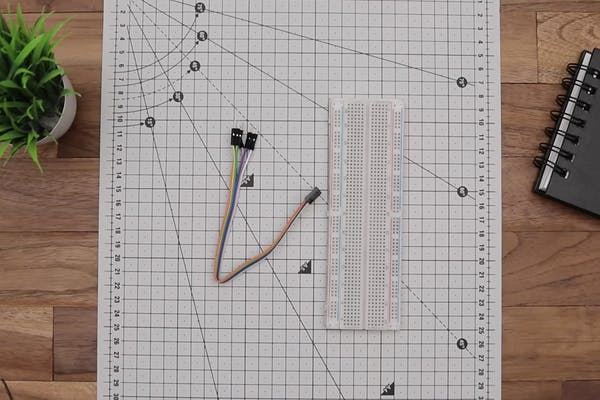
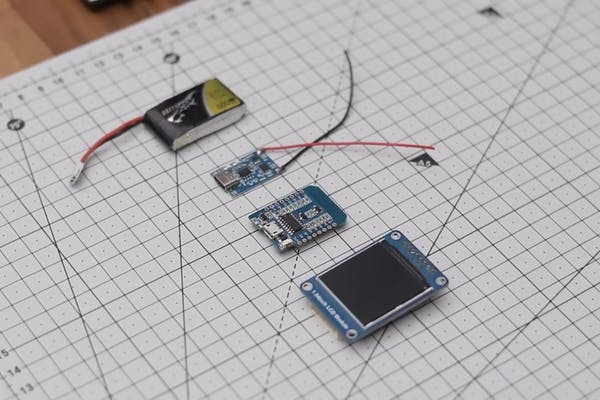
Below are the components required for making this desk clock
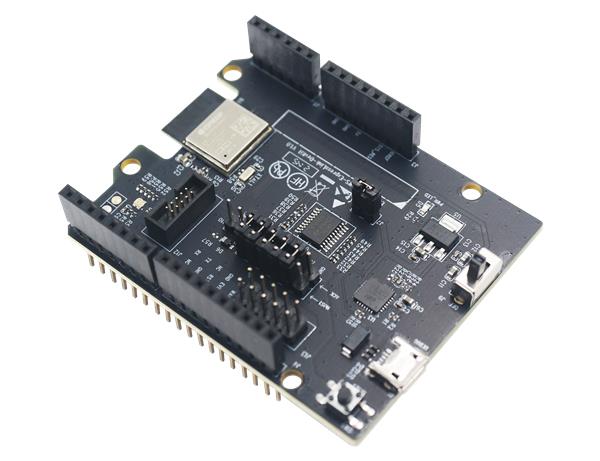
- Wemos D1 Mini
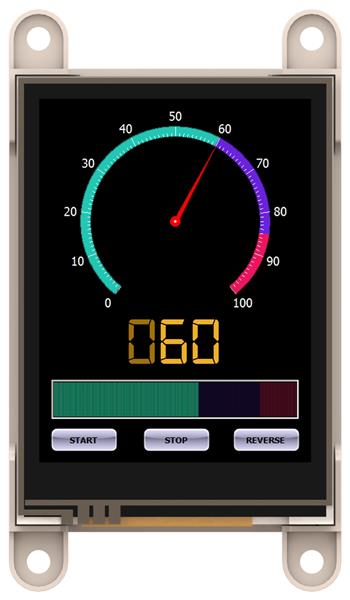
- LCD display module
- Breadboard
- Charging Module(Type C)
- Battery
- Bread Board
- Soldering iron and lead
- Arduino IDE and Programming cable
- Optional - 3D printer, Custom PCB
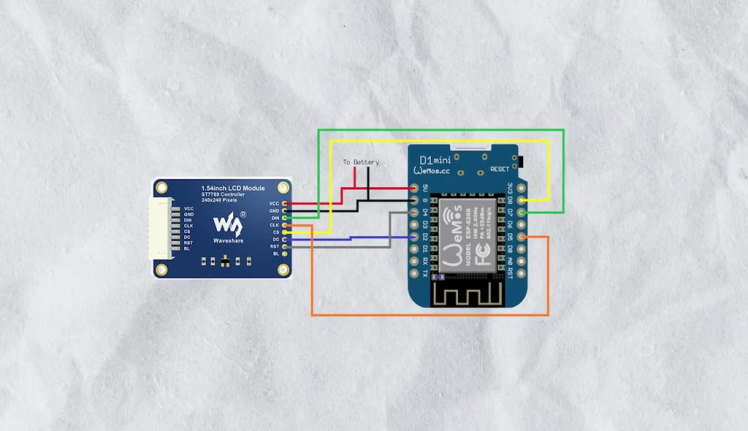
The circuit is very simple for this project
So we will begin with connecting 1.54 inch LCD module to wemos d1 Mini.
5 volt of wemos d1 Mini will be connected with vcc of LCD module, g to gnd of LCD module, d4 to RST, D2 to DC, D8 tp CS, D7 to Din and clk to D5
This is the connections, and I know you are thinking it is very simple, Indeed it is simple
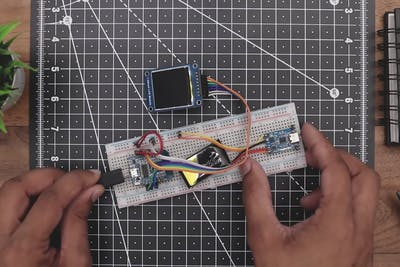
Building Circuit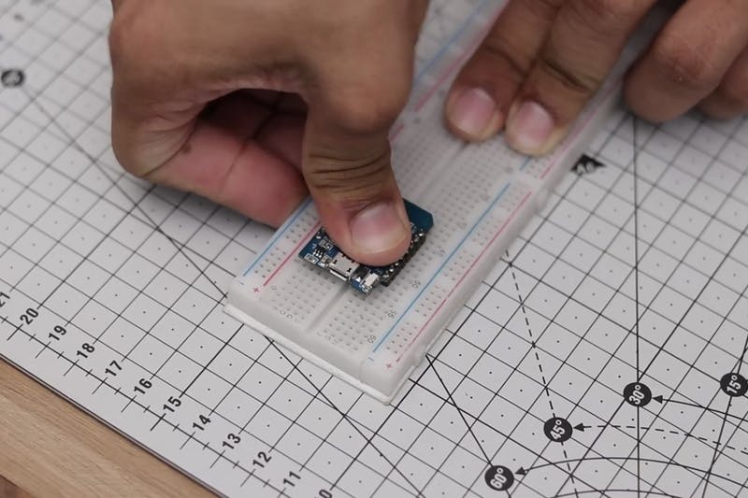
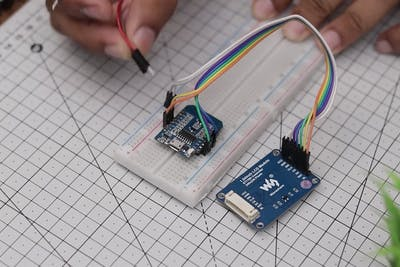
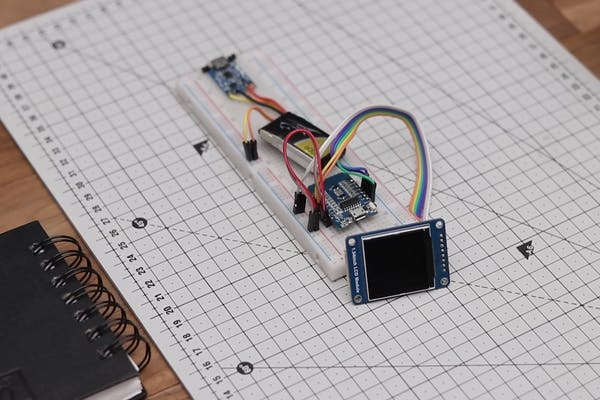
I will be using Breadboard and jumper wires to make the prototype circuit.
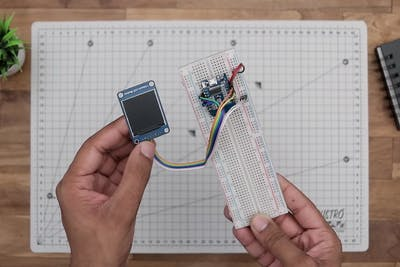
Start by attaching wemos module to the breadboard, and later connect the display module using jumper wires.
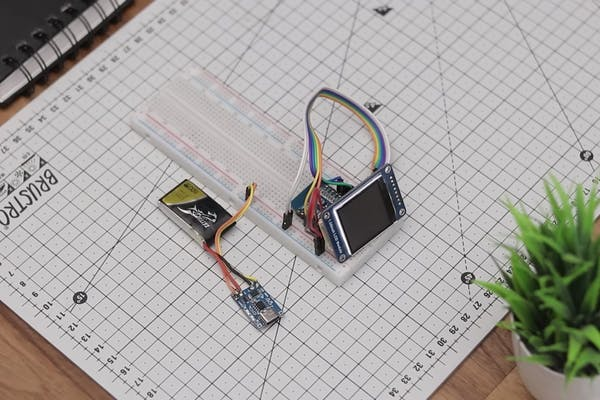
To power this project I will be using a rechargeable lithium-ion battery.
After the circuit is complete we can head over to uploading the codes for this clock.
Arduino Code
Setting up the Arduino IDE
If you don't have IDE. Download and install the Arduino IDE from the official Arduino website (https://www.arduino.cc/en/software).
Connect the Wemos D1 Mini microcontroller to your computer using the USB cable.
Opening the Arduino Sketch
- Open the Arduino IDE. You can get the Arduino code for this project here https://bit.ly/3qe1FI5
- In the IDE, go to File -> Open and locate the Arduino sketch (code) file for your desk clock project. Open the file in the IDE.
- From the "Tools" menu, select "Board" and then choose "Wemos D1 R1" or "Wemos D1 R2 & mini" as the board.
- Next, go to "Tools" -> "Port" and select the appropriate COM port that corresponds to your Wemos D1 Mini.
- Change the Wi-Fi credentials
- Click on the "Verify" button (checkmark icon) to compile the code. Make sure there are no errors or warnings displayed in the console.
- Once the code has compiled successfully, click on the "Upload" button (arrow icon) to upload the code to the Wemos D1 Mini microcontroller.
- The IDE will display the upload progress, and once complete, you should see "Done uploading" in the console.
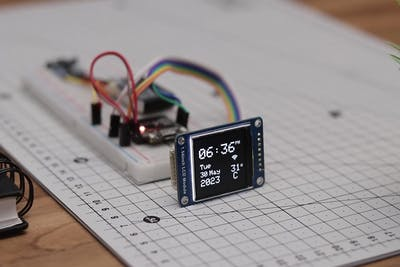
Now you can see the display on and directly connect to your wifi, in a few seconds your clock will show the data
STL and Gerber Files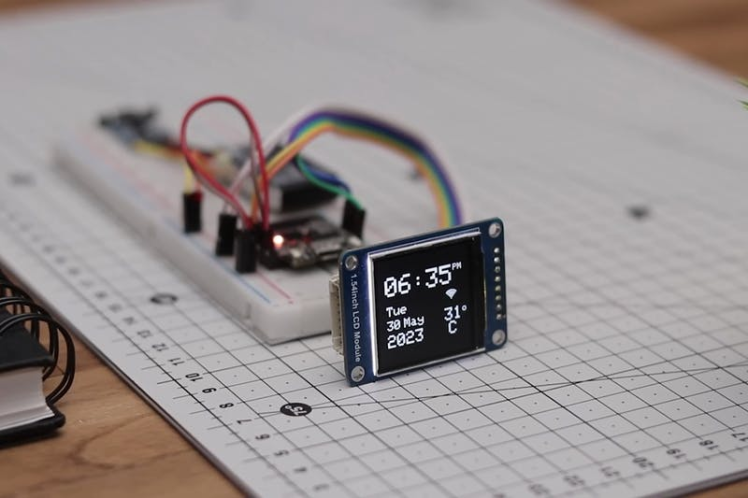
As you can see since I used a breadboard to build the circuit, the project is large
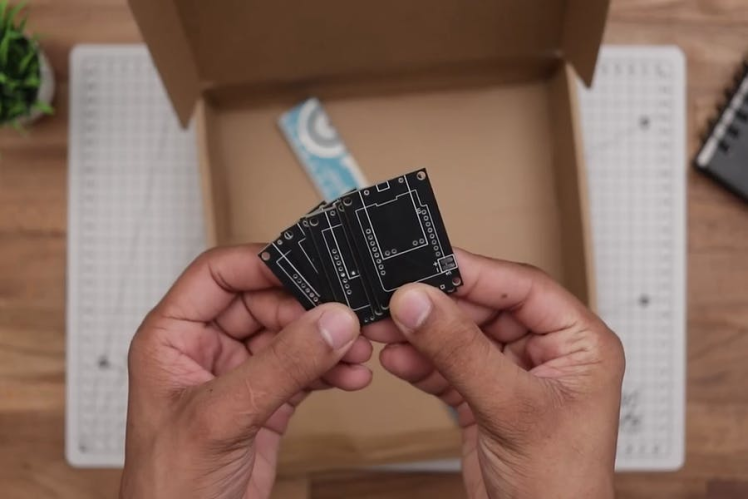
I want to shrink this project to a small size, so I made a PCB for this.
You can directly use my Gerber files, or create your own.
Gerber File, Codes: https://bit.ly/3qe1FI5
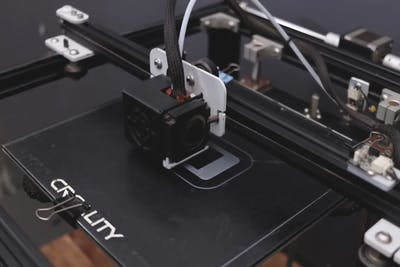
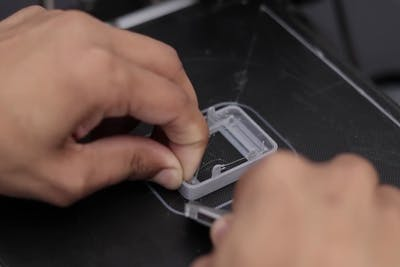
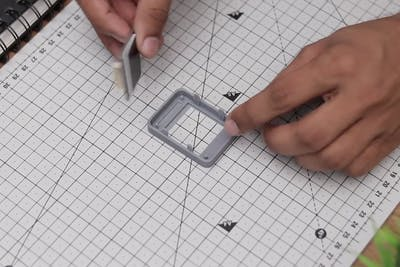
For the enclosure, I used 3D-printed parts, you can use my STLs here
Note that if you are using the same parts as I did, directly use my files for 3D printing
Custom PCBIf you're considering creating a printed circuit board (PCB) for your electronic project, NextPCB stands out as an excellent option. NextPCB boasts extensive experience as a leading PCB manufacturing company in China, specializing in PCB prototyping and fabrication.
Their services include comprehensive PCB assembly, complete with global free shipping, and adherence to ISO9001 quality control standards. Additionally, their website offers a convenient online Gerber viewer, allowing you to easily upload your Gerber and drill files to visualize your PCB design.
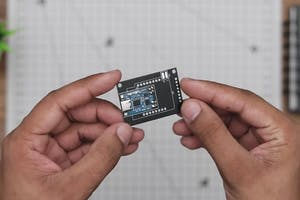
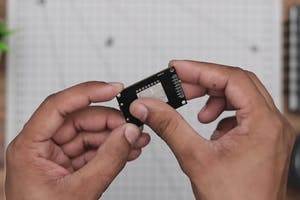
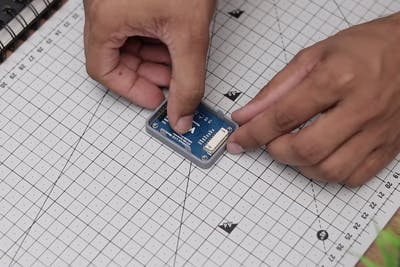
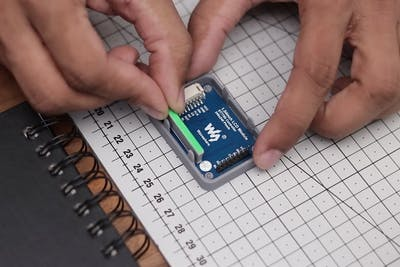
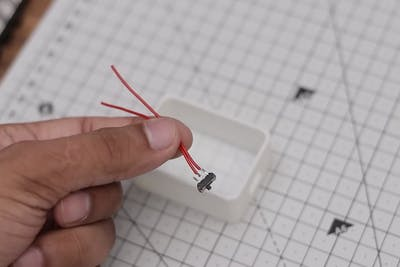
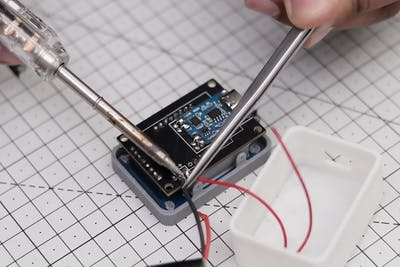
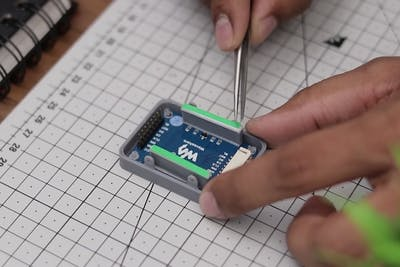
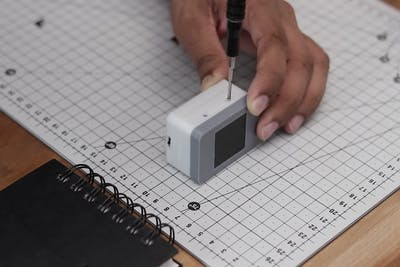
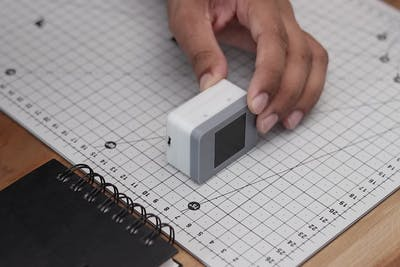
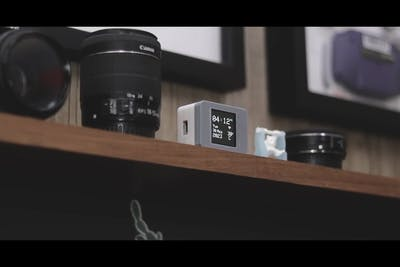
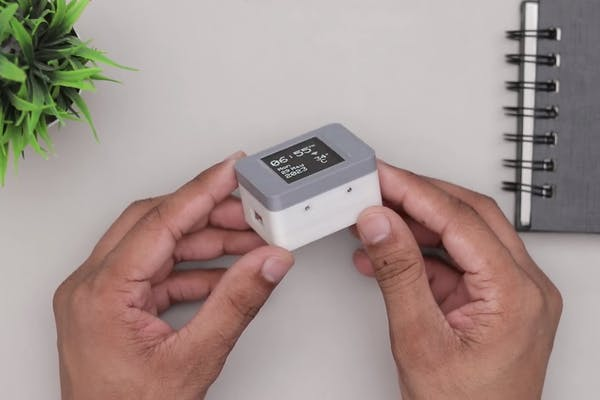
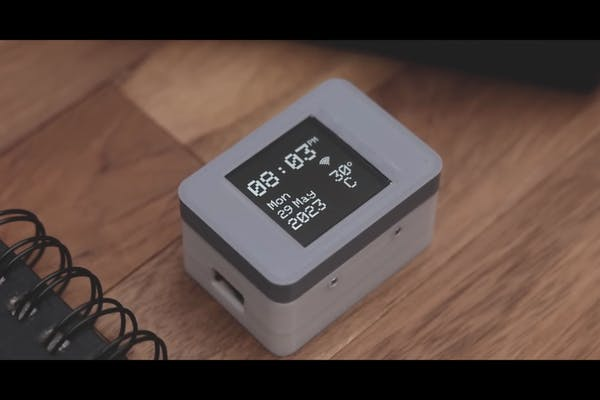
I got my custom-made PCB, and they were of very high quality. Now the circuit becomes very very small. All you need is just to solder the components to the PCB. I soldered the Battery charging module first, and later I soldered Wemos board LCD can be attached later after we encase these first in the 3D-printed case. Luckily all the parts fit very well on my 3D-printed case. Starting by adding the LCD display board to the case, I used tiny pieces of double-sided tape upon which I placed the battery, later I soldered the switch to the base of the box. The battery was soldered directly to the PCB. Now you can merge the case and couple ut with the screws, note that I dint exactly know the size of the screw, but you can use any tiny short screws. After the case is finally finished all you need to do is press the switch. As soon as you do it, LCD will on showing a connecting symbol As it connects you can directly see the clock. You can see date, day, time and weather stats. You can place this tiny little clock on your favorite places! This completes this project, if you have any questions you can ask me in the comments. Here is the working video of this project, if you want a video tutorial on how to build this clock, just watch this video, I have provided all the details. Hope you will enjoy making this desk clock project, Thank you for reading


Schematics, diagrams and documents
Code
Credits
Related products


Leave your feedback...