
How To Connect The Dht22 And Raspberry Pi Pico

Made by mahmood-m-shilleh
About the project
Learn how to get temperature and humidity readings with the DHT22 and Pico or Pico W in MicroPython
Project info
Difficulty: Easy
Estimated time: 1 hour
License: GNU Lesser General Public License version 3 or later (LGPL3+)
Items used in this project

Story
The DHT22 is a very powerful environmental sensor used in DIY projects for the Raspberry Pi, Arduino, and various other microcontrollers. It measures humidity and temperature accurately, all at a low price.
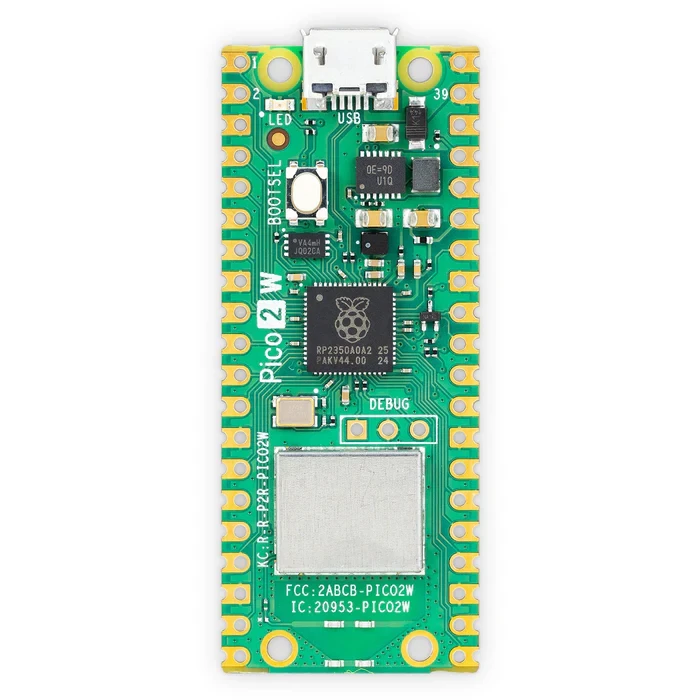
In this tutorial we show how to connect it to the Raspberry Pi Pico W in MicroPython to start getting readings very simply!
Before reading the remainder, be sure to subscribe and support the channel if you have not!
Subscribe:
Support:
https://www.buymeacoffee.com/mmshilleh
Hire me at UpWork to build your IoT projects:
https://www.upwork.com/freelancers/~017060e77e9d8a1157
Step 1-) Physical Connection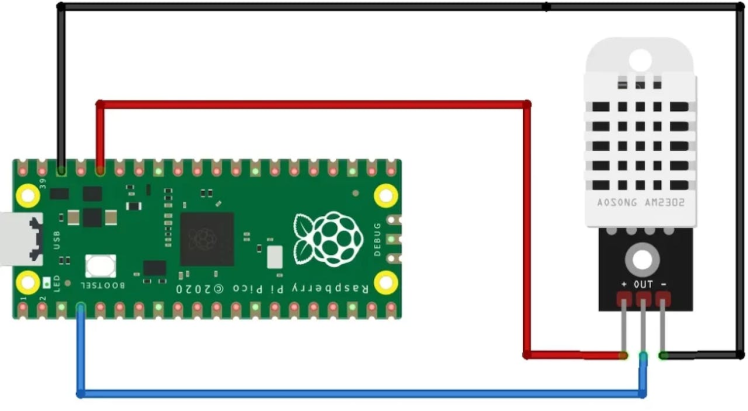
You will only need 3 jumper wires to make the connection, the ShillehTek DHT22 from Amazon comes with wires packaged, as do most versions of this device.
Step 2-) Thonny and MicroPython SetupYou should have Thonny setup with your Pico W and MicroPython as a pre-requisite. The first thing you have to do is download the DHT library by going to Tools > Manage Packages, and searching DHT. Download the dht package.

Once you have that you can run the following code by creating a Python file on your device and pasting it in and running:
import machine
import dht
import time

dht_pin = machine.Pin(2)

dht_sensor = dht.DHT22(dht_pin)

while True:
    try:
        dht_sensor.measure()

        temperature_celsius = dht_sensor.temperature()
        humidity_percent = dht_sensor.humidity()

        print("Temperature: {:.2f} °C".format(temperature_celsius))
        print("Humidity: {:.2f} %".format(humidity_percent))

    except Exception as e:
        print("Error reading DHT22:", str(e))

    time.sleep(0.1)
The code is simply creating a dht22 object from the library and utilizing the method.measure() to take measurements every time interval. If you want to increase the interval you can change the time.sleep() value. It is an incredibly simple library so there is not that much depth to it other than what is shown in this example.
Hope it worked for you, do not forget to support ShillehTek and by subscribing to our channel in the video above! Thanks all.
Credits
mahmood-m-shilleh
Mechanical and Software Engineering Background. University at Buffalo 2019 Texas A&M 2021 I make data pipelines for my day job. Outside of work, I participate in online communities regarding Full Stack Engineering, Microelectronics, and more. You can find more details about me on my Youtube Channel. https://www.youtube.com/@mmshilleh Feel free to reach out!
Related products


Leave your feedback...