

Getting Started With Unihiker

Made by pradeeplogu0
About the project
In this tutorial will show you the first step of UNIHIKER's environment setup.
Project info
Difficulty: Easy
Platforms: DFRobot
Estimated time: 1 hour
License: GNU General Public License, version 3 or later (GPL3+)
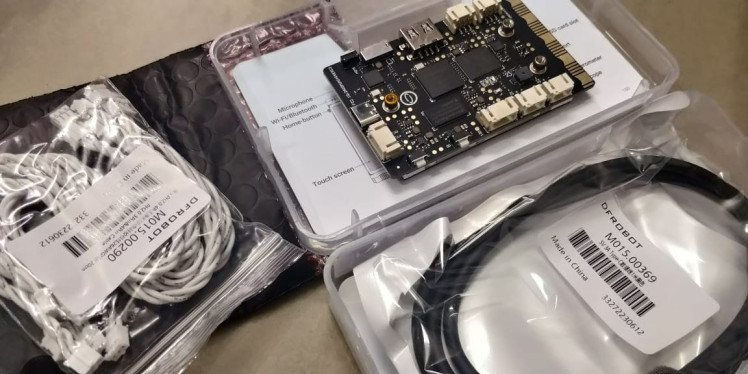
Items used in this project

Story
DFRobot has recently introduced UNIHIKER, a Linux-based single-board computer. UNIHIKER is a versatile device that lets you explore artificial intelligence, robotics, STEM, and more. It has a 2.8-inch touch screen, a quick and easy startup, and multiple interfaces and options for customization.
It also includes Wi-Fi and Bluetooth and it also offers a lot of features and convenience.

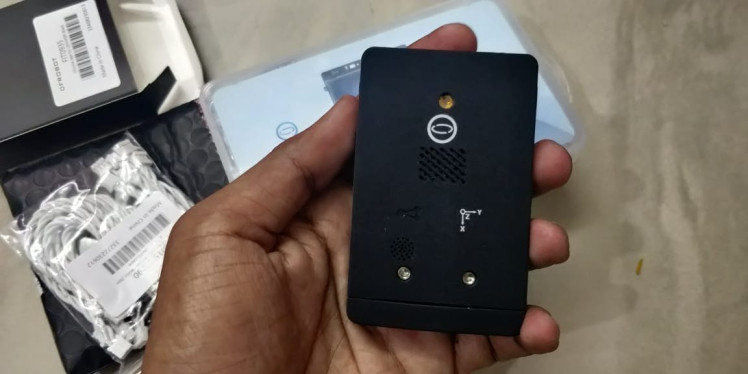
It has a light sensor, accelerometer, gyroscope, microphone built-in, and a co-processor that can interact with various sensors and actuators using analog/digital/I2C/UART/SPI protocols.

Here are the spec details:
- CPU: Quad-Core ARM Cortex-A35, up to 1.2GHz
- RAM: 512MB
- Flash: 16GB
- OS: Debian
- Wi-Fi: 2.4G
- BT: Bluetooth 4.0
- Screen: 2.8inch, 240 x 320, Touch Screen
- MCU: GD32VF103
- Sensor: Button, Microphone, Light Sensor, Accelerometer Sensor, Gyroscope Sensor
- Actuator: Led, Buzzer
- Port: USB Type-C, USB-A, Gravity 3pin/4pin port, Edge connector
- Power: 5V 2A for USB Type-C
- Size: 51.6mm x 83mm x 13mm

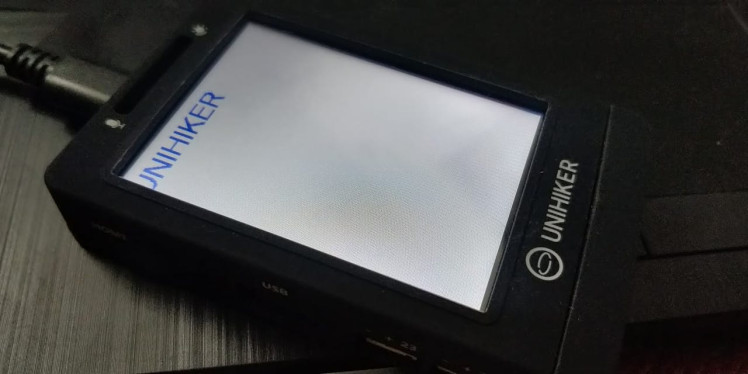
Step:1 - Getting started with UNIHIKER:
Just plug the USB C cable into the board and just plug into the USB port to your computer, and UNIHIKER will start to boot up. Once the bootup is done you will see this home screen.
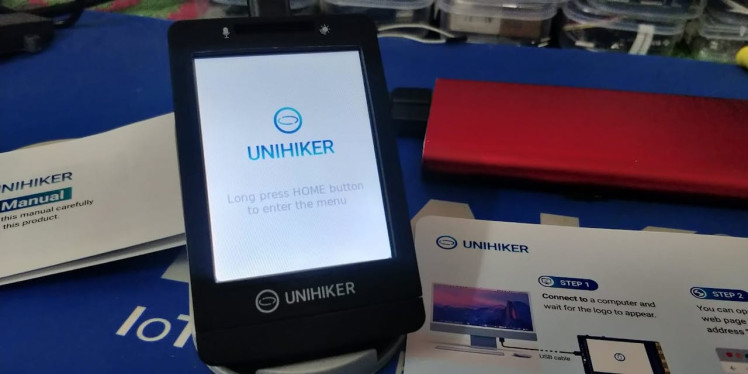
Then press the home button to enter the menu.
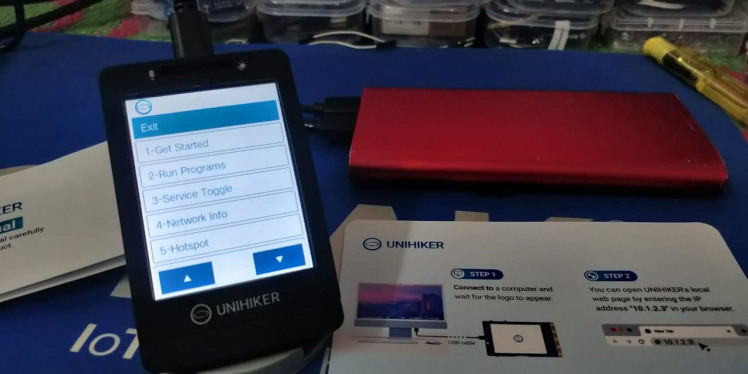
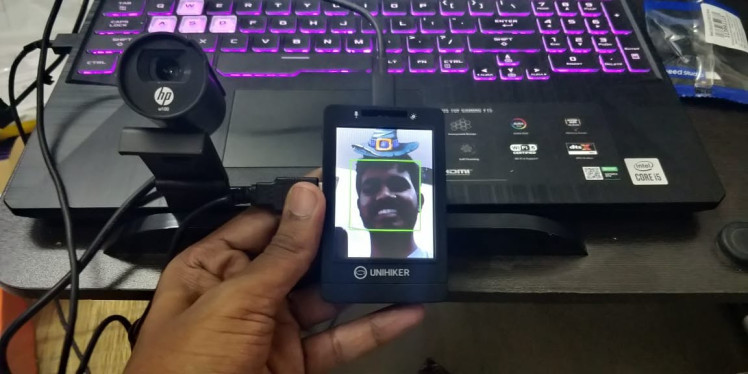
Let's run some sample programs, for that navigate to the Run Program menu and select the demo folder.
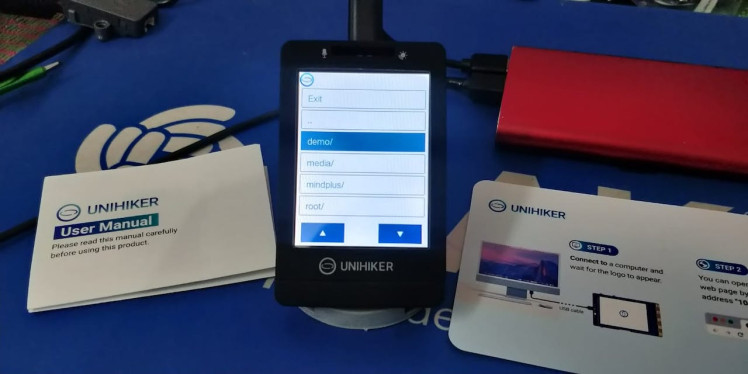
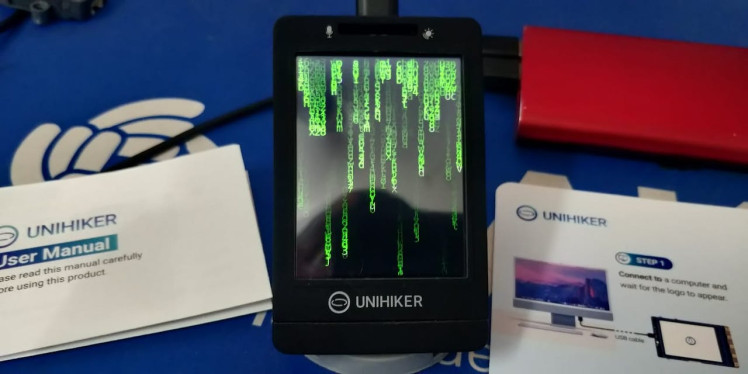
Inside the demo folder, you can see a bunch of example scripts, just open one. In this, I'm opening the 2nd program.

And run the program, here is the response.
Step:2 - Setting up the WiFi:
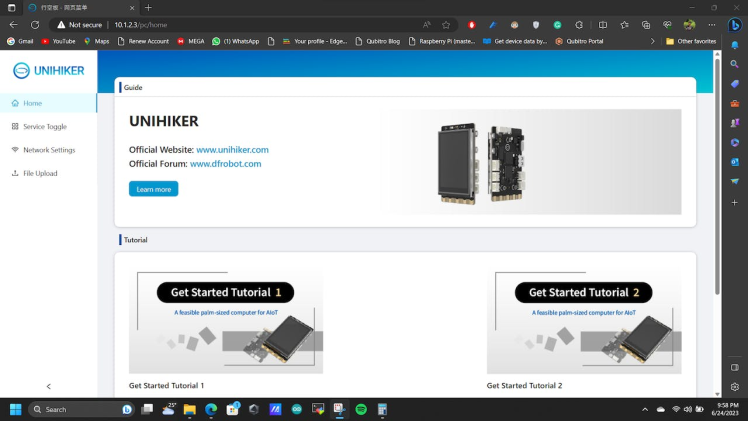
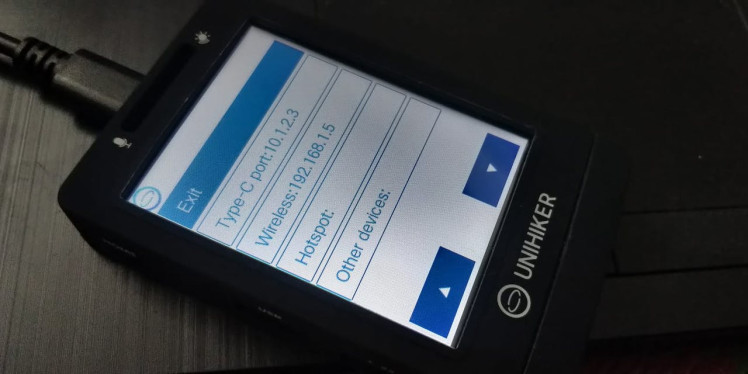
Once you connected the UNIHIKER to your PC, you can open the UNIHIKER control panel via this IP address 10.1.2.3. Just open this IP in your browser.
Next, navigate to the Network Settings and you can see the WiFi status.

In this Scan your SSID and enter the respective password.
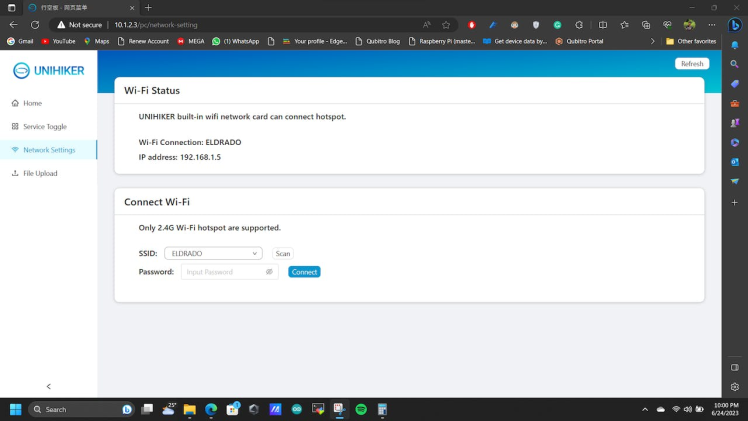
Once the connection is done it will show the WiFi status. You can also see the network status in the UNIHIKER itself.
Step:3 - Setting up Programming Environment:
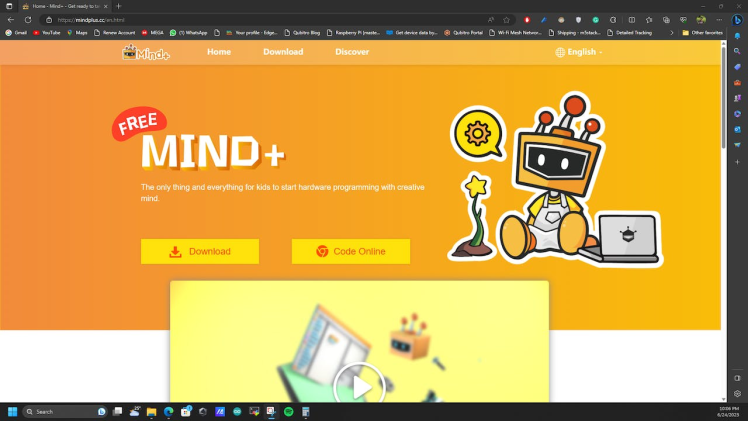
Download the Mind+ application that supports UNIHIKER.
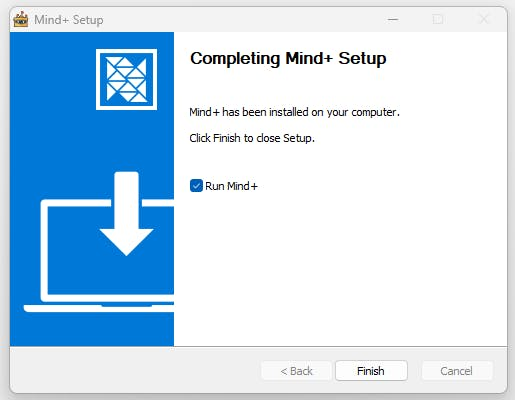
Follow the instructions and install the Mind+ software.
Once you open Mind+, navigate to the Blocks tab and open the Extension menu.
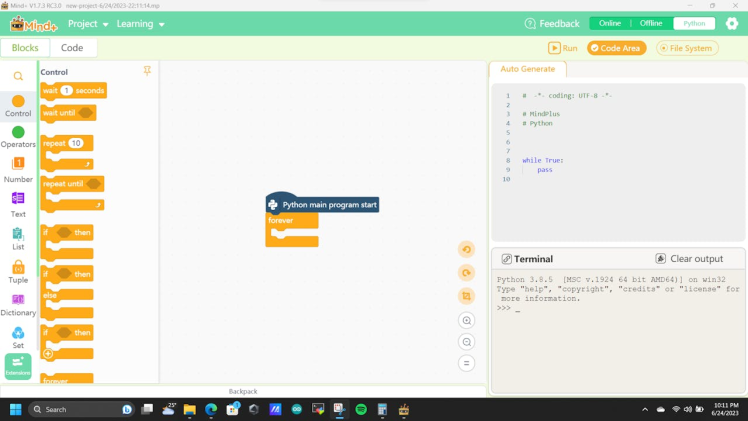
Then select the UNIHIKER library.
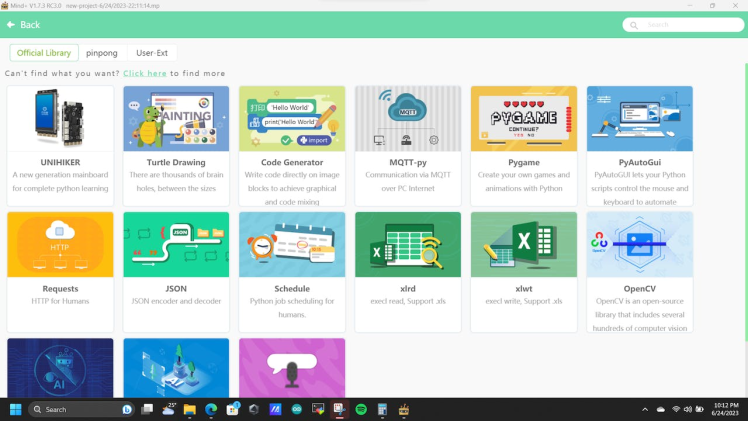
Once you installed the UNIHIKER extension, you will see that in the Blocks.

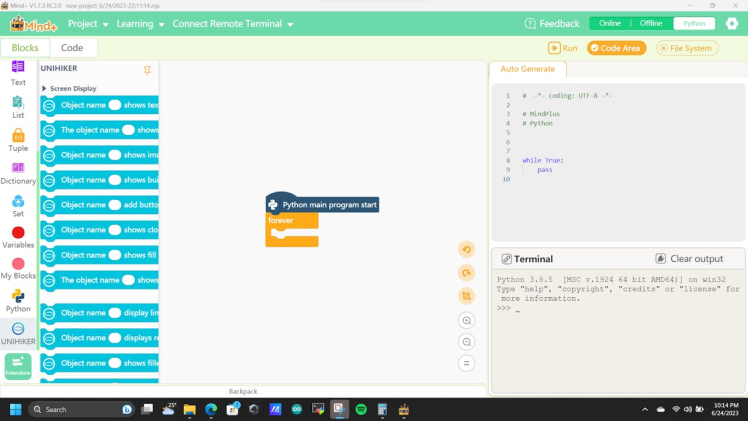
Click on the UNIHIKER, you can see all the available commands.
Next, we need to connect the UNIHIKER to the Mind+,

select the Connect Remote Terminal, and select the correct IP.
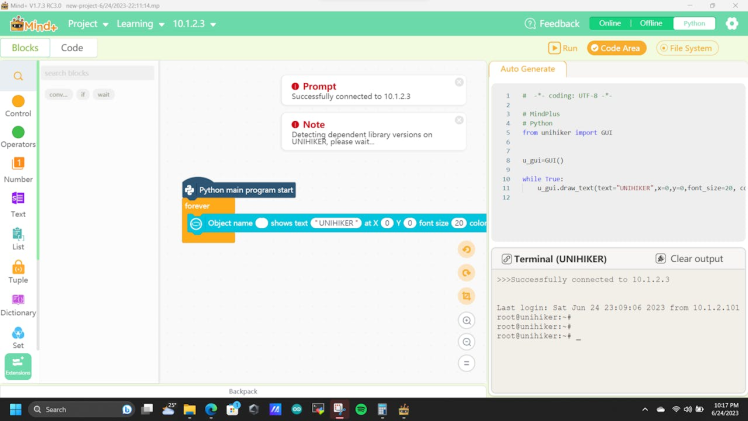
Then it will show the connection status. Once you connected successfully, try to run some demo programs. It will show your status via the Terminal window.
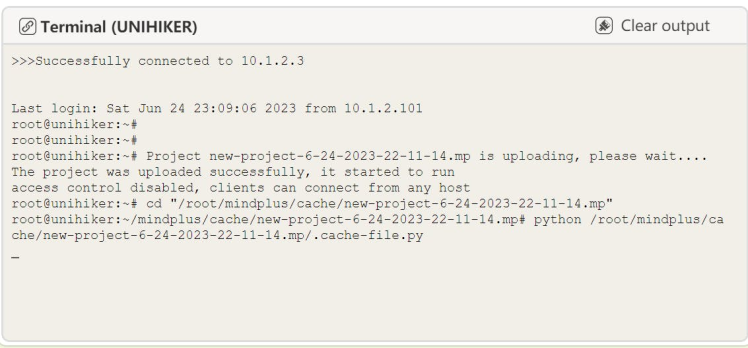
And here is my UNIHIKER response.
Wrap Up:
Hope you got some idea about the UNIHIKER, with this awesome low-power Linux SBC, we can easily integrate many of our AI, Robotics, and IoT projects on the go. Upcoming tutorials will guide you to build some IoT projects with UNIHIKER.
Credits
Related products


Leave your feedback...