
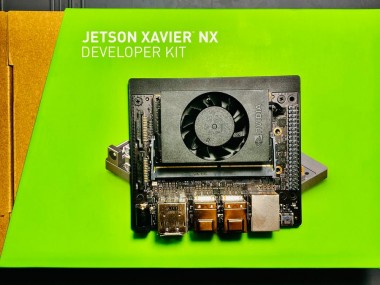
Getting Started With Nvidia Jetson Xavier Nx Developer Kit

Made by shakhizat
About the project
In this article, you'll learn how to get started with the World’s Smallest AI Supercomputer - NVIDIA Jetson Xavier NX Developer Kit.
Project info
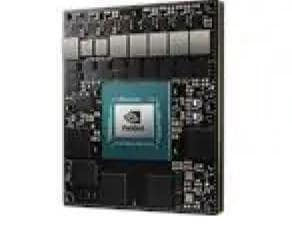
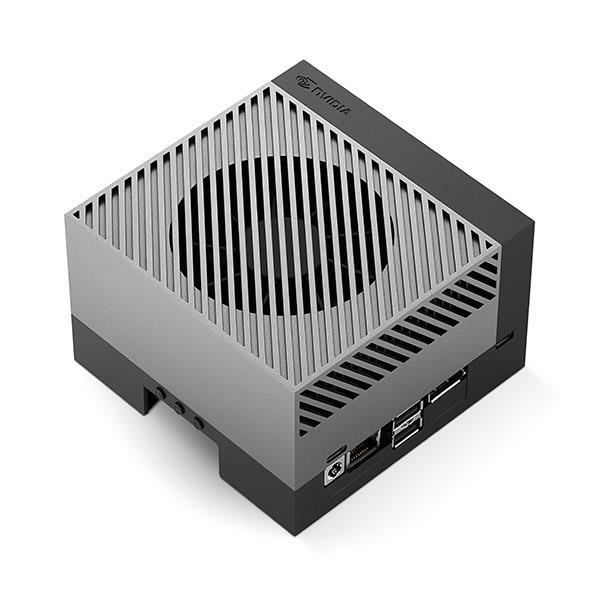
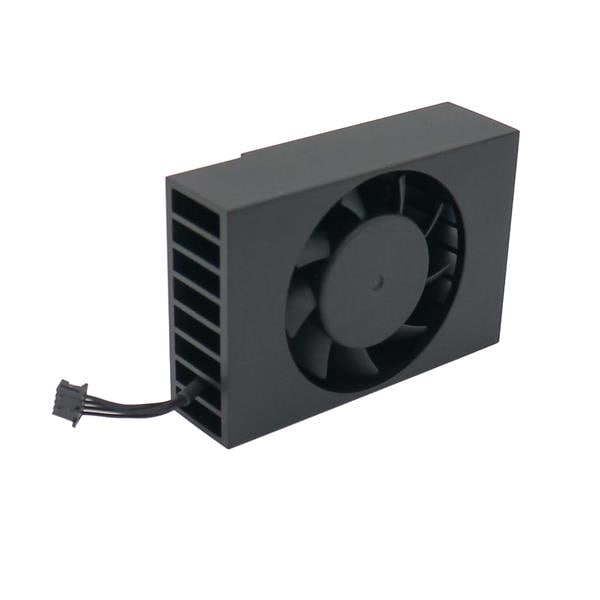
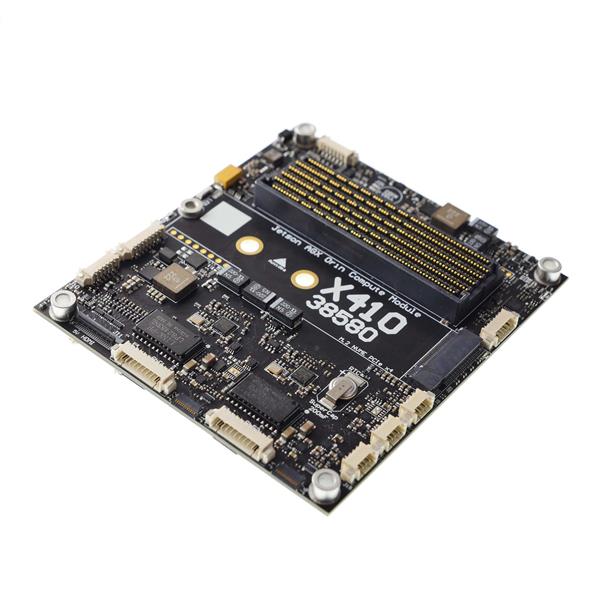
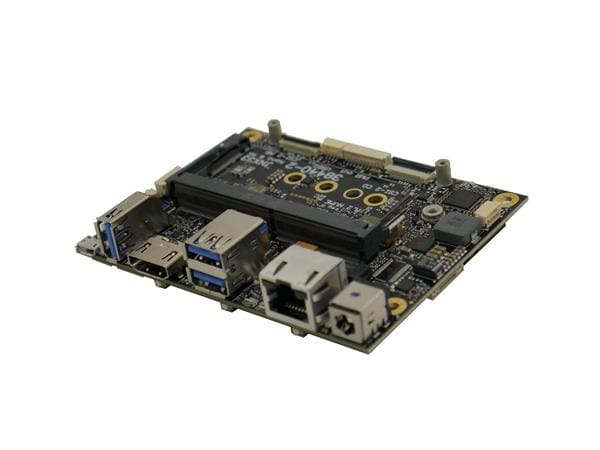
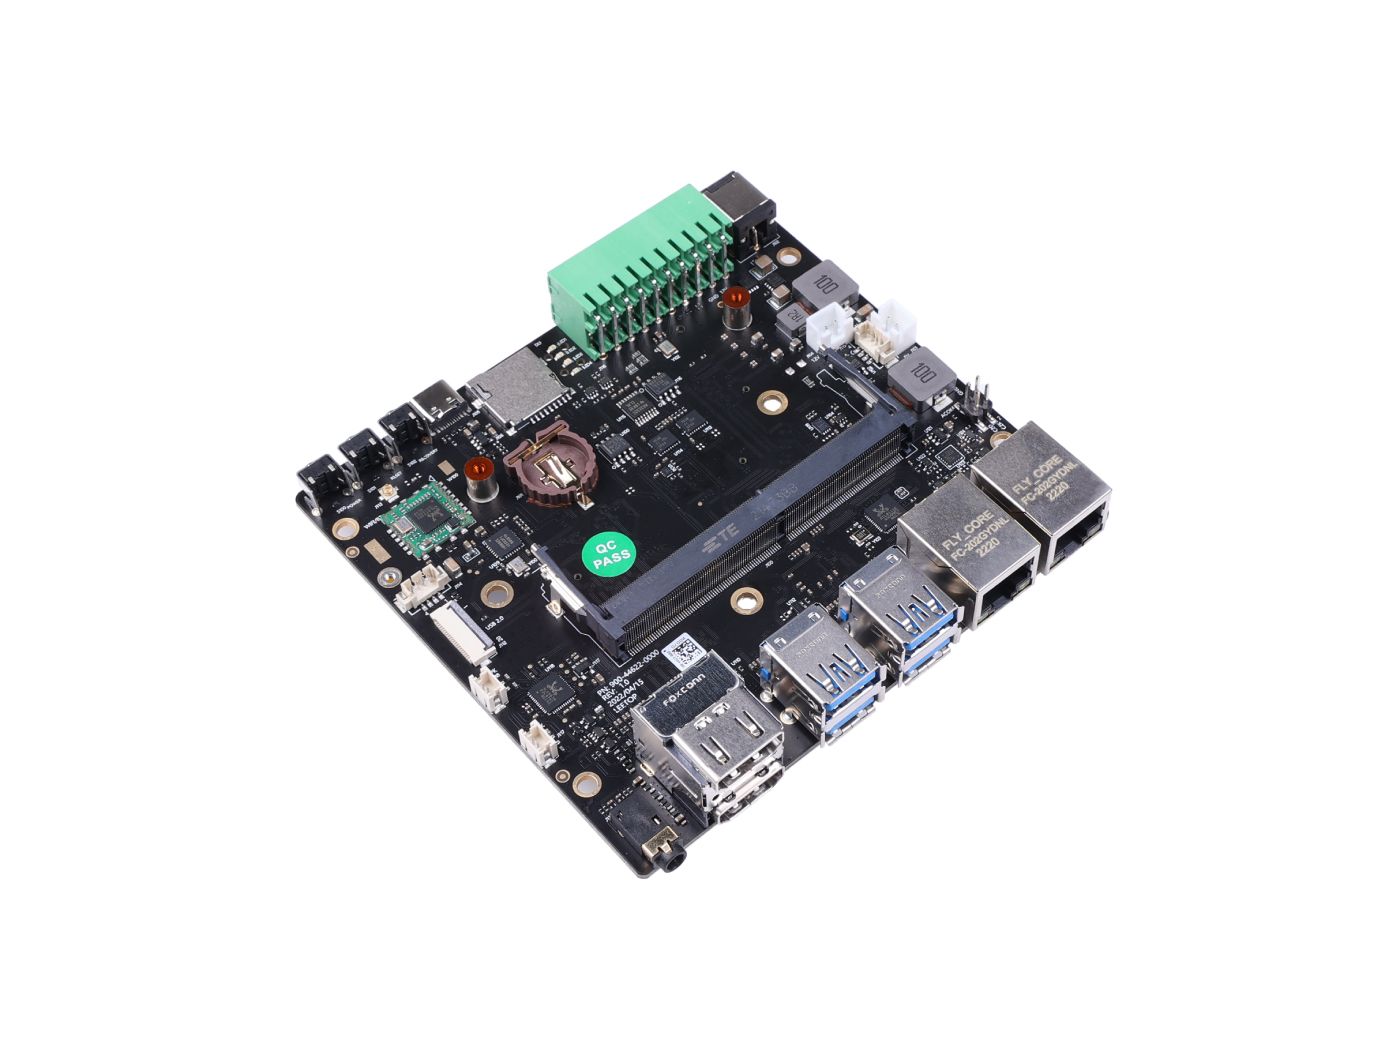
Items used in this project
Story
As Single Board Computers (SBC) are becoming increasingly popular to run AI and Deep learning projects, some have even been specially designed just to run AI and Deep learning stuff!
NVIDIA has released a few different IoT boards. The NVIDIA Jetson Xavier NX is one of the latest board they’ve released. The board is available as a Developer Kit that contains all the inputs and connections necessary to use it for prototyping IoT solutions.
Today we are going to take a look at a new SBC from Nvidia which is the Jetson Xavier NX. It is mainly focused at artificial intelligence techniques like image recognition, computer vision etc.
Also, in this guide I’ll show you a workaround to use NVMe SSD as your rootfs device and use a Micro SD card as bootloader only which gives us full SSD performance after boot.
So let's have a look at it!
What Is the Jetson Xavier NX Developer Kit ?TheJetson Xavier NX Developer Kit costs around $399. It’s the perfect solution for tinkerers and robotics enthusiasts! You can do most things you do with a regular computer like web browsing, document editing, playing games, coding and much more. This developers kit delivers the compute performance necessary to run AI workloads at unprecedented power, cost, and size.

Here are some of the key compute features of the NVIDIA Jetson Xavier NX Developer Kit:
- NVIDIA Volta architecture with 384 NVIDIA CUDA cores and 48 Tensor cores
- 6-core NVIDIA Carmel ARM v8.2 64-bit CPU6 MB L2 + 4 MB L3
- 2x NVDLA Engines
- 7-Way VLIW Vision Processor
- 8 GB 128-bit LPDDR4x 51.2GB/s
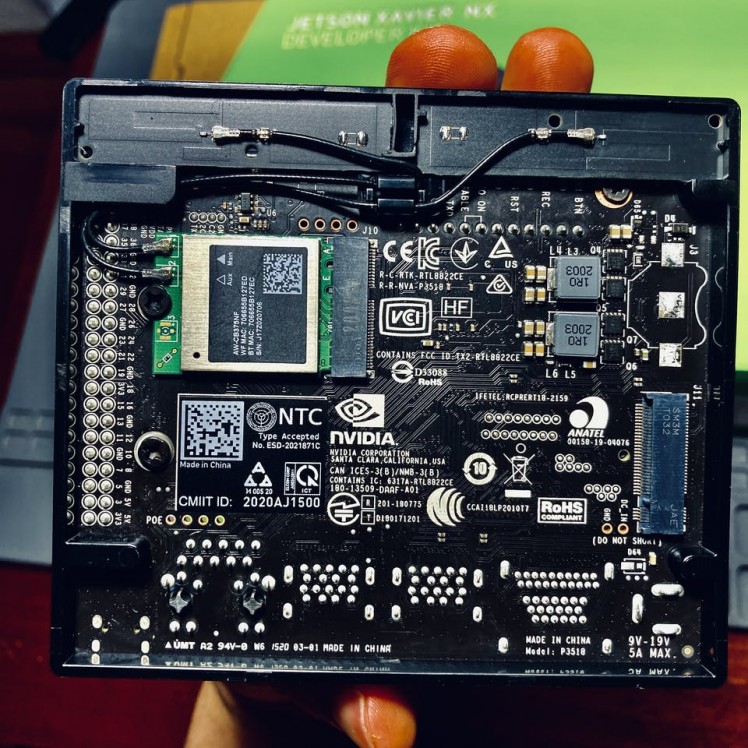
- Gigabit Ethernet, M.2 Key E (WiFi/BT included), M.2 Key M (NVMe)
- 2x MIPI CSI-2 D-PHY lanes
- 4x USB 3.1, USB 2.0 Micro-B
- GPIOs, I2C, I2S, SPI, UART
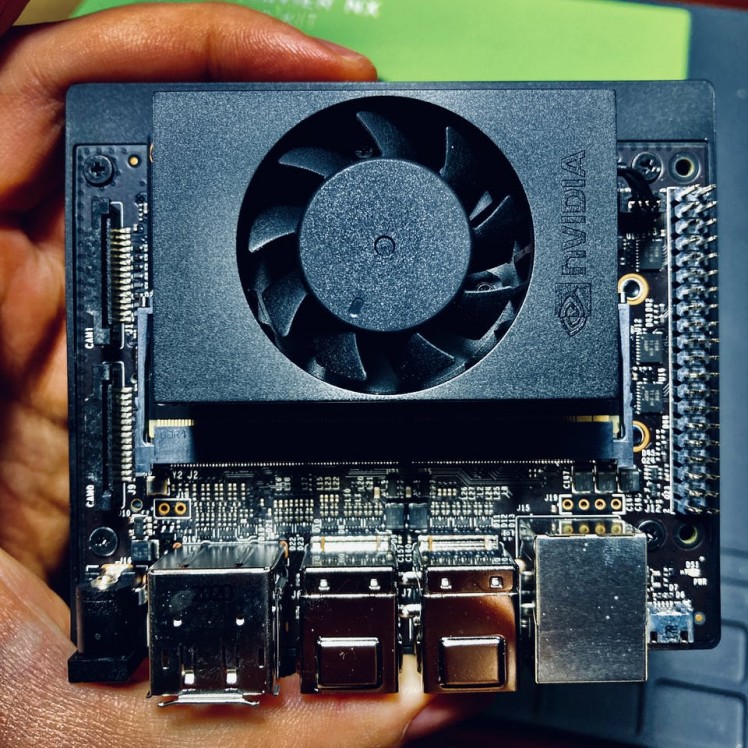
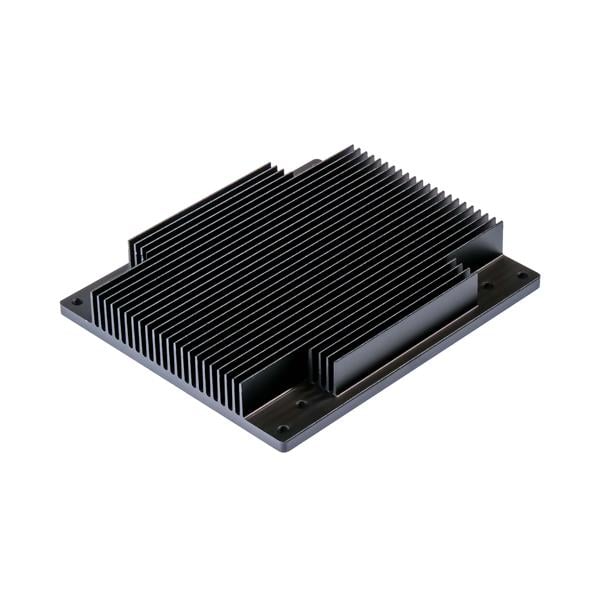
The NVIDIA Jetson Xavier NX is static sensitive and is shipped in a static-protective bag, so be sure to follow appropriate antistatic control measures to avoid damage of the board.
1 / 2
And it comes with options for 10-watt and 15-watt power envelopes. The Xavier NX Developer Kit has a micro USB port, but unlike with a Raspberry Pi, it’s used for data transfer not power. The Developer Kit is powered via a proprietary power brick that uses a barrel adapter.
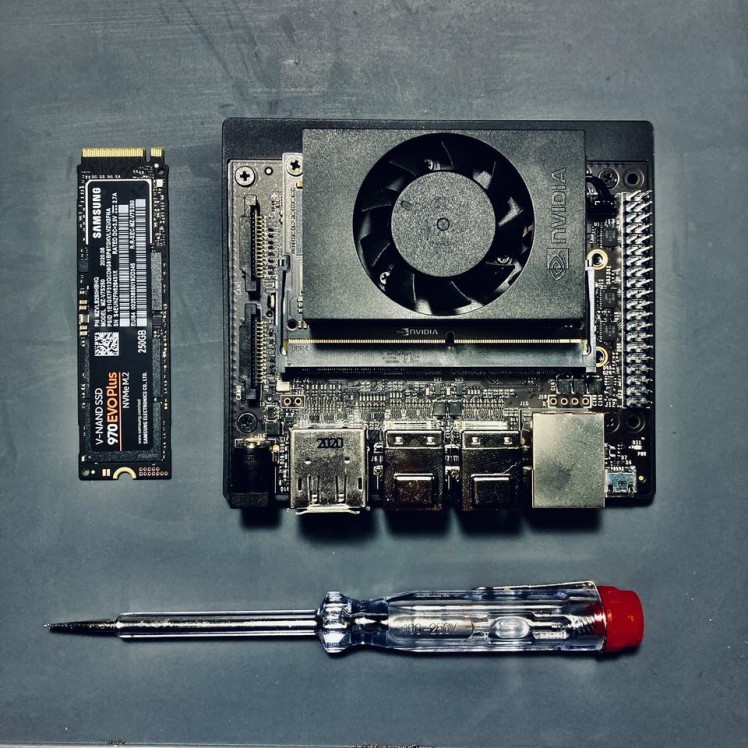
Things You Will Need:To get started and boot the Jetson Xavier NX you need the following hardwares:
- Jetson Xavier NX Developer Kit
- 30W power supply (recommended)
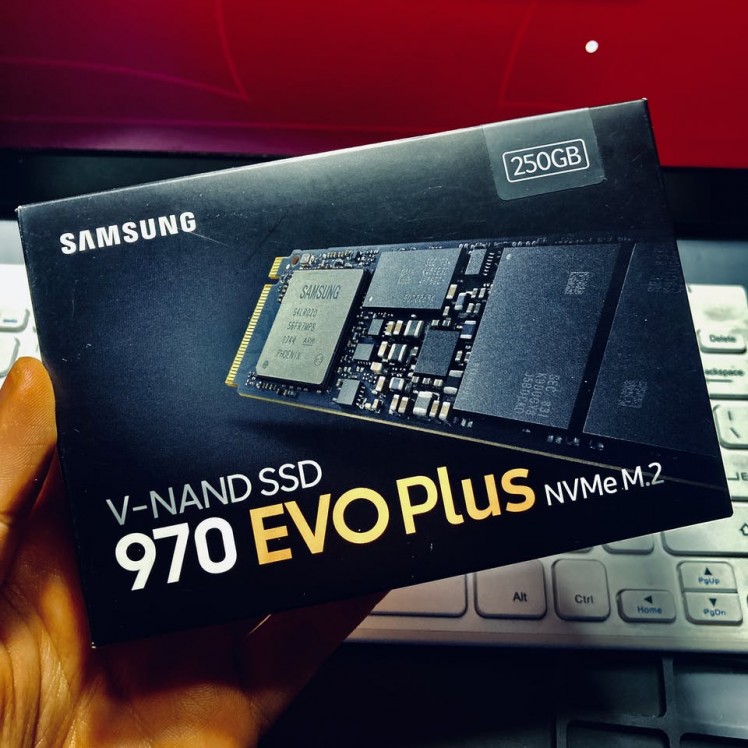
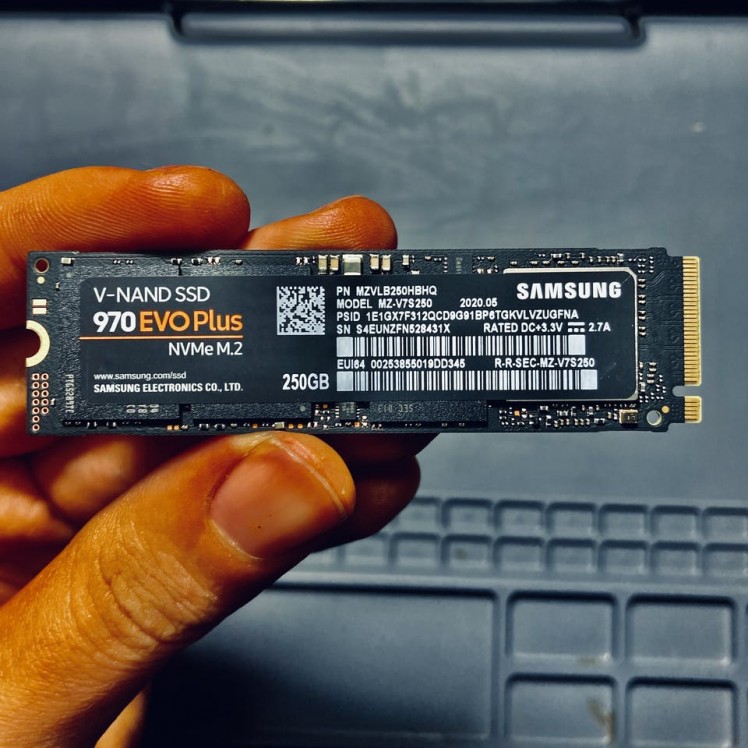
- M.2 NVMe Internal SSD(optional)
- A minimum 16GB micro SD card.
- A computer with an internet connection and the ability to flash your microSD card. It can be computer running Windows, MacOS or Linux. Here we’ll be using laptop.
- USB keyboard and mouse
- Monitor and HDMI cable
The below instructions are for installing Jetpack on a Jetson Xavier NX that can be connected to a screen and a keyboard/mouse. If you want to do a headless install, you’ll need to look up instructions for enabling Wi-Fi through a serial USB port and connect to Jetson Xavier NX via SSH from your local area network.
Step 1 - Prepare an Anti-Static Work Area (Recommended)Digital electronics are vulnerable to electrostatic discharges (ESD) from your body and surrounding objects. To help maximize the life and reliability of your Jetson Xavier NX, you should not touch it unless you are grounded with a reliable ESD wrist strap from a reputable manufacturer.
Here I am using anti-static mat. It will ensure that my sensitive electronics are well protected.
Step 2 - Download the Jetson Xavier NX SD Card imageTo boot up your Jetson Xavier NX board you will need to prepare a microSD card with a bootable image. NVIDIA provides a prebuilt image - JetPack, that you can download from the official website of NVIDIA.
- Download the latest JetPack image from here.
- Sign up for the NVIDIA Developer Program – this enables you to download JetPack image.
- After log in, click on the below button:

JetPack 4.4 is the NVIDIA stack containing Linux, board drivers and SDKs for GPU, AI and ML processing. NVIDIA calls it's Linux, L4T (Linux for Tegra) and it's currently at version 32.4.2 that comes default with Ubuntu 18.04.
Step 3 - Writing the Jetpack Image to the SD CardAfter you have downloaded the image, you need to download the balenaEtcher to flash the image to the SD card.
Etcher is a free program for Windows, macOS, and Linux users makes the process simple.
To write the operating system image to the SD card, follow the next steps:
- Download Etcher – select the right one for your operating system. Then, install it.
- Under Select Image, point Etcher to the Jetpack image file you downloaded earlier.
- Under Select Drive, pick out your SD card from the list of options.
- Finally, click Flash!, and your SD card will be ready for use in no time.
Once you have the operating system installed on the SD card, you just need to insert it into the SD card slot of your Jetson Xavier NX.
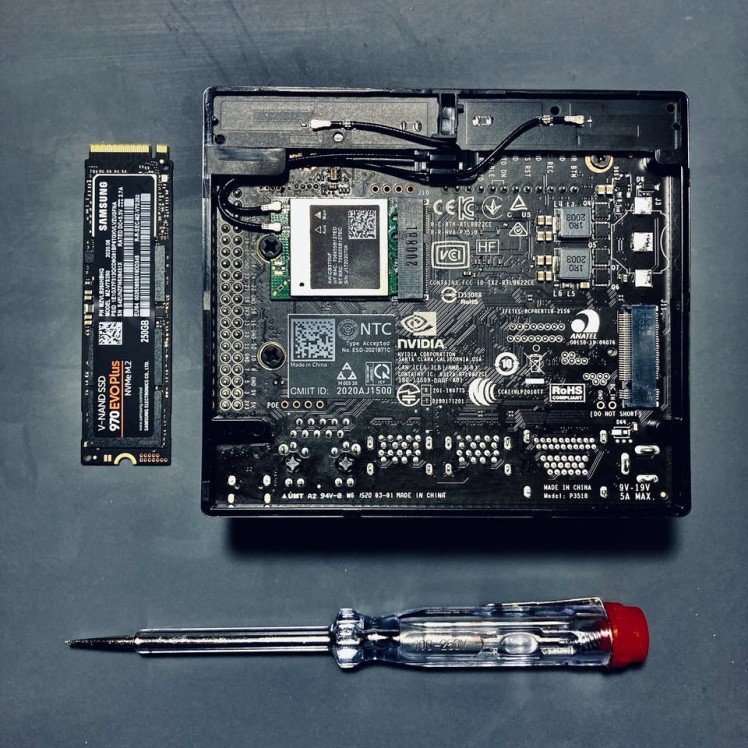
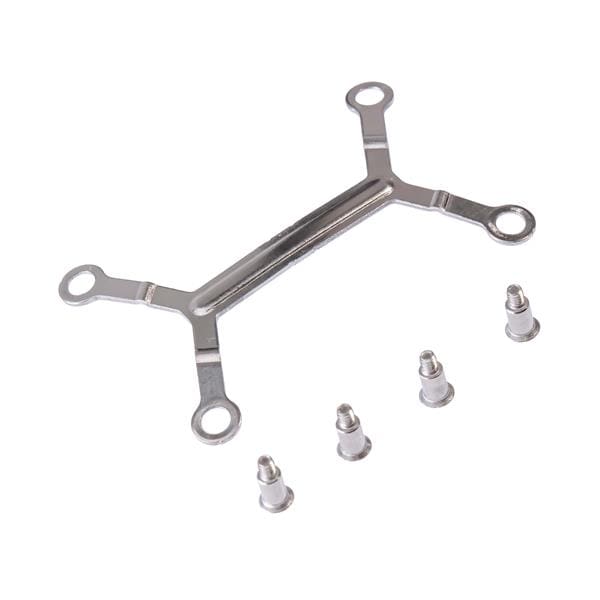
Step 4 - Connecting the NVMe SSD to the Jetson NX(optional)By default, Jetson NX boots up and stores all of its programs on a microSD memory card, which has a maximum theoretical bandwidth of 60 - 95 MB/sec on the Jetson Xavier NX. In real-life, even the best microSD cards for Jetson get no faster than about 40 MB/sec in sequential writes. Using an internal SSD as your main storage drive could speed things up significantly.
1 / 2
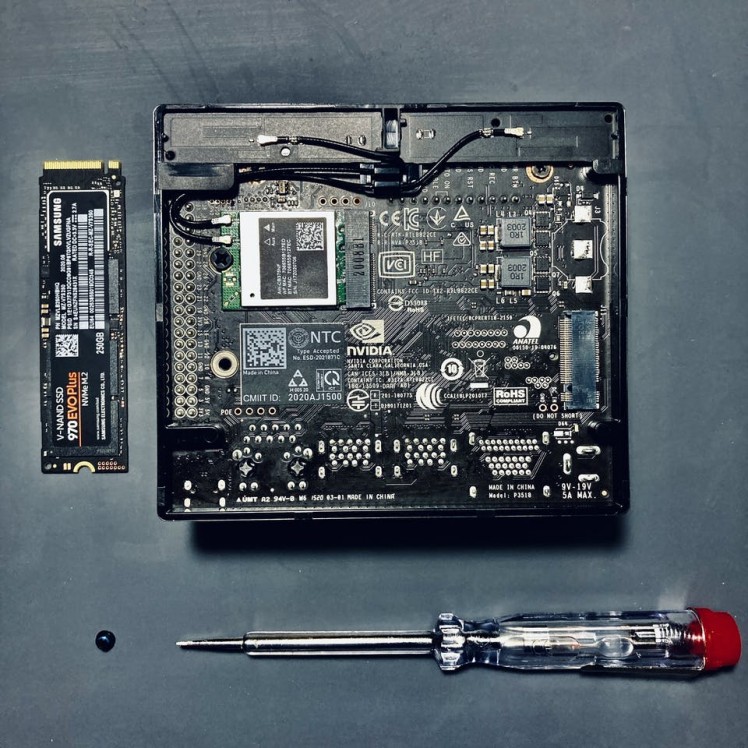
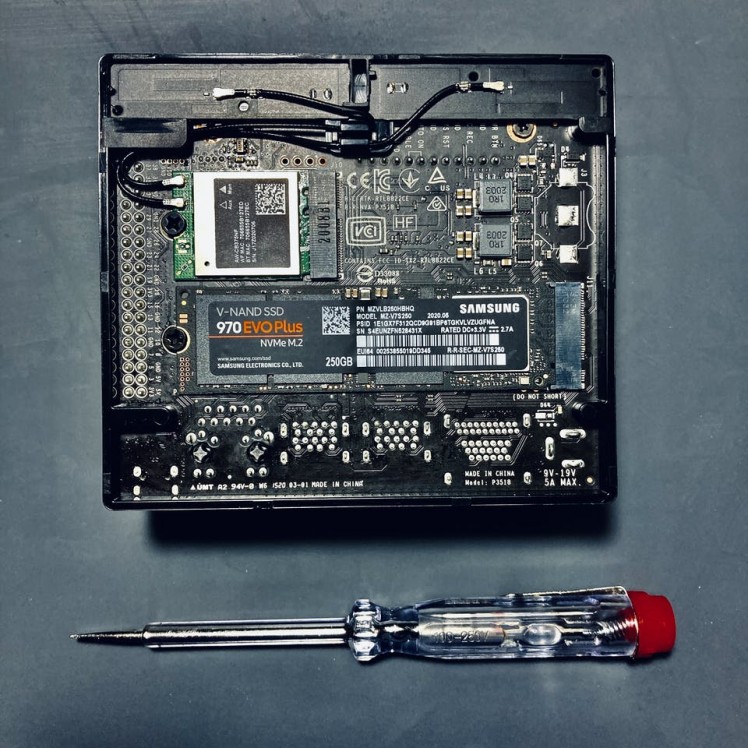
Installing the SSD into Jetson NX is pretty much a no-brainer. Make sure that your Jetson NX is powered off.
Follow the instructions below to install NVMe SSD:
1 / 4
After you’ve downloaded and flashed the image file to your micro-SD card, insert the card into the micro-SD card slot. Connect a screen via HDMI, a keyboard/mouse and finally connect the board to power. There is no power button on the Jetson Xavier NX, as soon as you plug in the power cable, it will begin booting up
When you boot the system for the first time, you'll be taken through some initial setup, including:
- Review and accept NVIDIA Jetson software EULA
- Select system language, keyboard layout, and time zone
- Create username, password, and computer name
- Log in

After all these steps you should see the Ubuntu 18.04 GUI Desktop. That’s it!
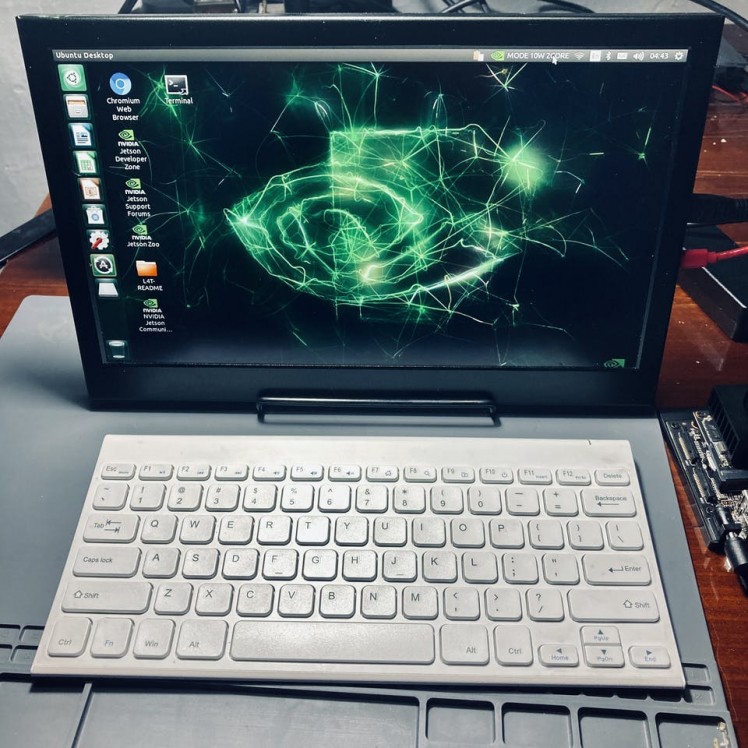
Before starting anything, it might be good to update everything. You can do that by entering the commands below.
sudo apt-get updatesudo apt-get upgradeThere are several ways to check the SD memory cards read and write speeds. The best method I prefer is to use gnome disk utility which gives is completely GUI based and presents the results in the form of graph and average read and write speeds.
You can also use Hdparm and dd tools. Hdparm is a nice tool focused specifically on storage drives information and benchmarking. It gives basic raw throughput stats for buffered reads. dd simply copies data from one place (if) to another (of) to see write speed.
Open terminal windows and copy and paste the below command to launch gnome disk utility:
gnome-disks
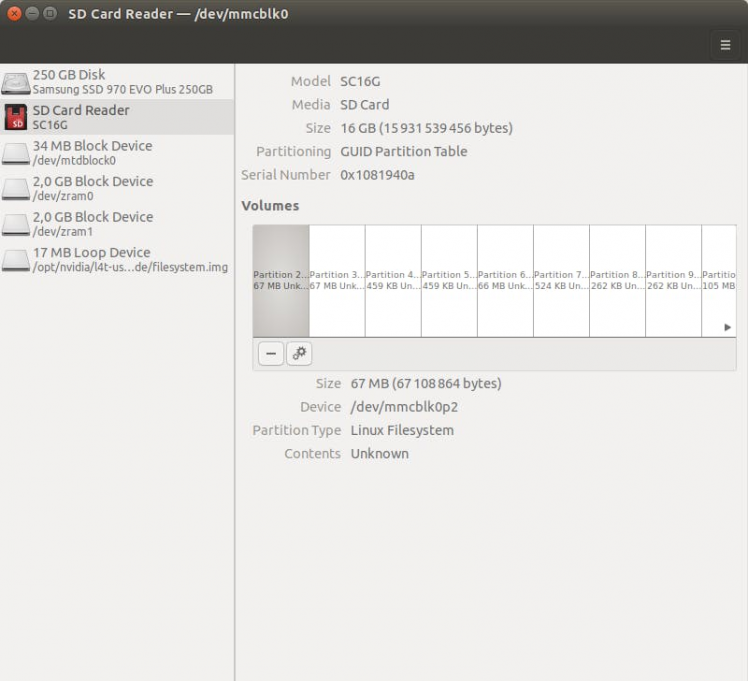
- Select SD card
- Once you've selected a storage device, clicking the button with two gears will bring up a menu of actions you can perform on the device. You can delete partitions, finish checking or repairing the file system, retrieve or restore backups and benchmark selected storage media.
- Click on Benchmark partition.
- Then, click on Start Benchmarking button it starts benchmarking of SD card.
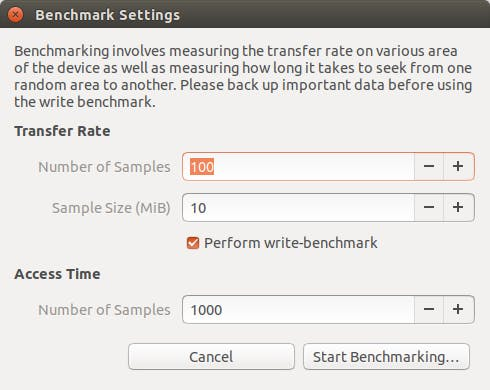
- A new window with charts opens.
- Benchmark results for MicroSD Card
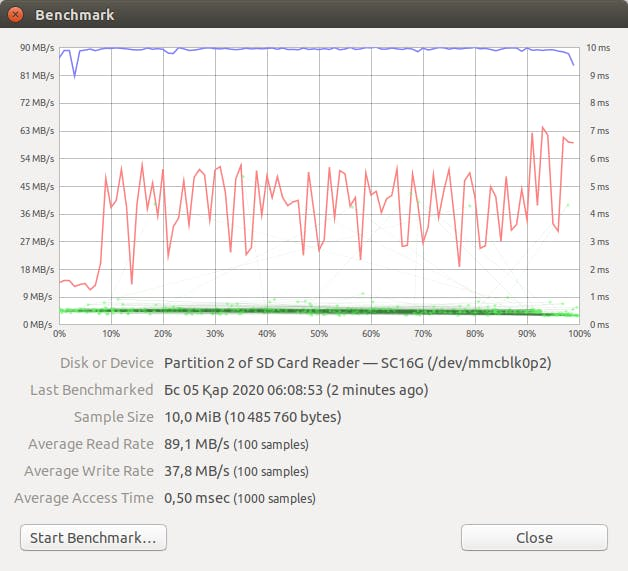
- You’ll read something around 100 MB/s for most of micro SD cards, but none of them got this result in benchmarks. However, Samsung Evo Plus and SanDisk Ultra are probably the best brand for micro SD card, and they often win this kind of benchmarks with their high-end products
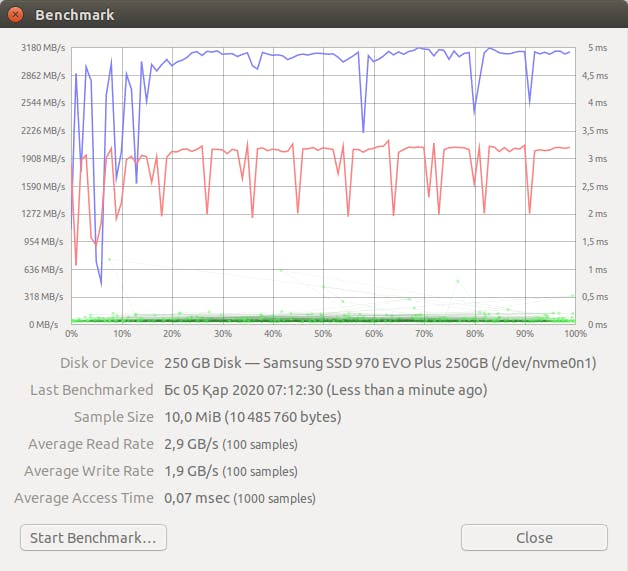
- Then select your SSD disk and start Benchmarking.
- Benchmark results for SSD disk.
That’s it.
As can be seen from the results, adding a powerful, internal SSD to your Jetson Xavier NX can boost performance in certain areas, most notably application load times.
So I think, for most projects, it'll still be easiest to use a microSD card, and to pick a really good one, like the one I use and recommend, either Samsung Evo Plus or SanDisk.
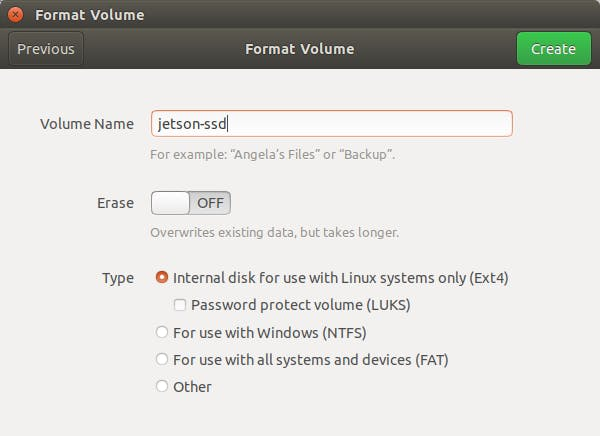
Step 7 - Run the Jetson Xavier NX from SSD (Not Boot from SSD)Unfortunately, at this time, the Jetson Xavier NX does not currently support SSD boot, so you cannot boot an OS from an NVMe drive currently. However, you can run it from SSD after boot.
The solution was already provided by JetsonHacks. The simplest possible way to use the SSD is just as an additional disk drive alongside the standard Jetson Xavier NX micro-SD card. To do this you will have to partition and format the SSD.
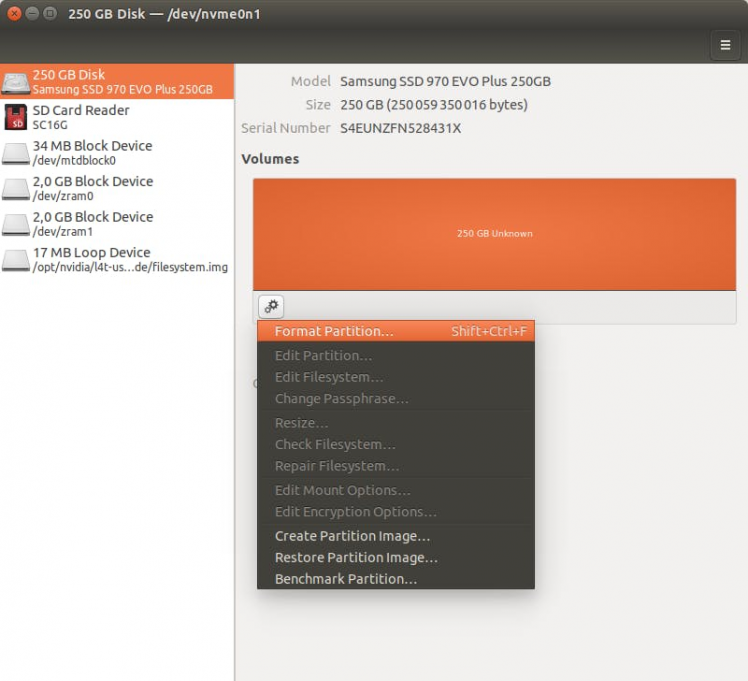
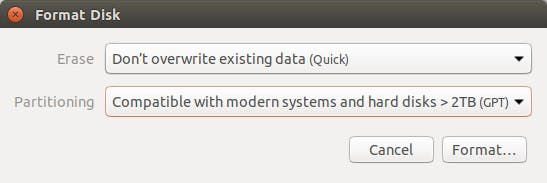
You still need SD card plugged in order to boot the device cause NX doesn’t allow you to boot directly from SSD.Firstly, format the SSD you have installed. Run gnome-disks utility:
1 / 2
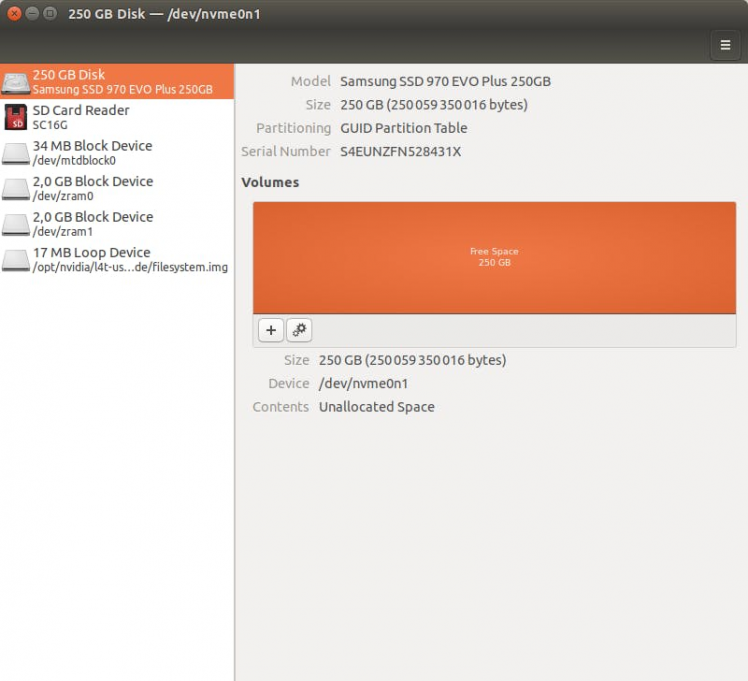
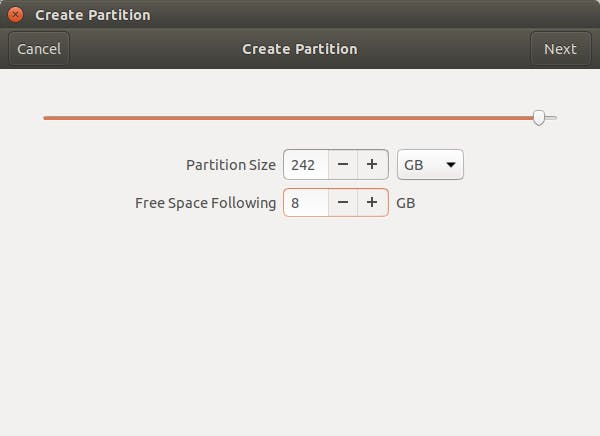
The next step is to actually create partition. Click on the button with two gears and create partition image.
1 / 3
After that, clone the repository:
git clone https://github.com/jetsonhacks/rootOnNVMeand switch over to that repository’s directory:
cd rootOnNVMeNext, copy the rootfs of the eMMC/SD card to the SSD
./copy-rootfs-ssd.shFinally, we will add a service which will run a script when the system starts up:
./setup-service.shThen check the boot partition by running below command:
df /bootOutput
/dev/nvme0n1p1 231626904 13320164 206471044 7% /After creating the partition, just reboot and the SSD will be automatically mounted. You can see that it is mounted, and where, by running the lsblk command, or by simply hovering on the Removable Devices icon at the right end of the top panel.
Booting the Jetson Xavier NX from SDD requires updating the firmware. So, let's wait when NVIDIA release it.At this point the installation and simple configuration of the SSD on the NVIDIA Jetson Xavier NX is complete.
Step 8 - Maximum frequency and change NVP power modeChange NVP power mode to maximum(6 core and 15W):
sudo nvpmodel -m 2Next, we will lock Jetson Xavier NX, at its maximum frequency and power mode by running the following command:
sudo jetson_clocksThis will spin the fan, as well as set the CPU and GPU clocks to their maximum value in the current performance profile.
To check the current power mode enter the following command in a terminal.
sudo nvpmodel -qOutput:
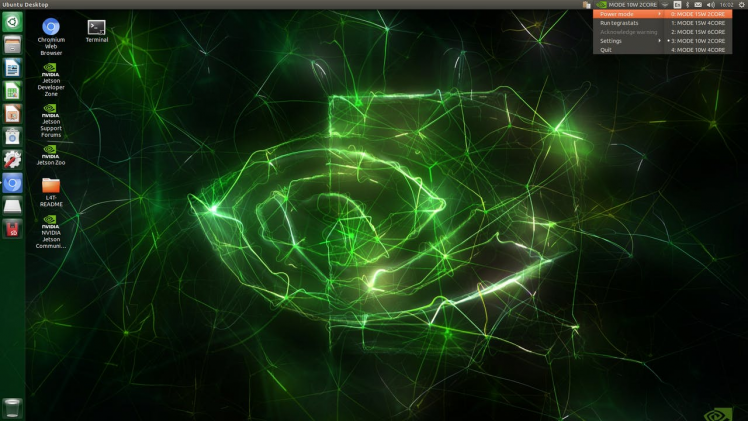
NV Fan Mode:quietNV Power Mode: MODE_15W_6CORE2An alternative way to set Xavier NX power mode is to mouse-click power mode options on the top-right corner of the Ubuntu desktop.
To maximize the fan speed enter below command:
sudo /usr/bin/jetson_clocks --fanTo see the current status, run below commad:
sudo /usr/bin/jetson_clocks --showOutput:
SOC family:tegra194 Machine:NVIDIA Jetson Xavier NX Developer KitOnline CPUs: 0-5CPU Cluster Switching: Disabledcpu0: Online=1 Governor=schedutil MinFreq=1190400 MaxFreq=1420800 CurrentFreq=1190400 IdleStates: C1=1 c6=1cpu1: Online=1 Governor=schedutil MinFreq=1190400 MaxFreq=1420800 CurrentFreq=1190400 IdleStates: C1=1 c6=1cpu2: Online=1 Governor=schedutil MinFreq=1190400 MaxFreq=1420800 CurrentFreq=1190400 IdleStates: C1=1 c6=1cpu3: Online=1 Governor=schedutil MinFreq=1190400 MaxFreq=1420800 CurrentFreq=1190400 IdleStates: C1=1 c6=1cpu4: Online=1 Governor=schedutil MinFreq=1190400 MaxFreq=1420800 CurrentFreq=1267200 IdleStates: C1=1 c6=1cpu5: Online=1 Governor=schedutil MinFreq=1190400 MaxFreq=1420800 CurrentFreq=1267200 IdleStates: C1=1 c6=1GPU MinFreq=114750000 MaxFreq=1109250000 CurrentFreq=114750000EMC MinFreq=204000000 MaxFreq=1600000000 CurrentFreq=1600000000 FreqOverride=0Fan: speed=130NV Power Mode: MODE_15W_6COREBy default, the Jetpack provides the tegrastats utility, which reports memory usage and processor usage for Tegra-based devices. You can use the following command to get some details about the device
tegrastatsIt shows an output in non readable format like:
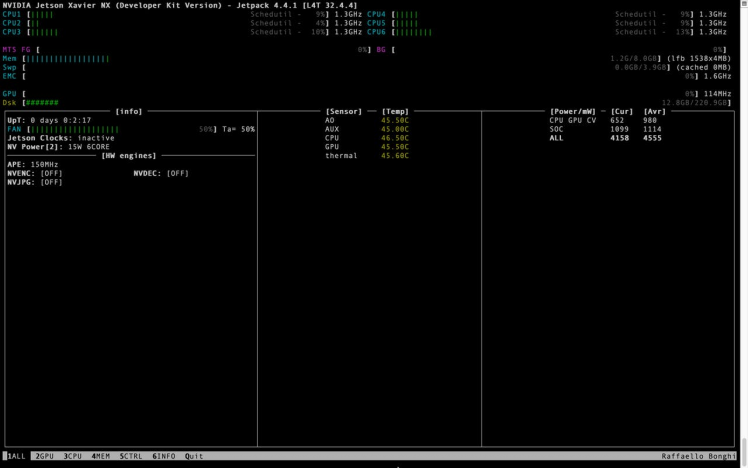
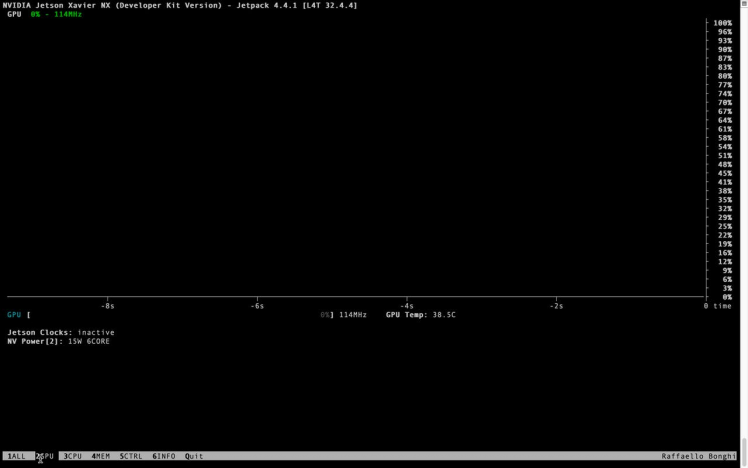
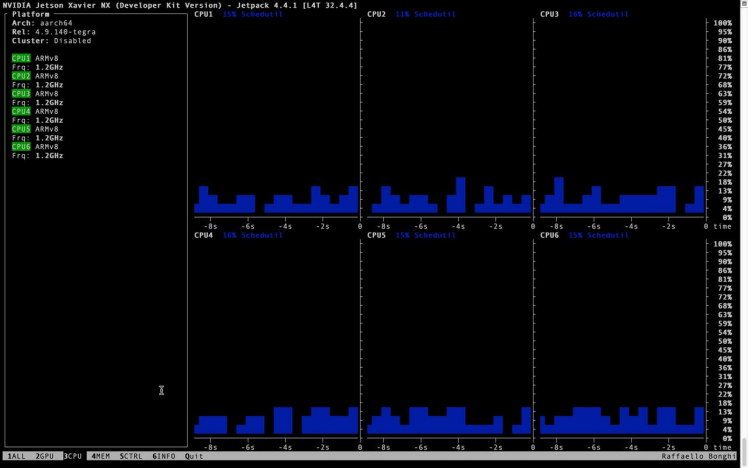
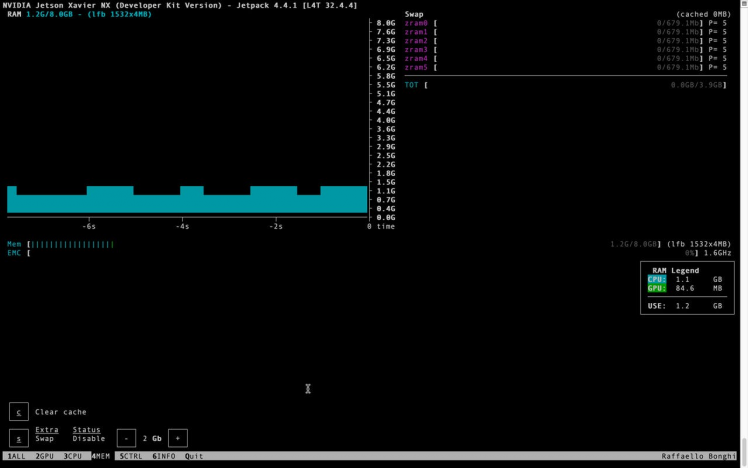
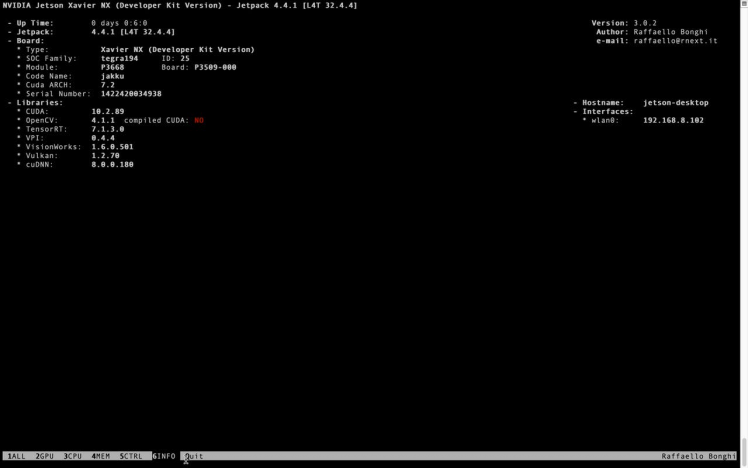
RAM 1050/7772MB (lfb 1488x4MB) SWAP 0/3886MB (cached 0MB) CPU [1%@1420,0%@1420,0%@1420,0%@1420,0%@1420,0%@1420] EMC_FREQ 0% GR3D_FREQ 0% AO@25.5C GPU@26C PMIC@100C AUX@25C CPU@26C thermal@25.65C VDD_IN 3866/3866 VDD_CPU_GPU_CV 569/569 VDD_SOC 976/976RAM 1050/7772MB (lfb 1488x4MB) SWAP 0/3886MB (cached 0MB) CPU [1%@1420,0%@1420,0%@1420,0%@1420,0%@1420,0%@1420] EMC_FREQ 0% GR3D_FREQ 2% AO@25.5C GPU@25.5C PMIC@100C AUX@25C CPU@26C thermal@25.8C VDD_IN 3866/3866 VDD_CPU_GPU_CV 569/569 VDD_SOC 976/976RAM 1050/7772MB (lfb 1488x4MB) SWAP 0/3886MB (cached 0MB) CPU [0%@1420,1%@1420,0%@1420,0%@1420,0%@1420,0%@1420] EMC_FREQ 0% GR3D_FREQ 0% AO@25.5C GPU@26C PMIC@100C AUX@25C CPU@26C thermal@25.6C VDD_IN 3826/3852 VDD_CPU_GPU_CV 529/555 VDD_SOC 976/976RAM 1050/7772MB (lfb 1488x4MB) SWAP 0/3886MB (cached 0MB) CPU [3%@1420,0%@1420,0%@1420,0%@1420,0%@1420,0%@1420] EMC_FREQ 0% GR3D_FREQ 0% AO@25.5C GPU@25.5C PMIC@100C AUX@25C CPU@26C thermal@25.8C VDD_IN 3826/3846 VDD_CPU_GPU_CV 529/549 VDD_SOC 976/976^CIf you want to monitor the Jetson Xavier NX statistics, there's this command called jetson-stats which will show you the detailed information about CPU, GPU and etc. Jetson-stats is a simple package to monitoring and control your NVIDIA Jetson Xavier NX, Nano, AGX Xavier, TX1, TX2.
The advantage of jetson-stats over the other linux system monitor is you can view the CUDA usage. This assists in software development to ensure efficient use of hardware. More details about jetson-stats can be found in pypi.org website.
sudo -H pip3 install -U jetson-statsYou may need pip3 for installing some applications that are developed using Python and can be installed easily using pip. Install pip3:
sudo apt-get install python3-pipOnce you are done, you can shut down the Jetson Nano board with this command:
sudo shutdown -r nowAfter reboot, to start jetson-stats type:
jtopIf you installed jetson-stats successfully, you will see this dashboard.
1 / 6

You can get a real-time view of memory usage using either the top or htop command. You may need to install htop if you get the message htop: command not found. Install it by running:
sudo apt-get install htopNow we're ready to actually run a real AI applications.
Step 10 - Running the Jetson Inference demosA great place to start is the Hello AI World example. Hello AI World is a great way to start using Jetson and experiencing the power of AI. NVIDIA's Jetson Inference repository includes lots of great scripts that allow you to perform image classification, object detection, and semantic segmentation on both images and a live video stream.
There are two ways to use the jetson-inference project:
- Run the pre-built Docker Container
- Build the Project from Source
Using the Docker container is recommended, you can run the pre-built Docker container without needing to compile the project or install PyTorch yourself. You can install and build jetson-inference project from source if you want, however it can be a frustrating and time-consuming process.
To install Jetson Inference, you need to run the following command to clone the project:
git clone --recursive https://github.com/dusty-nv/jetson-inferenceGo to jetson-inference folder,
cd jetson-inferencethen run,
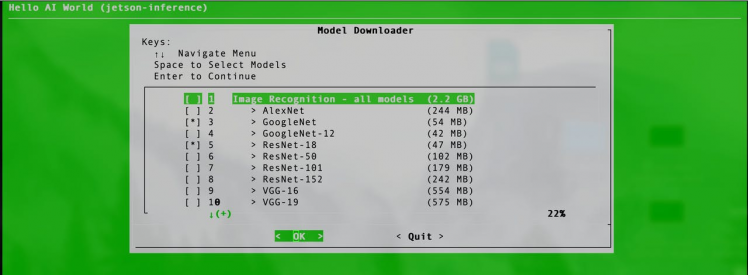
docker/run.shThis will take approximately 1 hour for the completion of installation process.
Throughout the build process, you will be asked to download pre-trained models. Leave the default GoogleNet and ResNet-18 models selected and press enter to continue.
You may receive the following error message:
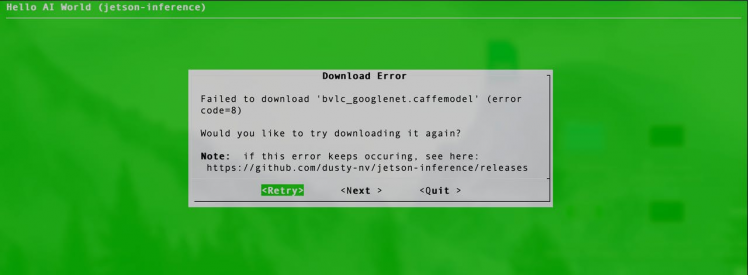
Click Retry to fix it.
Once installation is completed, open a terminal and navigate to the bin directory in aarch64:
cd build/aarch64/binInside you'll find multiple C++ and Python scripts, there are examples, one for an image and one for a camera. The list of examples available are as follows:
- detectnet–camera: Object detection with camera as input.
- detectnet–console: Object detection with image as input instead of camera.
- imagenet–camera: Image classification with camera as input.
- imagenet–console: Image classification with input image pre-trained on the ImageNet dataset.
- segnet–camera: Semantic segmentation with camera as input.
- segnet–console: Semantic segmentation with image as input.
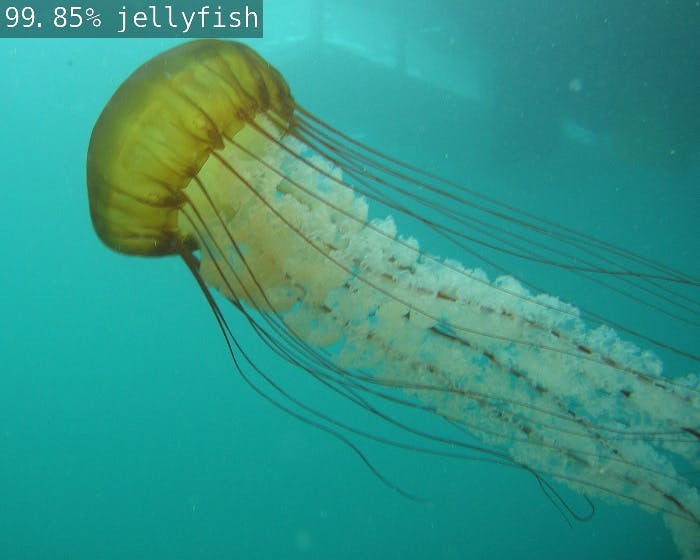
Now, you can run imagenet example:
./imagenet images/jellyfish.jpg images/test/jellyfish.jpgImage file was generated inside of container. In order to copy a file from a container to the host, you can use the below command:
docker cp <containerId>:/file/path/within/container /host/path/targetHere's my example:
sudo docker cp sweet_sanderson:/jetson-inference/build/aarch64/bin/images/test/jellyfish.jpg /home/jetsonFinally,
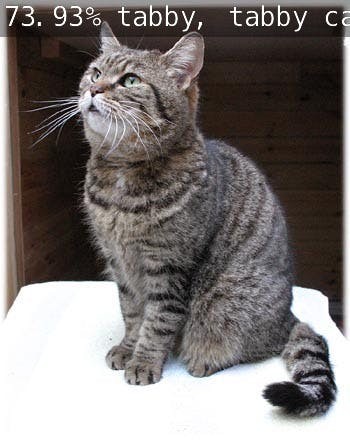
Another example for image classification example
/imagenet images/cat_1.jpg images/test/cat.jpgOutput:
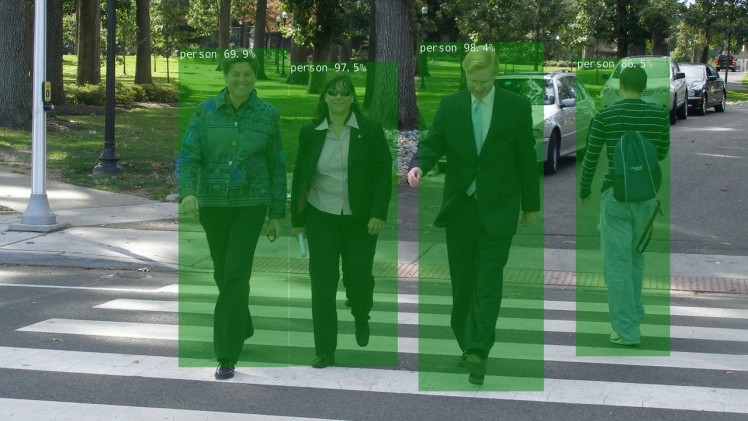
Then run command for Object Detection:
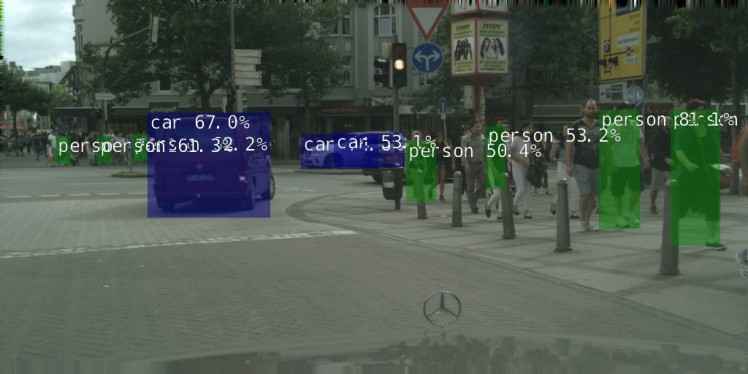
./detectnet images/peds_0.jpg images/test/peds_0.jpgOutput:
Another one:
./detectnet images/city_1.jpg images/test/city_1.jpgOutput
Finally, run command for semantic segmentation
./segnet-console images/city_0.jpg images/test/city_0.jpgOutput:

OK, that is it. Get your gear ordered and let's get ready to learn Artificial Intelligence, Machine Learning, Deep Neural Networks and some other really cool things.
I hope this guide was useful. If you have any questions or need any help, let me know in the comments!
Final ThoughtsMakers, learners, and developers can now run AI frameworks and models for applications, including object detection, speech processing, segmentation, and image classification.
The NVIDIA Xavier NX can be a powerful device if you can unlock its potential. By switching to SSD, you can easily get a performance boost and use it for more intensive operation, like AI and DL applications.
If you are just starting with machine learning then the Xavier NX probably isn’t the right option for your first investment. You can learn the basics of ML and AI on just about anything including Raspberry Pi. If you want to benefit from some hardware-based acceleration then the Jetson Nano is highly recommended.
Resources- Jetson Xavier NX Module and Developer Kit
- Running the Docker Container
- Boot Jetson Xavier from M.2 NVMe SSD
- Jetson Xavier NX – Run from SSD
- JETSON XAVIER NX NVME SSD SETUP
- Getting Started with Jetson Xavier NX
- Monitor GPU, CPU, and other stats on Jetson Nano / Xavier NX / TX1 / TX2
- Jetson Xavier NX - JetPack 4.4(production release) headless setup
- Getting a Running Start with the NVIDIA Jetson Nano
Credits
Related products


Leave your feedback...