
ESPlay Micro - Retro Game Console + MicroPython

Made by Makerfabs01
About the project
ESPlay Micro is a retro game console, this is a project first shared on Hackaday: https://hackaday.io/project/166707-esplay-micro. You can go there to get all the codes and files on it.ESPlay Micro is a handheld game console based on ESP32, it is a small game console could play on NES, or other systems, like Gameboy, Gameboy Color, Sega Master System, etc. ESPlay Micro also supports Arduino, and Micro Python.
Project info
Difficulty: Easy
Estimated time: 1 hour
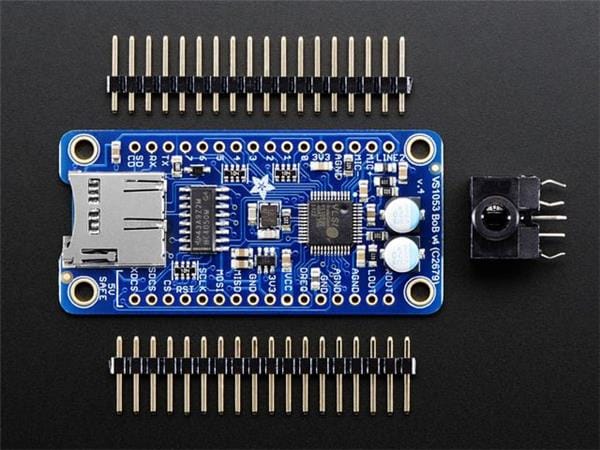
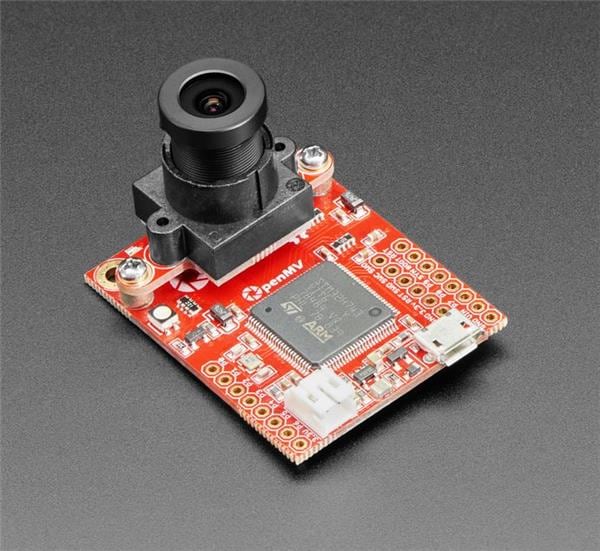
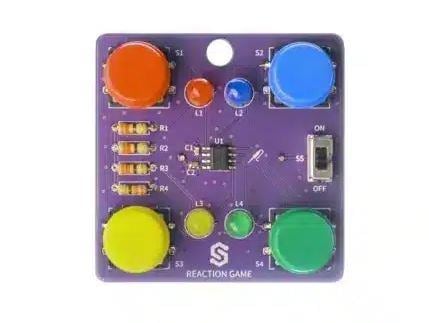
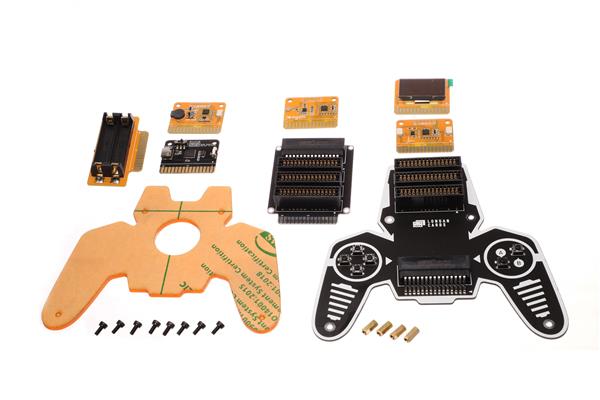
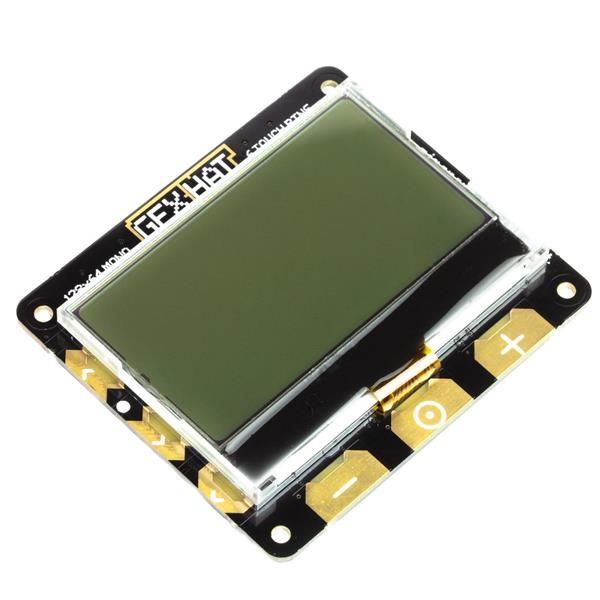
Items used in this project

Story
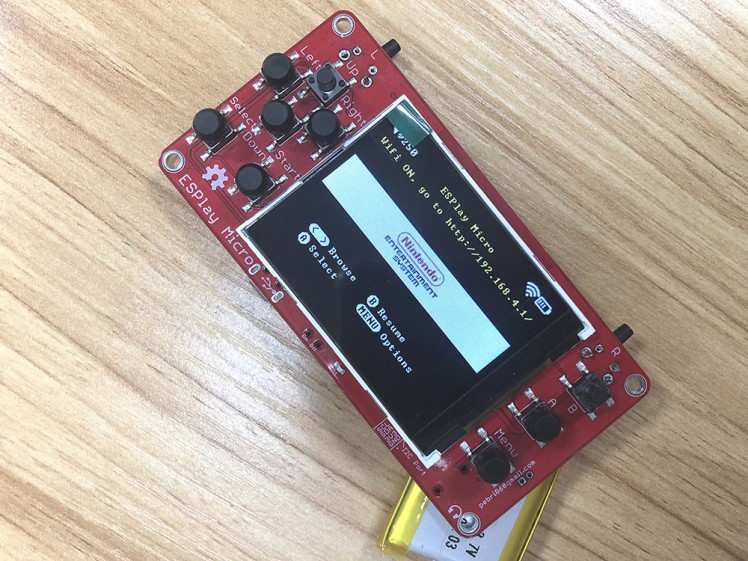
Step 1: Power on With ESPlay Micro

Now I would like to share my first play with the ESPlay Micro.
It is only PCBA available, with the SD card, I can play a game as soon as power on. BTW, you can use a battery for the power supply or USB charger(there's a USB cable in the package).
I use a battery for the power supply as in the photo.
Step 2: Start to Play Game With ESPlay Micro

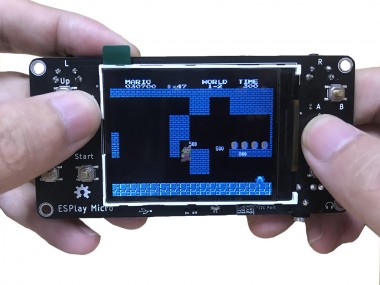
In the SD card, there're some default retro games in it, so I start playing with "Super Mario". It is easy to use, the function buttons are easy to understand, and I can start in 1 minute.
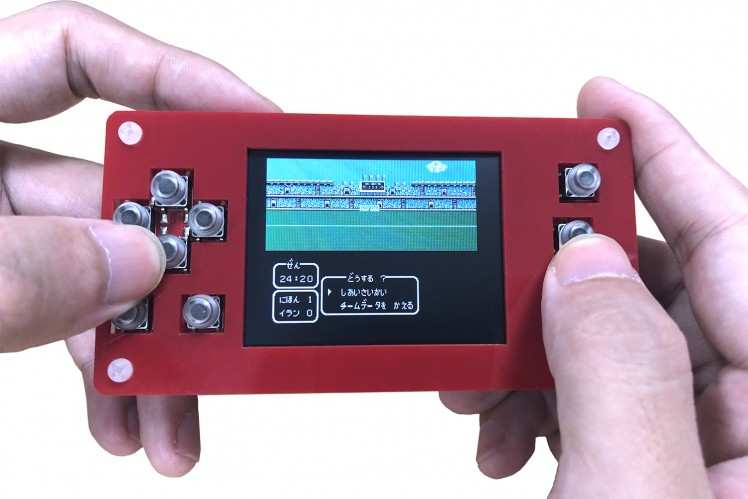
The whole project I think is very impressive, and you can choose games on NES, It could also play other systems too, like Gameboy, Gameboy Color, Sega Master System, Sega Game Gear, and Coleco Vision. Also other systems but not bundle with ESPlay micro emu app, like Turbo Gfx, Atari, MSX. and DOS Games like Doom or Duke Nukem 3D. This board also supports Arduino and MicroPython.
This console supports MP3 music play. You will need an earphone or speaker with audio interface, to enjoy the game background music when playing games. or enjoy your music time with ESPlay Micro.
See the tutorial about how to add MP3 mode to ESPlay Micro:
Step 3: PCBA of ESPlay Micro


Now you can use it to play retro games like “Super Mario”, “ Contra”, “Battle City”, “ Maple Story”, etc.
You can get the prototype at Makerfabs: https://www.makerfabs.com/esplay-micro.html.
And by now, there's not an outer case available, you can try with your talent and create a 3d printing case, I see there are 3D printing files on hackaday, but it seems the old version design, so the case doesn't perfectly match the PCBA button. I asked the designer and told me that he has updated the hardware and software recently, the board I got is the updated version. But the designer is haven't finished the new case design.
Find hardware on Github: https://github.com/pebri86/esplay_micro_hardware
Update Version: ESPlay Micro V2
Based on customer feedback, and Makerfabs updated the ESPlay Micro V2. In this new version, here are the main updated:
With the beautiful red acrylic case added.
As we can see from the PCBA board of ESPlay Micro V2, the biggest change is the button, with soft button caps added and the buttons are more comfortable to press when playing games. As the V1, the most frequently asked question is "when will you change the buttons, this is what my fingers most want to know"......
Check this video to know more about the ESPlay Micro V2:
Makerfabs can also help on your IoT projects based on Arduino, Raspberry Pi, ESP32, Lora, etc. If you have some custom PCB Assemblies service from us, contact service@makerfabs.com.
Credits
Makerfabs01
Makerfabs, Turnkey PCB Assemblies | Small Batch PCBA Prototyping | IoT Hardware Engineering.
Related products


Leave your feedback...