





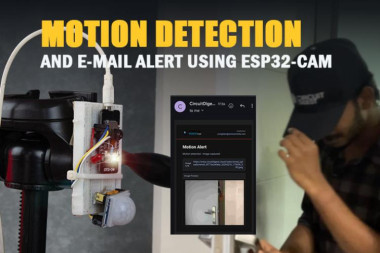
Esp32-cam Email Alerts With Motion Detection

Made by electroscope_archive / Notifications
About the project
Build a smart camera that captures images and sends email alerts instantly
Project info
Items used in this project


Story
ESP32-CAM Email Alerts with Motion Detection
Overview
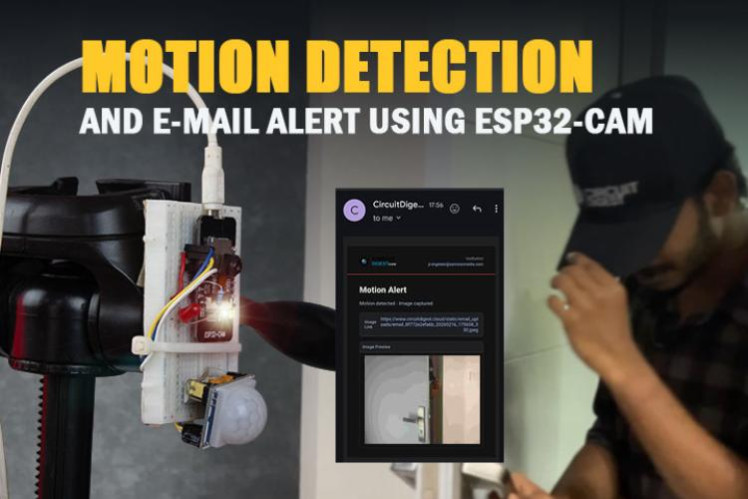
This project demonstrates how to use the ESP32-CAM module to capture images and send them via email when triggered. It’s a compact and cost-effective solution for basic surveillance, motion alerts, or remote monitoring systems. With built-in Wi-Fi and a camera, the ESP32-CAM can function as a standalone smart notifier without additional hardware like a computer or server. Explore a wide range of IoT builds and tutorials in this ESP32 projects collection to kickstart your next embedded system idea.
Key Features
- Captures images using the onboard camera
- Sends email notifications with image attachments
- Works over Wi-Fi without external controllers
- Low-cost and compact design
- Suitable for security and monitoring applications
Components Required
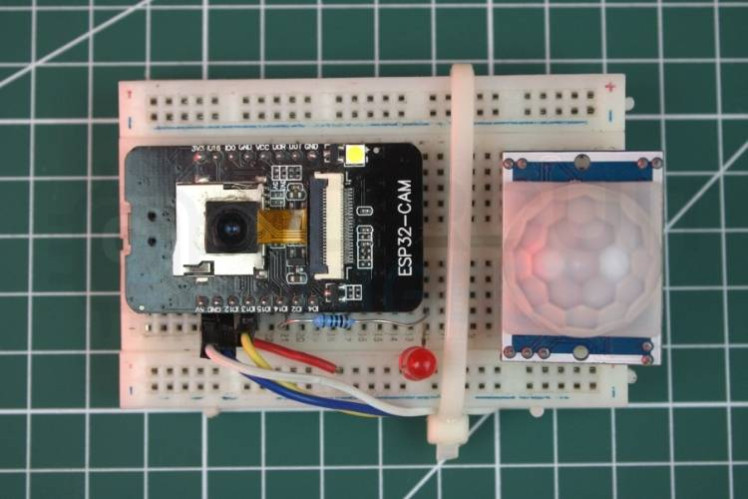
- ESP32-CAM module
- FTDI programmer (for uploading code)
- Jumper wires
- 5V power supply
- Push button or external trigger (optional)
How It Works
The ESP32-CAM connects to a Wi-Fi network and waits for a trigger event. Once triggered, it captures an image using the OV2640 camera sensor. The image is then encoded and sent as an email attachment using SMTP (Simple Mail Transfer Protocol).
This makes it ideal for applications like:
- Intruder detection
- Doorbell camera alerts
- Wildlife monitoring
Setting Up Email Service
To send emails, you’ll need SMTP credentials. A common approach is to use a Gmail account:
- Enable “App Passwords” in your Google account
- Use SMTP server:
smtp.gmail.com - Port:
465 (SSL) - Use your email and generated app password
ESP32-CAM Pin Configuration
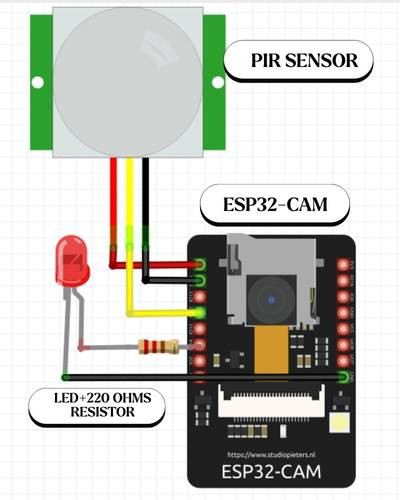
To upload code, connect the ESP32-CAM to the FTDI programmer:
- U0R → TX
- U0T → RX
- GND → GND
- 5V → VCC
- IO0 → GND (for flashing mode)
After uploading, disconnect IO0 from GND to run the program.
Code Explanation 1. Wi-Fi Connection
The ESP32 connects to your local network using SSID and password defined in the code.
2. Camera Initialization
The camera module is configured with proper GPIO mappings and resolution settings.
3. Image Capture
When triggered, the ESP32 captures an image frame buffer from the camera.
4. Email Sending
The image is attached and sent via SMTP using secure SSL communication.
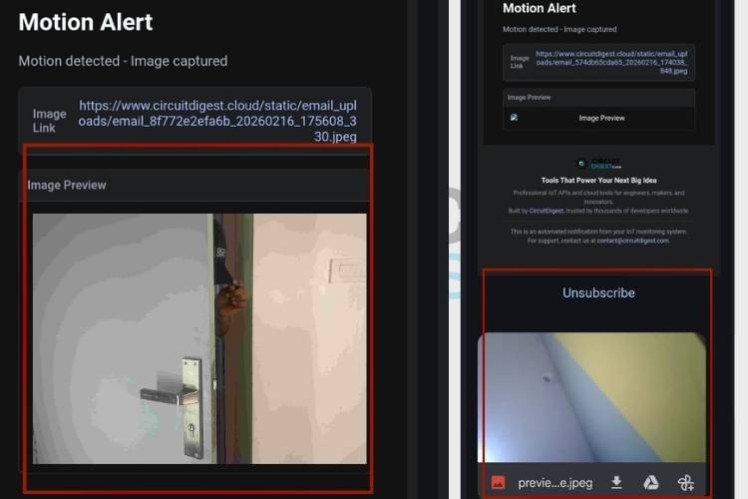
Uploading the Code
Install ESP32 board support in Arduino IDE Select ESP32 Wrover Module Choose correct COM port Hold IO0 to GND and upload Reset the board after upload Testing the Project
ESP32-CAM Email Alerts with Motion Detection
Overview
This project demonstrates how to use the ESP32-CAM module to capture images and send them via email when triggered. It’s a compact and cost-effective solution for basic surveillance, motion alerts, or remote monitoring systems. With built-in Wi-Fi and a camera, the ESP32-CAM can function as a standalone smart notifier without additional hardware like a computer or server. Explore a wide range of IoT builds and tutorials in this ESP32 projects collection to kickstart your next embedded system idea.
Key Features
- Captures images using the onboard camera
- Sends email notifications with image attachments
- Works over Wi-Fi without external controllers
- Low-cost and compact design
- Suitable for security and monitoring applications
Components Required
- ESP32-CAM module
- FTDI programmer (for uploading code)
- Jumper wires
- 5V power supply
- Push button or external trigger (optional)
How It Works
The ESP32-CAM connects to a Wi-Fi network and waits for a trigger event. Once triggered, it captures an image using the OV2640 camera sensor. The image is then encoded and sent as an email attachment using SMTP (Simple Mail Transfer Protocol).
This makes it ideal for applications like:
- Intruder detection
- Doorbell camera alerts
- Wildlife monitoring
Setting Up Email Service
To send emails, you’ll need SMTP credentials. A common approach is to use a Gmail account:
- Enable “App Passwords” in your Google account
- Use SMTP server:
smtp.gmail.com - Port:
465(SSL) - Use your email and generated app password
ESP32-CAM Pin Configuration
To upload code, connect the ESP32-CAM to the FTDI programmer:
- U0R → TX
- U0T → RX
- GND → GND
- 5V → VCC
- IO0 → GND (for flashing mode)
After uploading, disconnect IO0 from GND to run the program.
1. Wi-Fi Connection
The ESP32 connects to your local network using SSID and password defined in the code.
2. Camera Initialization
The camera module is configured with proper GPIO mappings and resolution settings.
3. Image Capture
When triggered, the ESP32 captures an image frame buffer from the camera.
4. Email Sending
The image is attached and sent via SMTP using secure SSL communication.
Uploading the Code
- Power the ESP32-CAM
- Trigger the capture (button or automatic logic)
- Check your inbox for the email with the image attachment
Tips for Better Performance
- Use a stable 5V power supply (ESP32-CAM is power-sensitive)
- Ensure strong Wi-Fi signal
- Optimize image resolution to reduce email size
- Avoid frequent triggers to prevent email throttling
Applications
- Home security systems
- Smart doorbell
- Remote monitoring setups
- Industrial alert systems
This ESP32-CAM email alert system is a simple yet powerful project that brings IoT-based surveillance within reach. With minimal components and straightforward programming, you can build a real-time notification system that enhances safety and awareness. Discover innovative connected solutions in this IoT projects hub to inspire your next smart device build.
Schematics, diagrams and documents
Code
Credits
Related products




Leave your feedback...