
Easily Create An Iot App With Blynk And Raspberry Pi Pico W

Made by mahmood-m-shilleh
About the project
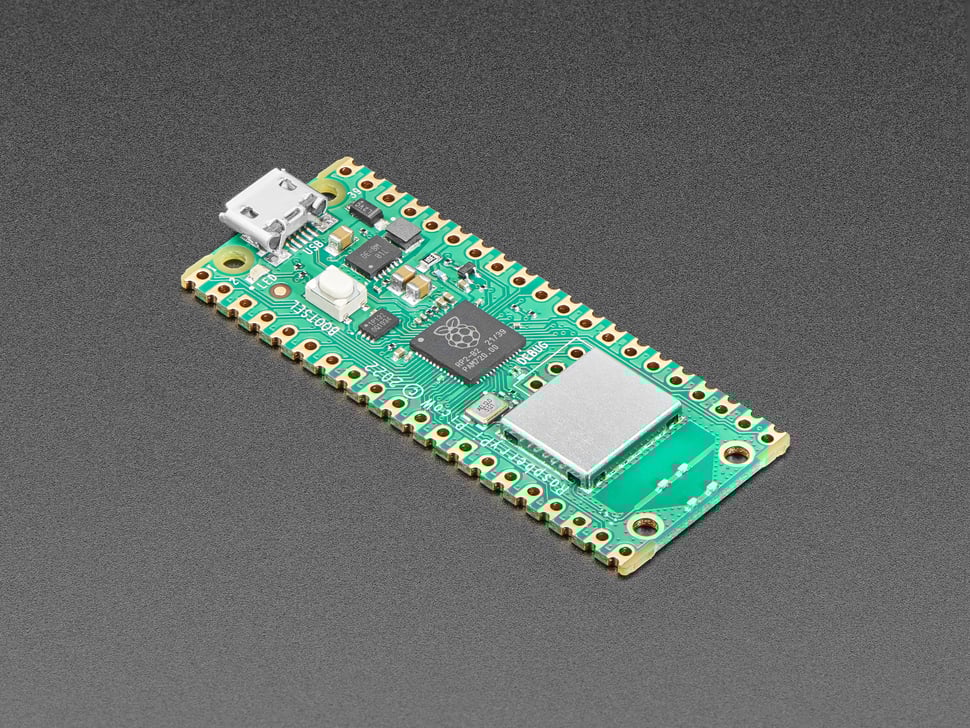
In today’s tutorial, we will be showing how to create an IoT App using Blynk with the Raspberry Pi Pico W and the BME280 sensor.
Project info
Difficulty: Moderate
Estimated time: 1 hour
License: GNU Lesser General Public License version 3 or later (LGPL3+)
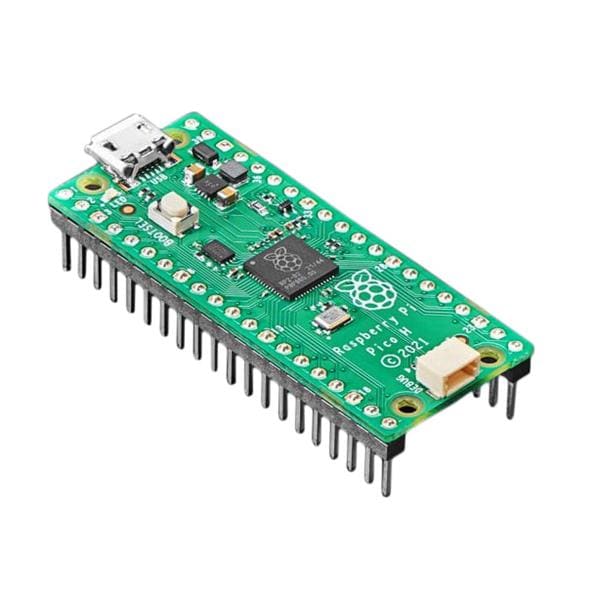
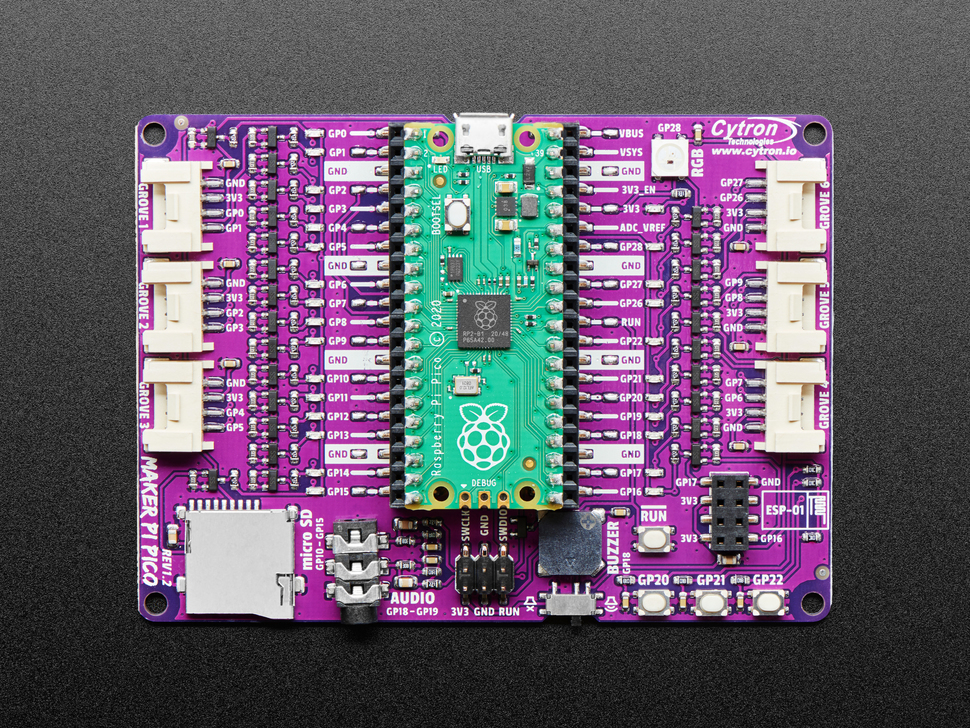
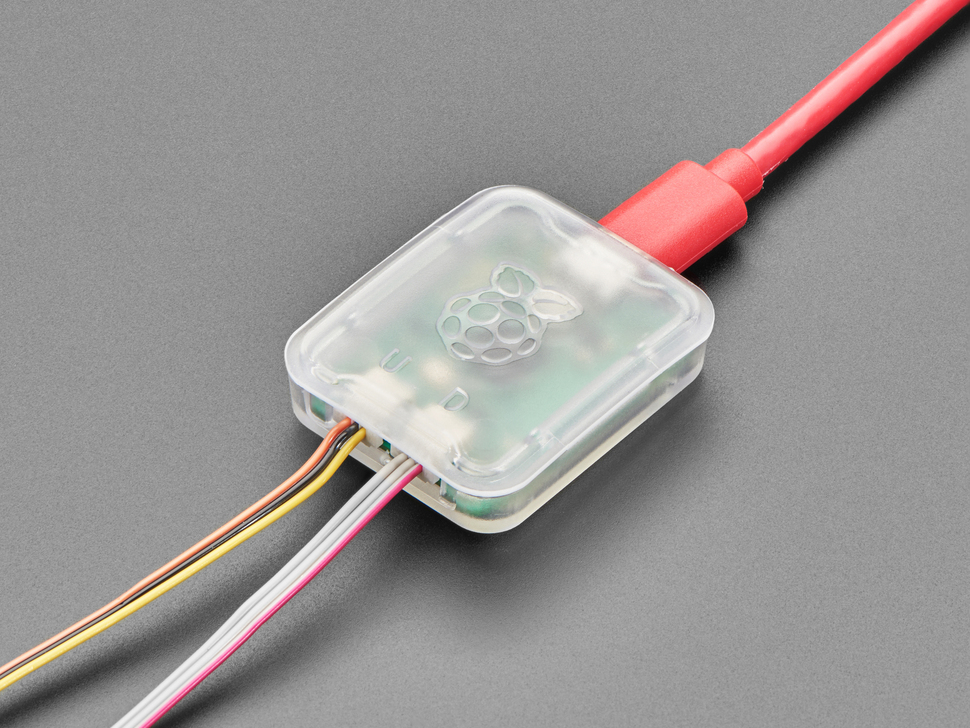
Items used in this project

Story
Blynk is an Internet of Things (IoT) platform that allows you to easily build and control connected projects. It provides a simple way to connect hardware devices, such as Arduino, Raspberry Pi, ESP8266, and others, to the internet and control them remotely using a mobile app.
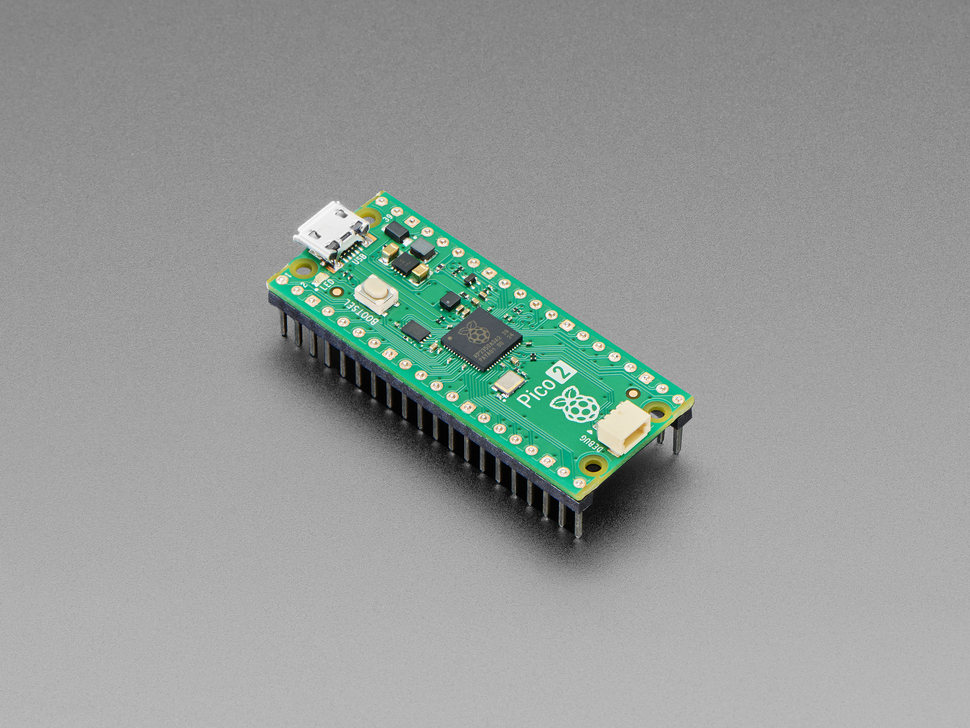
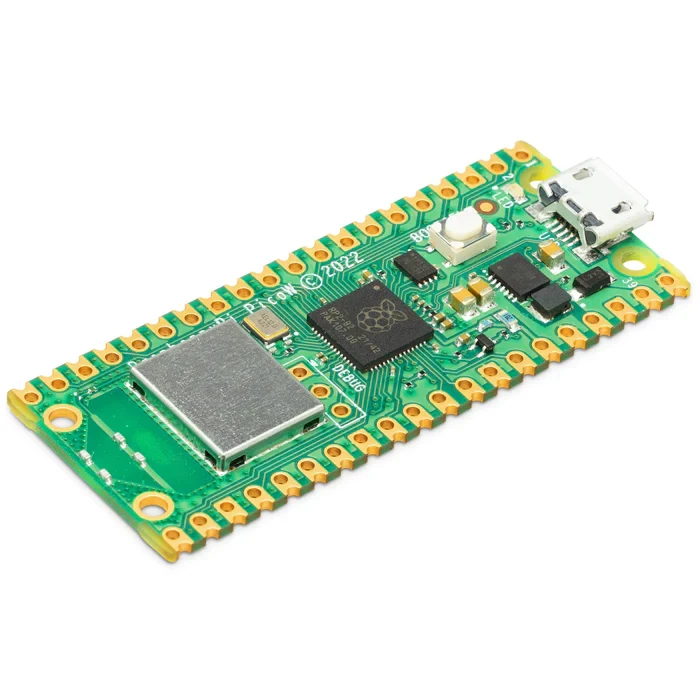
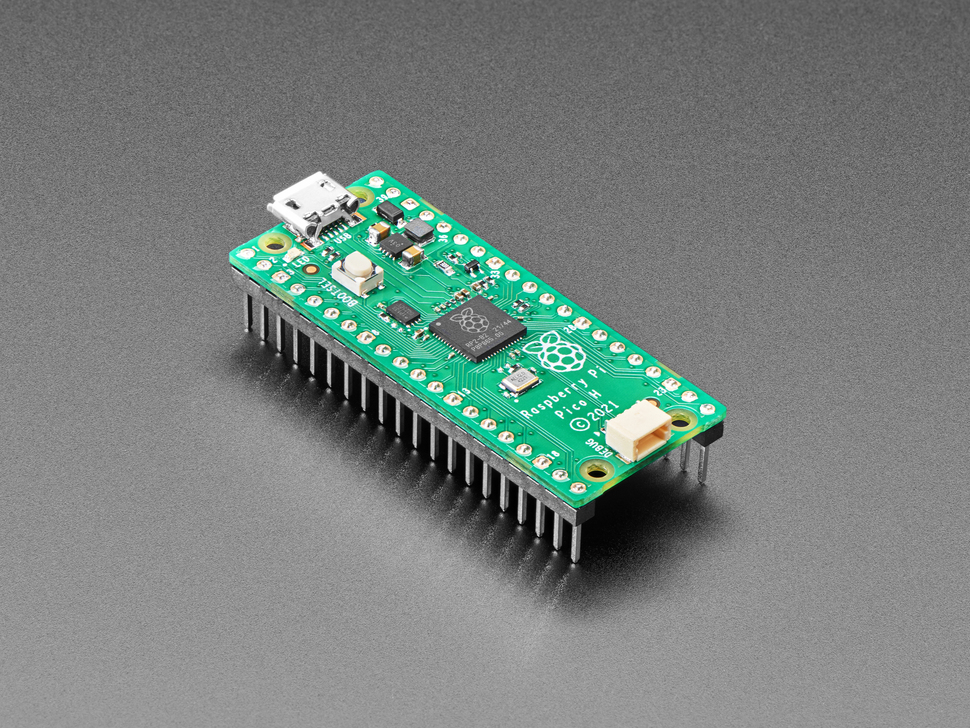
In today’s tutorial, we will be showing how to create a Desktop App using Blynk with the Raspberry Pi Pico W and the BME280 temperature, humidity, and pressure sensor. It is incredibly simple to set up and free to get started, really the only thing you need is an active internet connection, and the same steps can be utilized to set up an IOS or Android app.
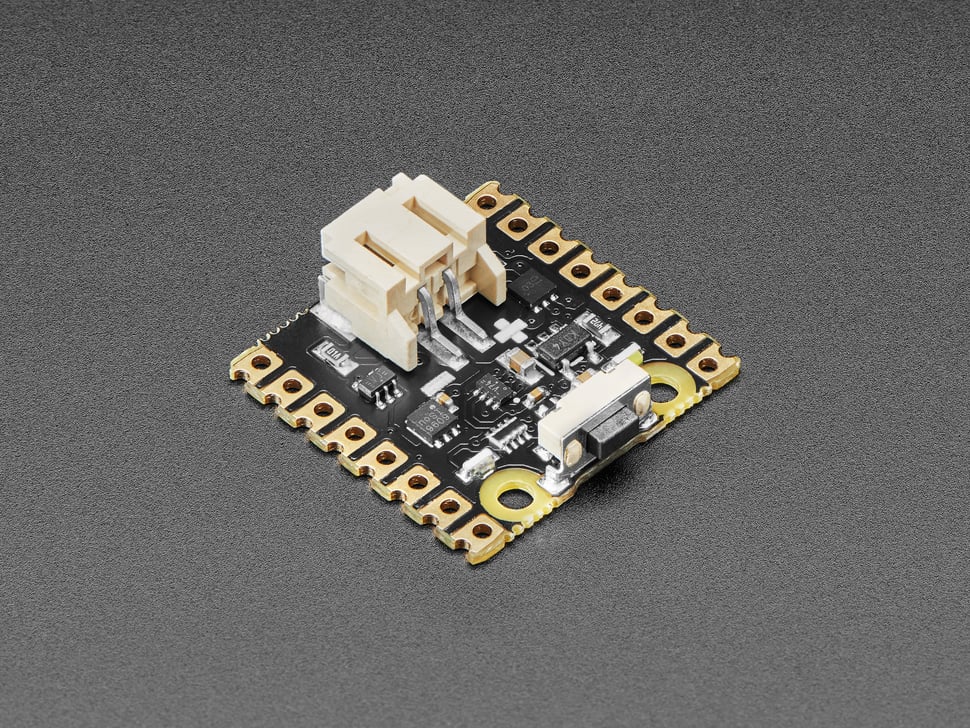
Another thing to note is that you do not have to use the BME280 sensor, you can stream any data you like. If you are interested in buying a BME280, you can purchase one from Amazon.
Either way, let’s get into it, but be sure to like, comment, and subscribe to continue to support ShillehTek content!
Subscribe:
Support:
https://www.buymeacoffee.com/mmshilleh
Step 1-) Setup Blynk Dashboard- Create a Blynk account at blynk.io
- Create a new device on your dashboard as follows:

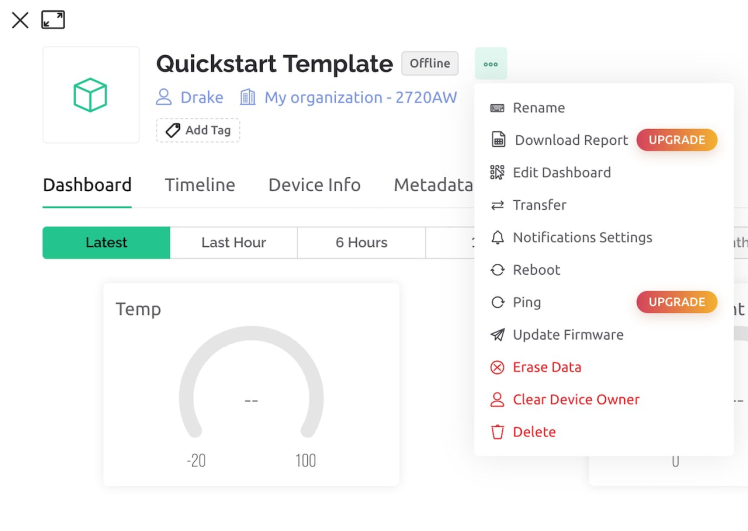
- You can select Template > Quickstart Template
- Save the information they give you, you will need the Auth Key in your MicroPython Code
- Edit the dashboard from the dropdown
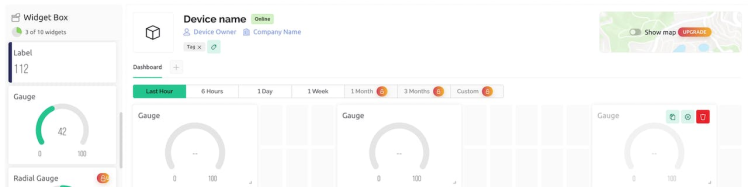
- Delete the dashboard components and drag and drop three gauges from the Widget Box.
- Edit the three Widget Boxes respectively with titles Temperature, Humidity, and Pressure. You can create a new Datastream for each one and select a unit and Virtual Pin. I selected virtual pins 7, 8, and 9 respectively for my Gauges. You can alter the max and min values and other properties.
- That is all you need to get set up for Blynk Dashboard.
Now that you have your dashboard set up, you can use the following code on your Pico W to send the information you would like.
from machine import Pin, I2C
import network
import time

from blynklib import Blynk
import bme280

import constants


i2c=I2C(0, sda=Pin(0), scl=Pin(1), freq=400000)
BLYNK = Blynk(constants.BLYNK_AUTH_TOKEN)


def connect_to_internet(ssid, password):
    # Pass in string arguments for ssid and password

    # Just making our internet connection
    wlan = network.WLAN(network.STA_IF)
    wlan.active(True)
    wlan.connect(ssid, password)

    # Wait for connect or fail
    max_wait = 10
    while max_wait > 0:
        if wlan.status() < 0 or wlan.status() >= 3:
            break
        max_wait -= 1
        print('waiting for connection...')
        time.sleep(1)
    # Handle connection error
    if wlan.status() != 3:
        print(wlan.status())
        raise RuntimeError('network connection failed')
    else:
        print('connected')
        print(wlan.status())
        status = wlan.ifconfig()


connect_to_internet(constants.INTERNET_NAME, constants.INTERNET_PASSWORD)


while True:
    bme = bme280.BME280(i2c=i2c)
    temperature, pressure, humidity = bme.read_compensated_data()
    # Print sensor data to console
    print('Temperature: {:.1f} C'.format(temperature/100))
    print('Humidity: {:.1f} %'.format(humidity/1024))
    print('Pressure: {:.1f} hPa'.format(pressure/25600))
    BLYNK.virtual_write(7, temperature/100)
    BLYNK.virtual_write(8, humidity/1024)
    BLYNK.virtual_write(9, pressure/25600)
    BLYNK.run()
    time.sleep(1)
Some notes about the code.
- You need the Blynk library file in your libs folder on your Pico W. You can find it here -> https://github.com/shillehbean/youtube-channel/blob/main/blynklib.py
- You can download the micropython bme280 library from the package manager in Thonny if you are using the BME280
- You will need to replace the virtual pin numbers with the numbers you assigned on Blynk
- You will also have to replace the values of the constants for the internet name, password, and Blynk auth token
- We utilize the virtual_write method to send information to the gauges we defined. You can customize these as you like.
That is the code at a high level, if you have everything set up correctly you should be able to run it with no issues!
ConclusionThis is a fantastic way to create simple IoT apps that actually have powerful use cases. The biggest benefit of using this method is that it is so quick to launch an app that many users can begin to use it.
The drawback is that you will hit a paywall if you actually want to use this for production since there are many useful features that you will want/have to use down the line if you want to scale. However, their pricing is pretty solid. Wish I had a discount to give you!
Other than that please do not forget to subscribe to ShillehTek on Youtube. Let me know if there are any questions will try my best to help.
Credits
mahmood-m-shilleh
Mechanical and Software Engineering Background. University at Buffalo 2019 Texas A&M 2021 I make data pipelines for my day job. Outside of work, I participate in online communities regarding Full Stack Engineering, Microelectronics, and more. You can find more details about me on my Youtube Channel. https://www.youtube.com/@mmshilleh Feel free to reach out!
Related products


Leave your feedback...