
Create Your Own Home Intercom Using Raspberry Pi And Mumble

Made by biglesp
About the project
Create your own private home voice chat system
Project info
Difficulty: Moderate
Estimated time: 1 hour
License: GNU General Public License, version 3 or later (GPL3+)
Items used in this project

Story
Create your own home intercom system using a Raspberry Pi and your mobile devices!
From a two bedroom house, to a twenty bedroom mansion in the country, our home intercom system will help you and your family stay connected and best of all it won’t cost you a penny in cell phone bills. All you need is a spare Raspberry Pi and an app on your mobile devices.
We will be using the open source application Mumble to power our intercom. Mumble offers a low latency, high quality Voice over IP (VoIP) service that can be run from devices such as the Raspberry Pi, or used to power in game communications for multiplayer games.To complete this project you will need:
- Raspberry Pi connected to your home router via Ethernet
- The latest Raspbian on a microSD card
- Mobile devices (we used Android tablets)
Configuring the Raspberry Pi
With our Raspberry Pi powered up and at the Desktop, we need to open a terminal and install the Mumble server software.
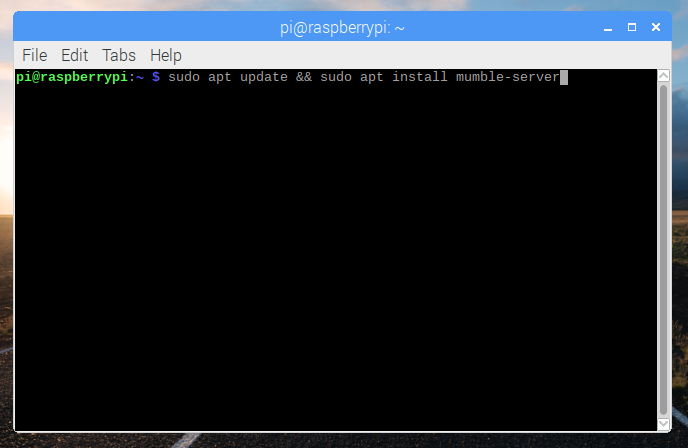
- sudo apt update && sudo apt install mumble-server
Our next step is to configure mumble-server so that it will provide the best performance for our setup. In the terminal type
- sudo dpkg-reconfigure mumble-server
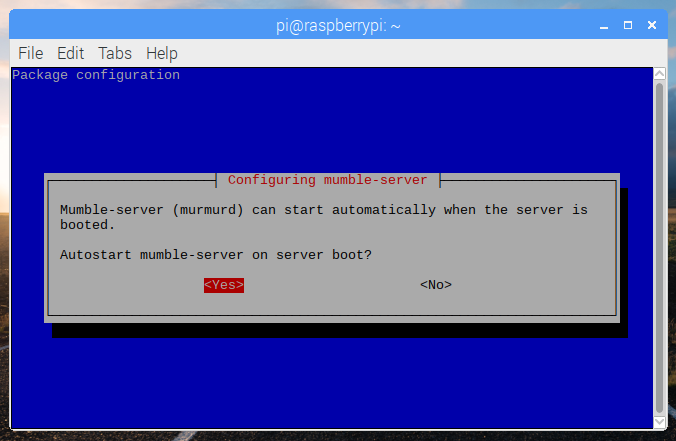
A new menu will appear and it will ask you a series of questions. We need to do the following.
- Set Autostart to Yes
- Set High Priority to Yes
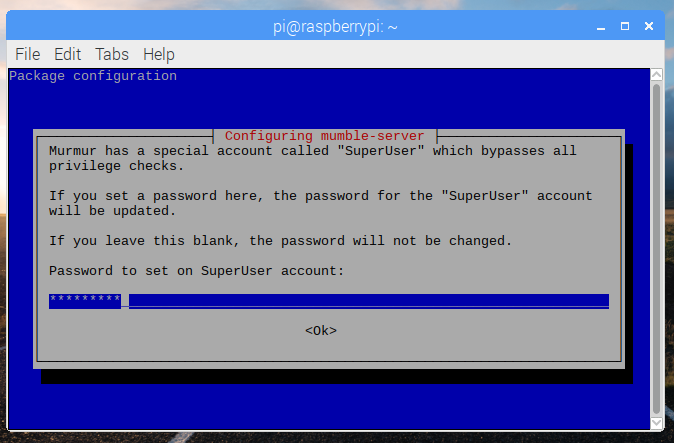
- Create a SuperUser password, and make a note of it!
Once completed close the menu to finalise the configuration.
The next step is optional, but we have included it as it provides both security and a means to identify the “channel” this is Mumble’s way of creating different places where different conversations can happen.
In a terminal type the following command to open the mumble server configuration file.
- sudo leafpad /etc/mumble-server.ini

Scroll down the file and look for “registerName” and change this to suit your needs, we chose “HomeIntercom”
- registerName=HomeIntercom
Then look for “serverpassword” and set this to a password that will be used by all those that wish to connect.
- serverpassword=hackme
Save the file and then close the editor.
Before we move on let's check that the server is configured correctly. In the terminal type the following command to restart the service that is running our server and reload the configuration files.
- sudo service mumble-server restart
The reload should produce no errors.
Our last step on the Raspberry Pi is to fix our IP address and to do this we need edit a configuration file. But why do we need to fix the IP address? Well if we don’t then our mobile devices will be unable to connect to the Mumble server rendering our network broken. But we need to know our IP address so that we can fix it. In the terminal type
- hostname -I
Write down your IP address and when ready let's edit the file by typing this line into the terminal.
- sudo leafpad /etc/dhcpcd.conf
 The lines that we are interested in look as follows
- # Example static IP configuration:
- #interface eth0
- #static ip_address=192.168.0.10/24
- #static routers=192.168.0.1
- #static domain_name_servers=192.168.0.1 8.8.8.8
We will need to uncomment these lines by removing the “#” and change the corresponding line to match those issued by your router and the IP address your Pi currently has. In our case our Ip address was 192.168.0.10, and our router has an IP address of 192.168.0.1. We also added to DNS (Domain Name Servers) so that our Pi was able to connect to the Internet. The first is our router, the second is Google’s DNS server.
Here is our example, change it to match yours and then save the file.
- # Example static IP configuration:
- interface eth0
- static ip_address=192.168.0.10
- static routers=192.168.0.1
- static domain_name_servers=192.168.0.1 8.8.8.8
Our server is now configured and ready for use. So let's power down the Raspberry Pi, remove every accessory apart from the microSD card, power and Ethernet. Now place the Pi somewhere safe and power it up.
Configuring our mobile devices
For our test we used two Android devices and installed the Mumble client on each device. There are also Mumble clients for iOS devices. Install the Mumble client on your Android device.
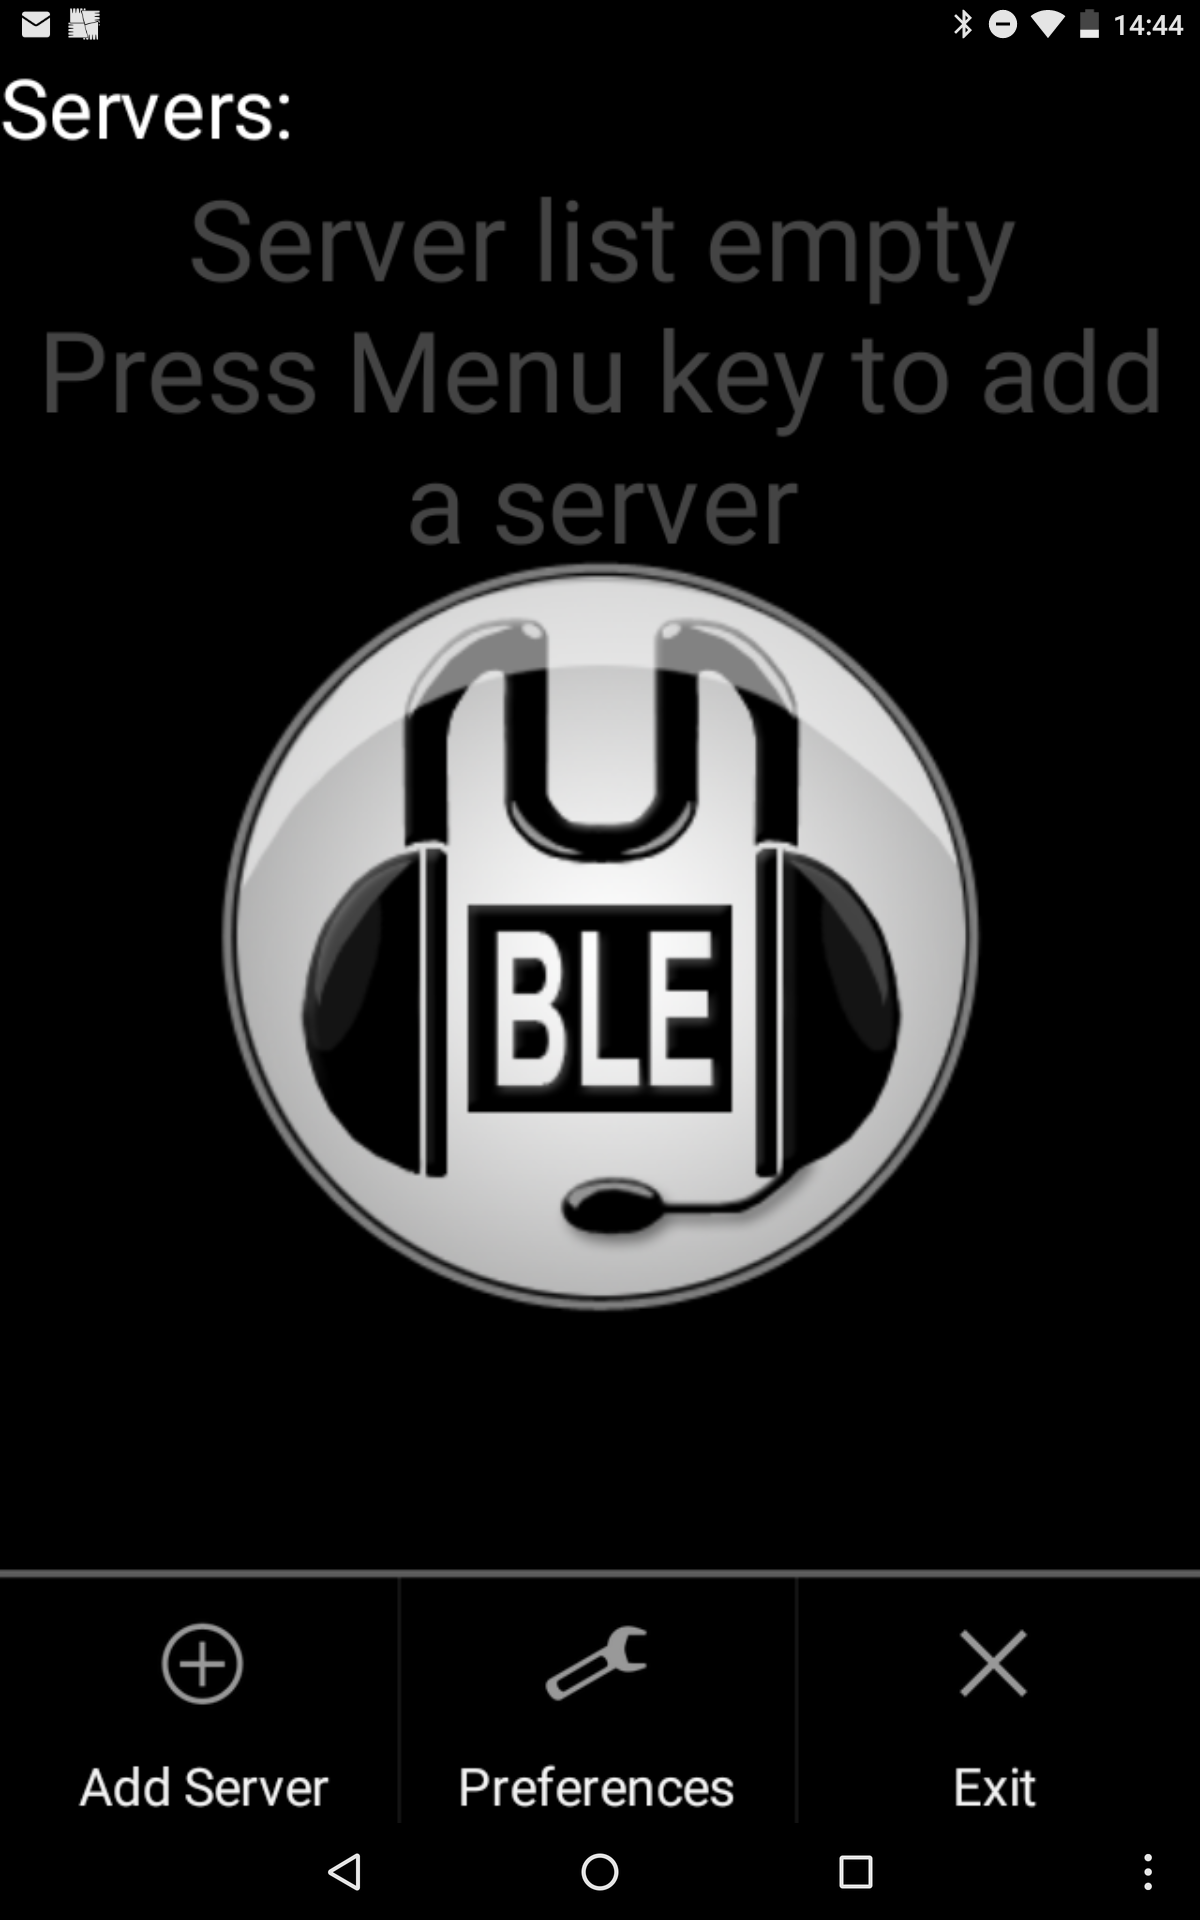
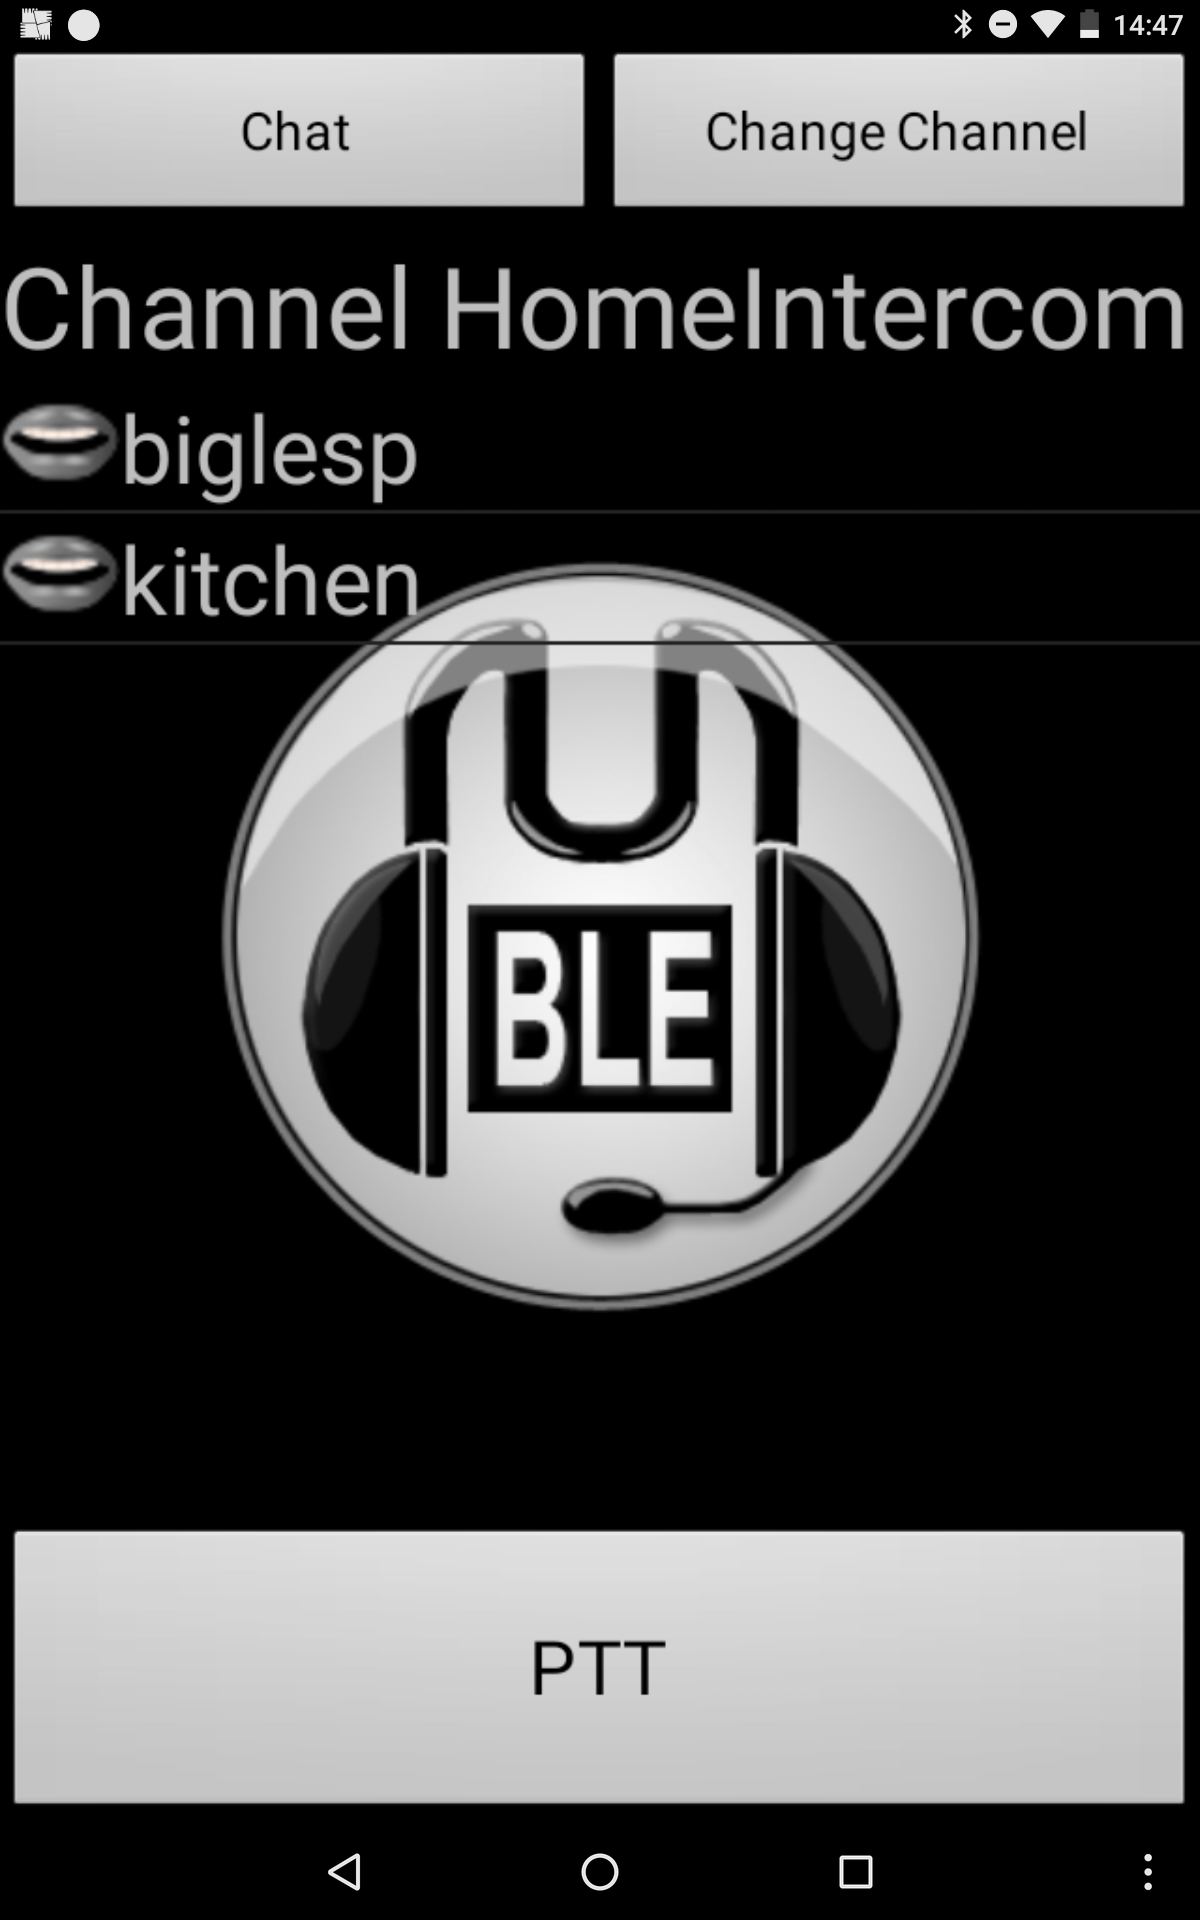
Open the Mumble app and you will be asked to press the Menu key to configure a server. The Menu key are the three dots stacked in the bottom right of the screen. Press that and then press the Add Server button.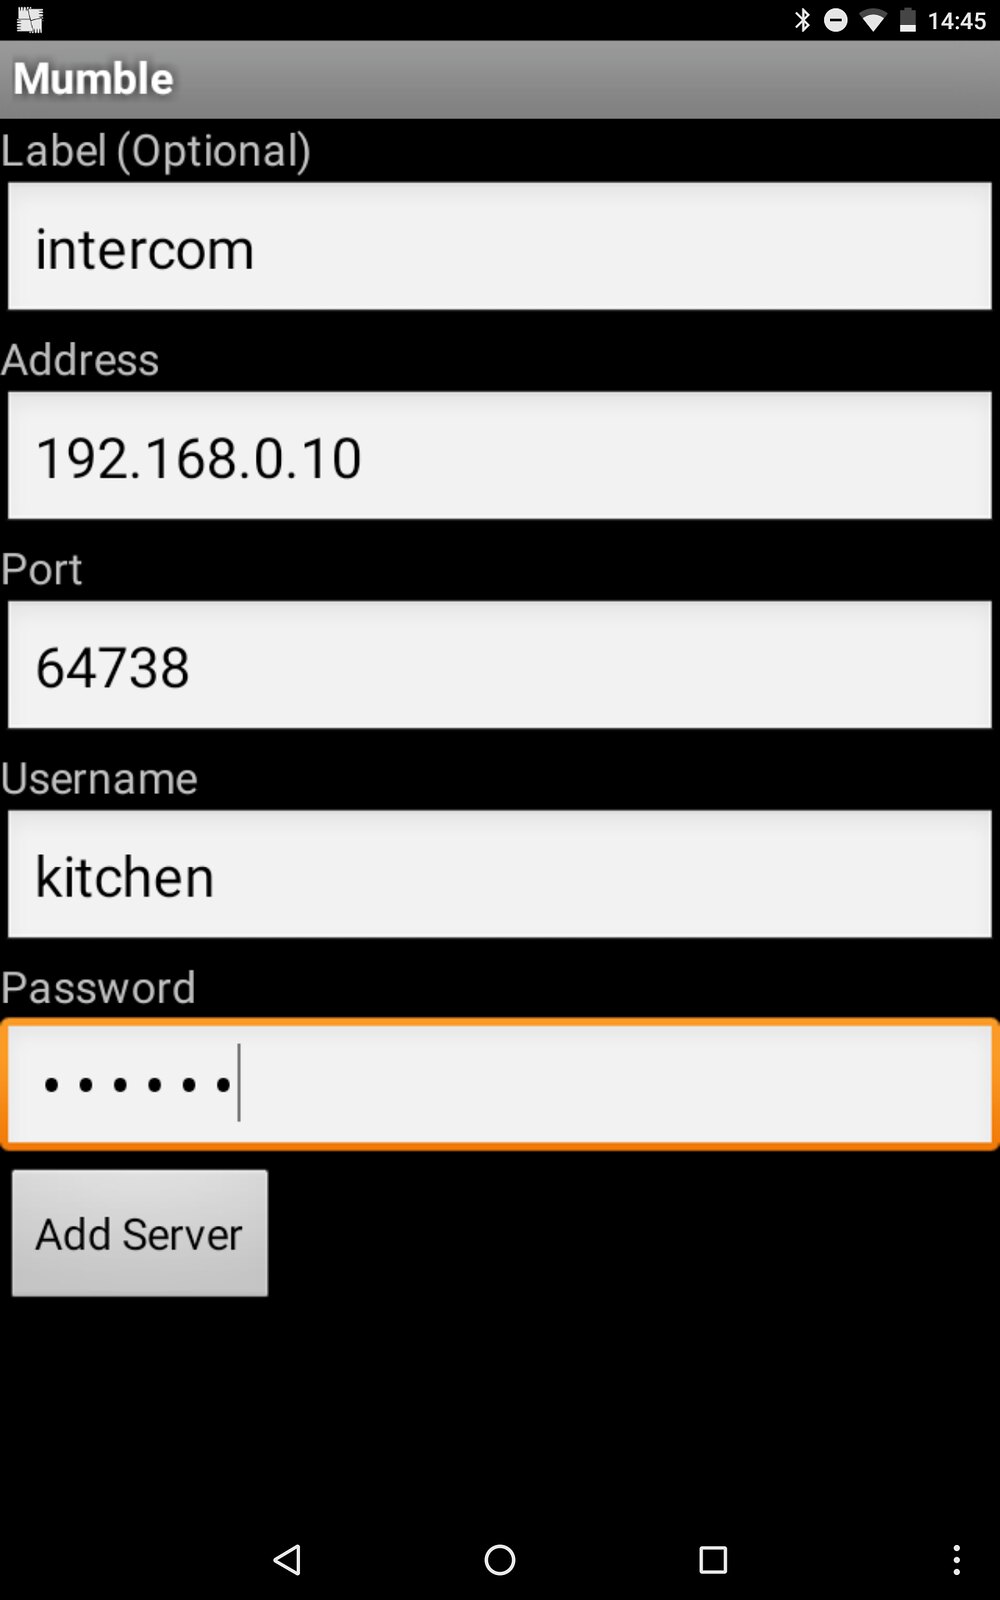
In the next screen enter the details for your Mumble server. The label option is optional and it is used if you have multiple servers saved in the Mumble client. The address is our server address, the port for Mumble is always 64738 by default. Username is where we can identify this Mumble device on the network, so call it either a room or something personal. The password is the same password we set in the Mumble server configuration file. Enter the details and then press Add Server.
To connect to the server press the entry in the list of Servers.

You now have real time voice communication, using open source software. Your voice data is not shared with third parties, nor is it recorded and you can add further devices, and connect more members of the family.
There is even a text chat facility built in to Mumble where groups can chat and share information!
So there we have it, our own private voice network inside our home, and all thanks to a spare Raspberry Pi and some mobile devices.
Credits
Related products


Leave your feedback...