
Audio-visual Face Mask Detection System On The Jetson Nano

Made by shakhizat
About the project
This work implements face mask recognition system on the Jetson Nano using Jupyter Lab headlessly.
Project info
Difficulty: Difficult
Platforms: NVIDIA Jetson, Raspberry Pi
Estimated time: 4 hours
License: MIT license (MIT)
Items used in this project

Story
Currently, Face-mask recognition is considered the most significant part in computer vision and image analysis, and thus it receives much more research in its different components such as the enhancement of its algorithms or new approaches created to better detect and organize the face mask. As you know, The COVID-19 pandemic forced governments across the world to impose lockdowns to prevent virus transmissions. Research indicates that maintaining social distancing and wearing face masks while at work clearly reduces the risk of transmission.
In this tutorial, we’ll show you how to train your Nvidia Jetson Nano to recognize face masks using JupyterLab headlessly. After performing the initial analysis, the system classifies person as "wearing a mask" or flags as "not wearing a mask" and sends an instant alert, so you can take further action — dispatch a public audio announcement, send a custom message to a digital screen, or a personalized message to the person’s phone. Here, we will set-up our Nvidia Jetson Nano to send voice notifications via JupyterLab when a face mask is either recognized or not.
PrerequisitesBefore you get started with the this tutorial, you will need the following:
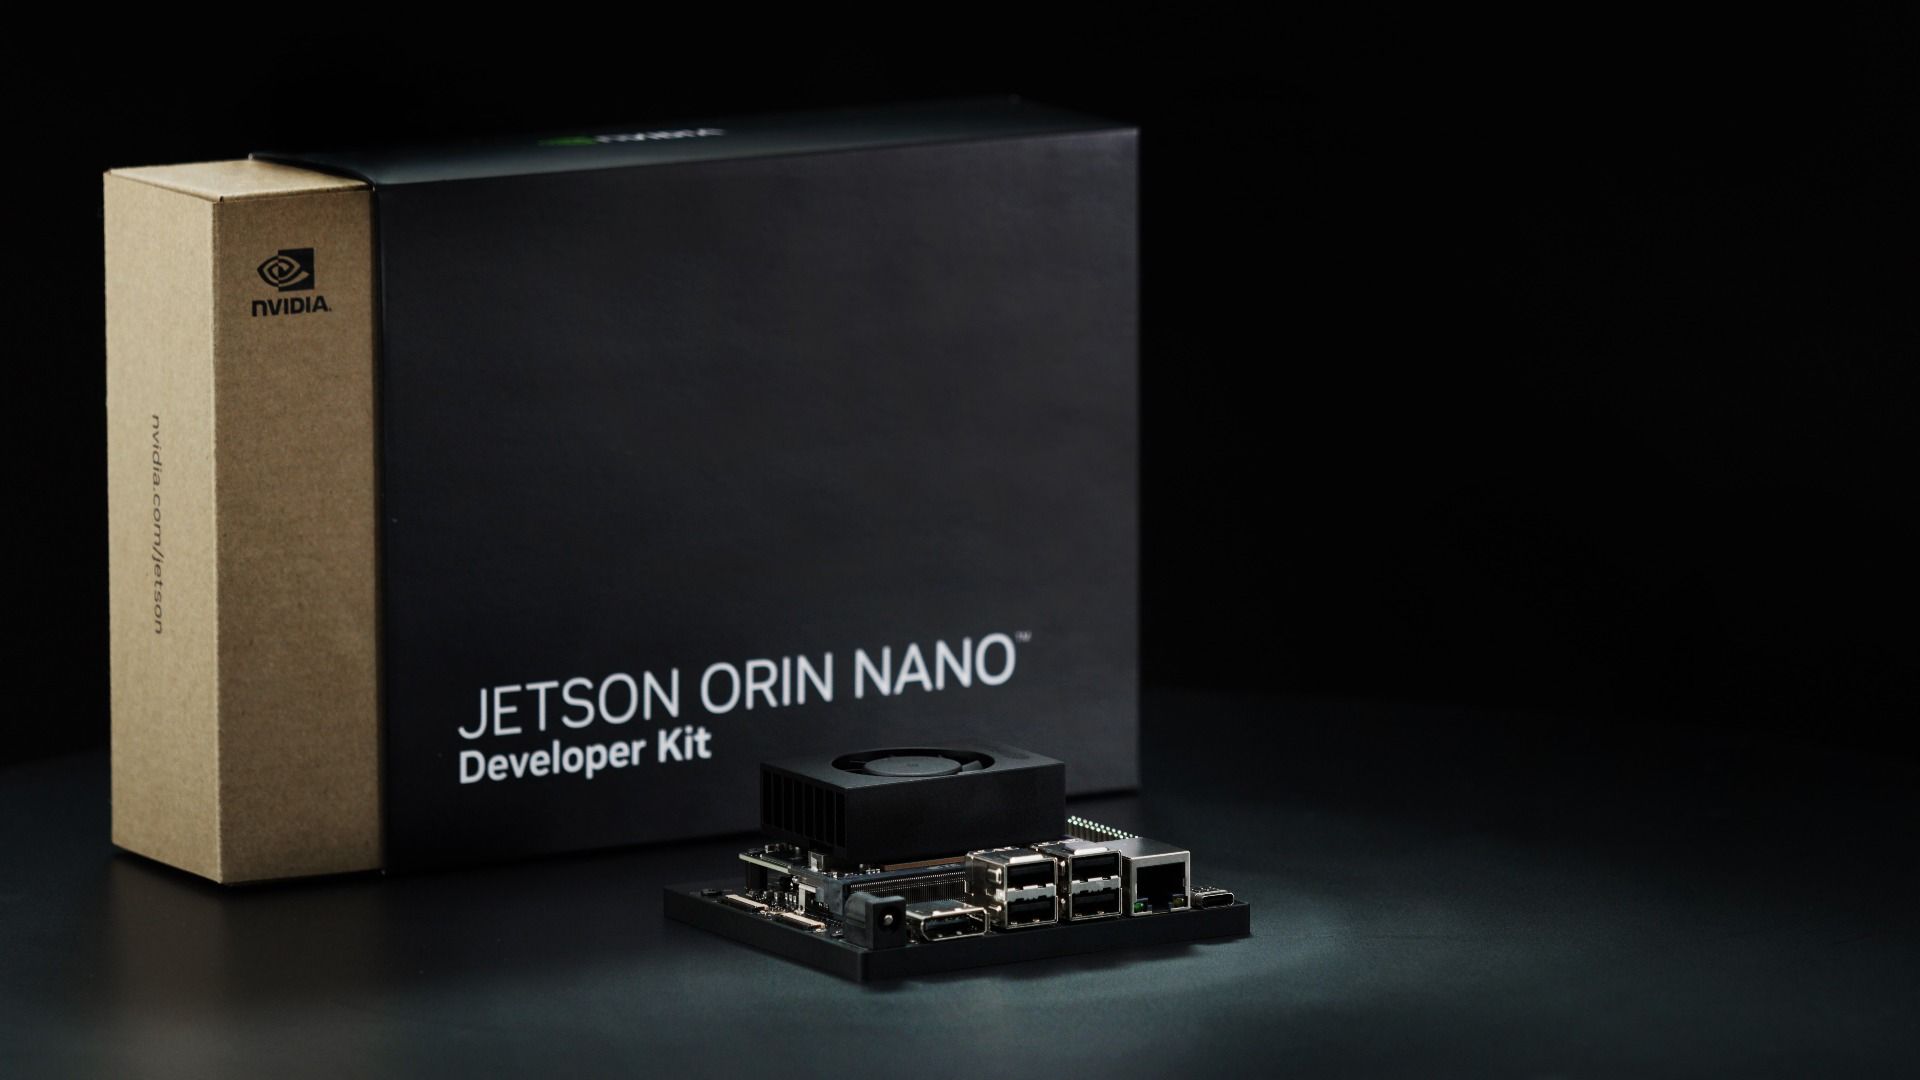
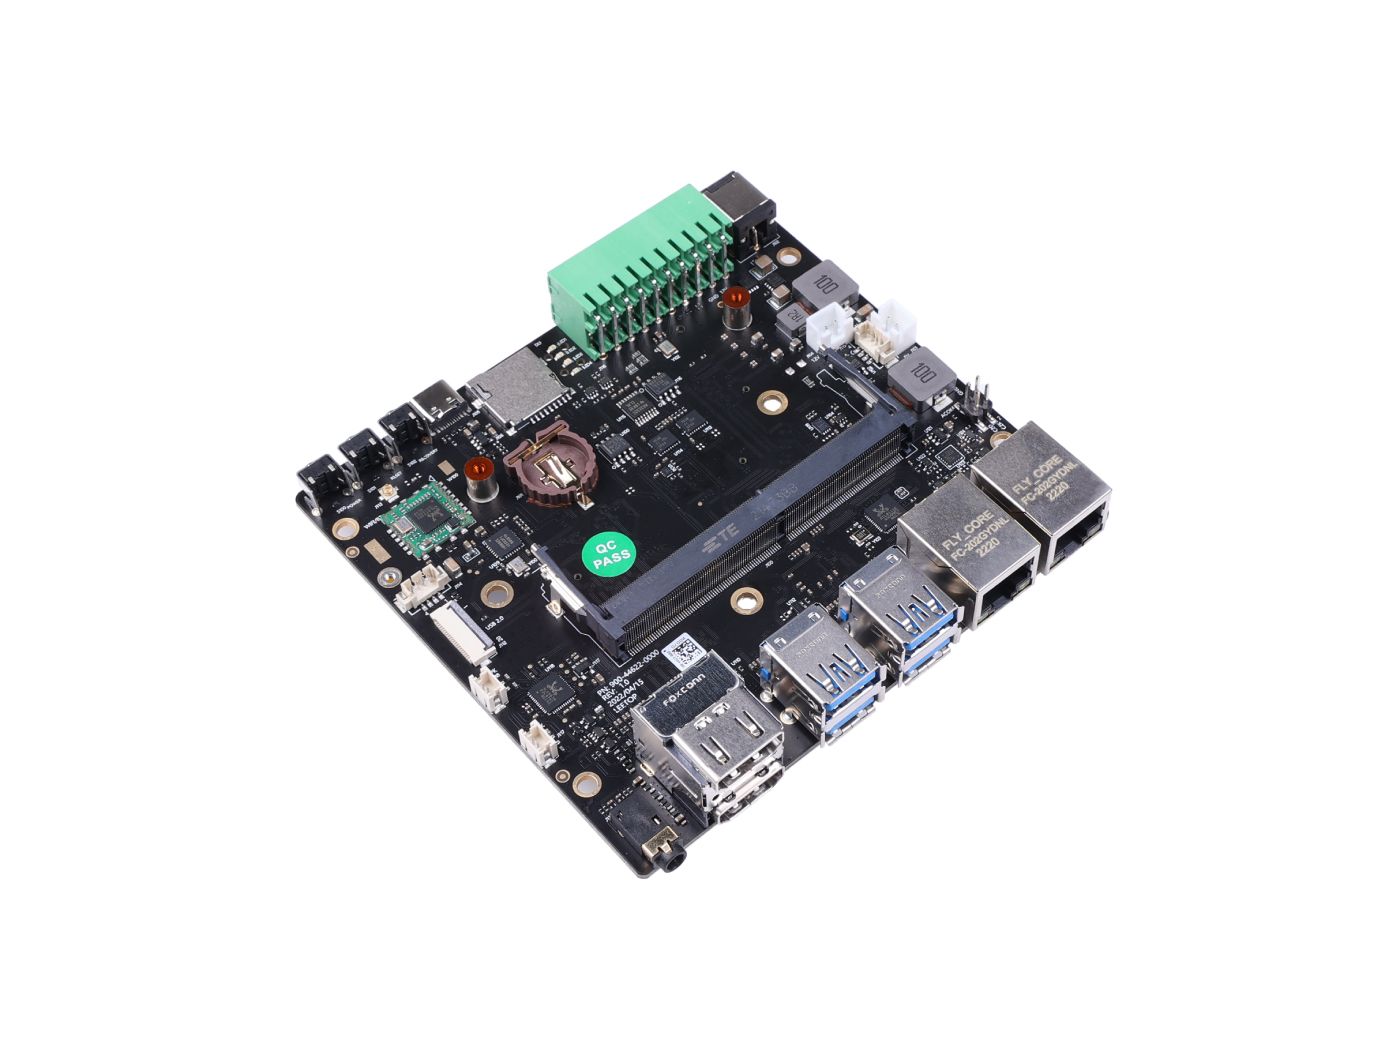
- NVIDIA Jetson Nano Developer Kit
- Laptop or standalone PC
- High-performance microSD card: 32GB minimum
- MicroSD to SD adapter
- 5V 4A power supply with 2.1mm DC barrel connector
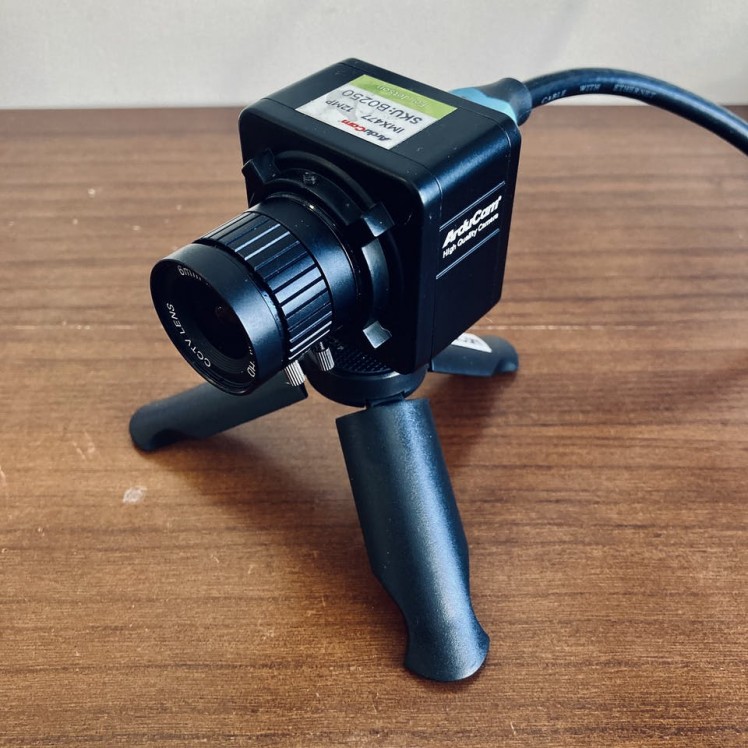
- USB WebCam for use with real-time applications. For live camera demonstrations, cameras like the Raspberry Pi Camera module are required. Here we’ll be using Arducam Complete High Quality Camera Bundle.
- A computer with the ability to flash your microSD card. Here we’ll be using laptop.
- Some experience with Python is helpful but not required.
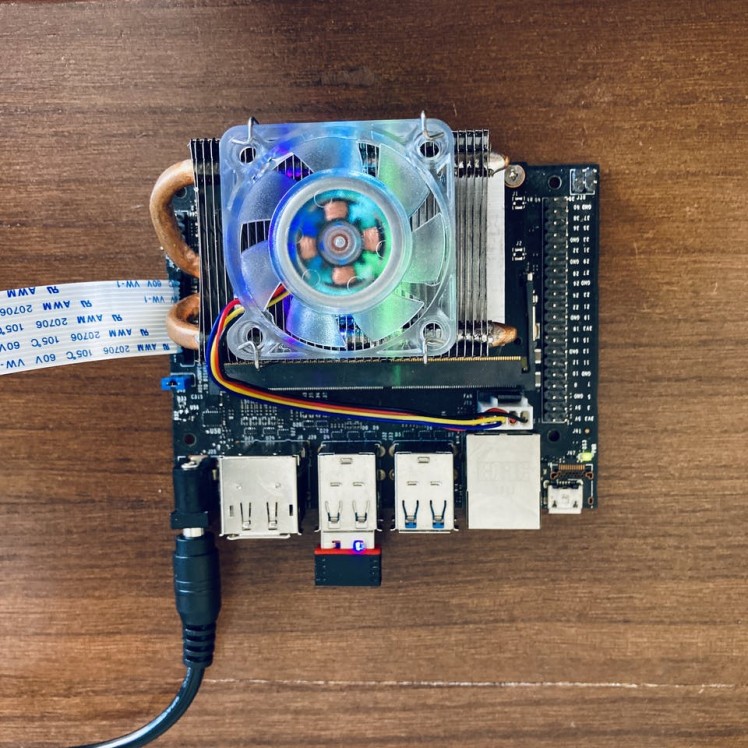
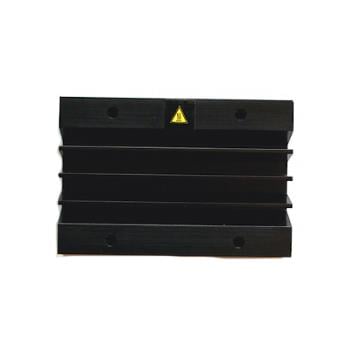
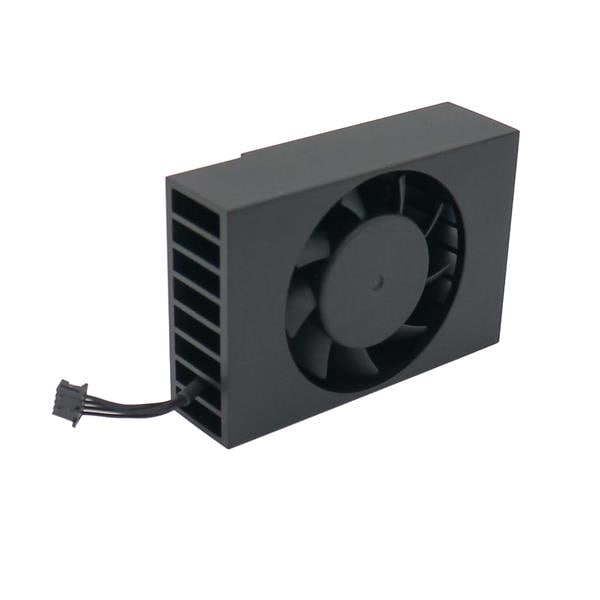
- DL applications use a lot of compute resources and the heat sink may not be enough for the heat generated. Consider adding a cooling fan.
Let’s get started!
Step 1 - Burn NVIDIA Image to the SD card and power it upFor this course, we are running the Jetson Nano Developer Kit in a "headless" configuration. That means you do not hook up a monitor directly to the Jetson Nano Developer Kit. This method conserves memory resources on the Jetson Nano and has the added benefit of eliminating the requirement for extra hardware, i.e. a monitor, keyboard, and mouse.
NVIDIA provides a disk image that you can flash to a micro-SD card. You don’t have to deal with messy installs. Saving us the trouble of having to install applications and libraries ourselves and getting us up and running much faster. Make sure you are downloading NVIDIA DLI AI Jetson Nano SD Card Image v1.1.1.
- Download the DLI AI Jetson Nano SD Card Image.
- Download Etcher and install it. Burn OS image to MicroSD card.
- Plug in your webcam into one of the USB ports of your Raspberry Pi. If you are using a Raspberry Pi Camera there are a few extra steps involved. The Raspberry Pi Camera connects to the MIPI CSI port.
- Power up the Jetson Nano using DC barrel for 5V (make sure there is a green light besides the Micro-usb Port, remember to set the jumper for 5V DC).
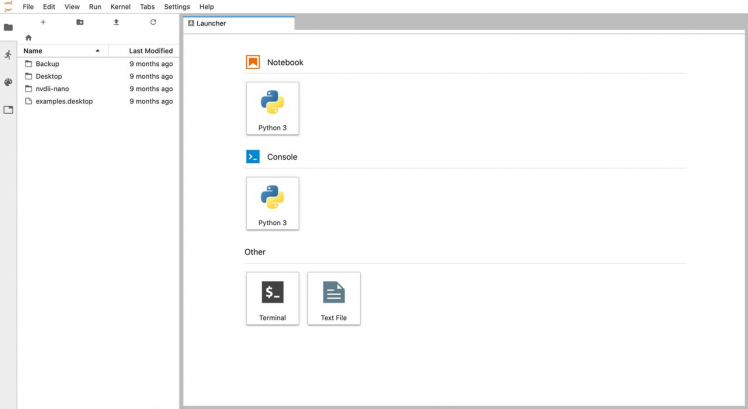
JupyterLab is a modern interactive development environment (IDE) that allows you to work with code, data, and the Jupyter notebook format. Jupyter Notebook is an open-source, interactive web application that allows you to write and run computer code in more than 40 programming languages, including Python, R, Julia, and Scala.
- Wait for 1 minutes for the bootup sequence to complete with JupyterLab Server running
- Connect the USB cable (Micro-B to Type-A).
- Your Jetson is already setup to automatically start a JupyterLab Server when it boots.
- Open browser on your laptop and access http://192.168.55.1:8888. Password is dlinano.
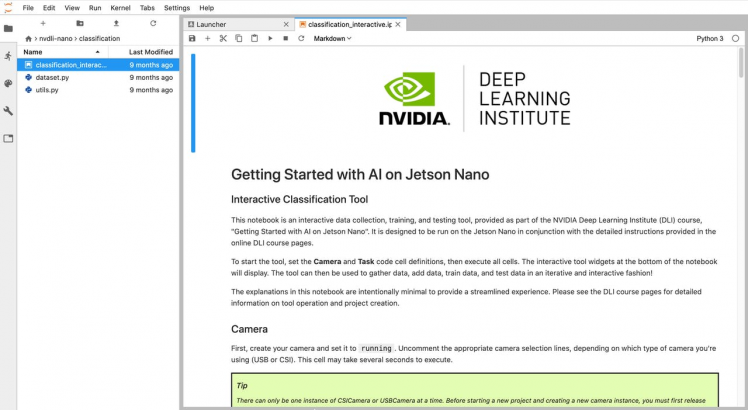
You will see below screen. Congratulations!
Since Jetson runs headless, ie. without a graphical user interface, you’ll need to access Jupyter remotely via the WiFi network.
- Create Wireless Ad-Hoc Network from the Jetson Nano board. This method will allow you to wirelessly connect a laptop to your Jetson without any other networking infrastructure like router. This is the most robust way to connect, but you will have no internet connectivity on both your remote laptop and Jetson board.
- You can connect your Jetson to a wireless Wi-Fi network which has internet connectivity. In order to communicate with the Jetson board from remote laptop, a WiFi router is used. For this tutorial assume that the remote computer and the Nvidia Jetson board are connected to the same WIFI network.
Here we will be using second option.
Network Manager should be installed by default on Ubuntu Desktop installs, as well as most flavours of Ubuntu. mtui is a basic text-based user interface for managing Network Manager.
Run the following command launch the nmtui interface. Select Active a connection and hit OK.
sudo nmtuiExample output:

Select the interface which you want to bring online then hit Activiate button.
A ping test may be done in order to determine the status of your Internet connection.
ping google.comIf it is successful, to connect to your Jetson Nano via your local area network, you will need to know the IP address or the hostname of your device.
You can find out it by running the following command:
Hostname -IYou can unplug micro usb cable from the Jetson Nano and connect JupyterLab Server using network ip address.
You an browse http://IP_ADDRESS:8888/ to access the JupyterLab Server from remote computer.
Step 4 - Disable GUI on the Jetson nano (optional)The Jetson comes with a desktop version of Ubuntu installed. If the GUI is not required for operation, you can disable it with the following command:
sudo systemctl set-default multi-user.target You should see a similar response in terminal on the Nvidia Jetson:
Removed /etc/systemd/system/default.target.Created symlink /etc/systemd/system/default.target → /lib/systemd/system/multi-user.target. This will free up extra memory that the window manager and desktop uses.
To get a glimpse of the memory usage, just run the top command:
top - 06:54:47 up 2 min, 1 user, load average: 0.36, 0.49, 0.22Tasks: 207 total, 1 running, 206 sleeping, 0 stopped, 0 zombie%Cpu(s): 0.0 us, 0.4 sy, 0.0 ni, 99.4 id, 0.1 wa, 0.0 hi, 0.1 si, 0.0 stKiB Mem : 4051256 total, 3426792 free, 283448 used, 341016 buff/cacheKiB Swap: 6219916 total, 6219916 free, 0 used. 3597892 avail Mem This command was run with GUI enabled as well to see difference:
top - 06:50:44 up 16 min, 2 users, load average: 0.04, 0.17, 0.24Tasks: 314 total, 1 running, 313 sleeping, 0 stopped, 0 zombie%Cpu(s): 1.2 us, 0.7 sy, 0.0 ni, 97.9 id, 0.0 wa, 0.1 hi, 0.1 si, 0.0 stKiB Mem : 4051256 total, 1558468 free, 1679124 used, 813664 buff/cacheKiB Swap: 6219916 total, 6219916 free, 0 used. 2205376 avail Mem To enable GUI again issue the command:
sudo systemctl set-default graphical.targetAt this point it’s a good idea to run some updates. You can do that by entering the commands below on the Nano.
sudo apt-get updatesudo apt-get upgradeIf yo you see:
Reading package lists... DoneE: Could not get lock /var/lib/apt/lists/lock - open (11: Resource temporarily unavailable)E: Unable to lock directory /var/lib/apt/lists/You can delete the lock file with the following command:
sudo rm /var/lib/apt/lists/lockYou may also need to delete the lock file in the cache directory
sudo rm /var/cache/apt/archives/locksudo rm /var/lib/dpkg/lockOnce you are done, you can reboot the Jetson Nano with this command:
sudo reboot now- Navigate to the nvdli-nano - > classification folder with a double-click
- Open classification_interactive.ipynb file.
Now let’s get started building your own model.
- Create your camera instance and set it to running. Uncomment the appropriate camera selection lines, depending on which type of camera you're using (USB or CSI). Run cell in Jupyter Notebook. This cell may take several seconds to execute. I've used the Arducam Camera Module in this project.
- I've change the width and height of image width=224, height=224 to width=640, height=480
# CSI Camera (Raspberry Pi Camera Module V2)from jetcam.csi_camera import CSICameracamera = CSICamera(width=640, height=480)- The output should show that camera was created:
[sudo] password for dlinano: crw-rw----+ 1 root video 81, 0 Oct 21 10:10 /dev/video0camera created- Now the camera is initialized. Make sure that only one camera is active as the Jupyter notebook supports one camera at a time.
- Next, define your project TASK and what CATEGORIES of data you will collect.
TASK = 'mask'- For this project, we classify the image as either no_mask or yes_mask.
CATEGORIES = ['no_mask', 'yes_mask']- This cell should only take a few seconds to execute. The output will be as follows:
mask task with ['no_mask', 'yes_mask'] categories definedExecute the Data Collection cell to create the data collection tool widget.
This cell should only take a few seconds to execute. The output will be as follows:
data_collection_widget createdMany popular AI frameworks like TensorFlow, PyTorch, Caffe, and MXNet are supported, and Jetson Nano is capable of running multiple neural networks in parallel to process data and drive action.
The core of this project is an image classifier that classifies one of three categories. To make this Classifier, we use the pre-trained CNN (Convolutional Network) called ResNet18. A residual network, or ResNet for short, is an artificial neural network that helps to build deeper neural network by utilizing skip connections or shortcuts to jump over some layers. There are different versions of ResNet, including ResNet-18, ResNet-34, ResNet-50, and so on.
# RESNET 18model = torchvision.models.resnet18(pretrained=True)model.fc = torch.nn.Linear(512, len(dataset.categories))The Pytorch API calls a pre-trained model of ResNet18 by using models.resnet18(pretrained=True), the function from TorchVision's model library.
Execute the Model cell code. The output will be as follows:
model configured and model_widget createdExecute the Live Execution cell to set up the live execution widget. The output will be as follows:
live_execution_widget createdExecute the following cell to define the trainer, and the widget to control it.
The output will be as follows:
trainer configured and train_eval_widget createdExecute the Combine all the widgets into one display cell below to create and display the full interactive widget.
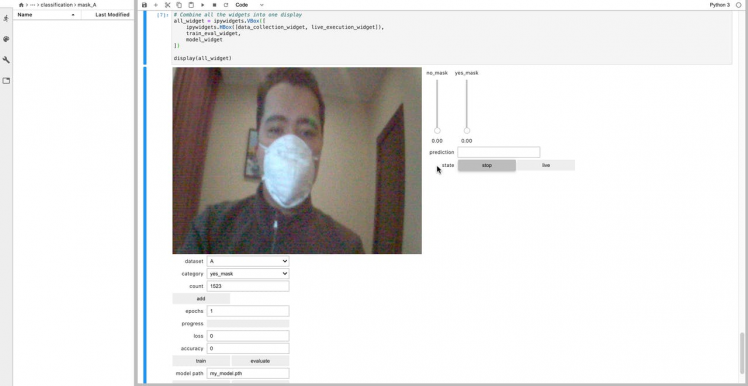
All that's left to do is pack all the widgets into one comprehensive tool and display it.
Step 13 - Gather training dataAt this stage, we will collect face photos that will be stored in the dataset folder. You can use photos of your own face for trials. For this task, you probably need a few 50 Images per category.
- Collect images for yes_mask category by clicking add button.
- Change category to no_mask and collect new 50 images. Save photos with various expressions. The more photos saved, the more accurate face detection will be.
Try to provide different backgrounds so that model learns essential features. Vary the light settings, so that model learns color variance.
Now that we have put together our dataset, we are ready to train our model.
Step 14 - Training a your ModelHere we use PyTorch and CUDA to generate the ResNet model which can identify the presence of a mask. The images which we generated in the previous step are used to train the model. The model is trained using the Dataset generated for a number of Epochs. I've trained the model for epochs = 10. PyTorch includes a pre-trained ResNet-18 model that was trained on the ImageNet 2012 classification dataset, which consists of 1000 classes. In other words, the model can recognize 1000 different objects.
Once the train button is pressed, the model will be trained using the selected Dataset for the given epochs.
For a dataset with 50 photos, it will take about 2-5 minutes for the Jetson to analyze the photos and build the model file.
Step 15 - Evolution of modelAfter the training process is complete, your face mask detection program is ready for use. Run the evaluate command to test the model.Face Mask Recognition works in real time and gives us instantaneous warnings of its detection
The results can be less accurate.
Using a different background, gather an additional 30 images for both classes, again varying the angle. Train an additional 5 epochs. Keep testing and training in this way until you are satisfied with the performance of your first project.
When you are satisfied with your model, save it by entering a name in the "model path" box and click "save model".
Step 16 - Adding Voice NotificationsIn this part, we will add voice notifications to our face mask recognition. I have selected window.speechSynthesis for its simplicity, you are welcome to modify the code with the text messages of your choice.
import timedef speak(text): from IPython.display import Javascript as js, clear_output # Escape single quotes text = text.replace("'", r"'") display(js(''' if(window.speechSynthesis) {{ var synth = window.speechSynthesis; synth.speak(new window.SpeechSynthesisUtterance('{text}')); }} '''.format(text=text))) # Clear the JS so that the notebook doesn't speak again when reopened/refreshed clear_output(False) time.sleep(2)Voice alert is triggered when a new person is identified by our algorithm.
while True: if(prediction_widget.value == 'yes_mask'): speak("Yes, mask") else: speak("No mask")Now you should be now able to hear voice messages using Jupyter Notebook running on a remote server.
Congratulations! you have trained your Jetson Nano to recognize your face mask.
Final ThoughtsThis face make recognition system is not 100% accurate, but it works well in good light conditions. The art of Deep Learning involves a little bit of hit and try to figure out which are the best parameters to get the highest accuracy for your model. There is some level of black magic associated with this, along with a little bit of theory.To train a model you need to select the right hyper parameters.
You can also sign up for the free Jetson Nano AI course at this link – Getting Started with AI on Jetson Nano. Upon completion of this course you’ll receive a certificate.
That’s it for today! You have Face mask detection system installed and ready to use!
I hope you found this guide useful and thanks for reading. If you have any questions or feedback? Leave a comment below. Stay tuned!
References:Credits
Related products


Leave your feedback...