
3D Printed Rotating Display Stand for 360 Degree Videography

Made by geekyelectronics
About the project
Hola readers, This project is about making a Fully 3D Printed turntable.
Project info
Difficulty: Moderate
Estimated time: 1 hour
Items used in this project
Hardware components

Software apps and online services
Story
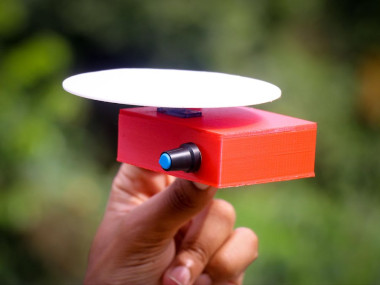
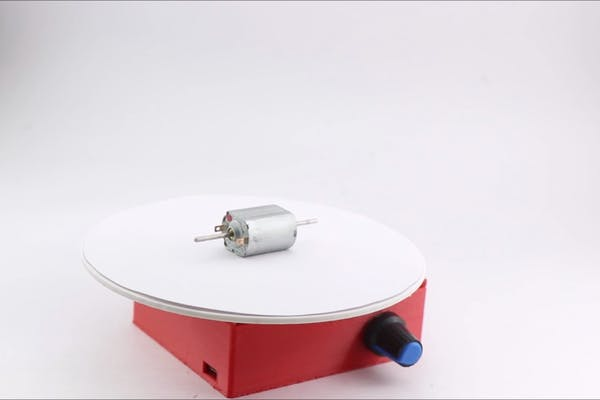
Hola readers, This project is about making a Fully 3D Printed turntable or few know it by the name Rotating display stand at your home, If you are a creator this is a must-try project because after building and having this gadget your videography and photography will be on next level, Who says no to an upgrade!
With this device, you can shoot creative videos of your product/object.
Why did I make this turntable?
I am a hobbyist photographer and also shoot videos, I found that the readily available turntables are somewhat expensive, But for a maker nothing is difficult so I came up with the idea of building this on my own and most importantly want to share my idea with others.
Thank You NextPCB:
This project was completed because of the help and support from NextPCB. Guys if you have a PCB project, please visit their website and get exciting discounts and coupons.
NextPCB offers high-quality, reliable PCB starting at $1.9, and multilayer starting at $6.9. Also, everyone can enjoy free PCB assembly for 5 boards!
Also, Try HQDFM's free online PCB Gerber viewer to check your PCB design and avoid costly errors.
This turntable has a geared motor and speed control option, if you want a slow-rotating object video or a fast one this device has got you.
If you want to build this turntable I have provided all the details from materials to circuit the only thing missing is your time to build this :)
Supplies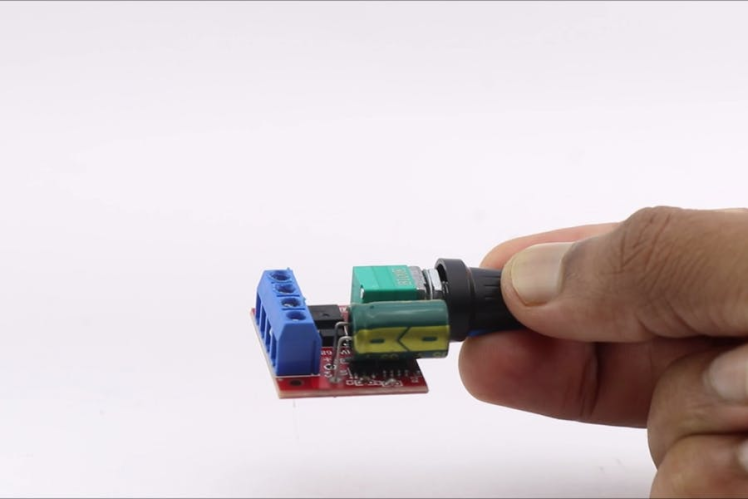
Here is the complete list of materials that I used to build this project, All the materials are available on Amazon and I have added the links in case you are willing to build this project.
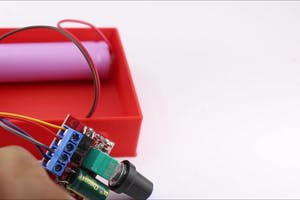
Required MaterialDC motor speed controller get it here
White sheet of paper and glue
Ruler and scissors
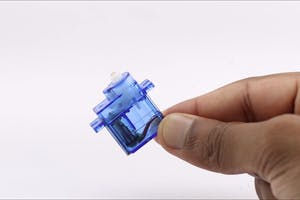
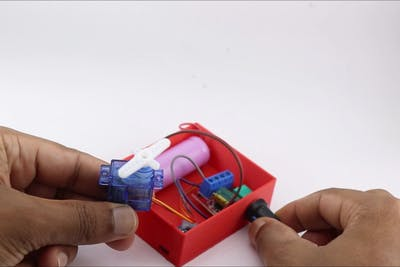
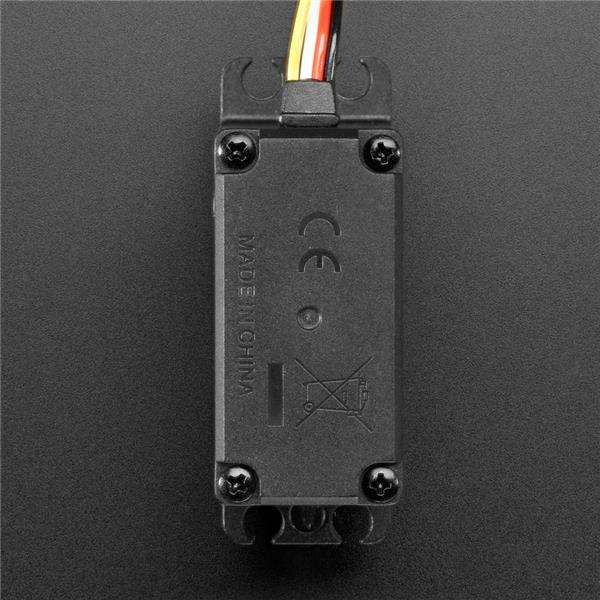
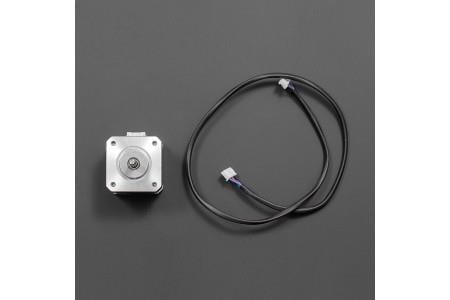
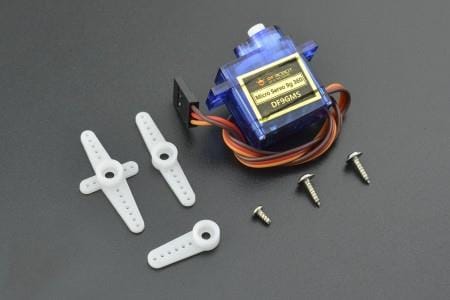
Micro servo with continuous rotation( optional step- you can do this on your own too, just remove the signal wire and trim the extra part inside gear of the servo and now it becomes rotatable from 180 to full 360)
Hot glue and superglue
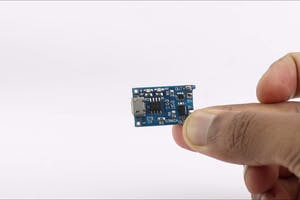
Charging board TP-4056
Soldering iron and wire
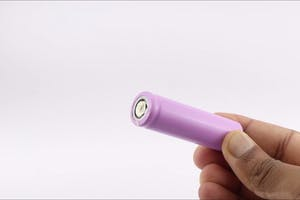
Lithium-ion battery from here
Few wires for connections
3D printer from Amazon
PLA filaments of all colors
- TOOLS
- Soldering Iron/Station
- Solder
- Pliers
- Wire Cutters
Note that I used the components above and some might differ in color but the size follows standard measurements that will play an important role in the design of the project.
Tinkercad Design and Slicing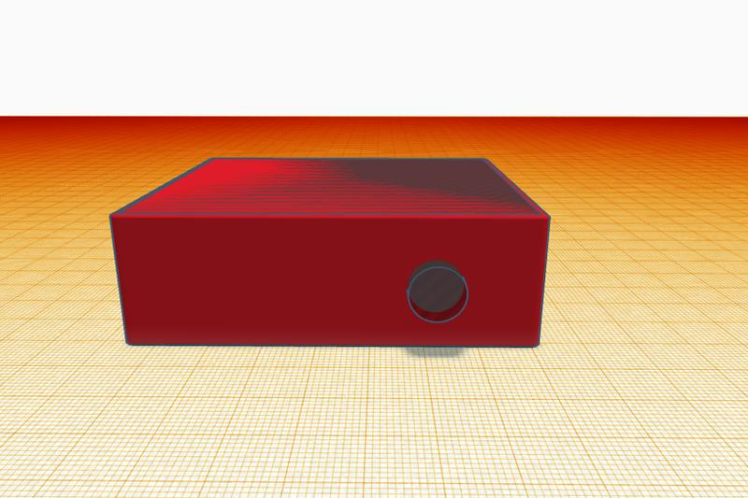
I used the Tinkercad Applicationto design this turntable model from scratch, It was very easy to design since the components that I used here had standard measurements.
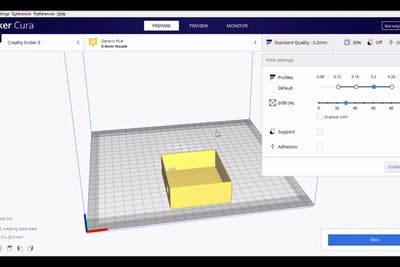
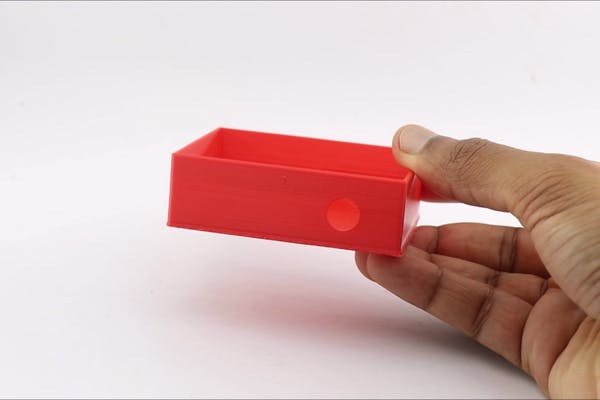
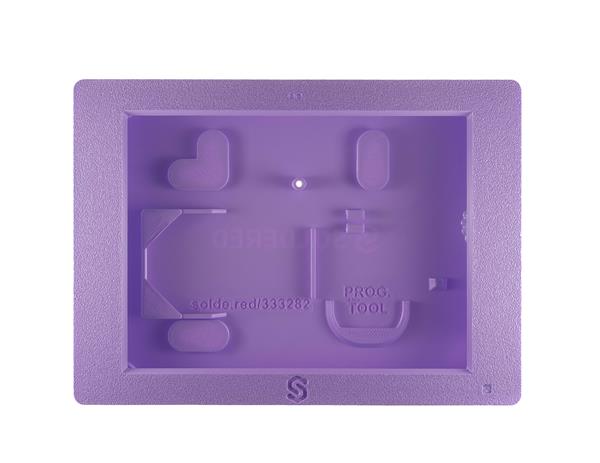
I started from the base, I took account of the lithium-ion battery measurements for the length of the case and now for the height and the width, Servo and speed controller measurements were taken and the model was made. In the end, I came up with a perfect base design.
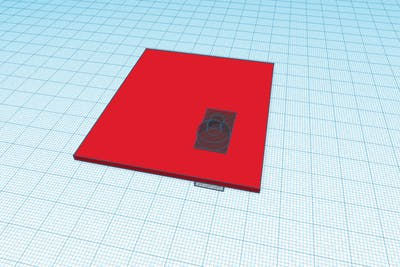
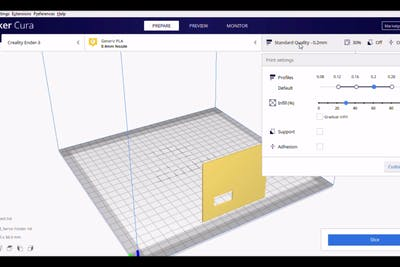
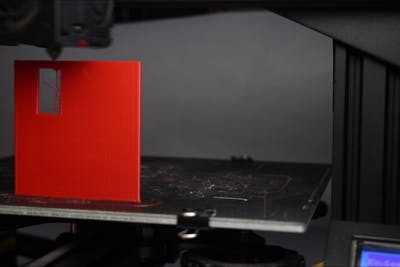
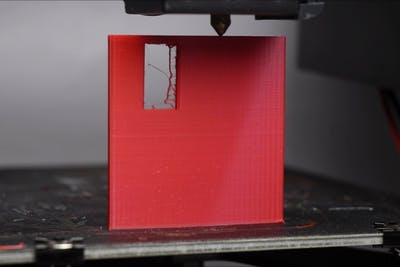
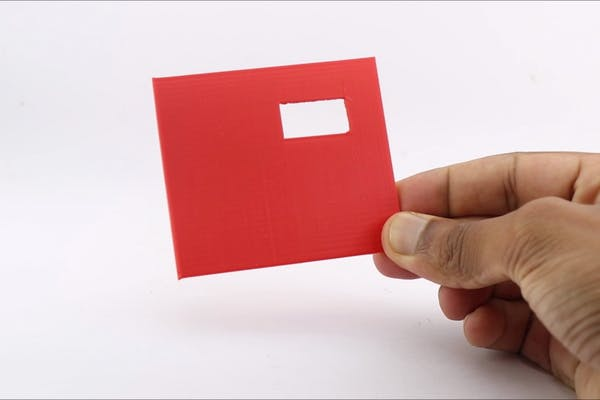
For the servo holder or cover lid for this case, I used the servo model from inside the Tinkercad application and made a thin rectangle as shown in the second image
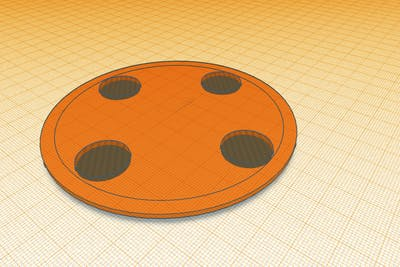
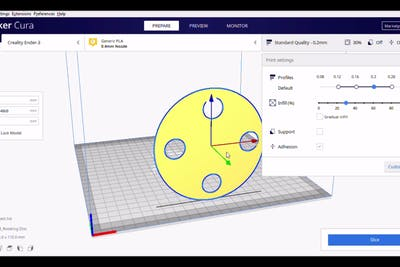
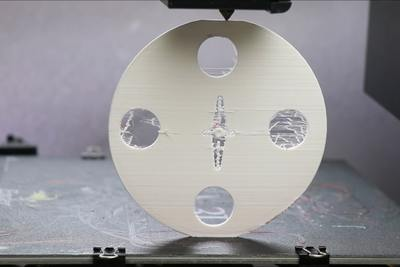
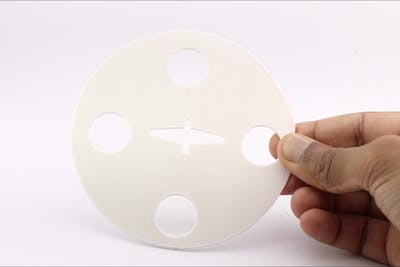
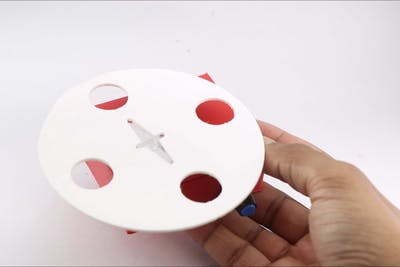
In the end, the rotating disc was designed, I made 4 holes on the disc to minimize the use of PLA filament during printing and we will be using different backgrounds on this disc while shooting video/photos.
After we have the model ready we can slice them for 3d printing.
I used Ultimaker Cura for slicing and you can see the setting that I used to slice the model, Only the rotating lid required adhesion while printing the rest of the models do not need any rafts or supports, I found an infill rate of 30% would be best.
3D Printing the Parts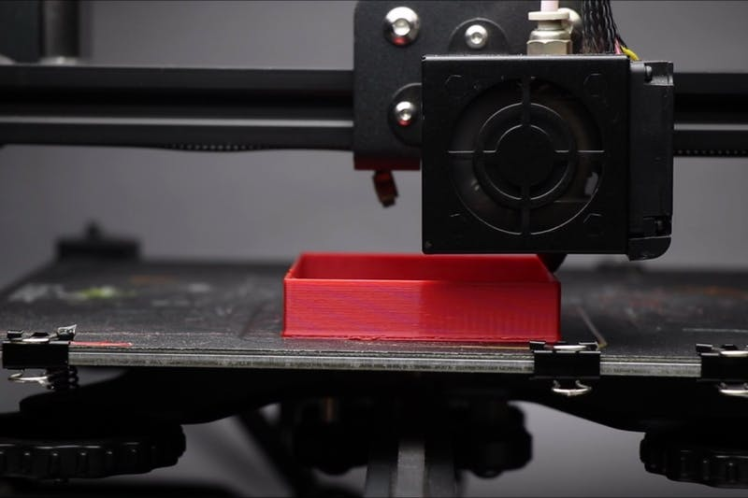
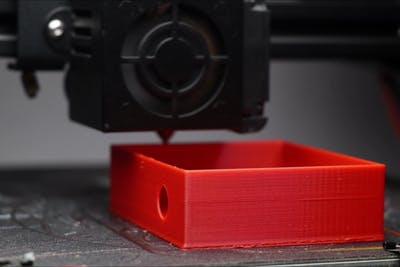
This is the most interesting part of the project watching your digital design becoming the physical prints.
The material I used to print the model was PLA, which suits this project best. This project has 3 models for 3D printing.
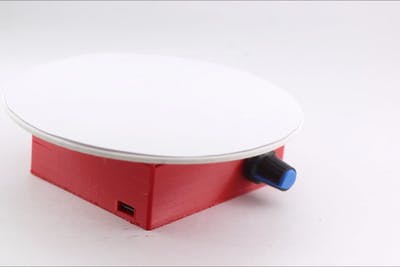
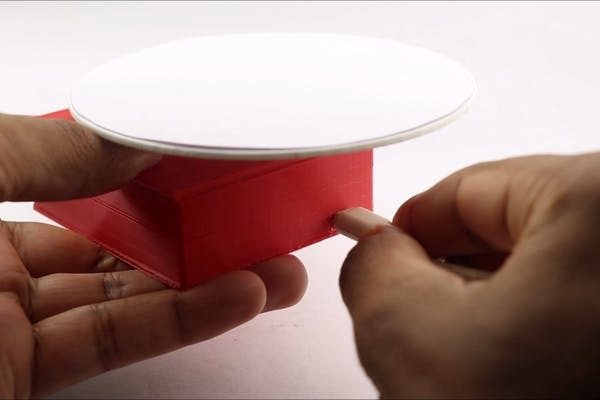
For the base and the servo holder, I used Red filament and for the rotating disc, I used White.
Note: The rotating disc part needs adhesion while printing and printing as shown in the image on this step.
This part might need some cleaning because of minor webbing rest of the parts do not need any post-processing.
Circuit Diagram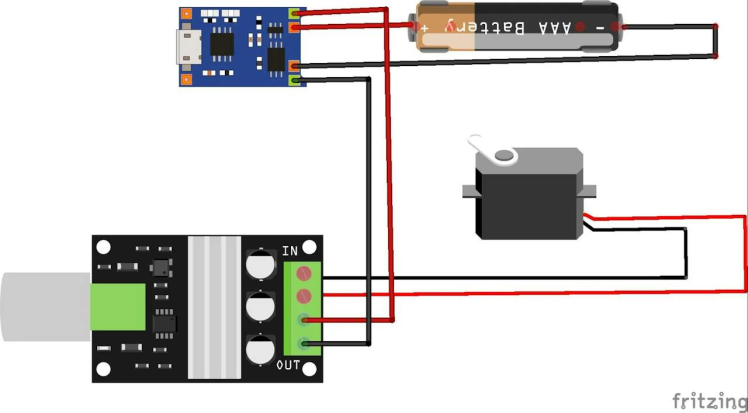
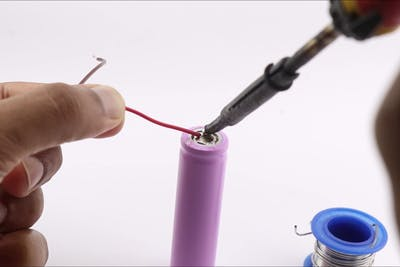
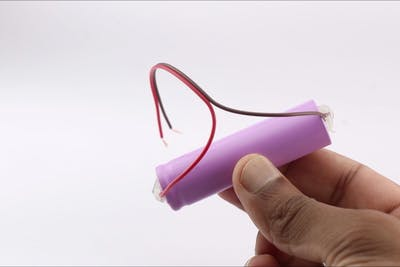
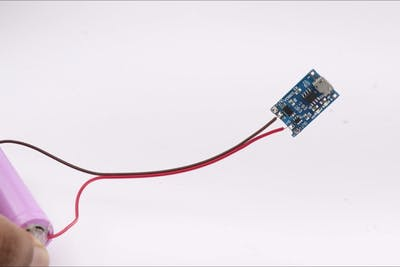
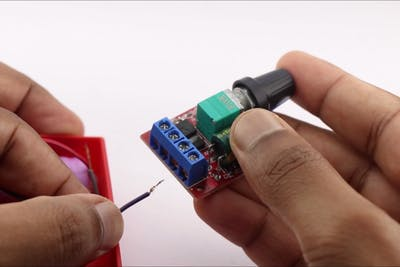
This is the circuit that I used in this project, the connections are straightforward. Start by soldering wires to the battery first followed by soldering cables to the charging board.
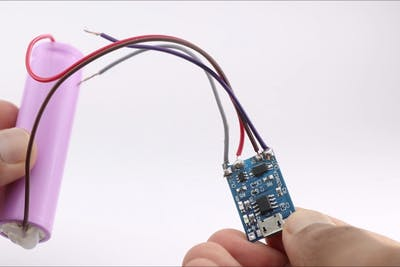
This completes the soldering work, Now start to connect the wires to the speed controller board.
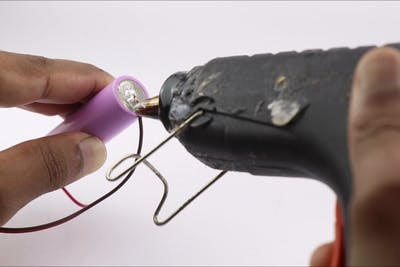
In the end, I will be connecting the servo to this controller as we are using a continuous rotation servo we have only 2 terminals. To add an extra layer of insulation I applied a thin layer of hot glue to the soldered areas.
Adding the Electronics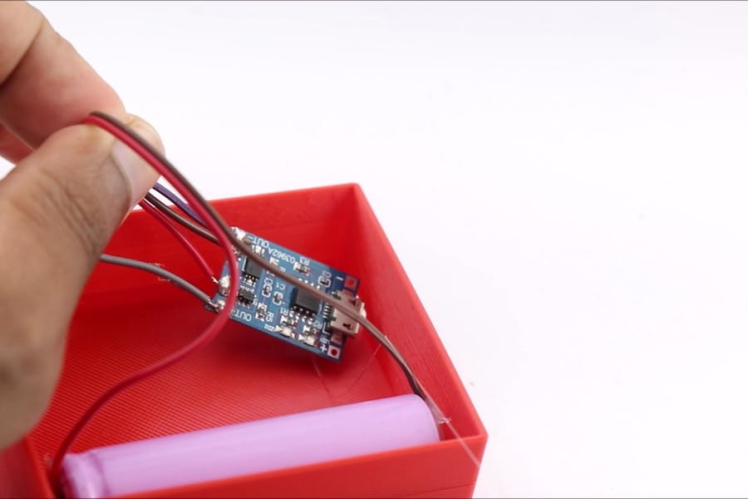
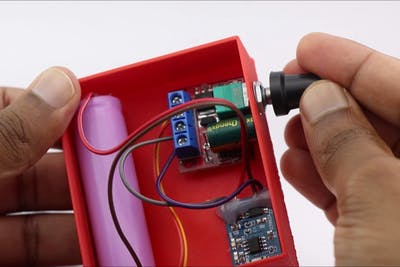
After we have the circuit connection ready all we have to do is put them up together and this is simple.
In the parts, there is a dedicated place and all you have to do is apply some hot glue and couple the components.
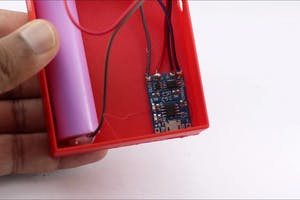
Start with the battery then the charging board and in the end the speed controller.
Test the circuit by turning on the controller and plugging in the USB cable for charging, Indeed it should work well.
Adding the Rotating Disc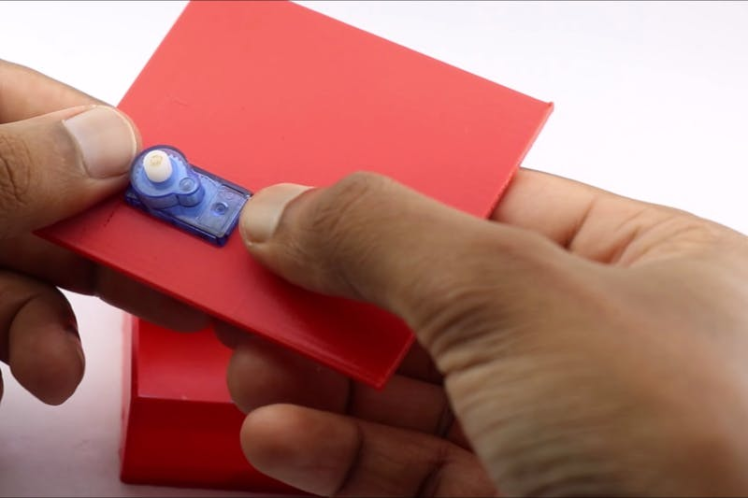
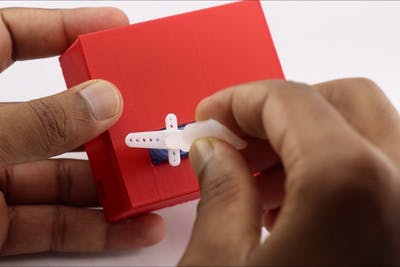
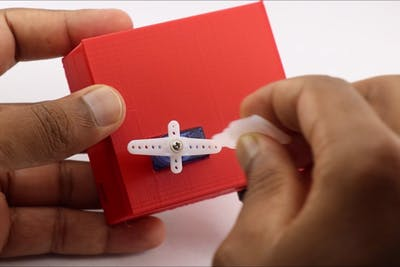
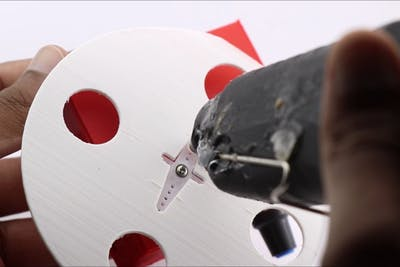
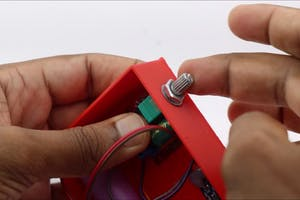
The Servo fits to the top lid using the press fir connection method, All you have to do is insert the servo inside the slot on the lid and press it very gently.
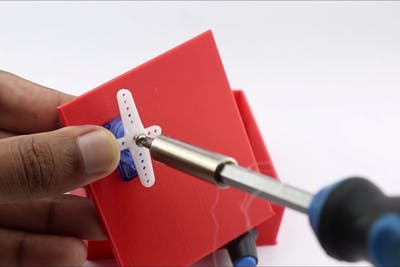
Now with the help of acres secure the horn of the micro servo followed by sealing the base and this lid together, I used superglue to seal both.
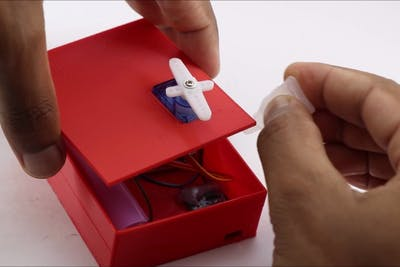
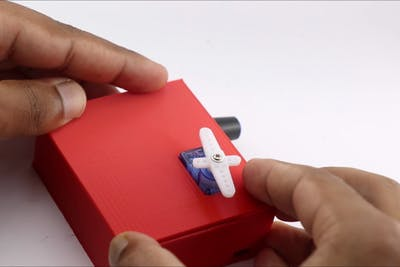
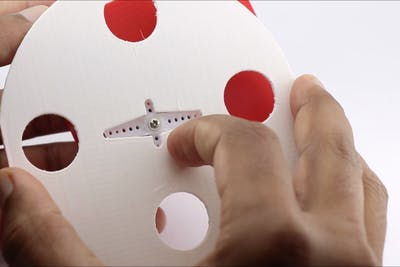
After this is dry add a few drops of superglue to the servo horn place the rotating disc and allow it to dry.
Now the project is ready and the only thing pending is adding the background to this disc.
Using the Turntable
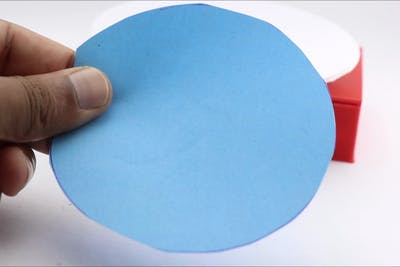
The interesting feature you can see in this project is the backgrounds for your object are interchangeable, You can choose any colors as per your choice of color paper for the background.
In my case I would prefer white and blue in some cases, just cut and keep the circular discs of paper handy so that you can use them whenever necessary.
Just place the background and object and later turn on the knob of the controller to the desired speed of the disc as per your requirement.
Video Tutorial of Making Display StandThis short video tutorial shows what steps I followed to make this rotating display stand, Watch the testing of this project inside this video. Make this project if you are a creator because you can take your videography to the next level. Thank you and all the best for building.
Schematics, diagrams and documents
CAD, enclosures and custom parts
Credits
Related products


Leave your feedback...