


Category
Difficulty
Platform

Fusion Of Graphical & Shortcut Based Workflows
Computer input devices with different modules to accommodate the individual needs of any computer user.
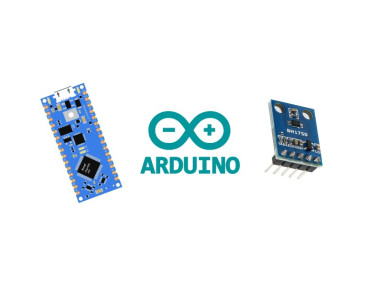
How To Connect Bh1750 With Arduino: Measure Ambient Light
Learn how to measure ambient light for smart lighting control using Arduino and the BH1750 Light Intensity Module.

Tiny Gaming Mouse
DIY gaming mouse using a PMW3389 and 32u4
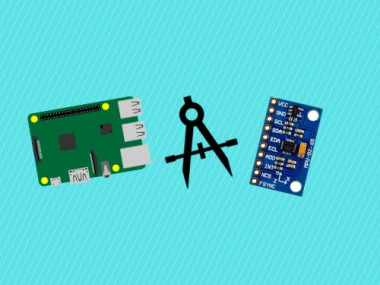
How To Calibrate Mpu9250 With Raspberry Pi
Learn how to get more accurate linear and gyroscopic acceleration values from the MPU9250 using a simple calibration technique.
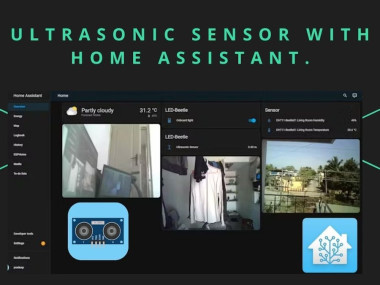
Ultrasonic Sensor With Home Assistant
Will guide you to integrate the UltraSonic sensor with Home Assistant.
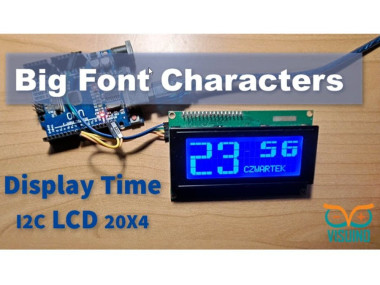
Big Font Characters Display Time On Lcd 20x4 Using Visuino
In this project you can see how to make Big Font LCD Characters on the I2C 20X4 LCD using Visuino by displaying CPU time. Watch the video!
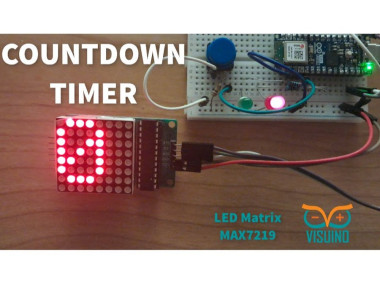
Led Matrix Countdown Timer Using Visuino
In this tutorial we are going to build a simple Countdown timer using LED Matrix MAX7219 and Arduino. Watch the Video!
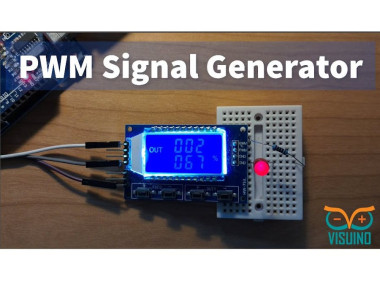
How To Use Pwm Signal Generator Module With Visuino
In this tutorial we will learn how to control a PWM Signal Generator Module XY-LPWM with Visuino. Watch the Video!
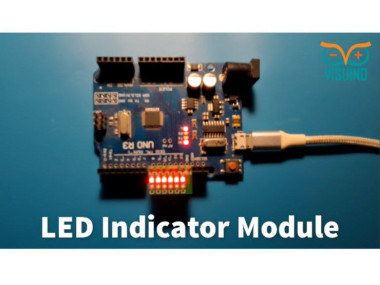
Led Indicator Module Light Effects Using Visuino
In this tutorial we will learn how to use LED Indicator Module using Visuino. Watch the video!
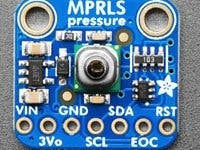
Adafruit Mprls - Pressure Sensor Using Visuino Custom Code
In this tutorial we are going to read the values from a Pressure Sensor Adafruit MPRLS by using a Custom Code component in Visuino Pro.
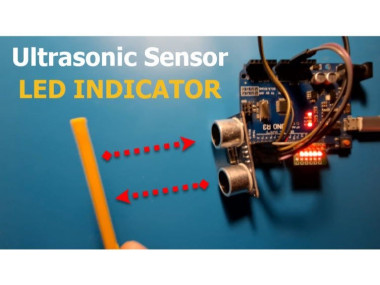
Ultrasonic Sensor Hc-sr04 & Led Indicator Module & Visuino
In this tutorial we will learn how to use LED Indicator Module & HC-SR04Ultrasonic sensor with Arduino and Visuino. Watch the video!
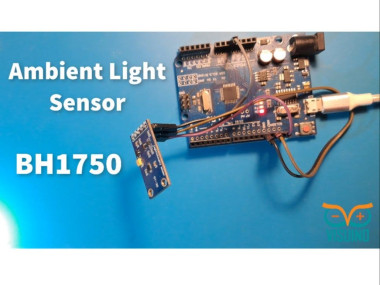
Visuino Bh-1750 Ambient Light Sensor
In this tutorial you will learn how to use BH-1750 ambient light sensor with Visuino. Watch the Video!
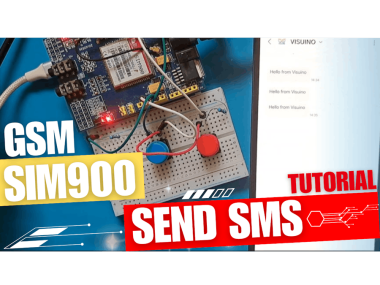
Send Sms Using Sim900 Gsm Shield & Arduino - Visuino Tutoria
In this tutorial you will learn how to send sms using the SIM900 GSM Shield and Visuino. Watch the Video!
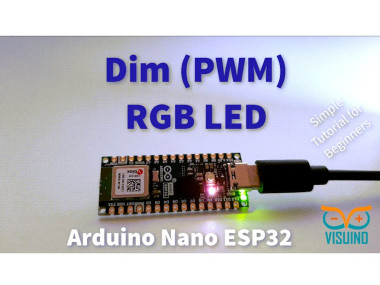
Dim The Rgb Led Arduino Nano Esp32 Using Visuino
In this tutorial we will use the built-in RGB LED on Arduino Nano ESP32 and Visuino to make dim the LED using the Pulse Width Modulation.

Send Temperature & Humidity Sms Every Minute To Your Phone -
In this tutorial you will learn how to send sms with Temperature and Humidity data using the SIM900 GSM Shield, DHT11 sensor and Visuino.
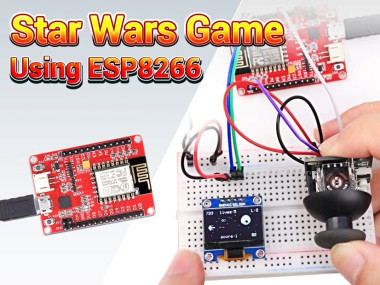
Create A Star Wars Game Using Esp8266: A Beginner’s Guide
This guide demonstrates how to craft a Star Wars game with the ESP8266, OLED Display, and Joystick Module.

Iot Ai Human Presence Detector Using Grove Vision Ai V2
Are you ready to build something extraordinary? Let me guide you in creating an IoT-based human presence detection system with instant alert
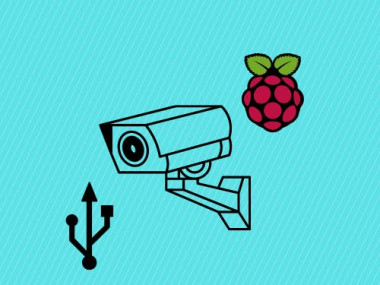
How To Stream Video From Raspberry Pi To Local - Usb Camera
Learn how to stream a video feed using USB-based cameras from the Raspberry Pi to your local computer over the internet with picamera2.