


Sending sensor data to Twitter using Node-RED
The Internet of Things (IoT) is a big thing right now, and technologies such as the Raspberry Pi have provided a cheap access to devices with plenty of power and flexibility to connect to a multitude of sensors and devices. In this tutorial, we shall use a cheap common sensor, the DS18B20 a waterproof and accurate sensor that can be bought for less than $5 online. Then using a programming language called Node-RED we shall code our first application that will take the current temperature data and post that information to our Twitter account. So let's get ready to create our first Node-RED application and we start by setting up the hardware for the project.
Setting up the hardware
To complete this project you will need:
- Any model of Raspberry Pi running Raspbian
- An Internet connection
- A DS18B20 sensor
- A 4.7K Resistor
- A breadboard
- 3 x Male to female connectors
- 1 x Male to male connector
- Screw terminals
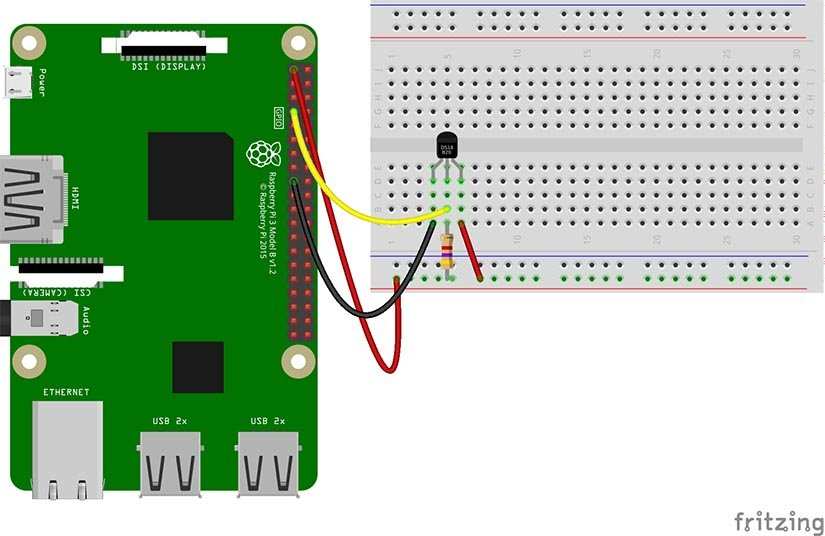
Building the circuit for this project is rather simple, requiring that we connect the three wires of the DS18B20 to our Raspberry Pi using the screw terminals and a breadboard. You may need to strip the wiring of your DS18B20 to use them with the terminals. The circuit should look like this.
Installing the software
On our Raspberry Pi, we first need to install two pieces of software before we can write any code. First, we need to install the npm package management tool. So in a terminal type the following.
$ sudo apt update && sudo apt install npm
After a few moments npm will be installed and ready for use. So let's use it to install the Node package for DS18B20 sensors. But we need to be in the hidden Node directory in our home directory. In the terminal type the following to go there
$ cd .node-red
Now type in the following to install the DS18B20 node.
npm i node-red-contrib-ds18b20
Installation should take only a few moments and when completed we can close the terminal as the next configuration step is to ensure our sensor is configured correctly and that is done using the Raspberry Pi Configuration application, found in the Preferences menu of the Raspbian desktop. In the application click on the Interfaces tab and ensure that the 1-wire interface is enabled. Click Ok to exit and now is a great time to reboot for the changes to be made.
Starting off with Node-RED
Once rebooted, return to the terminal and type the following to launch Node-RED.
node-red-start
Now open a web browser and visit http://127.0.0.1:1880 and you will see the Node-RED interface.
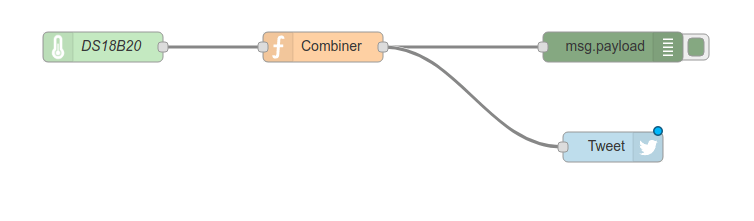
The Interface is split into three sections, and from left to right they are.
The nodes: Where the nodes that make up or code are stored.
The flow: Where nodes are connected to form a flow, similar to an algorithm.
Info / Debug: This is where we can see information on nodes, and view the output of a node /flow.
Let's start by dragging the DS18B20 node from the Raspberry Pi section of nodes to the centre flow area.
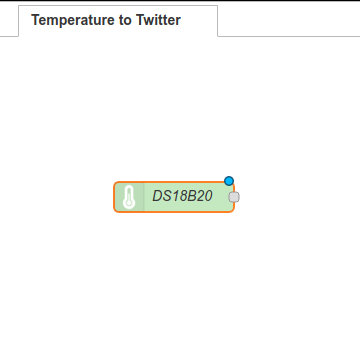
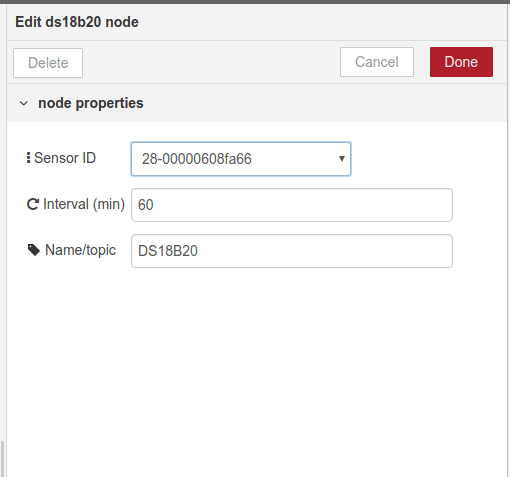
This is an input node, in that it provides input from our sensor. But first, we need to configure it. Double-click on the node and change the settings to match. The Sensor ID should only have one value generated by the system. Feel free to change the Interval time to suit your needs. But for testing purposes set it to 0.1, which is six seconds.
Now we need to process the data sent from the DS18B20 node before it is posted to Twitter. So let's go to the function nodes and drag a function node into the flow. Connect the right side of the DS18B20 node to the left side of the function node using the grey dots at either side and left-click dragging a connector between them.
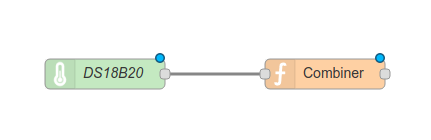
Double-click on the function node to edit the config.
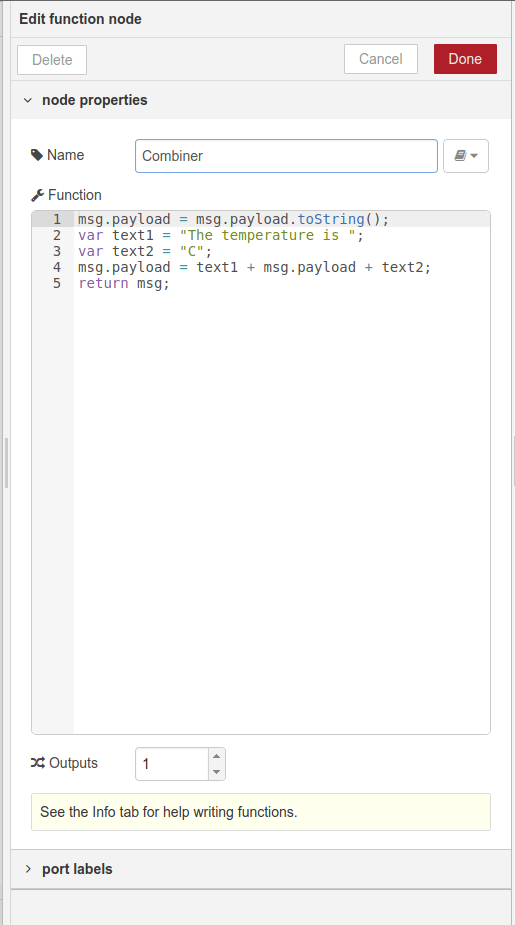
In the function node we can write JavaScript that will enable us to manipulate the data being sent from the sensor. In this case, we call our function combiner and we use it to convert and combine the sensor data into something that is human readable.
Our first step is to convert the numerical data sent by the sensor into a string; this helps us to concatenate the data later.
msg.payload = msg.payload.toString();
Now let's create two variables which will contain parts of the sentence that will form the tweet posted to Twitter.
var text1 = "The temperature is ";

var text2 = "C";
Now, let us form the sentence, in this case, we update the contents of the msg.payload data sent from the DS18B20, so that it now contains the sentence formed of the two variables wrapped around the original msg.payload sensor data. Then we return this msg ready for it to be used later.
msg.payload = text1 + msg.payload + text2;

return msg;
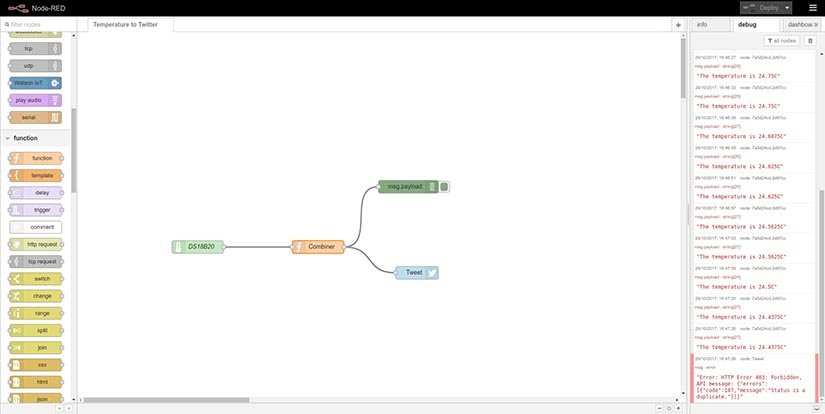
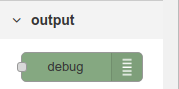
Click on Done to save and now let us see the output of this flow. From the Output nodes drag a debug and connect it to the Combiner function.

When ready click on Deploy in the top right to start the flow. Then click on the debug tab also in the top right. Here you will see the output of the flow.
<>

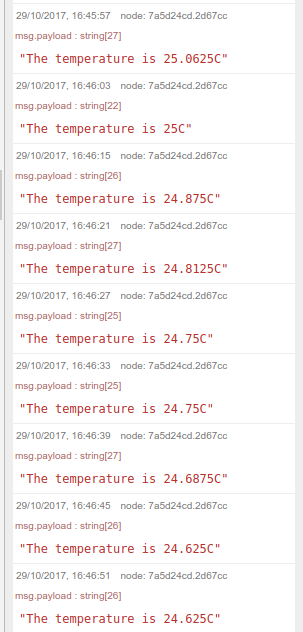
So our sensor data is being sent to the debug tab, that means there are no errors and we are ready to post that data to Twitter. But before we do, change the DS18B20 nodes interval to 1 minute otherwise, we will upset a lot of people!
Now drag the Twitter node to the flow, and connect the Combiner function to the Twitter output node.
Double-click on the Twitter node and you will need to confirm your credentials before it can post to Twitter. Top tip, use a spare account when testing or you will spam your followers.


With Twitter config complete, click on Deploy to run the latest code and now watch as the Tweets full of sensor data appear in your timeline.
Tweak and alter the project to make it your own, but for now well done, you have taken your first steps with Node-RED and the IoT.

Les Pounder loves hacking and tinkering with Arduino, Raspberry Pi and new technologies. He passes on his skills and discoveries to Electromaker readers via tutorials and reviews.


Leave your feedback...